Posts Tagged ‘things I’ve made’

2019 Goals: January

The theme for my 2019 goals is “Aim Low” after what happened last year. This year you’ll notice that most of them can be accomplished from my bed lol and that is BY DESIGN

1. Cookbooks Cook Through: 23%
This is the stretch goal. On New Year’s Day, Steven and I went through our cookbooks and marked all the recipes we’d never made but wanted to try this year. In all, it was 29 books, and I marked 70 recipes. Steven marked 215 lol. So far I’ve made 16 recipes (see below) and he’s made 11 (5.12% complete).

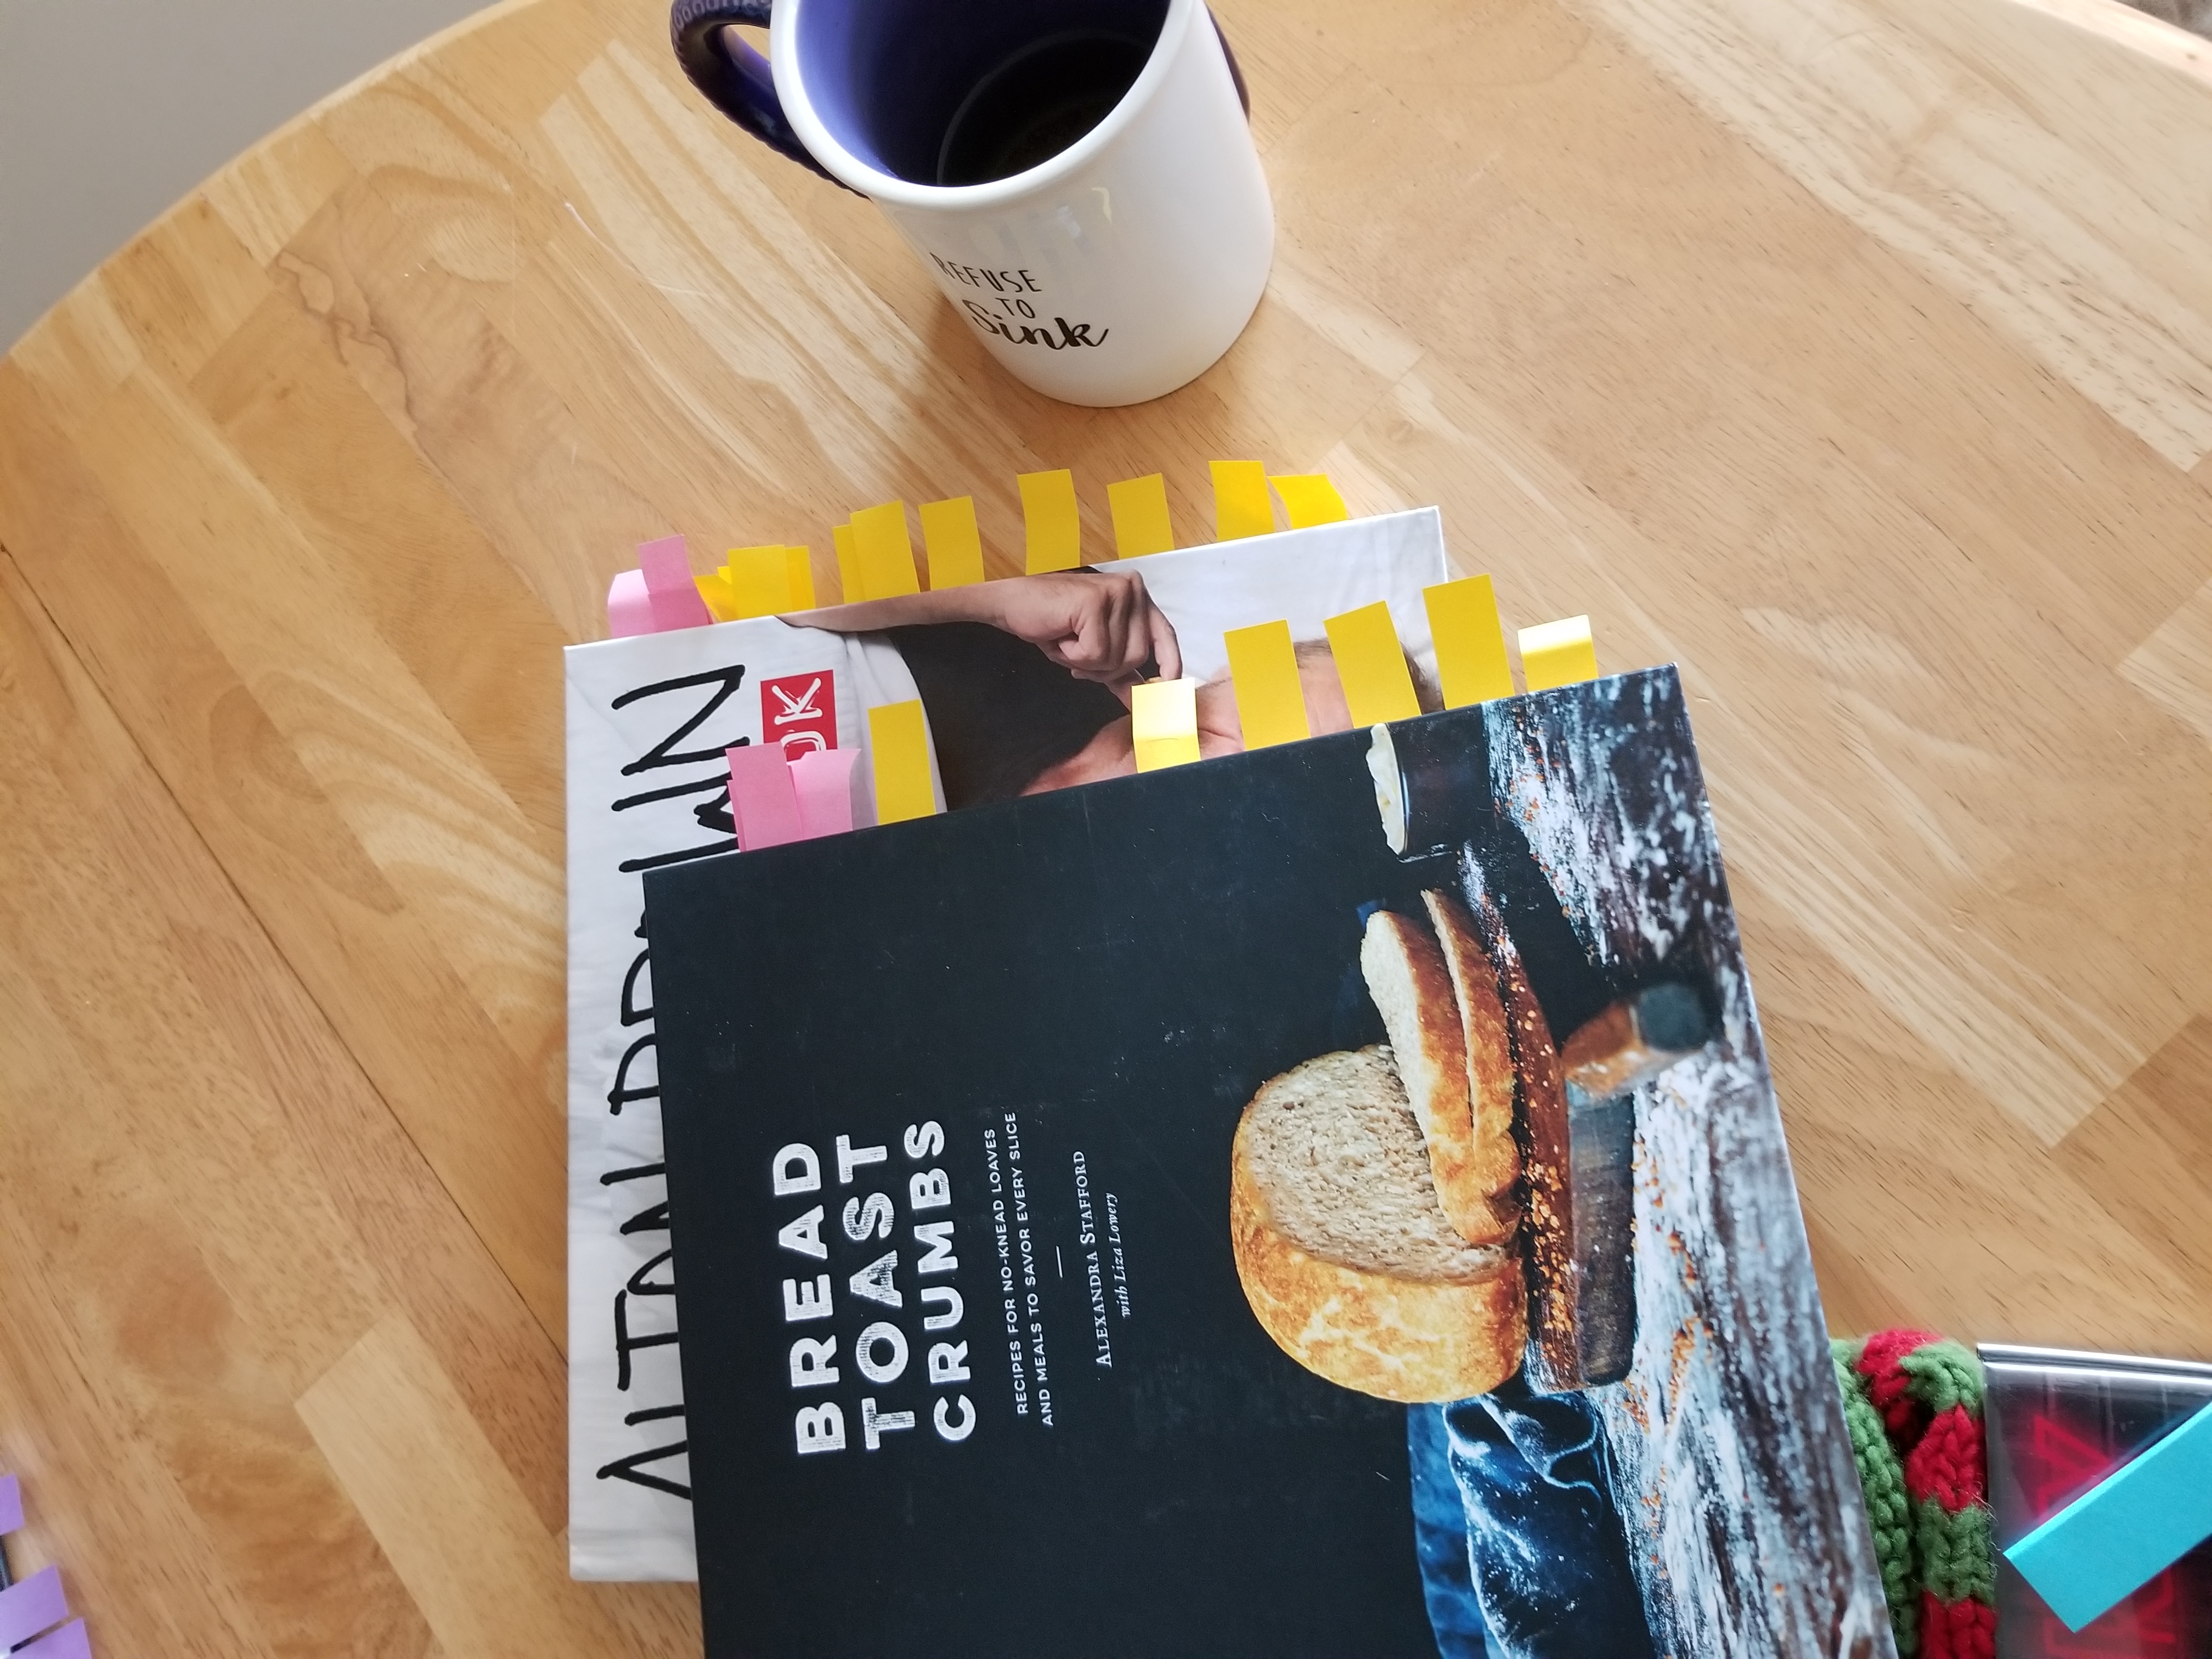
You can probably guess that Steven’s are yellow and mine are pink

2. 50 States of Reading: 31%
This is a project I actually started in 2018: Read a book set in each US state. I’m doing it like a legit road trip where I started in Maine and headed South. Here’s the map of what I’ve done so far:

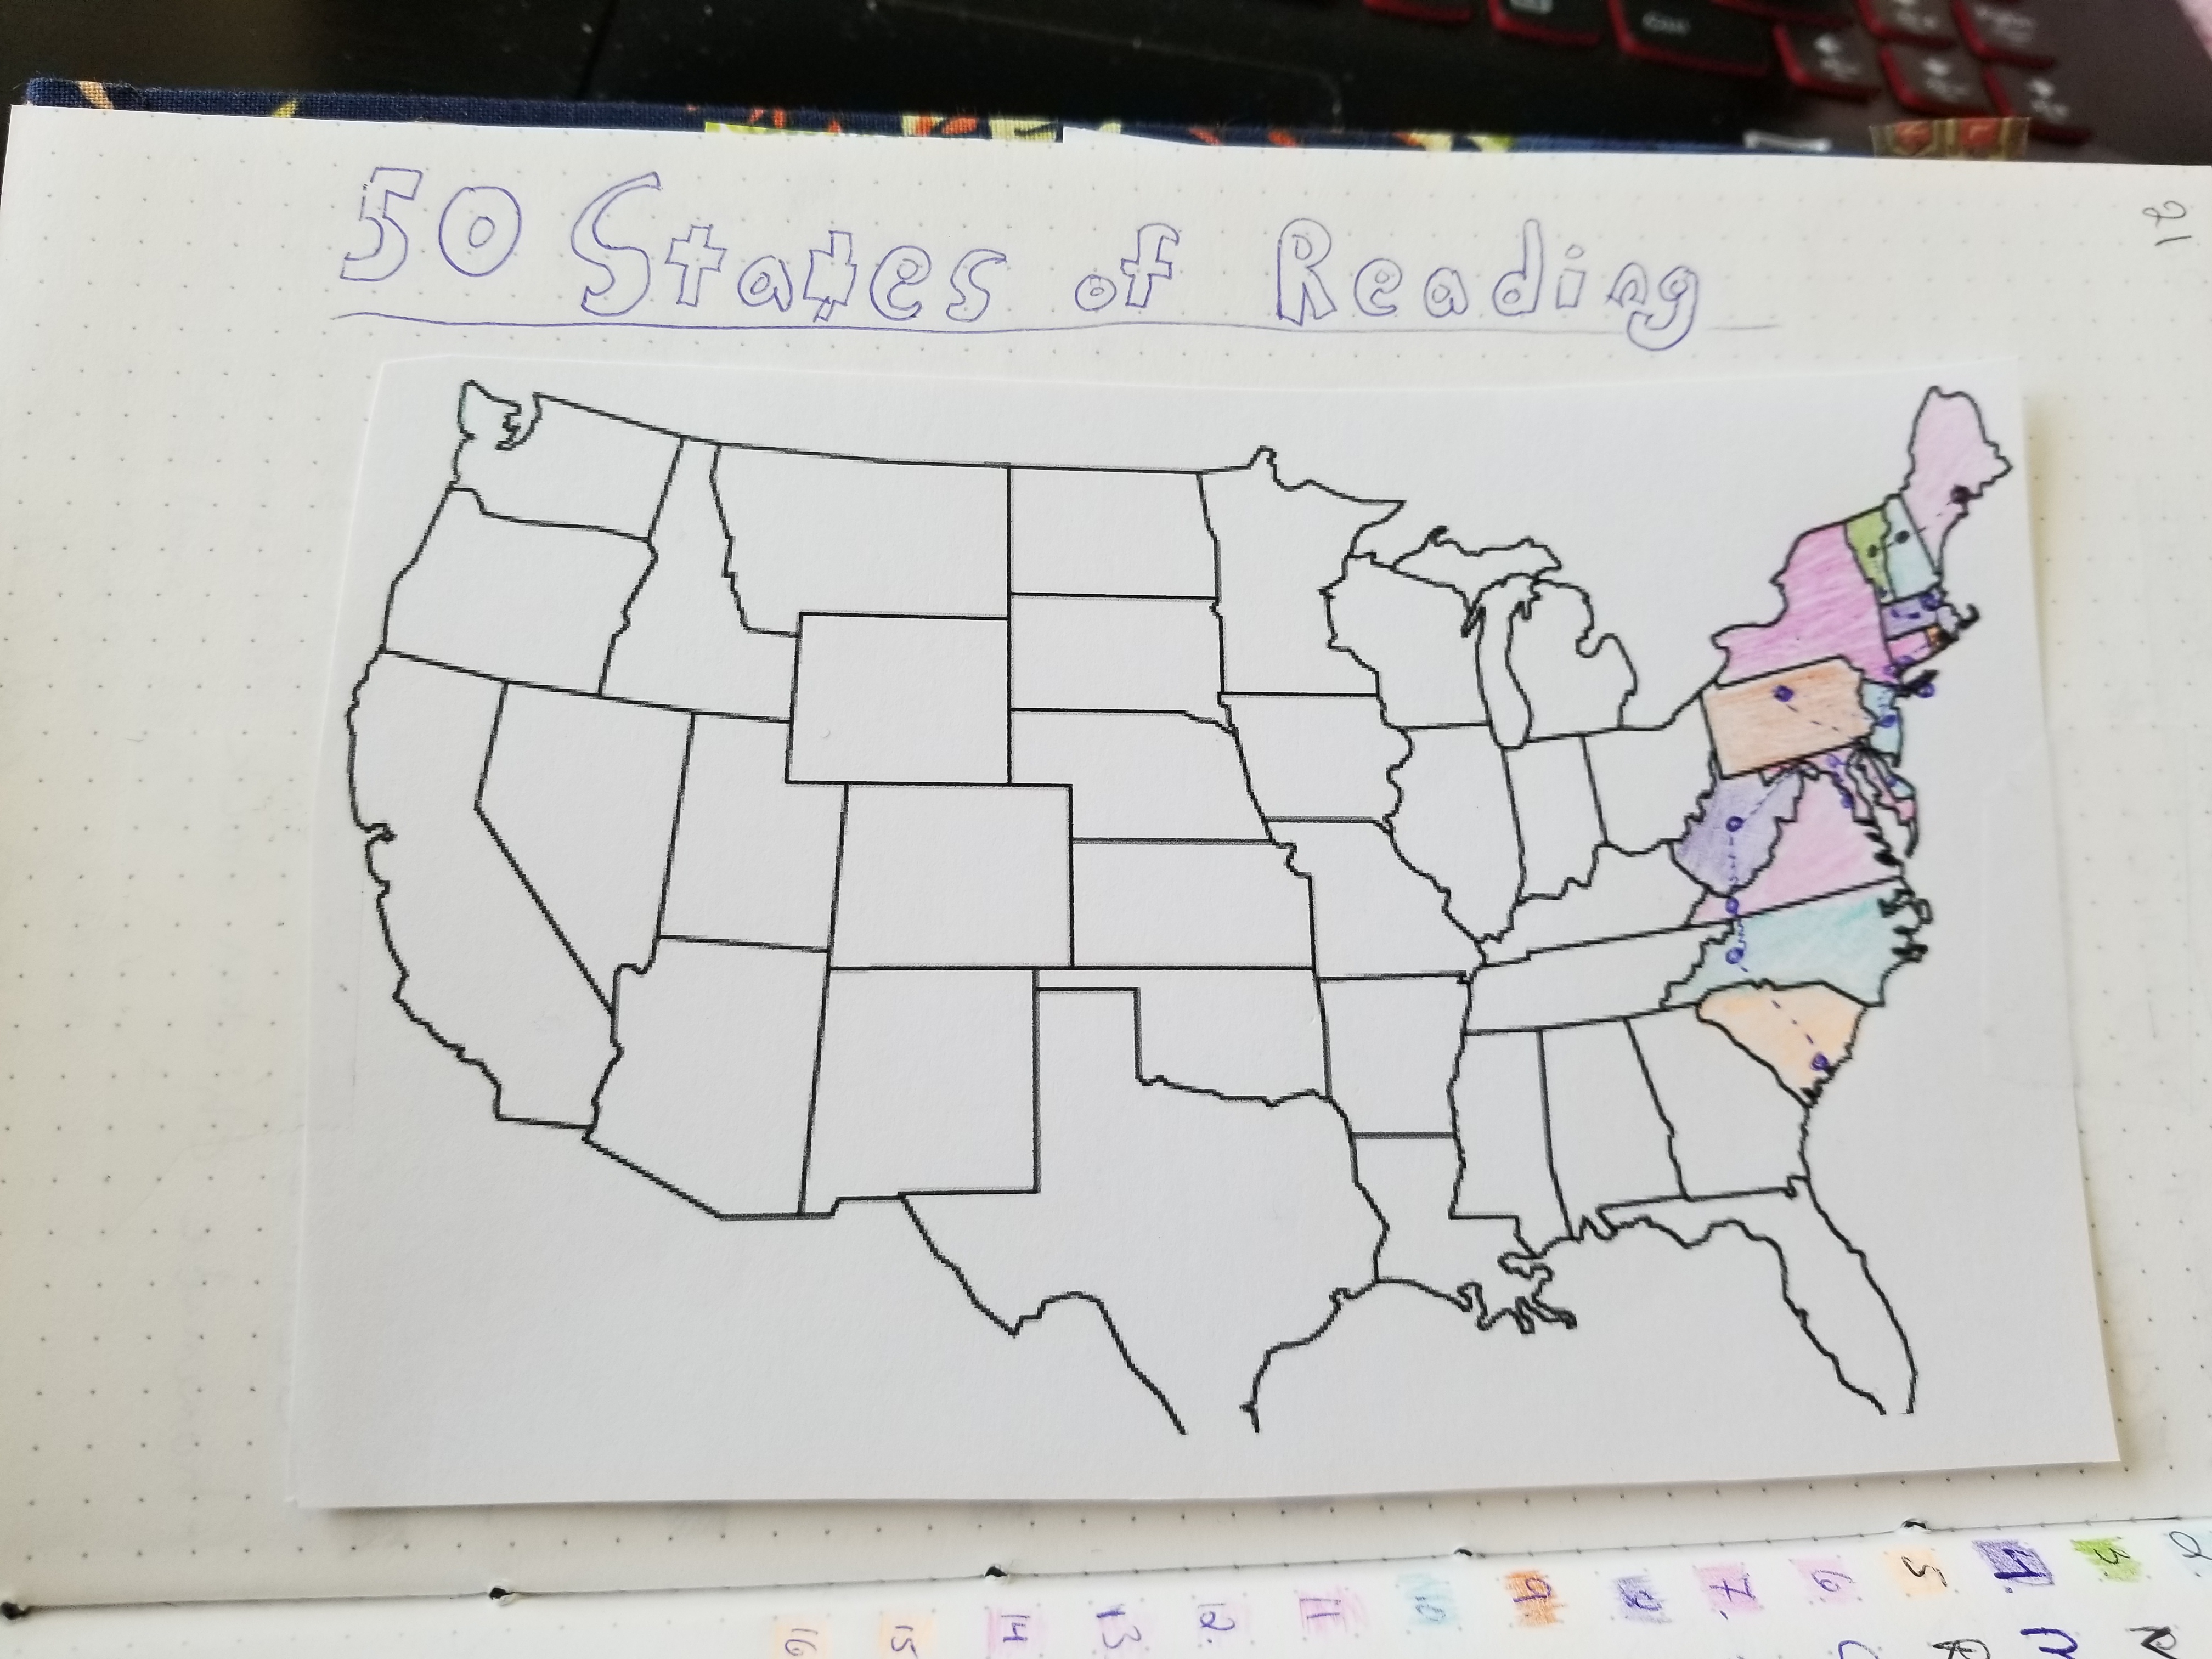
I also stopped in Washington, DC because I’m into the DC Statehood Movement

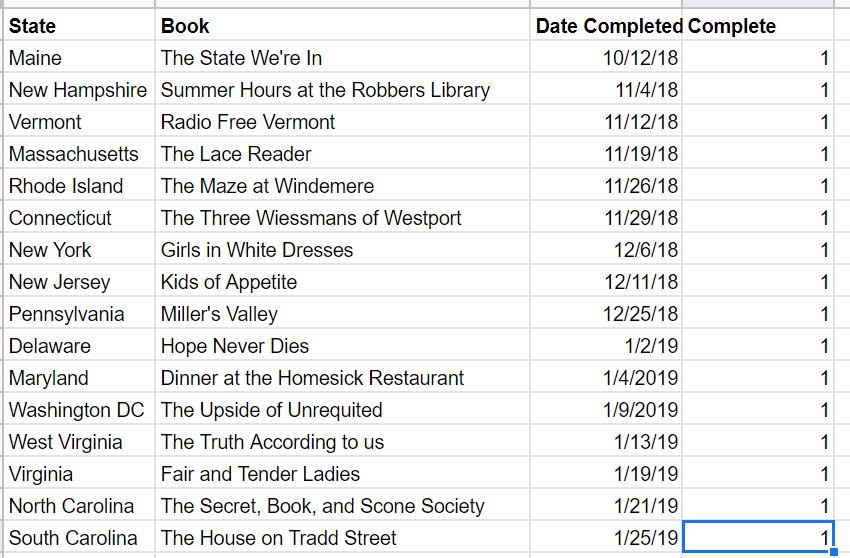
And here are the books I’ve read:

3. Read One Book a Month We Already Own: 8%
We own a lot of books I’ve never read, mostly because Steven. So I forsee a lot of really bad sci-fi in my future. But in January I found one I’d gotten at a past library book sale!

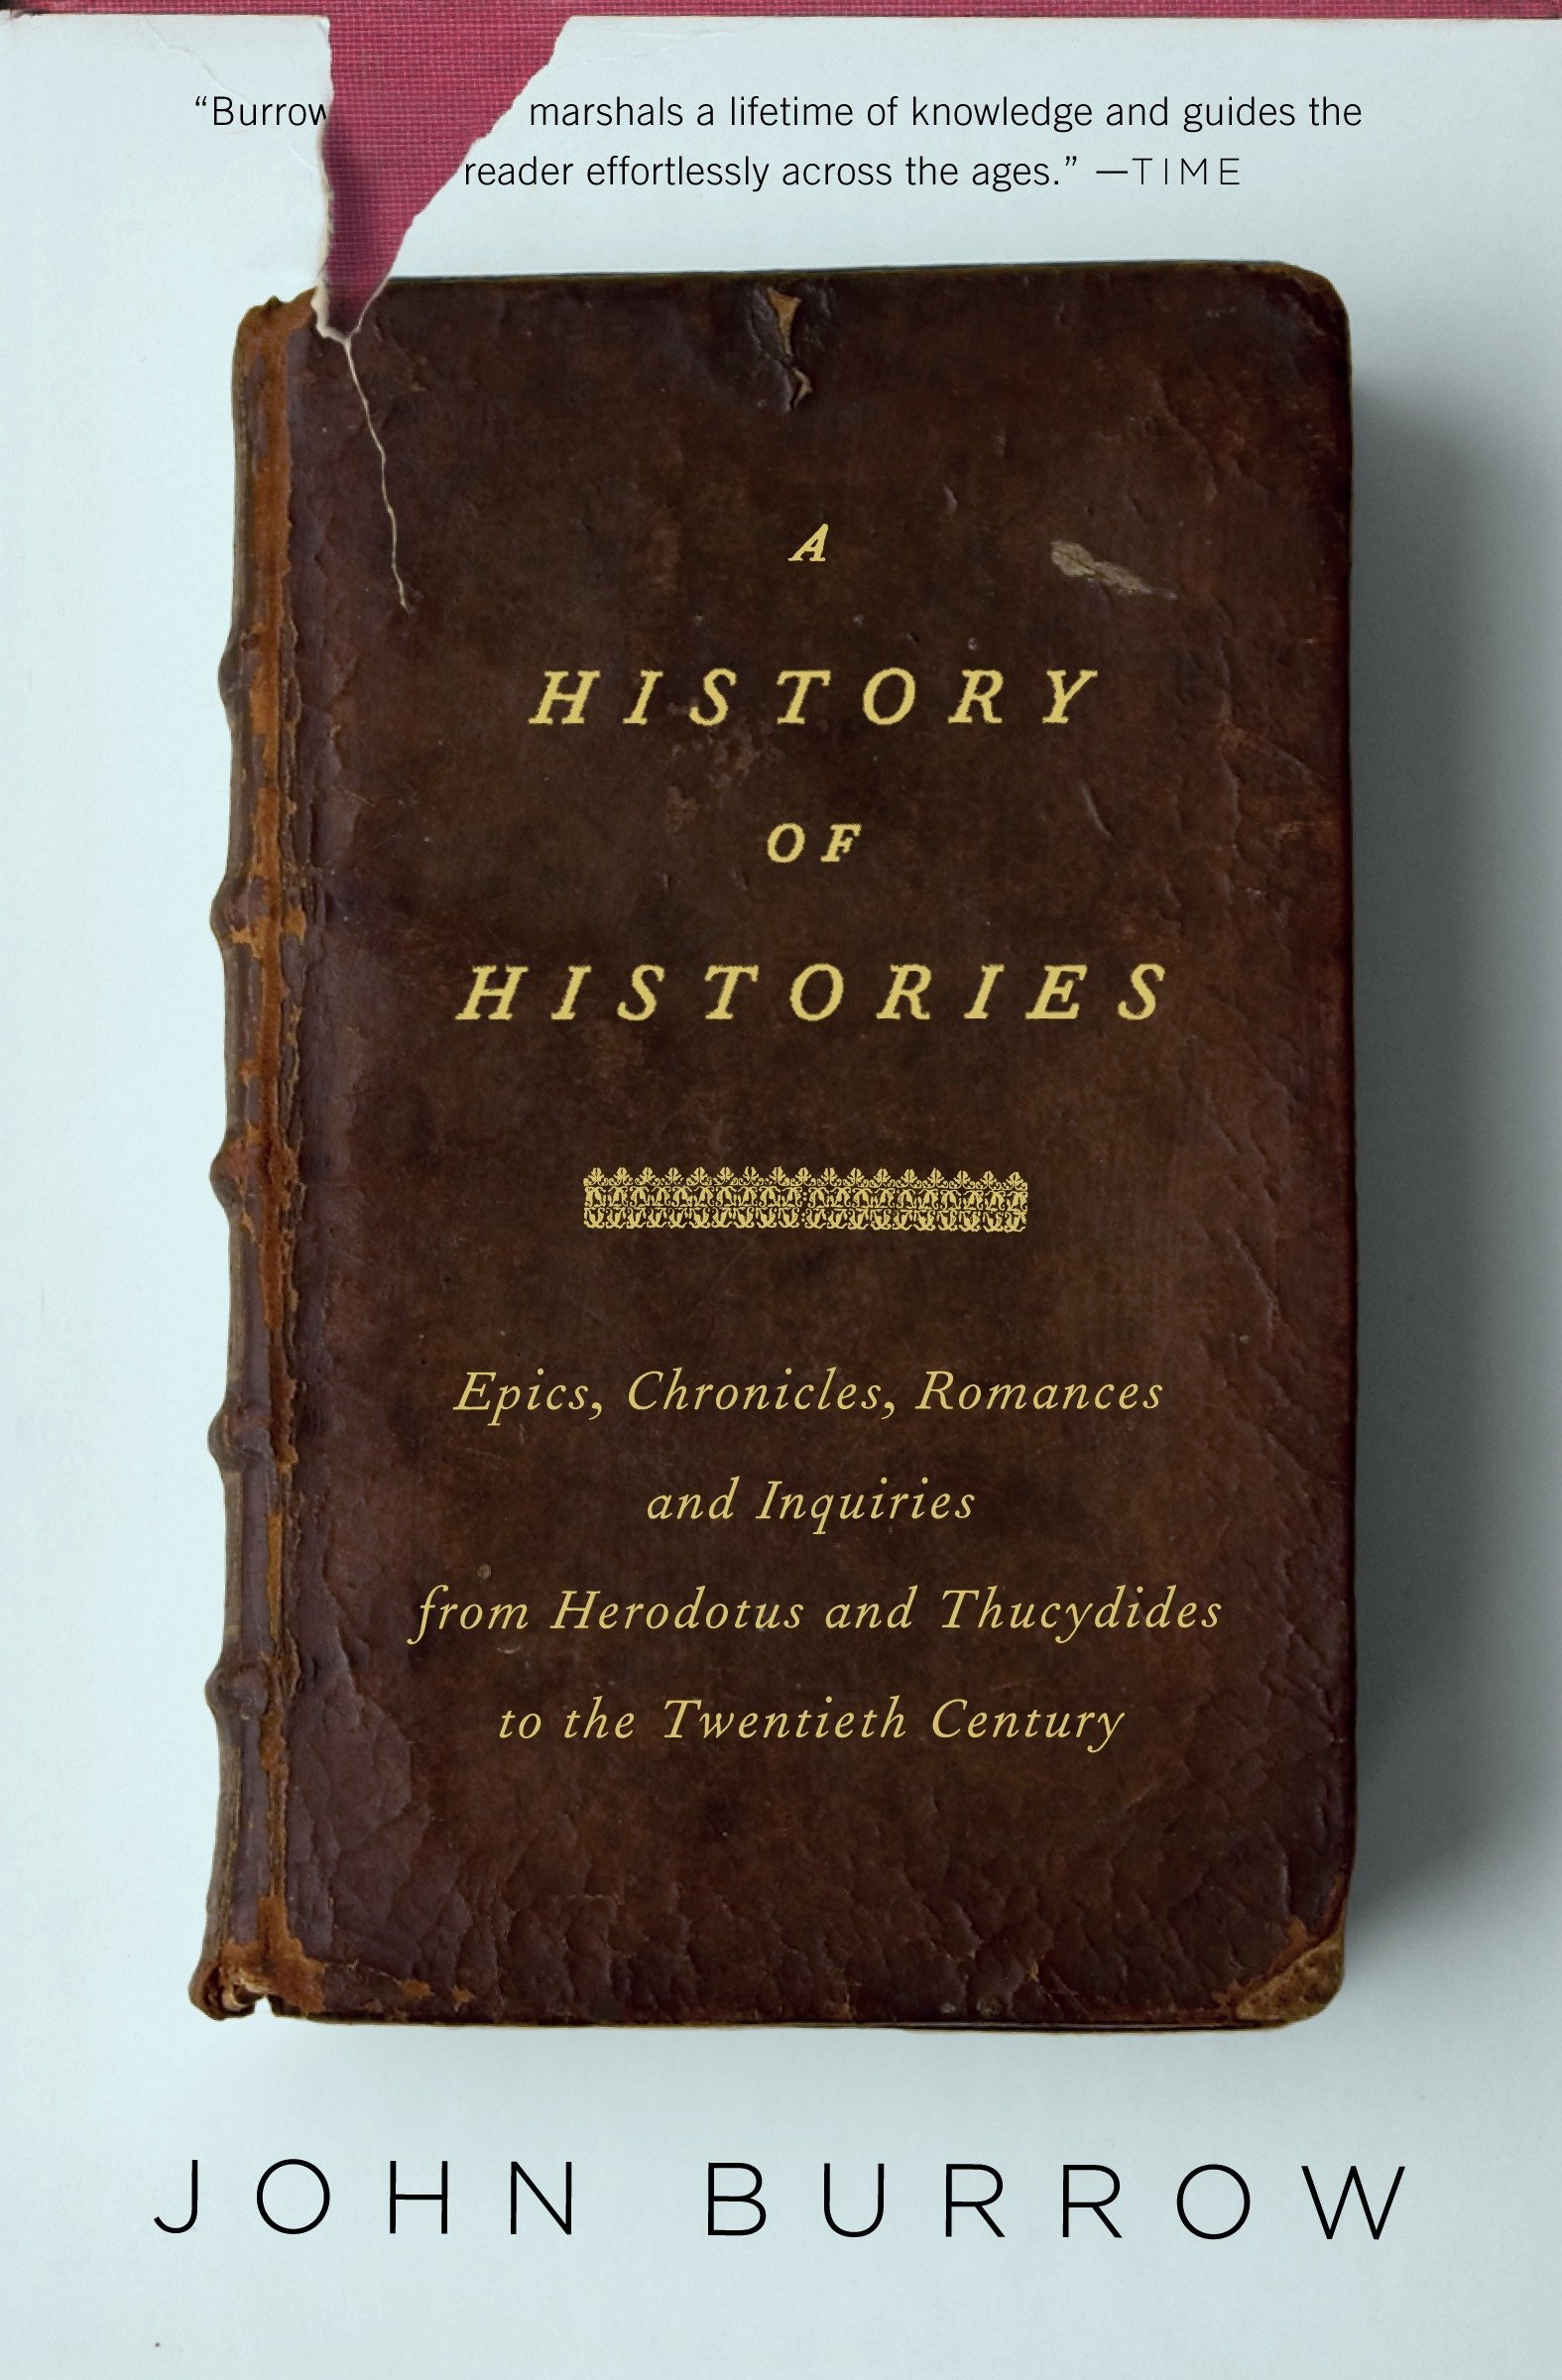
A History of Histories by John Burrow

It wasn’t as good as I was hoping, but whatever.

4. Transcribe my Grandmother’s Diaries: 37%
My grandmother kept a diary for SIXTY YEARS, y’all, (1941-2000) and this year I’m going to transcribe them all. Right now I’m in 1963. No thoughts on the Cuban Missile Crisis, but I do have a window into how much time our foremothers spent ironing (hint: A WHOLE HECKIN LOT). Here’s a sample entry from An Historic Day:

August 14, 1945. Stayed here and did work all day. Went town at noon and bought suit. War over at 4:00PM

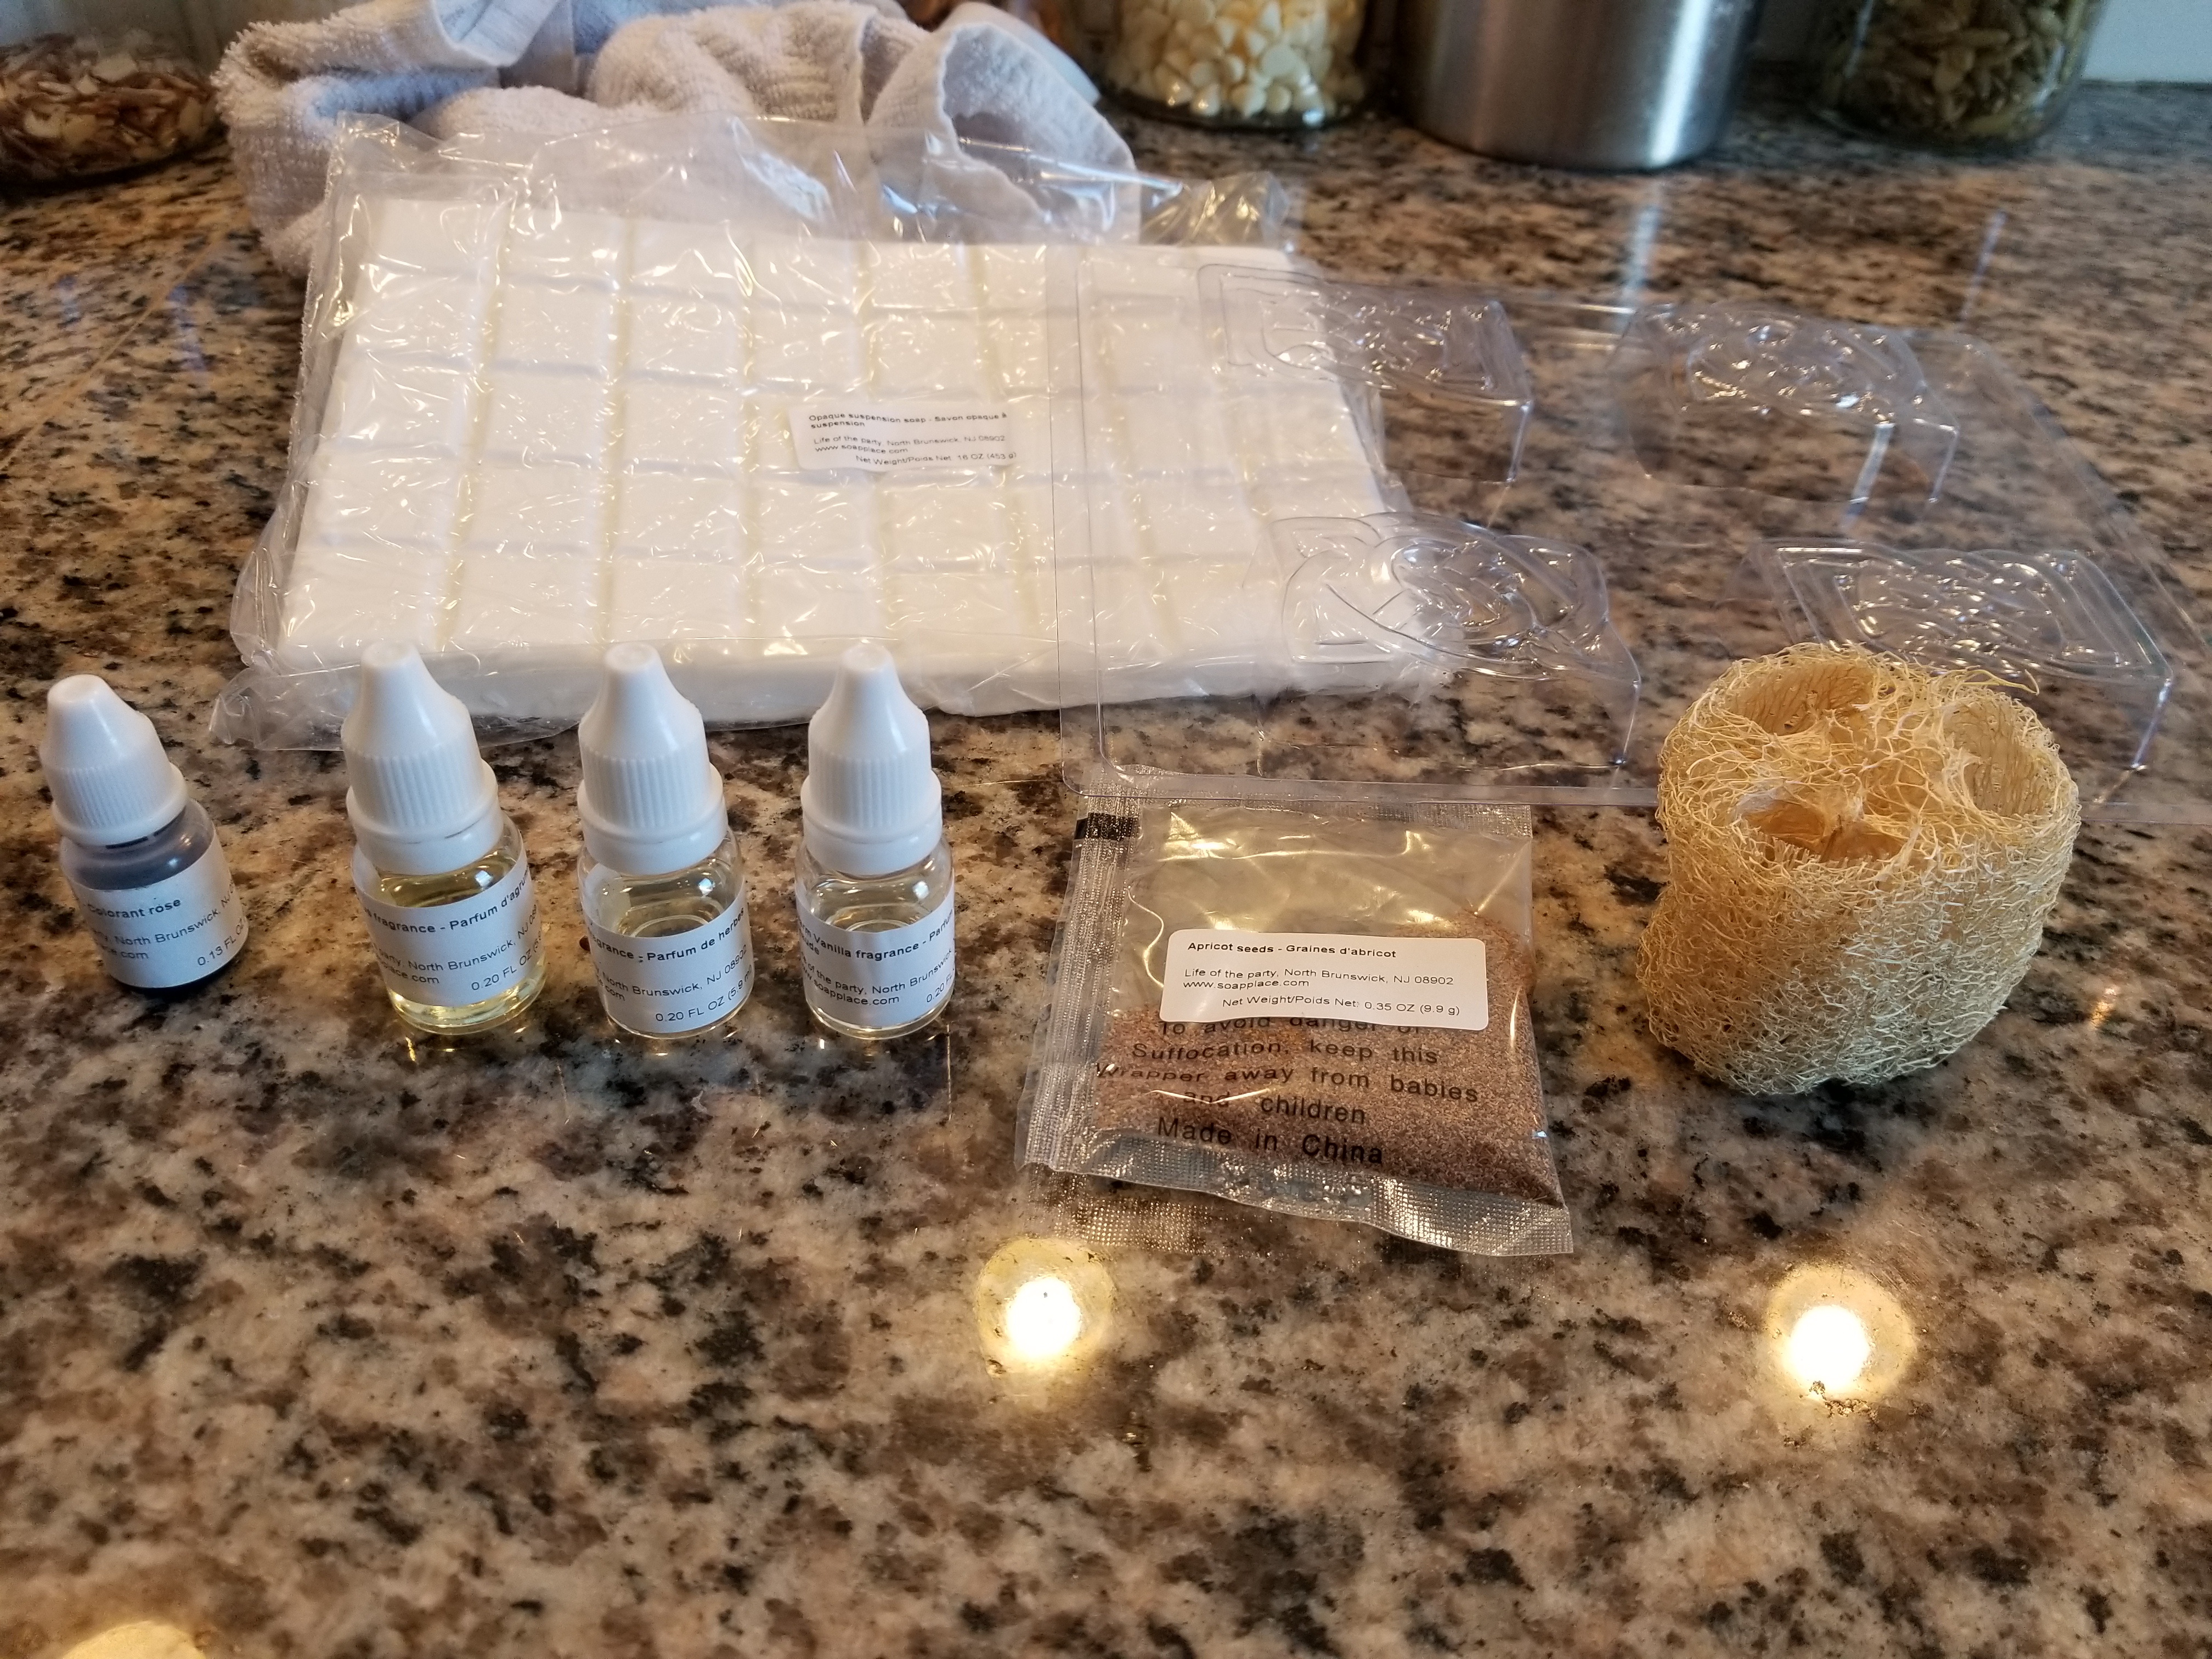
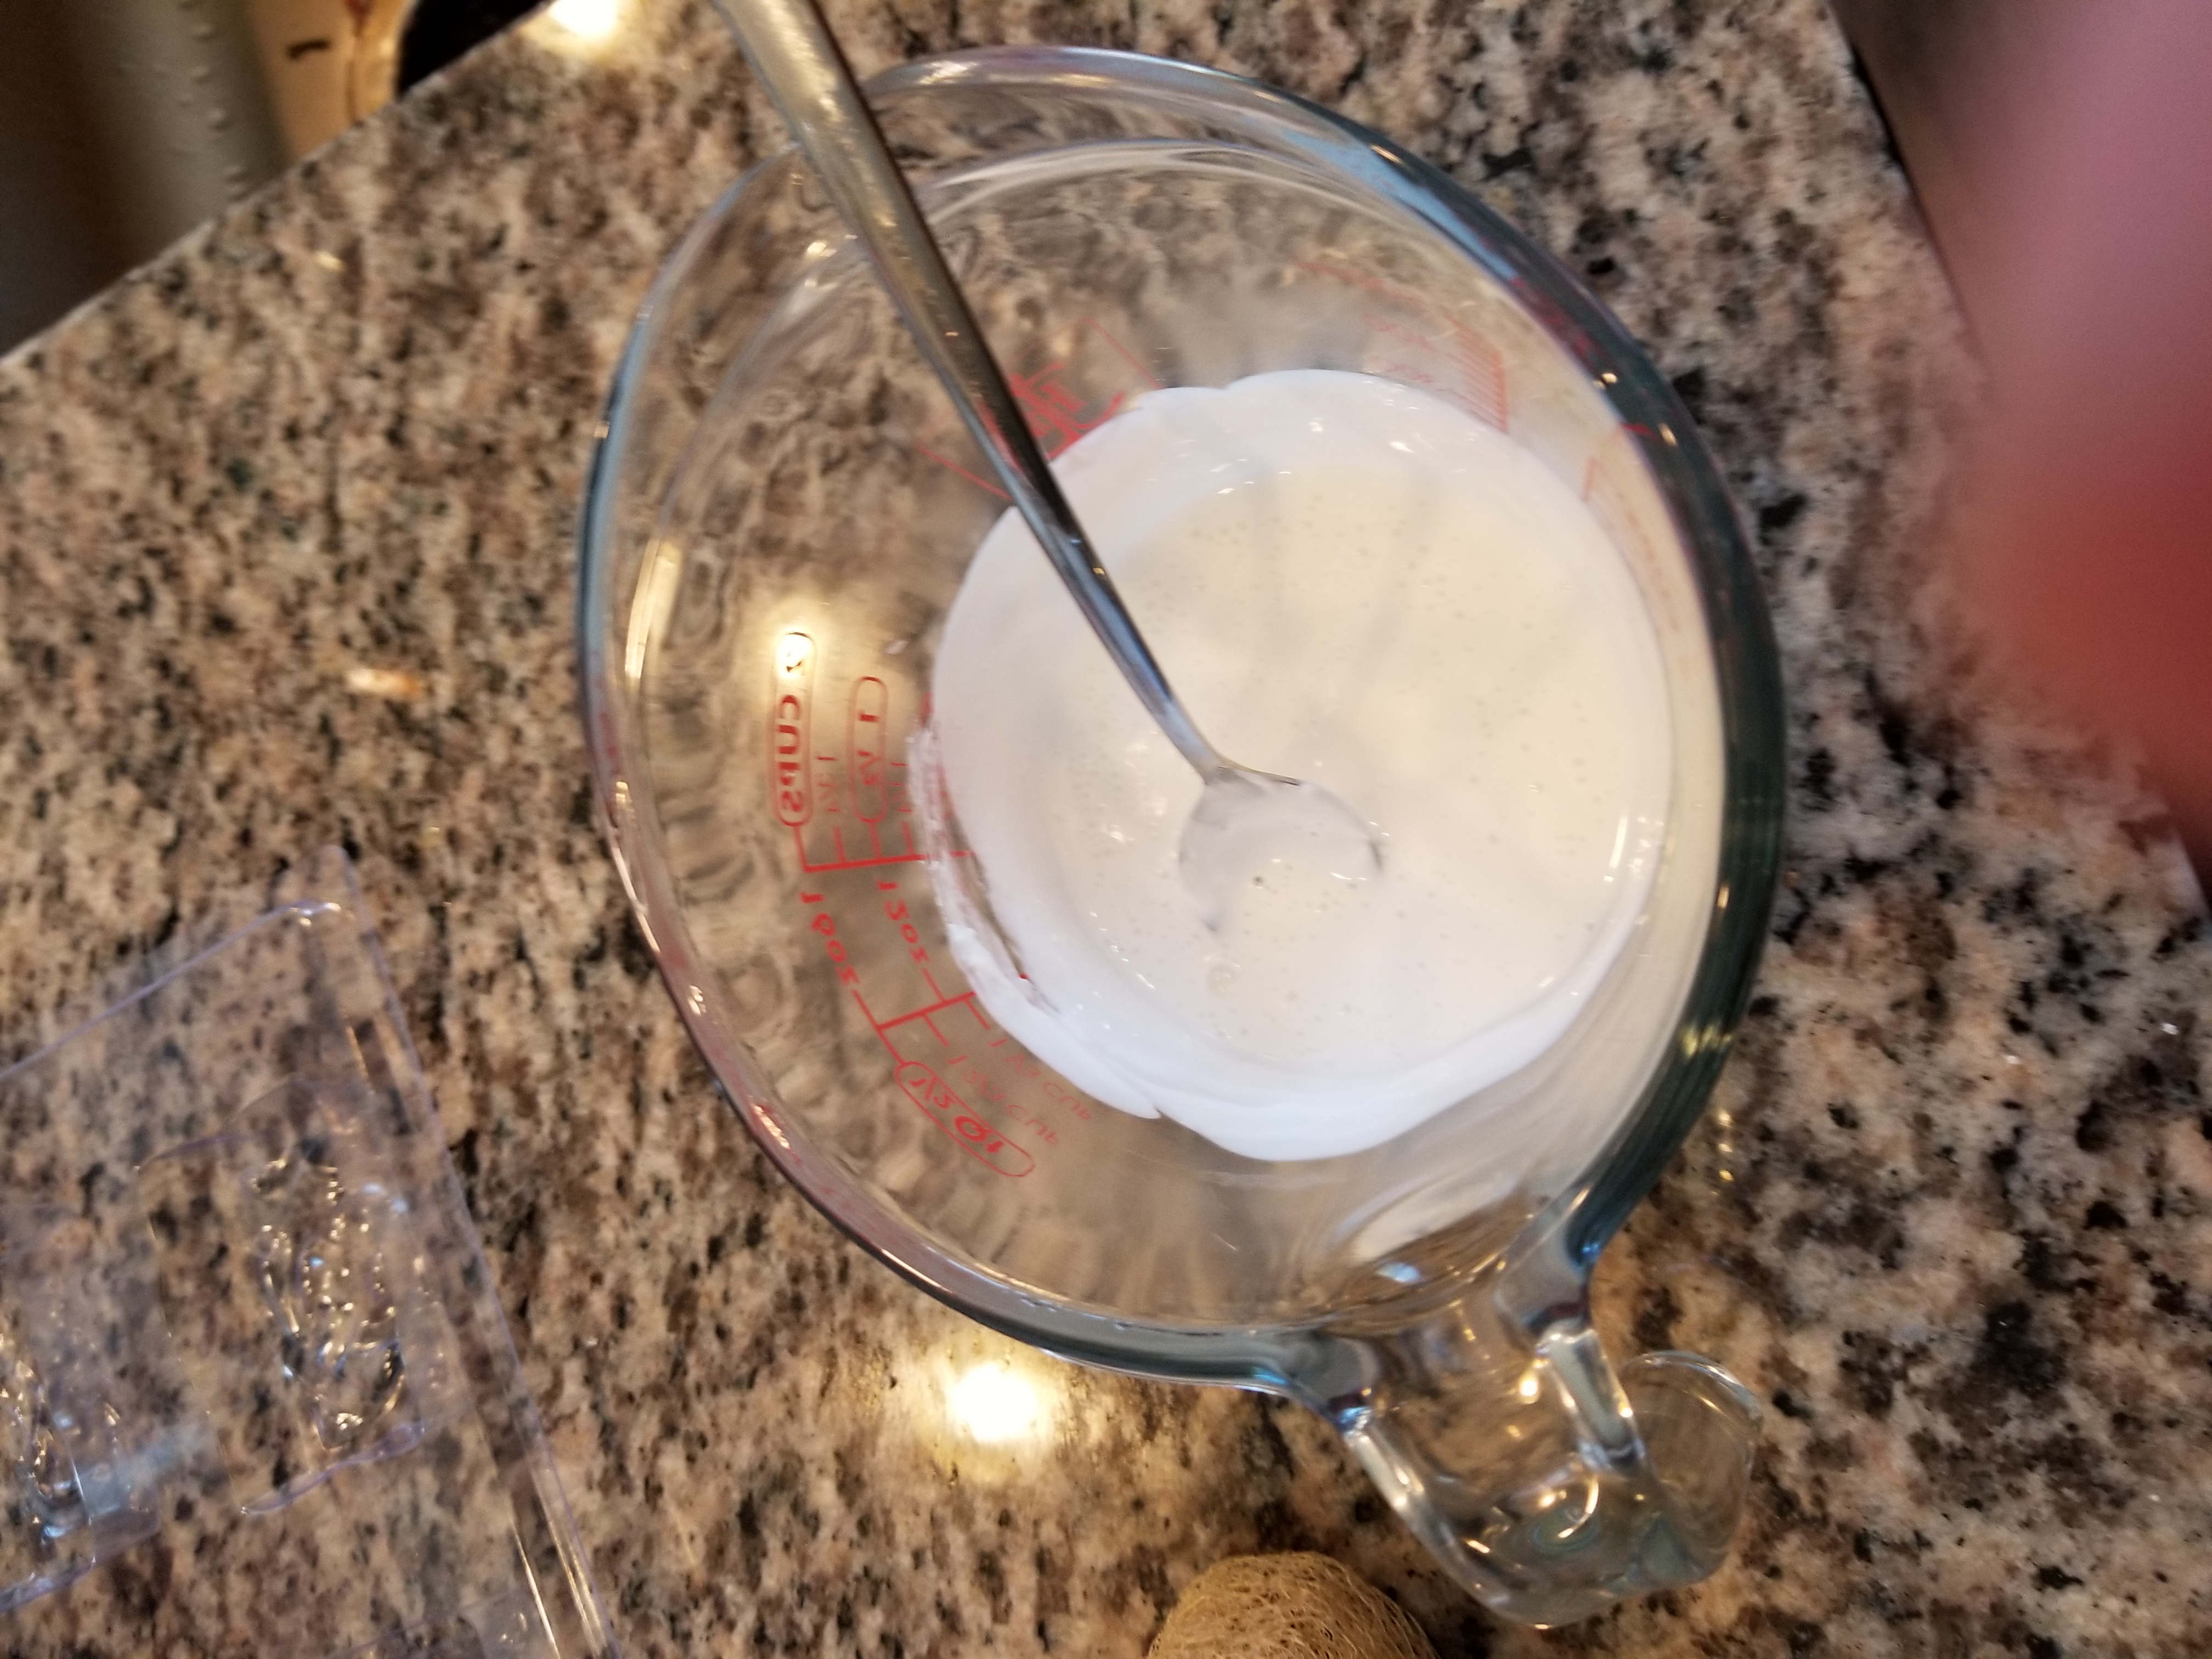
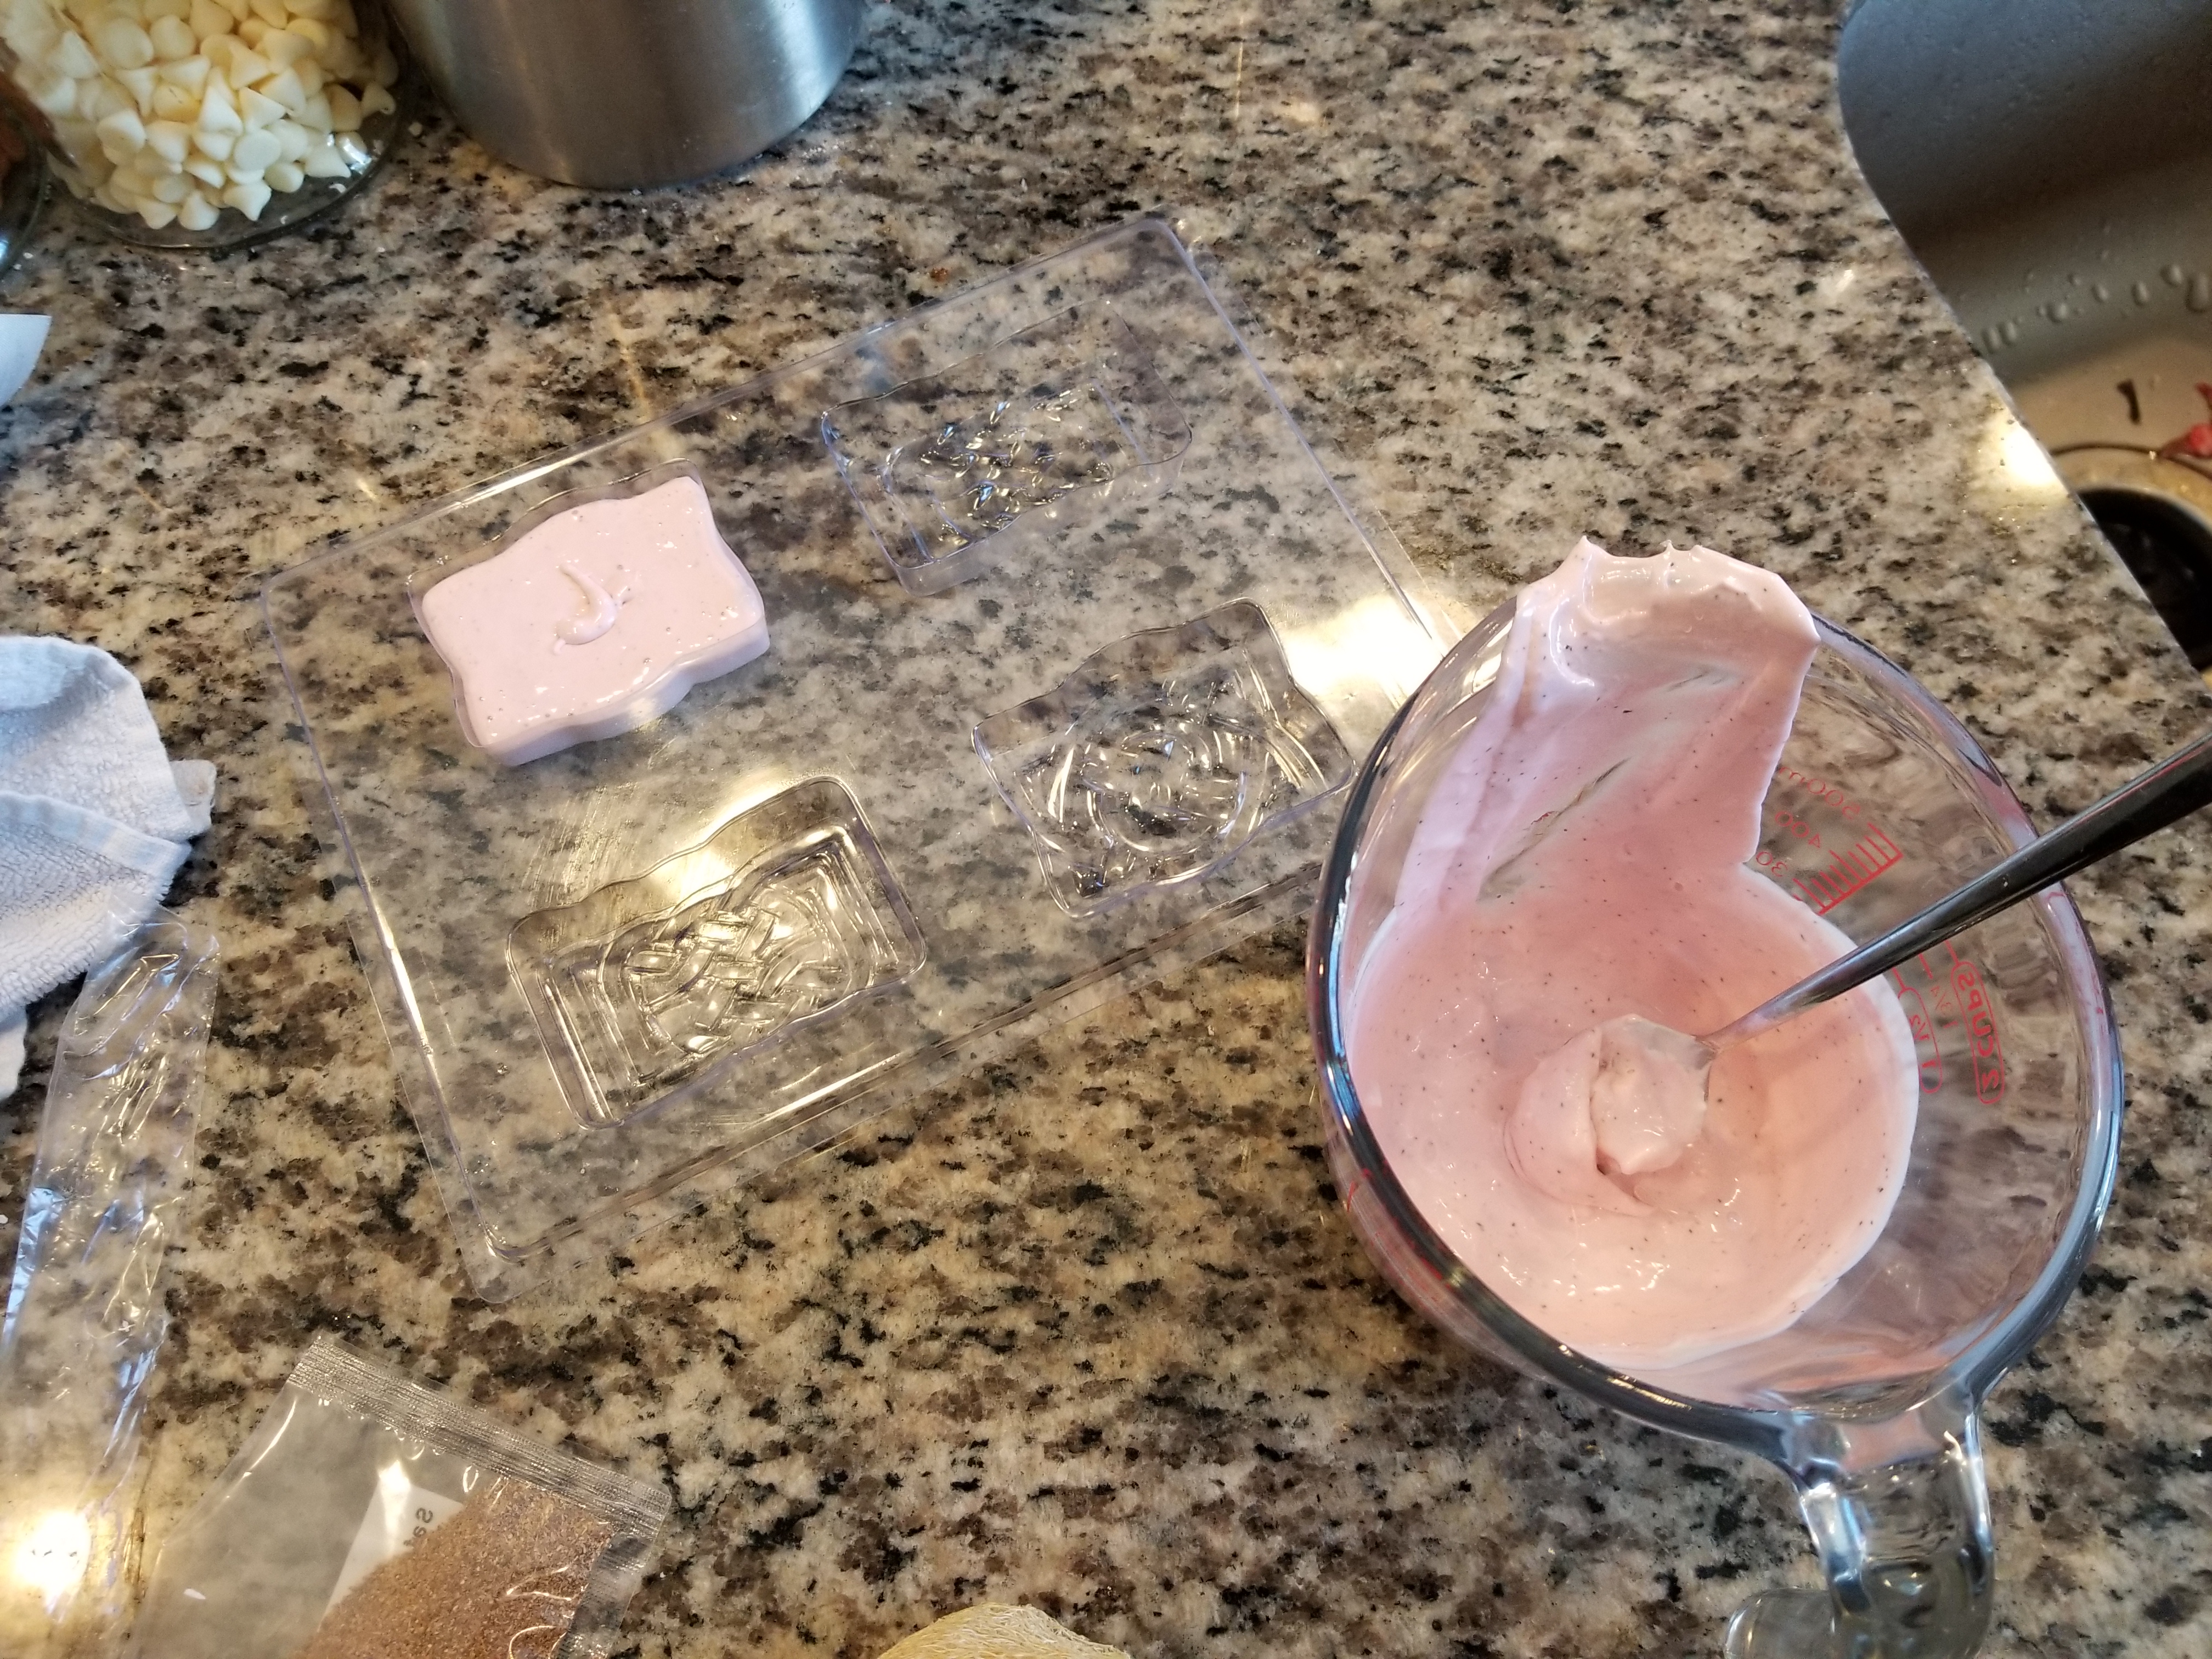
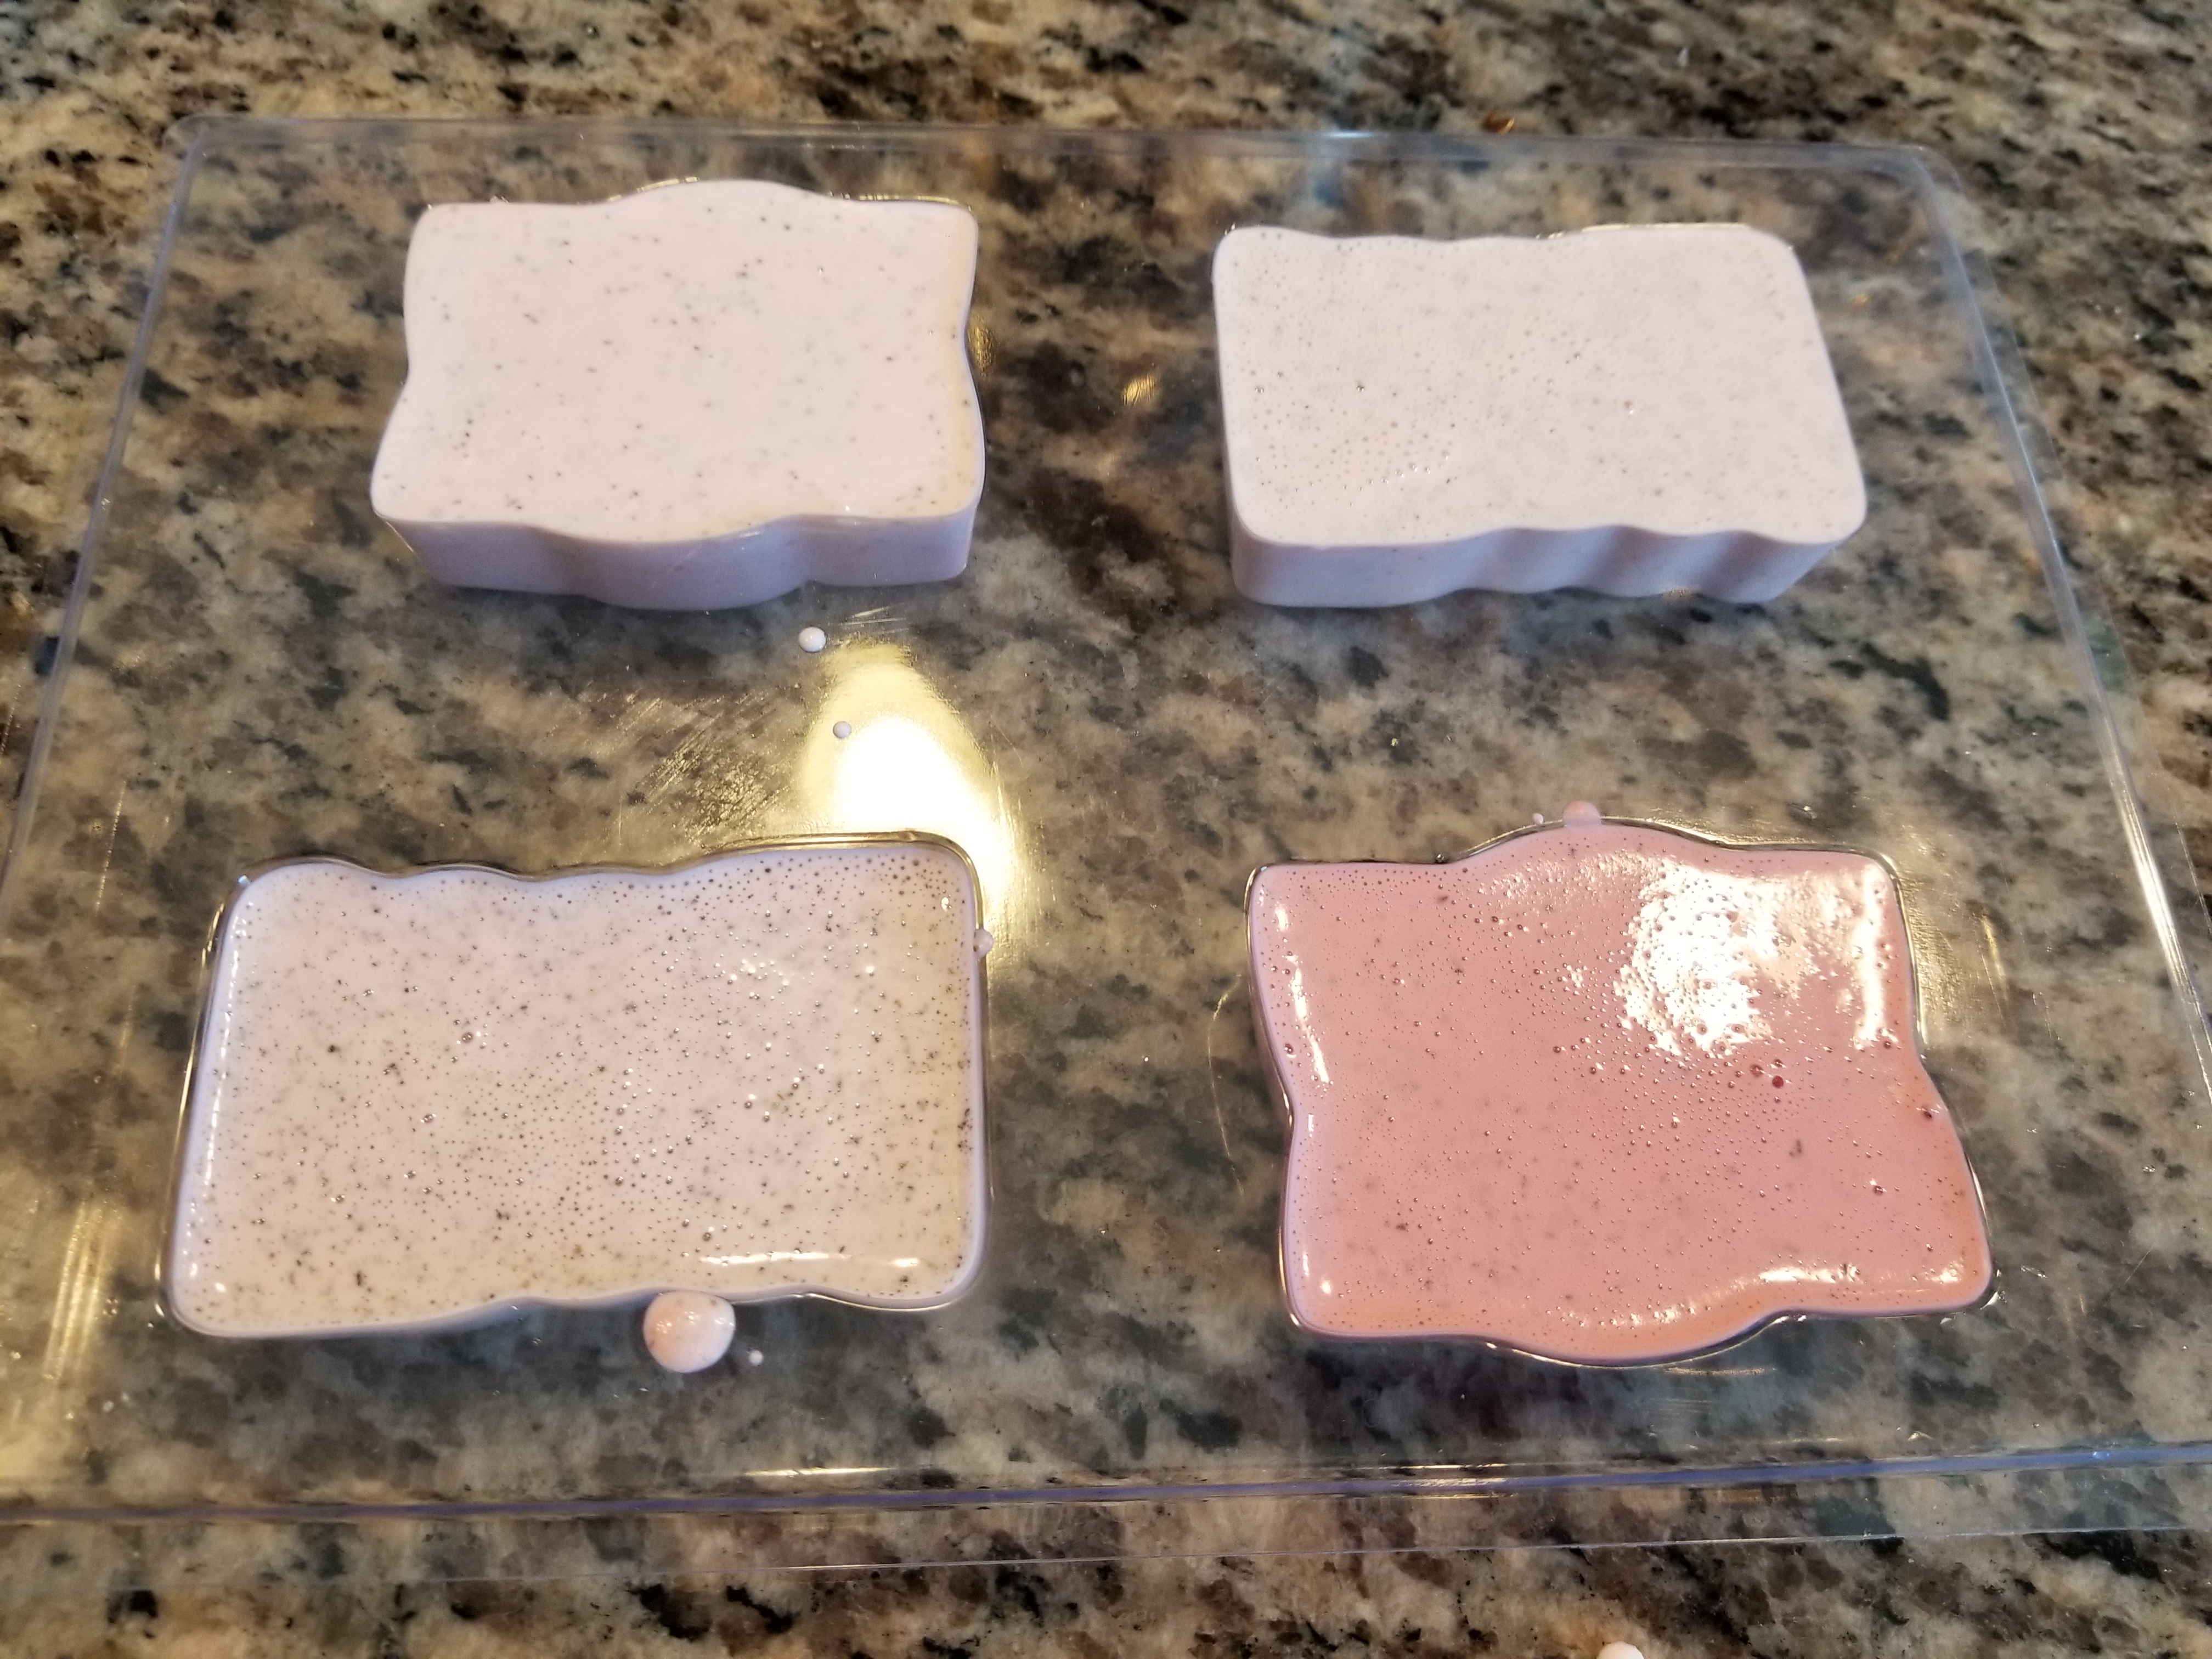
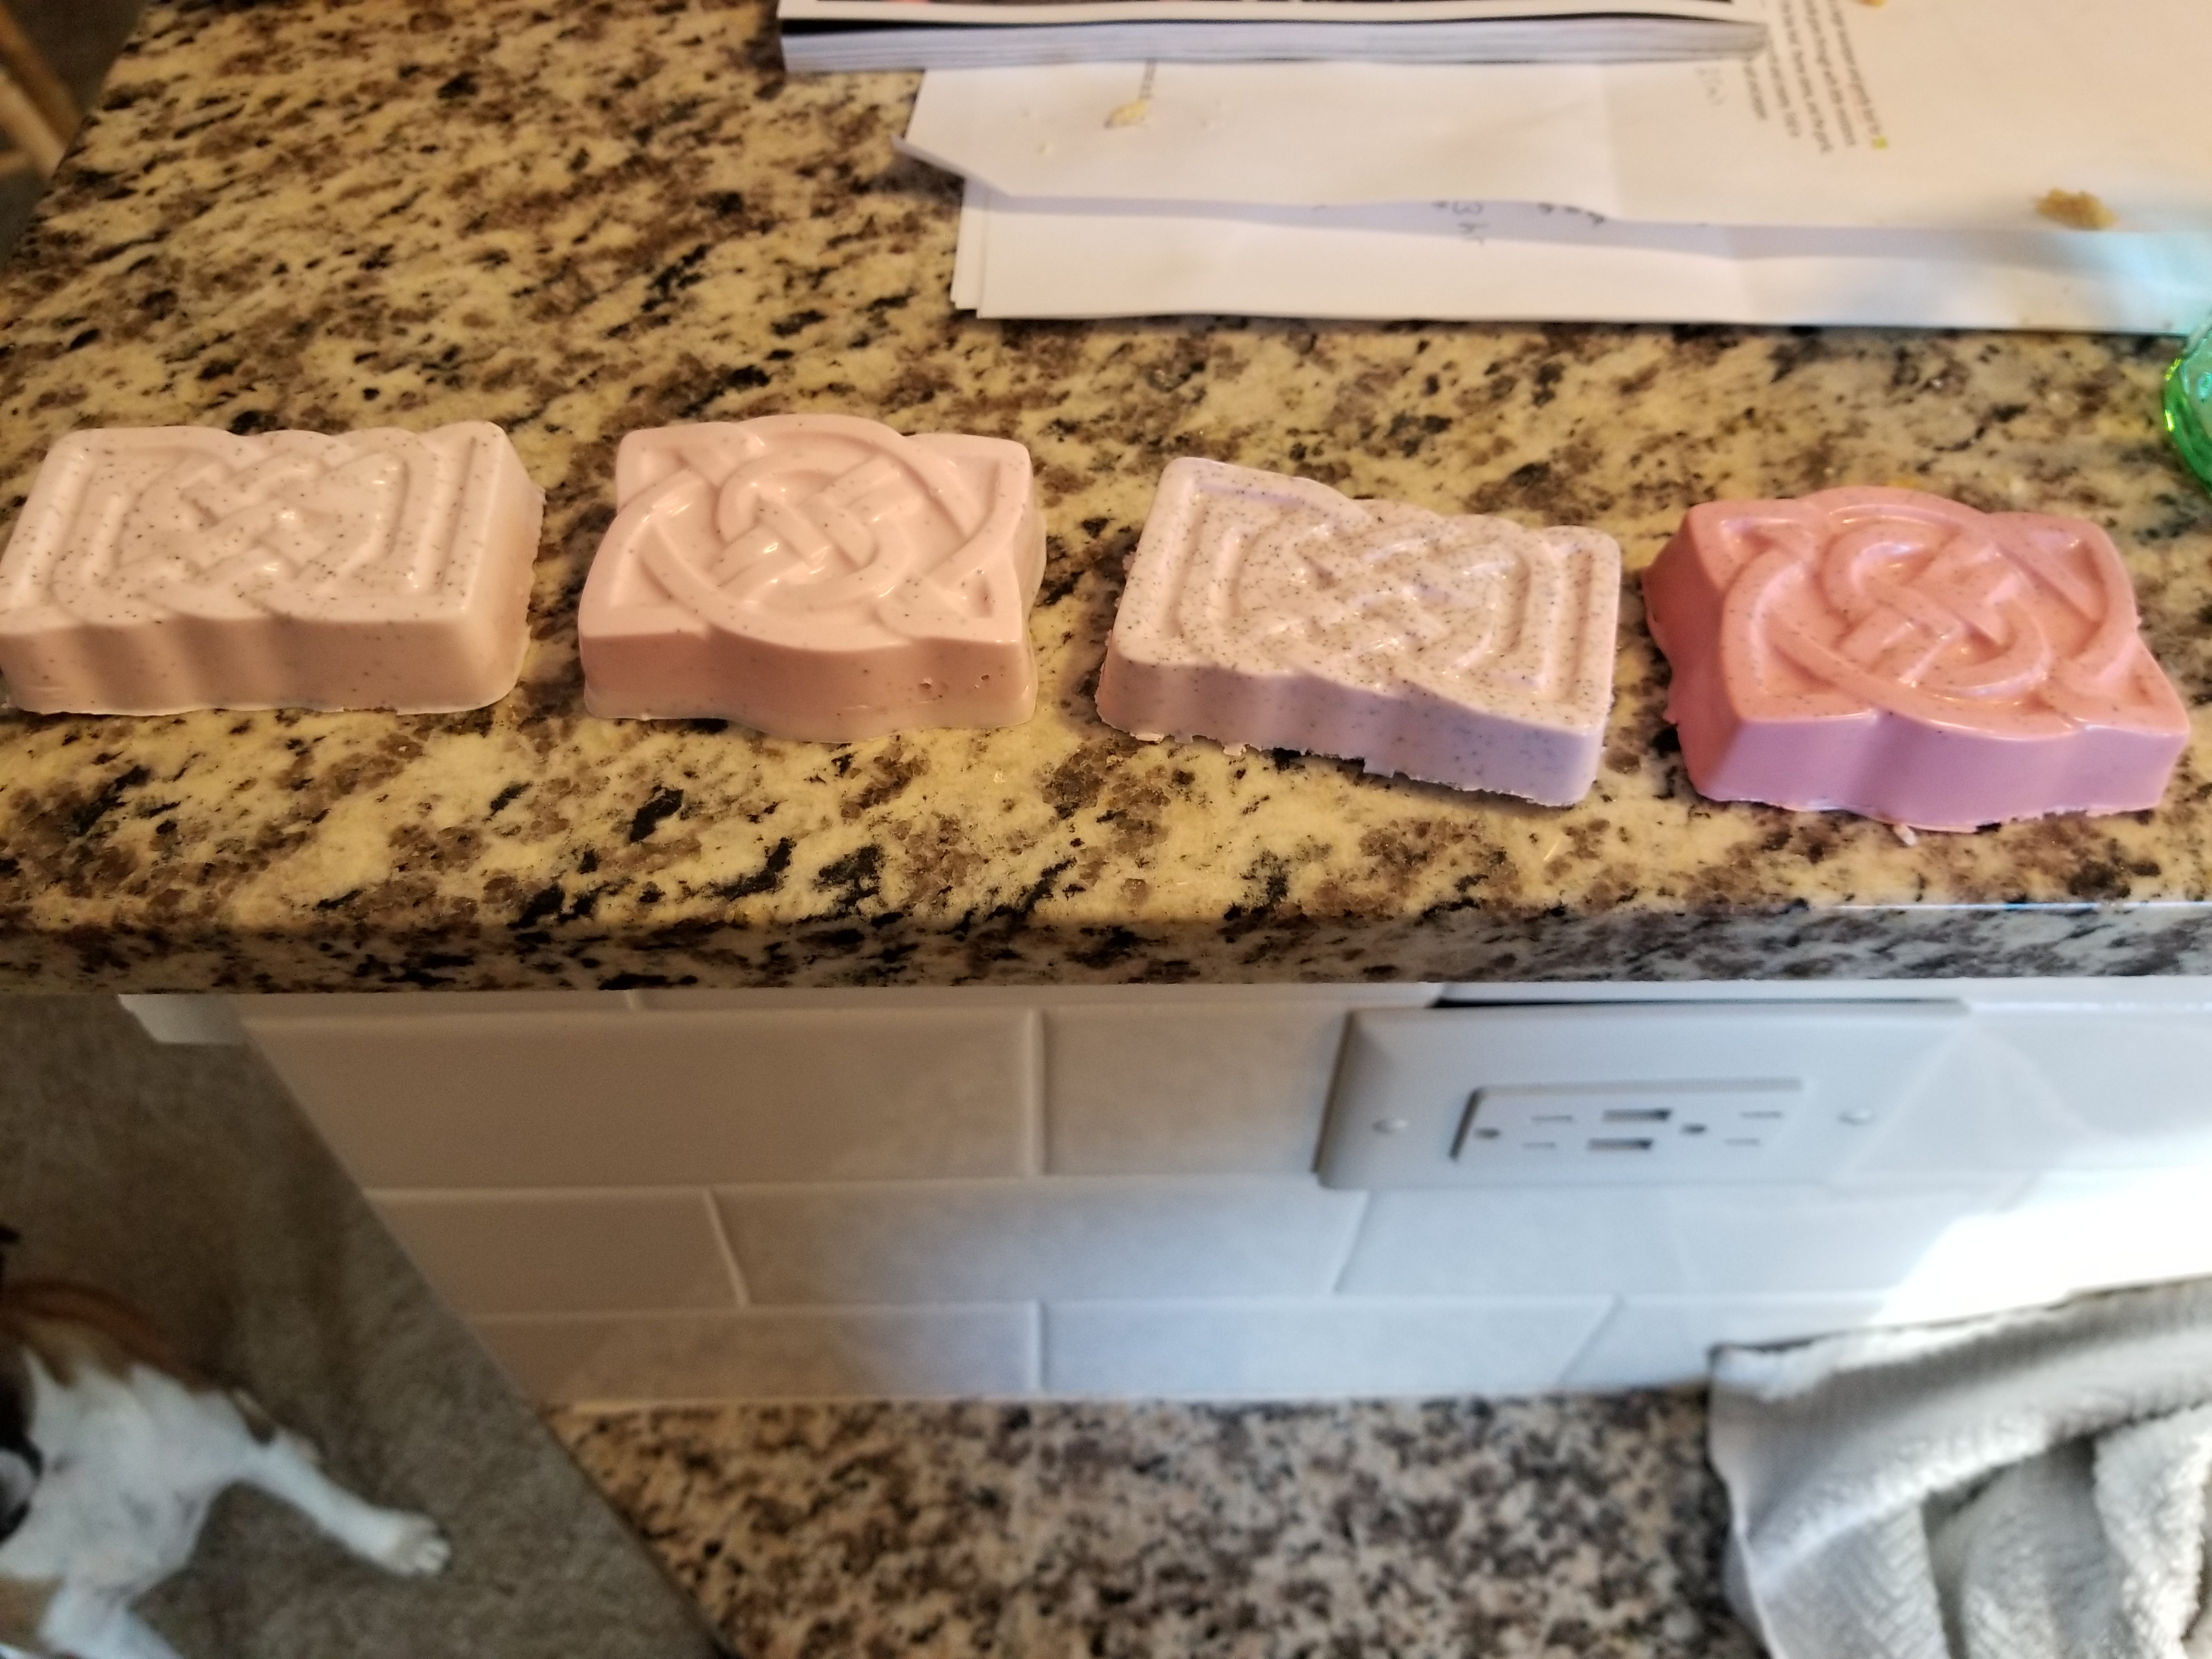
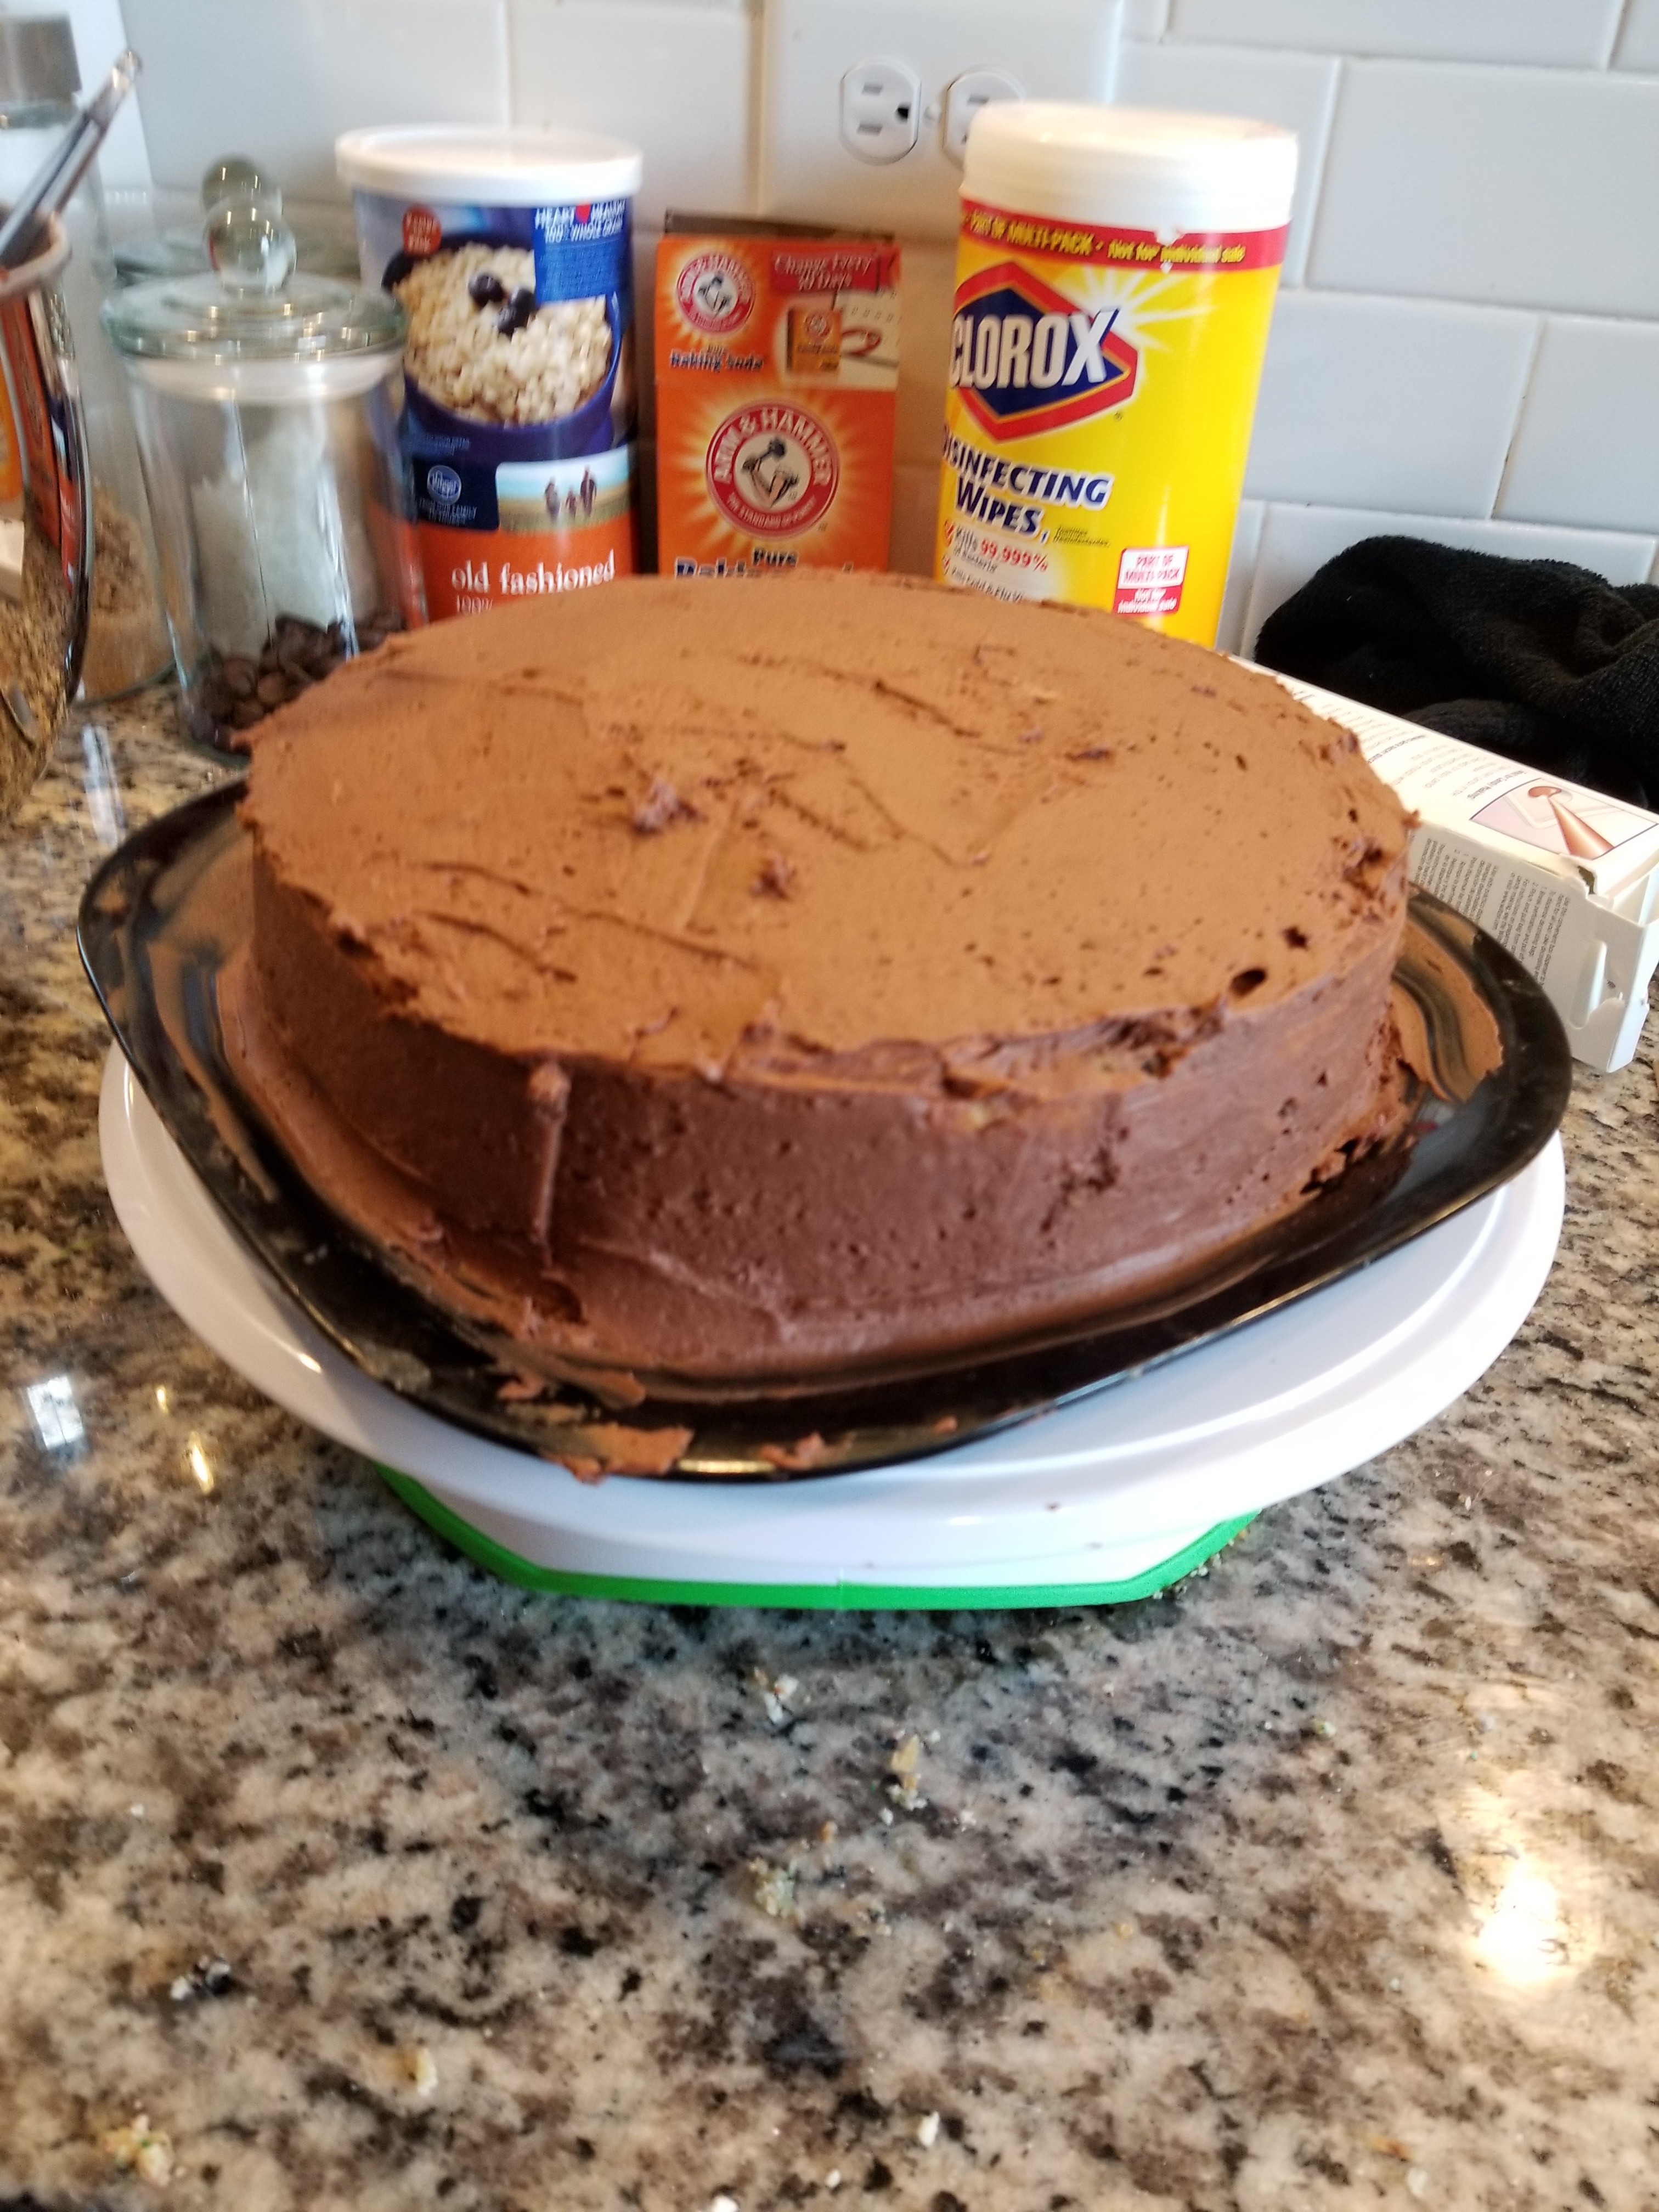
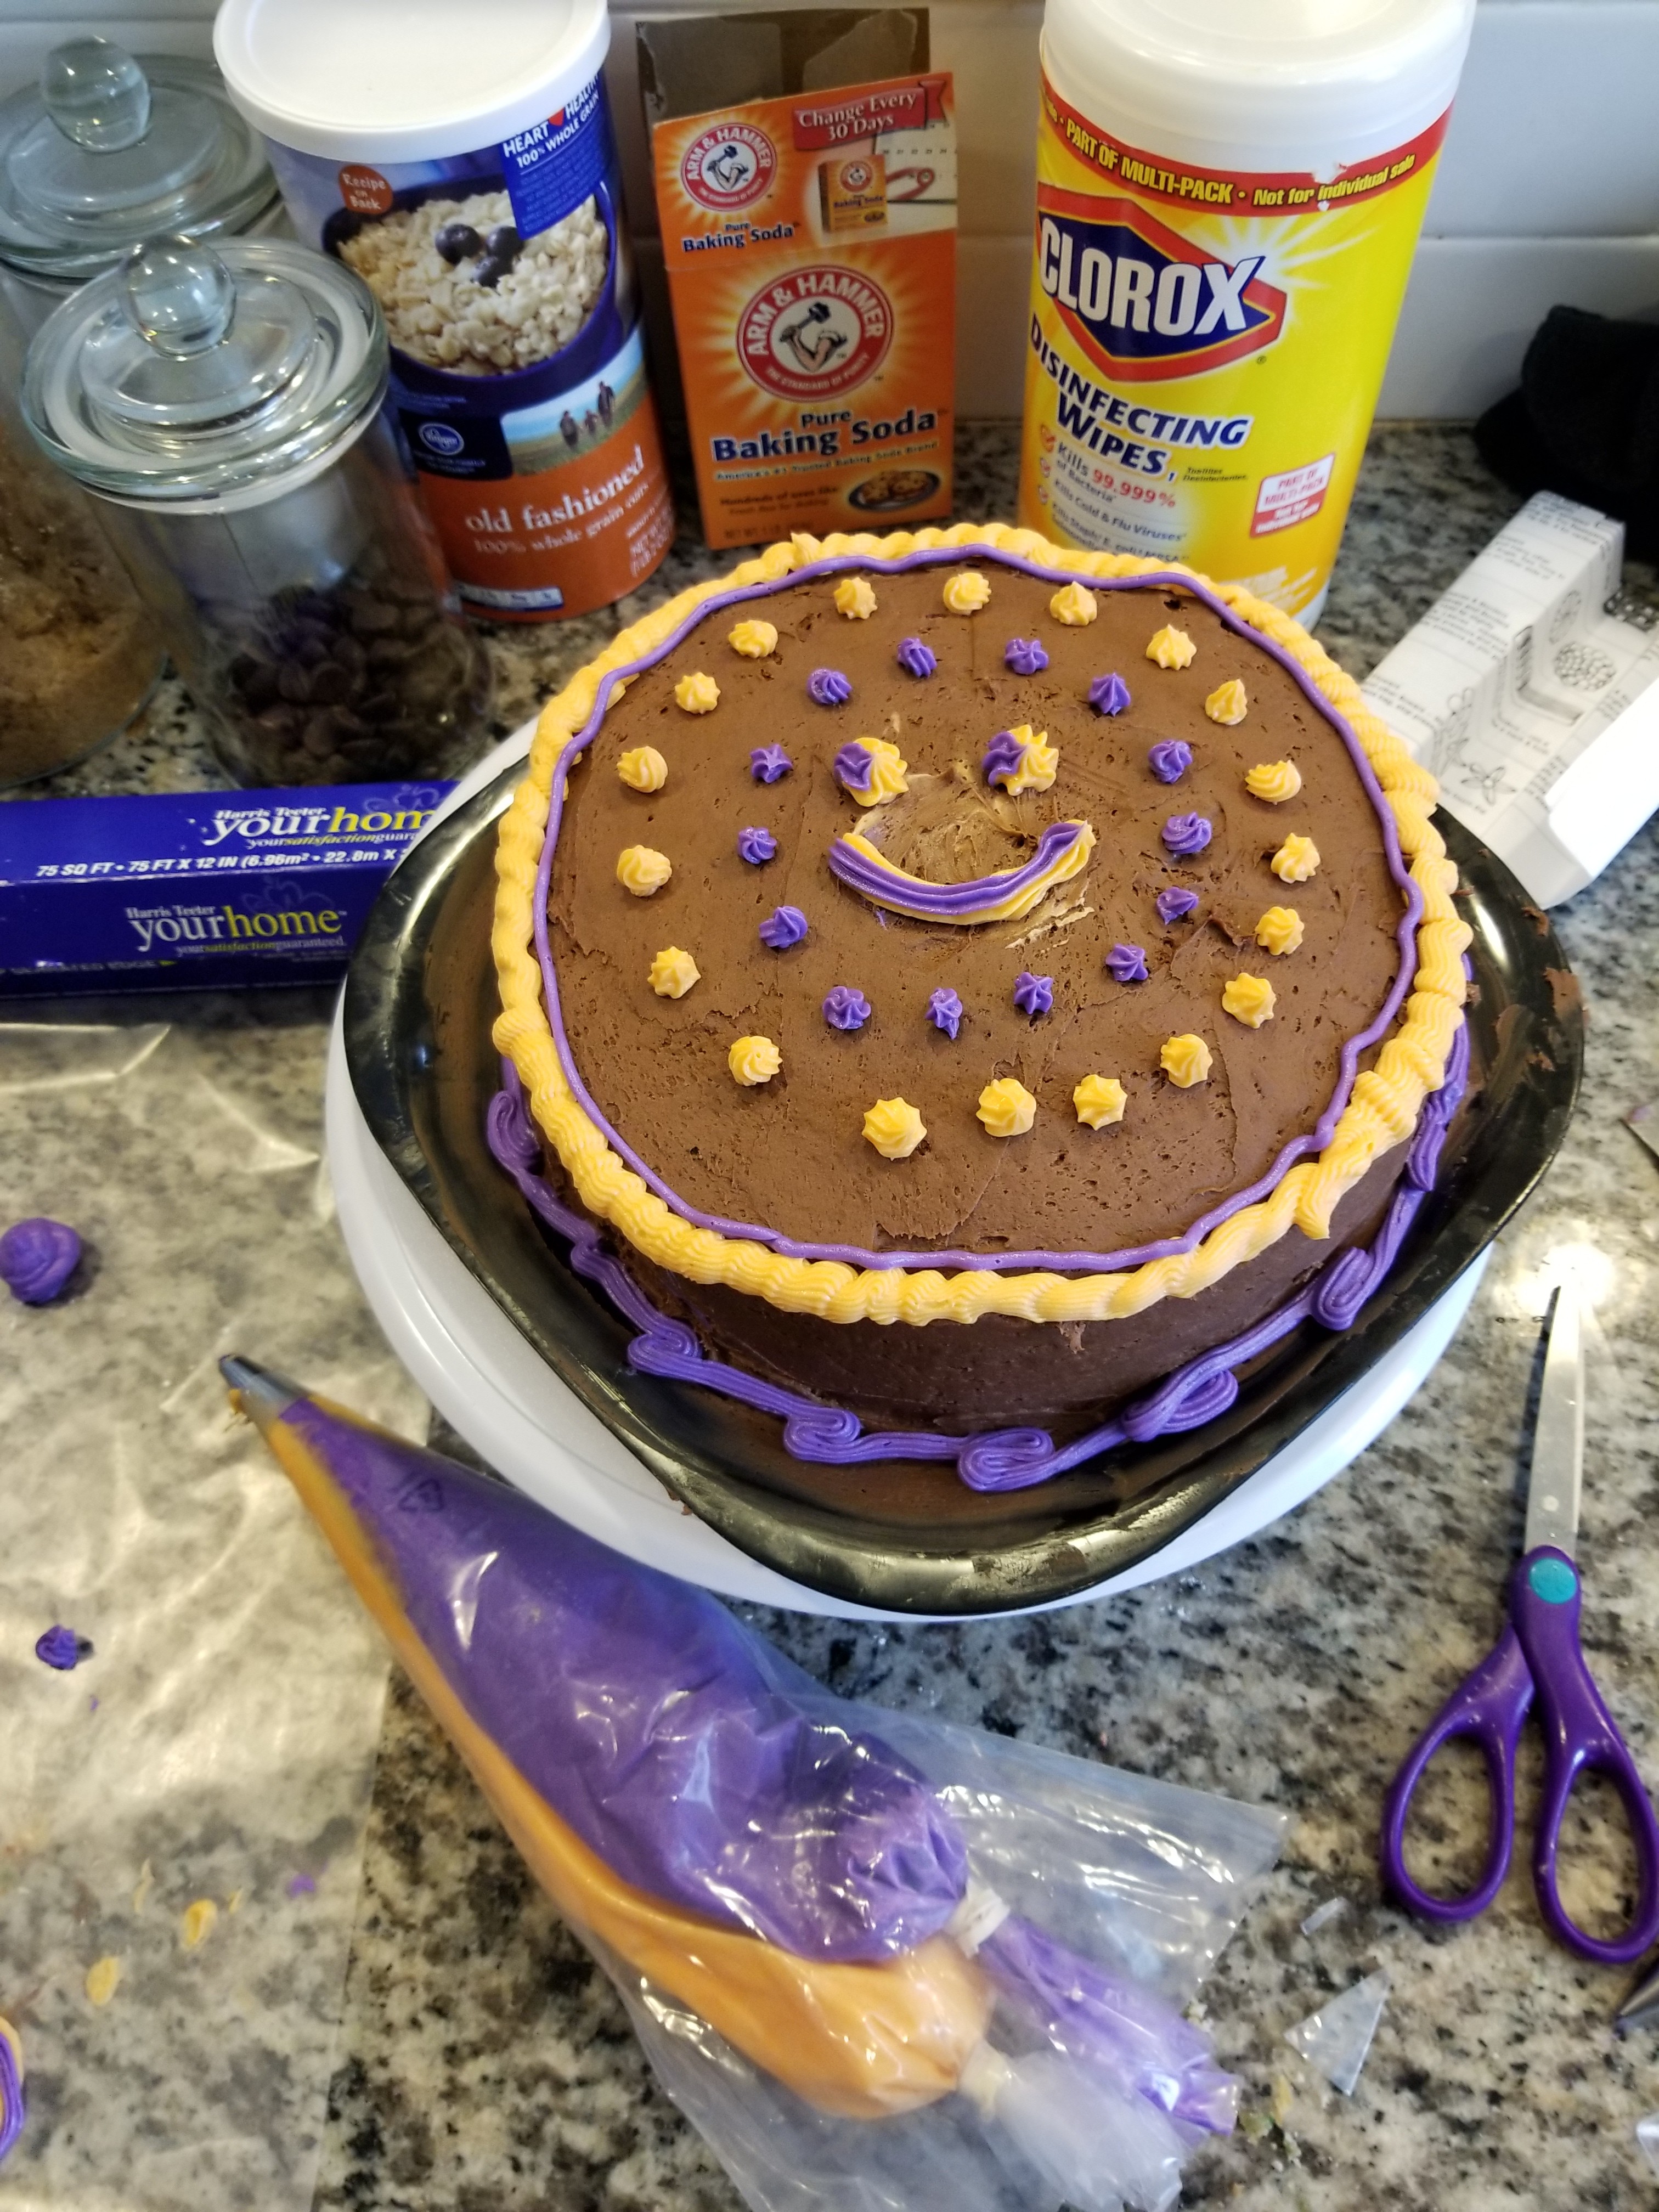
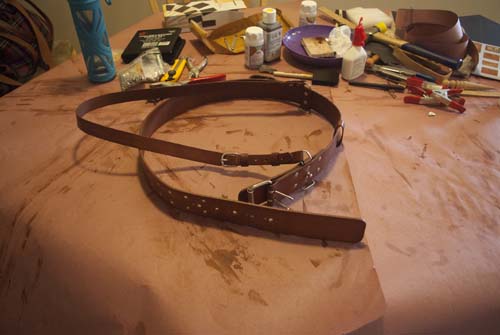
5. Take a Picture of Everything I Make: 100%
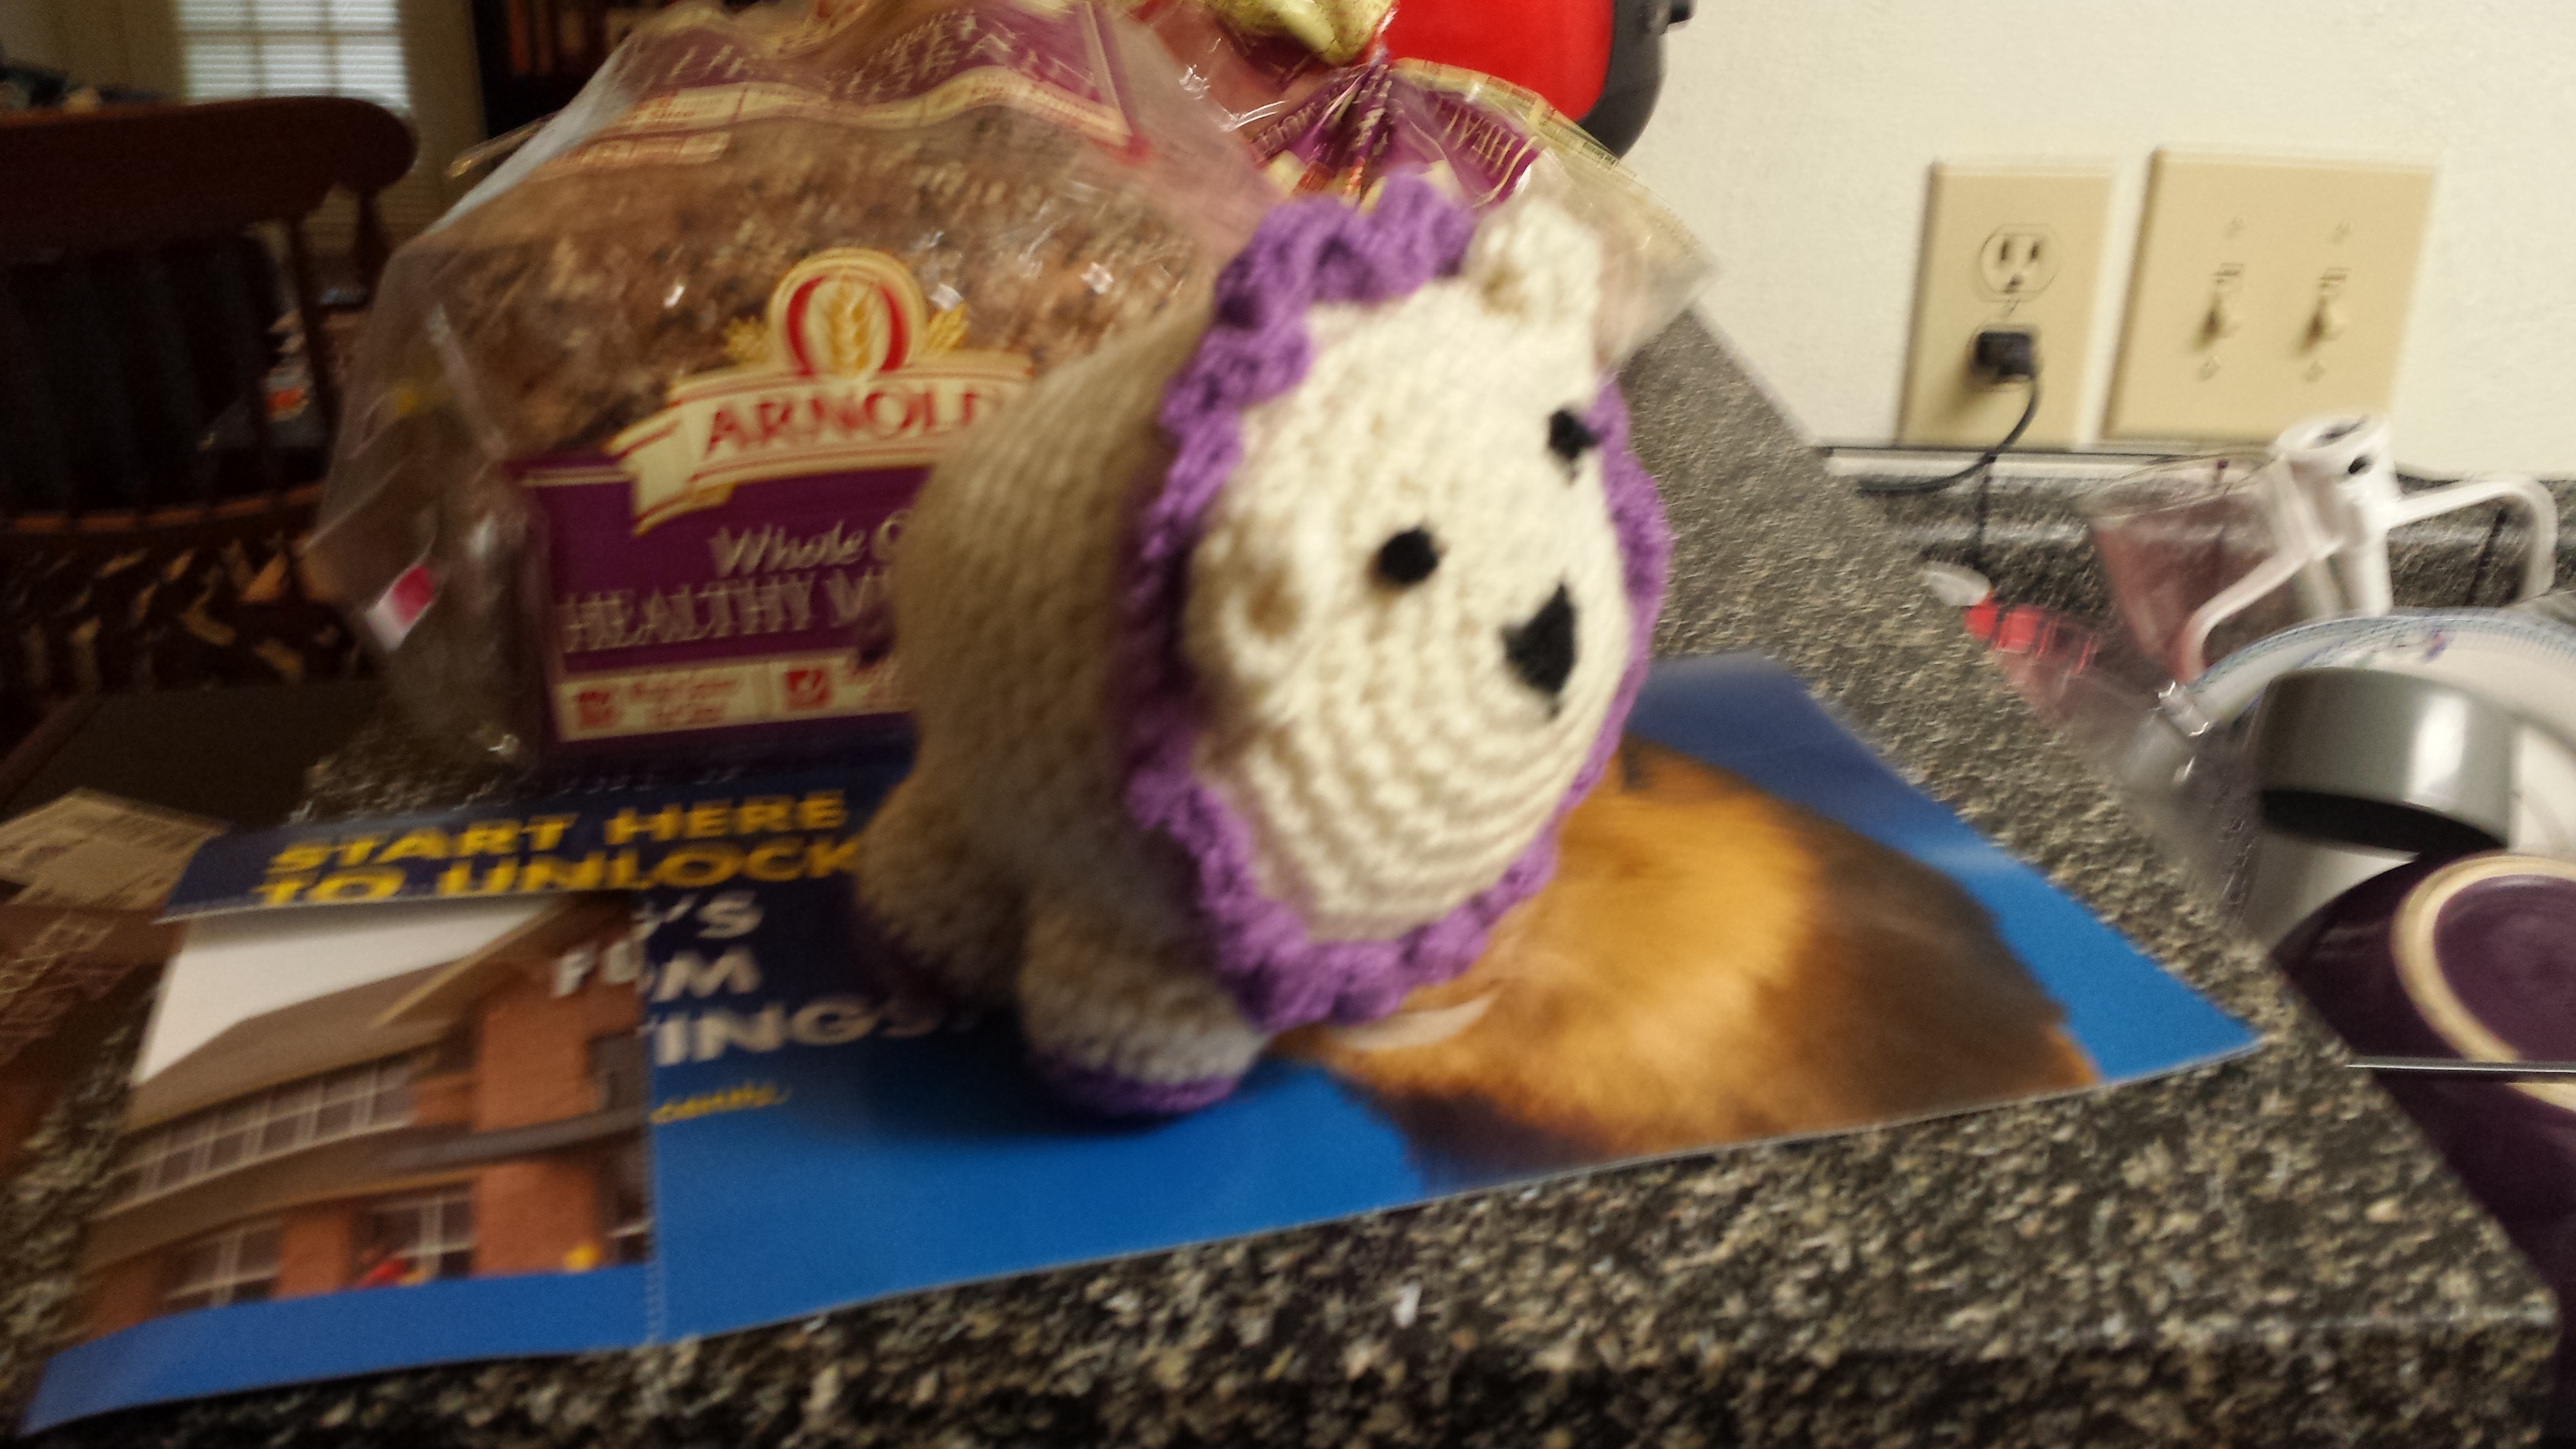
Last year I had all these goals that involved making things but never had photographic evidence. No longer! Here’s everything I made in January:

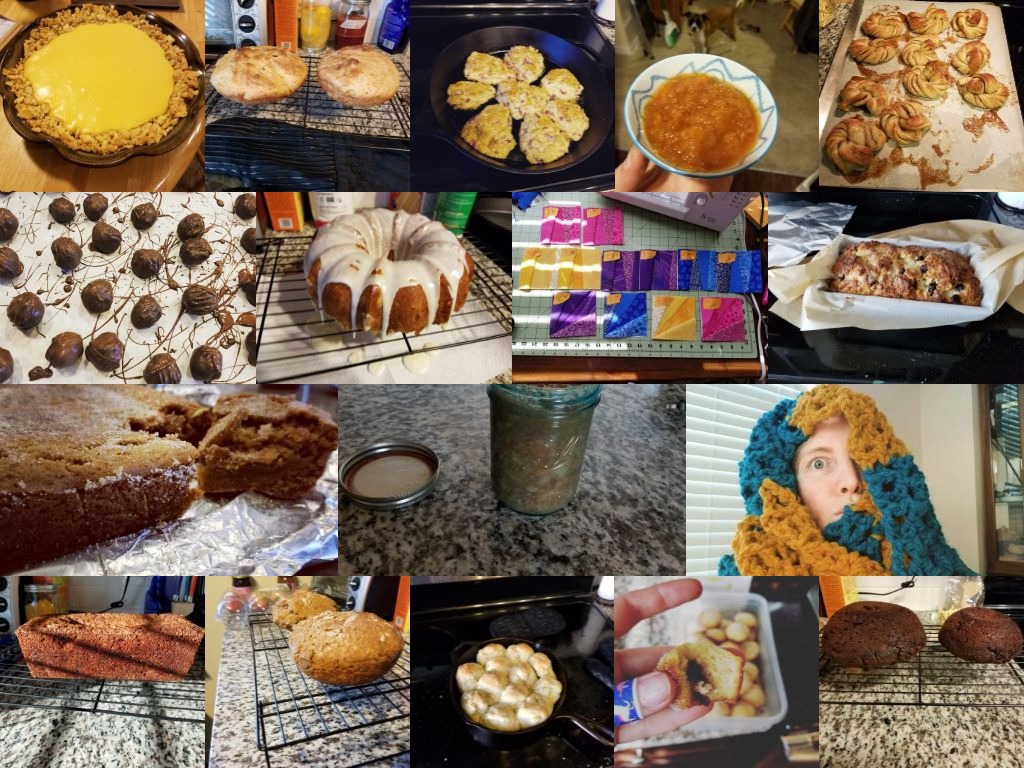
Mostly baked goods, I guess

Total: 40%
Not bad for January!

Beginner’s Guide to Soap Making

I kiind of cheaped out in November and just bought a soap-making kit. That obviously made it way easier, but I also think maybe I missed out on key parts of the experience? Here’s what it gave you:

The sponge was not part of the process, it turns out

The sponge was not part of the process, it turns out

Blank white soap, red dye, some scents, some apricot seeds, a mold, and a random loofah. From looking around on the internet, lots of the blogs that are into soap-making also start with the blank white (or clear) soap cubes and the “art” happens when you dye it, layer it, scent it etc. I get that this is more fun and creative than actually making soap from… wood ash and lye(??? this is just a guess), but also seems like kind of a cop out to me? I don’t know, you know how I feel about pie, so maybe this is just a personal issue.

Melted soap base

Melted soap base

Anyway, the kit had pretty clear instructions. You heat up the soap blanks in the microwave to melt them, stir in any scent, dye, and/or other add-ins like the apricot seeds, then pour it into the mold. Then it hardens at room temperature and you’re good to soap.

It would start to harden pretty quickly

It would start to harden pretty quickly

Different concentrations of dye

Different concentrations of dye

The soap on the bottom right was the last one I made, where I just decided to use as much of the red dye as possible to see if it would ever come out BLOOD RED instead of pink. The answer is apparently no. Also, getting them out of the molds was kind of an annoying process. The mold was a brittle plastic, so I won’t be able to use that again.

They're pretty, though

They’re pretty, though

I will probably not be pursuing this craft further.

Last Month: Cake Decorating
Next Month: ????

Beginner’s Guide to Cake Decorating

I’m good at baking, but bad at decorating, so it’s been pointed out to me before (by Steven) that my cupcakes and cakes tend to look like they were made by a child. WELL THIS CHILD JUST TOOK A CLASS IN CAKE DECORATING FOOL. Online, but still.

To test out my new skills, I decided to try out all my different piping tips on a batch of cupcakes:
20171017_162616

I also made a Halloween cake for my book club (this maaay have been back in October, whatever).

Much neater and flatter than I usually manage.

Much neater and flatter than I usually manage.

Inside it's Halloween funfetti

Inside it’s Halloween funfetti

Previously: Pole Dancing
Next: Soap Making

Adventures in Leather Costumery (or, a comedy of construction errors)

Let’s start with the obligatory finished-product shot:

The finished product

The finished product

So this all started when I’d been thinking about picking up a new hobby (ostensibly to make some leather bits for my own costume this year) and Patricia mentioned an idea she had for a monstrumologist costume. What she came up with was something that could do bandolier duty, but go with the awesome khaki safari jacket and pith helmet at the same time. After a little digging, I came up with an old fashioned Sam Browne belt, onto which we could always strap other accouterments.

Sam Browne belt

Old school Czech military uniform, looking super dapper.

It’s a belt, two-tongued buckle, over-the-shoulder strap, and a little hardware. Can’t be that hard, right? (Famous
last words)

Here’s how it all came together…

Read the rest of this entry »

Look at this lion

I crocheted this lion!

I crocheted this lion!

I only learned how to crochet at the beginning of May when I was visiting my mom at her school. It was IB exam season, so any teacher with mostly seniors had not as much to do. This included my calculus teacher, whose room is right beside my mom’s, and in between grading and organizing and different meetings and things, she taught me how to crochet! This instruction was almost exactly like I remember her math lectures to be: “So here’s this thing. Go play with it for awhile until you know enough for us to talk more about it.” I’ve watched a bunch of youtube tutorial videos since then, but crochet seems a lot easier than knitting so far–and faster! This lion took me like a day, in between work!

I posed him on a Food Lion flyer because THE PACK STICKS TOGETHER

I posed him on a Food Lion flyer because THE PACK STICKS TOGETHER

Guess what you’re getting for Christmas!

BronyCon: Freezer Paper Stencils

Previously: Costumes and Cutie Marks

So the day before yesterday, after Steven dyed his hair crazy times to look more like Rainbow Dash, James Fox and some guy at Harris Teeter both said, “Too bad you didn’t dye your mustache too”. We’ve actually since worked out a strategy for that, but it made me say “Then you’d be Rainbow ‘Stache” and thus a cosplay knock off was born. But how best to inform everyone at BronyCon of his awesome new name?? Shirts, duh.

Making shirts with fabric paint and freezer paper stencils is something I’ve always wanted to try. It’s a simple process with a billion tutorials on the Internet. First, you make a design and trace it onto freezer paper (paper side):

Chances we use the rest of this freezer paper for anything non-craft related: 0%

Then you use a craft knife to cut it out, making sure to save the little inside bits of the letters:

“A meticulous, fine motor skill task that will take too long? I AM THERE” Steven shouted with glee

Then you iron it to the shirt (on medium heat? we guessed) and the waxy side sticks right down there. Then applying the fabric paint is a snap! Especially if you got the spray-on kind.

This is the test shirt, drying!!

The paint says you’re supposed to wait four hours, but I was impatient to see if our test had worked, so I pulled the stencil off after maaaybe one:

The letter-insides are still on there, but otherwise pretty good!

I think the remaining two shirts (one for each day of the Con) will probably get more than one coat to make them slightly darker. Pictures of the finished product later when our costumes are complete!!

Next: BronyCon: Everybody look at my hat

BronyCon: Cutie Marks

Previously: BronyCon Costumes!!

I know the term “cutie mark” sounds a little silly. Sometimes I even use the term “butt tattoo” because it’s slightly cooler. Even if you’ve never watched any iteration of My Little Pony, you probably know what I’m talking about:

Using Dr. Whooves as an example to head off the question of if there are boy ponies

Every pony has one once they come of age, and they’re supposed to symbolize what makes that pony special. Which… sometimes I buy, but other times seems to just be BS.

There are so many better things you could’ve picked to symbolize “teacher”. Cheerilee is clearly in denial about her gardener-destiny

Anyway, since these cutie marks are an integral part of each character design, we have to include them in our costumes!! Rainbow Dash’s looks like a cloud with a three-colored lightning bolt:

Here are the pieces of it I cut out to trace onto the felt!

Then, after some cutting, one memorable Skype conversation with Steven at work where I told him to “borrow a ruler from [his boss] to measure your butt” (for some reason he wouldn’t do this?? I ended up using the pockets on some of his jeans for reference), and some basic applique, this:

Again, Steven was just not willing to put these on so I could take a picture of his butt for the Internet. Weird.

Because I want to be able to wear my cargo pants after this convention, I decided to embroider it on the back pocket instead of appliqueing. It’ll be less noticeable, but I won’t feel weird wearing them to the grocery store in two months. Daring Do’s cutie mark is a compass rose, and I admit to going a little overboard with trying to make sure it was geometrically accurate. In my defense, I’m terrible at eyeballing things.

So proportions and geometry are two things I like. It’s allowed, I’m a scientist now

Also, yes, that is my family heirloom compass, and yes, it has like an old-fashioned pen nib on one end instead of a pencil. Yeah, that’s kind of annoying, but not an insurmountable challenge.

I own this too, what do you want from me?

Anyway, after much travail, I was able to make a guide for myself exactly fitted to the space I had to work with:

Thanks, Mrs. Branch from 8th grade geometry! I’m sorry I doubted you 11 years ago

Then I ended up watching TV while finishing it, so it turned out a little wobbly anyway:

Oh well

Next: Freezer Paper Stencil Shirts

Decorating with old books

So about a year ago I discovered a cache of books in our apartment complex’s paper recycling bins. Some of them were text books, others were more than a hundred years old! And about Belgium! So I rescued them, not because I particularly wanted them, but because, guys, this is not what we do. Some of them are still going to the library book sale, but I decided to use one to decorate a wooden trunk Steven made a few years ago that we’ve been using as a TV stand.

Sturdy, but ugly

I’ve never done anything like this before, but it was super easy! The first step is adding a coat of primer:

Remembering to tape around the hinges/handles/lock thing

Then after that dries a second coat of primer, just for fun:

I could've probably done a better job, but I was trying to finish before it started raining

Then, once that dries, it’s modge podge time! I got the kind for furniture, and just started carefully tearing/cutting out pages and gluing them onto the trunk.

Does it make me a bad librarian that I enjoyed it?

Don’t worry, it was just a collection of D. H. Lawrence short stories. And it’s not like it’s gone! Its spirit lives on in this way cool trunk I now own.

Anyway, my bottle of modge podge ran out after covering the trunk with pages and then applying a top coat. And when I went to buy more, well, you know how it is. I basically couldn’t help buying the SPARKLE version, it’s like an addiction. To glitter. So the top two coats may be incredibly sparkly.

Though you probably can't tell because by this time it was night.

Super exciting!! And easy! And I didn’t have to buy a bunch of supplies I’ll never use again. I guess besides the half a can of primer I still have left.

I still have quite a few old books I don’t know what to do with from that rescue, but you can bet I’m looking around my apartment for more things that need decorating!

Site and contents are © 2009-2024 Patricia Ladd, all rights reserved. | Admin Login | Design by Steven Wiggins.