The world would be a better place if we made more pie. If you don’t believe me, it’s possible that you’ve never actually had pie, not good pie. More than once I’ve served someone pie only to have them exclaim in surprise “This is good! Usually I don’t like pie, especially the crust. I just scrape the filling out and eat that by itself.” This, my sadly deprived friend, is because you’ve probably never had pie crust. You’ve had those terrible cardboard shells you can buy in the grocery store freezer. Maybe you’ve had the frozen plastic crust people can buy to “roll out themselves” as if that magically makes it homemade.
Don’t mistake me, I’m not Steven. I don’t want to grind my own flour or churn my own butter. I’m perfectly happy to buy things at the store instead of making them from scratch. Some things anyway. But pie crust should never be one of those things. It’s just not worth it. Really. I’ll prove it with a graph.
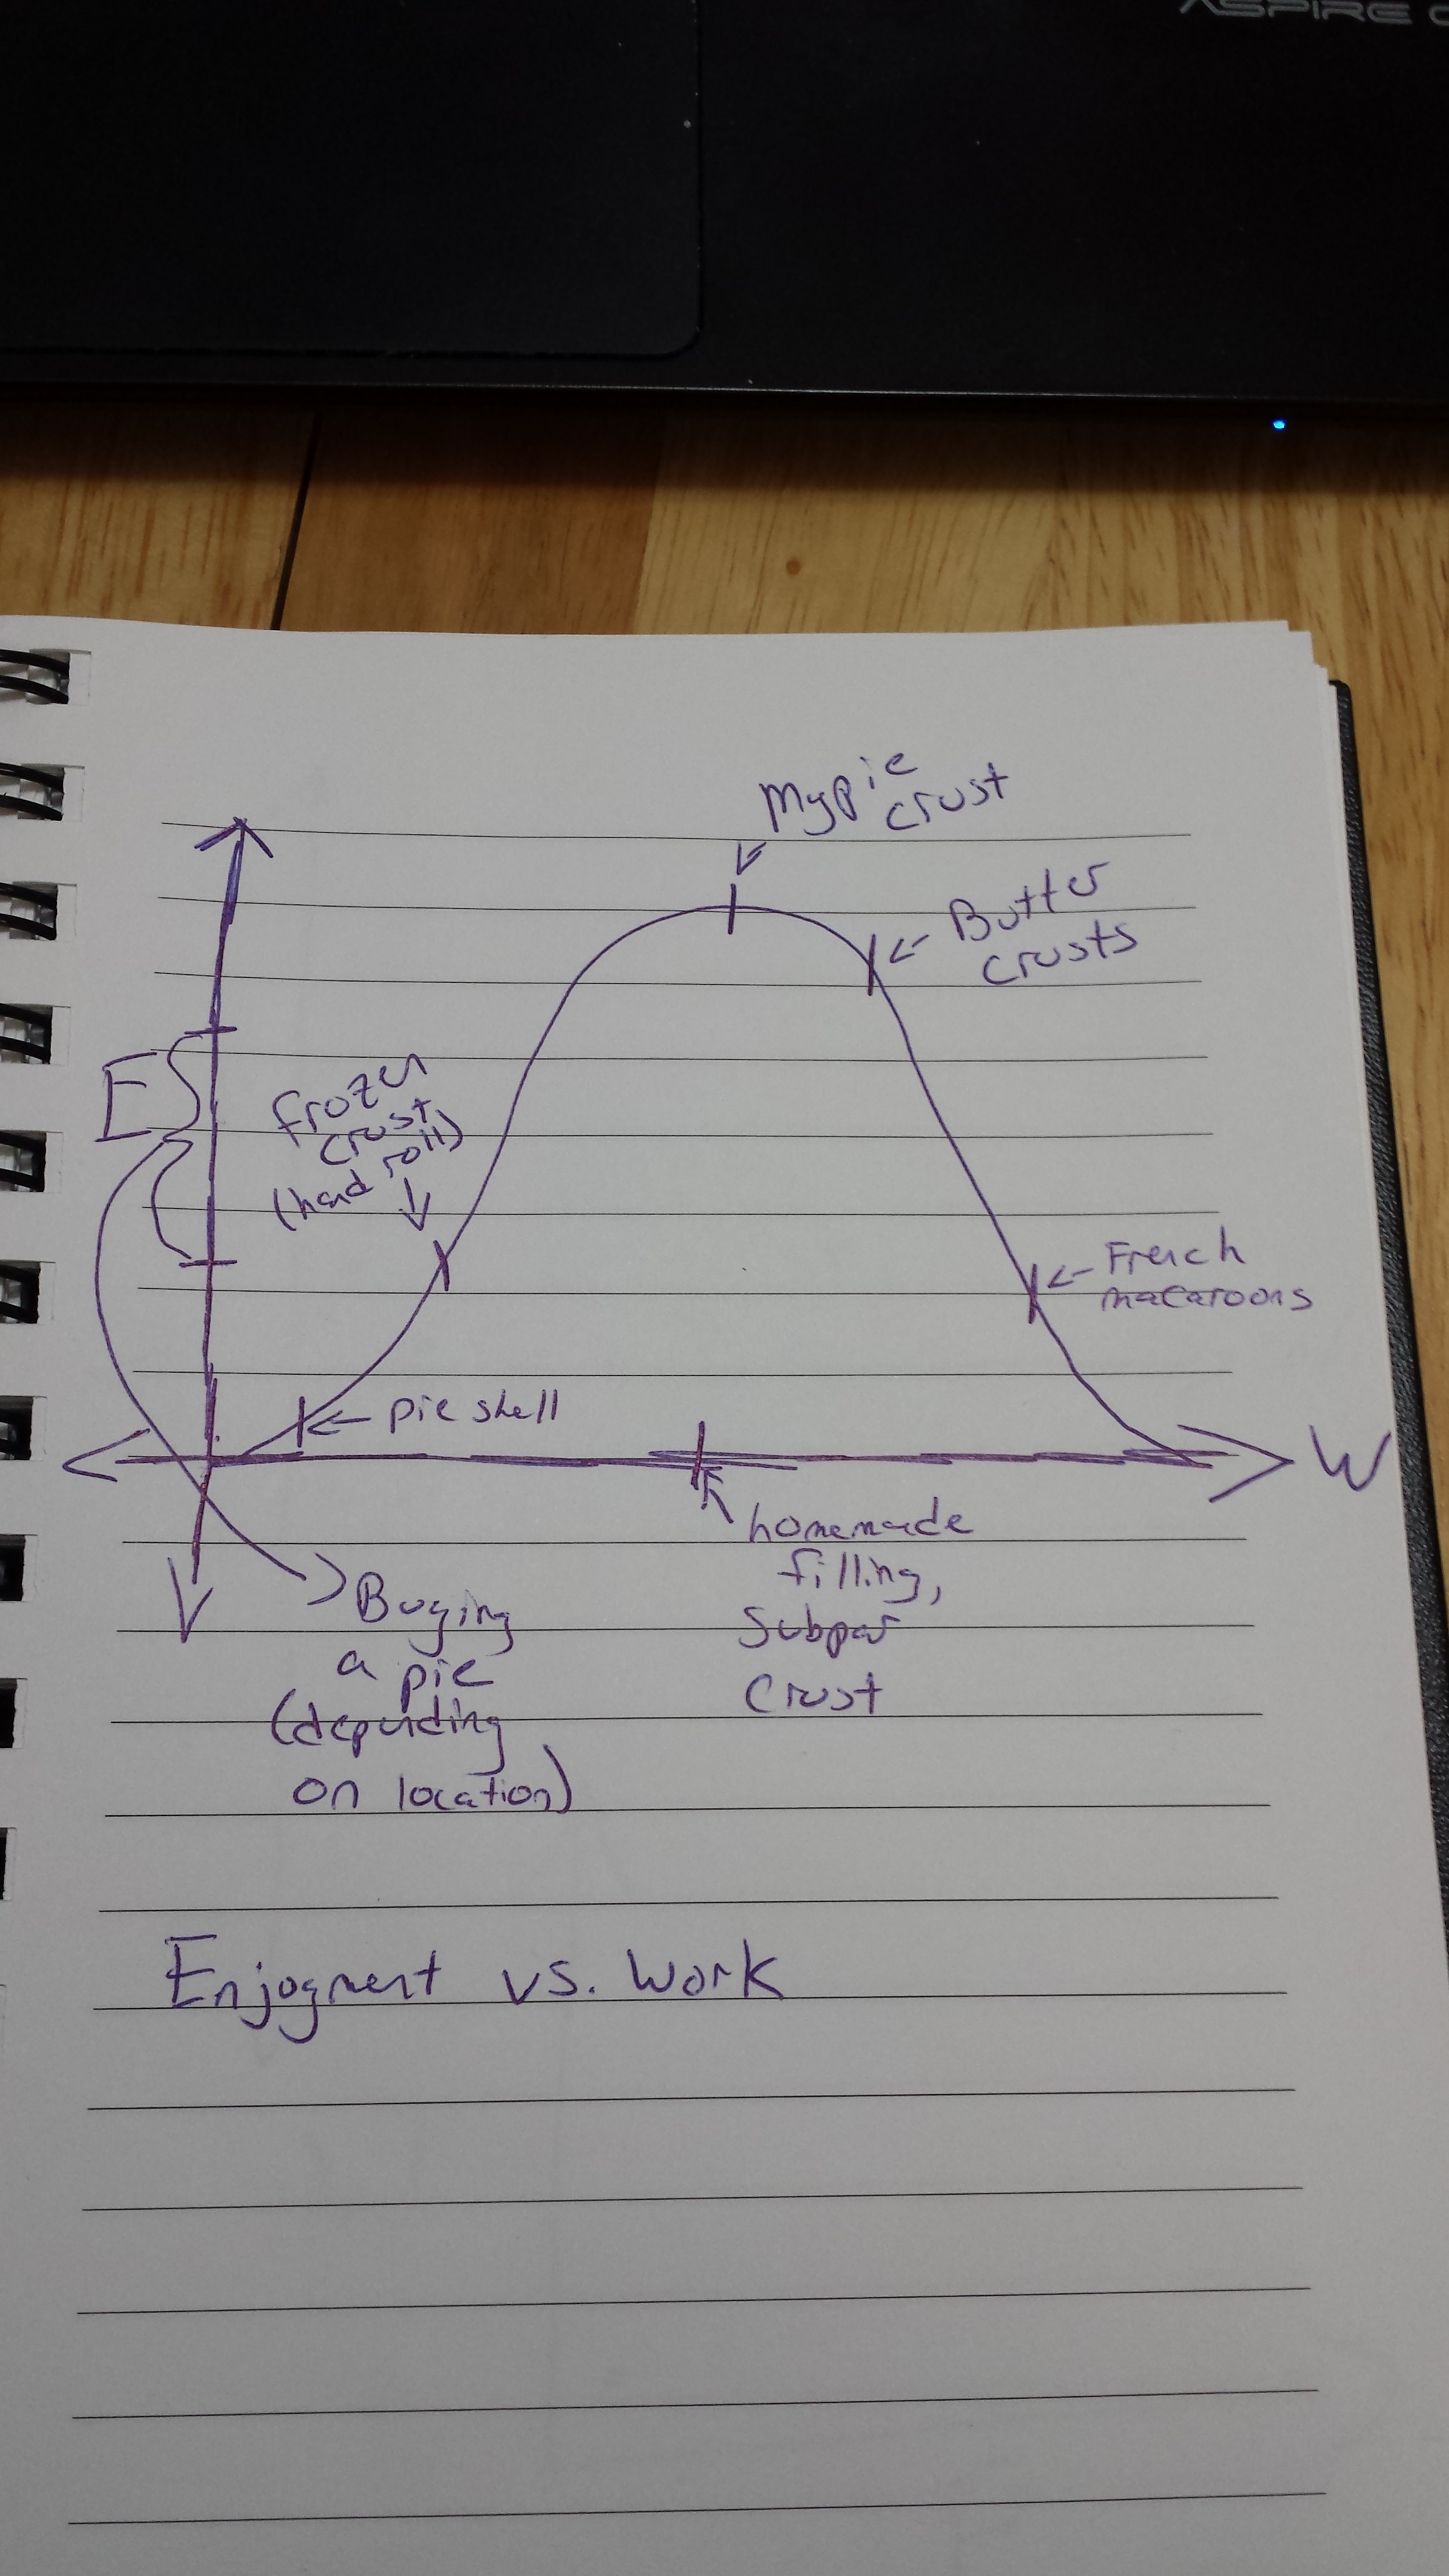
A PIE graph? Sorry
I find with cooking in general that enjoyment and work tend to have a direct relationship. Things you put some work into generally taste better than things you bought at, say, a drive-thru. But there is a point where this relationship peaks and suddenly the more work something is the less you enjoy it. Maybe you’re just too tired after all that cooking, or no cookie is really worth hours and hours of your time, no matter how tasty. That apex where enjoyment is maxed out is probably at different places for different people, so obviously I’m not suggesting everyone make a pie every week. But I am saying that if you’re using a frozen crust, the chances are you’re already doing the same amount of work as me, with way, way less enjoyment. Here are your pie options:
Buy a Pie: As you can see on the graph, buying a pie is no work for you! Yay! Unfortunately, store or restaurant bought pies can really vary. Just because you’re paying someone else money to make it doesn’t mean they’re any better than you re: using terrible frozen crust.
Buy a pie shell: To the pie novice, these seem so convenient. A lot of them come already in a crappy disposable pie tin! You just dump your filling in, and bake! Are you even making your filling yourself? If not, you basically just heated up canned bullshit and cardboard all for the sake of pretending to cook. Stop. Stop this right now. Either buy a pie, or learn how to actually cook, you monster.
Sorry, I get a little emotional about this. I’ve suffered too much at the hands of people who’ve offered me “homemade pie” only to be met with this travesty against tastebuds.
Of course, maybe you make your own filling because you are a proud baker! Good for you! But half your pie is still frozen cardboard. I think the problem is that a lot of people see the pie crust as just a vessel to serve the delicious filling. No! Pie crust is at least half of the pie experience, and should be given the same consideration. I don’t understand people who go to all the work of making a nice filling and then put it in something that is basically a soggy bowl. If that’s what you want, just make a crumble, god.
Buy frozen pie crust: These are more work than the pie shell and usually a little bit better quality. They’re sheets of pastry dough that you can roll out yourself to give you the illusion that it’s not cardboard and you’re totally rocking this cooking thing!
Except it still totally tastes like it. What are you doing with your life?
Make a pie crust: You can’t really say you “made” a pie unless you made the crust. It’s not just wrapping paper–it’s half the dessert. The reason people don’t is because they think it’s too much work. They put it more where I put “French Macaroons” on my Pie Graph–waaaaay too time consuming and finicky to ever be worth the effort. And if you’re a pie purist, that’s probably true. “Real” pie crusts involve cutting cold butter into flour until it’s a crumbly texture, which is pretty annoying because you’ve gotta make sure everything is just the right temperature and rolling it out can be tricky. Ugh, who has time for that?
You might be surprised to hear: definitely not me. Fear not, pie crust challenged! Today I will share with you the secrets of my success! My pie crust recipe may not be the fanciest or best, but it MAXIMIZES the work/enjoyment relationship. I’ve done the butter crust as a comparison, and can report back that the extra work doesn’t really make significant gains as far as enjoyment goes.
Plus, my recipe is so easy I once taught James Fox to do it over the phone. If you’ve ever played with Playdoh, I think you got this. It’ll probably take less than an hour, including preparing the filling. Let me show you how:
Pie Crust Tutorial
Things You Need
For one pie
Ingredients
2 cups flour + maybe 2 cups more for dusting
1/2 tbs sugar
1/2 tsp salt
7/8 cup shortening + more for greasing plate (Crisco–I always buy the butter-flavor kind, my mom claims it doesn’t matter)
1/4 cup cold water + some more for sealing crust
1/2 beaten egg
1/2 tbs vinegar (white, although I have used balsamic and apple cider before)
Filling ingredients
Equipment
An oven (obvs)
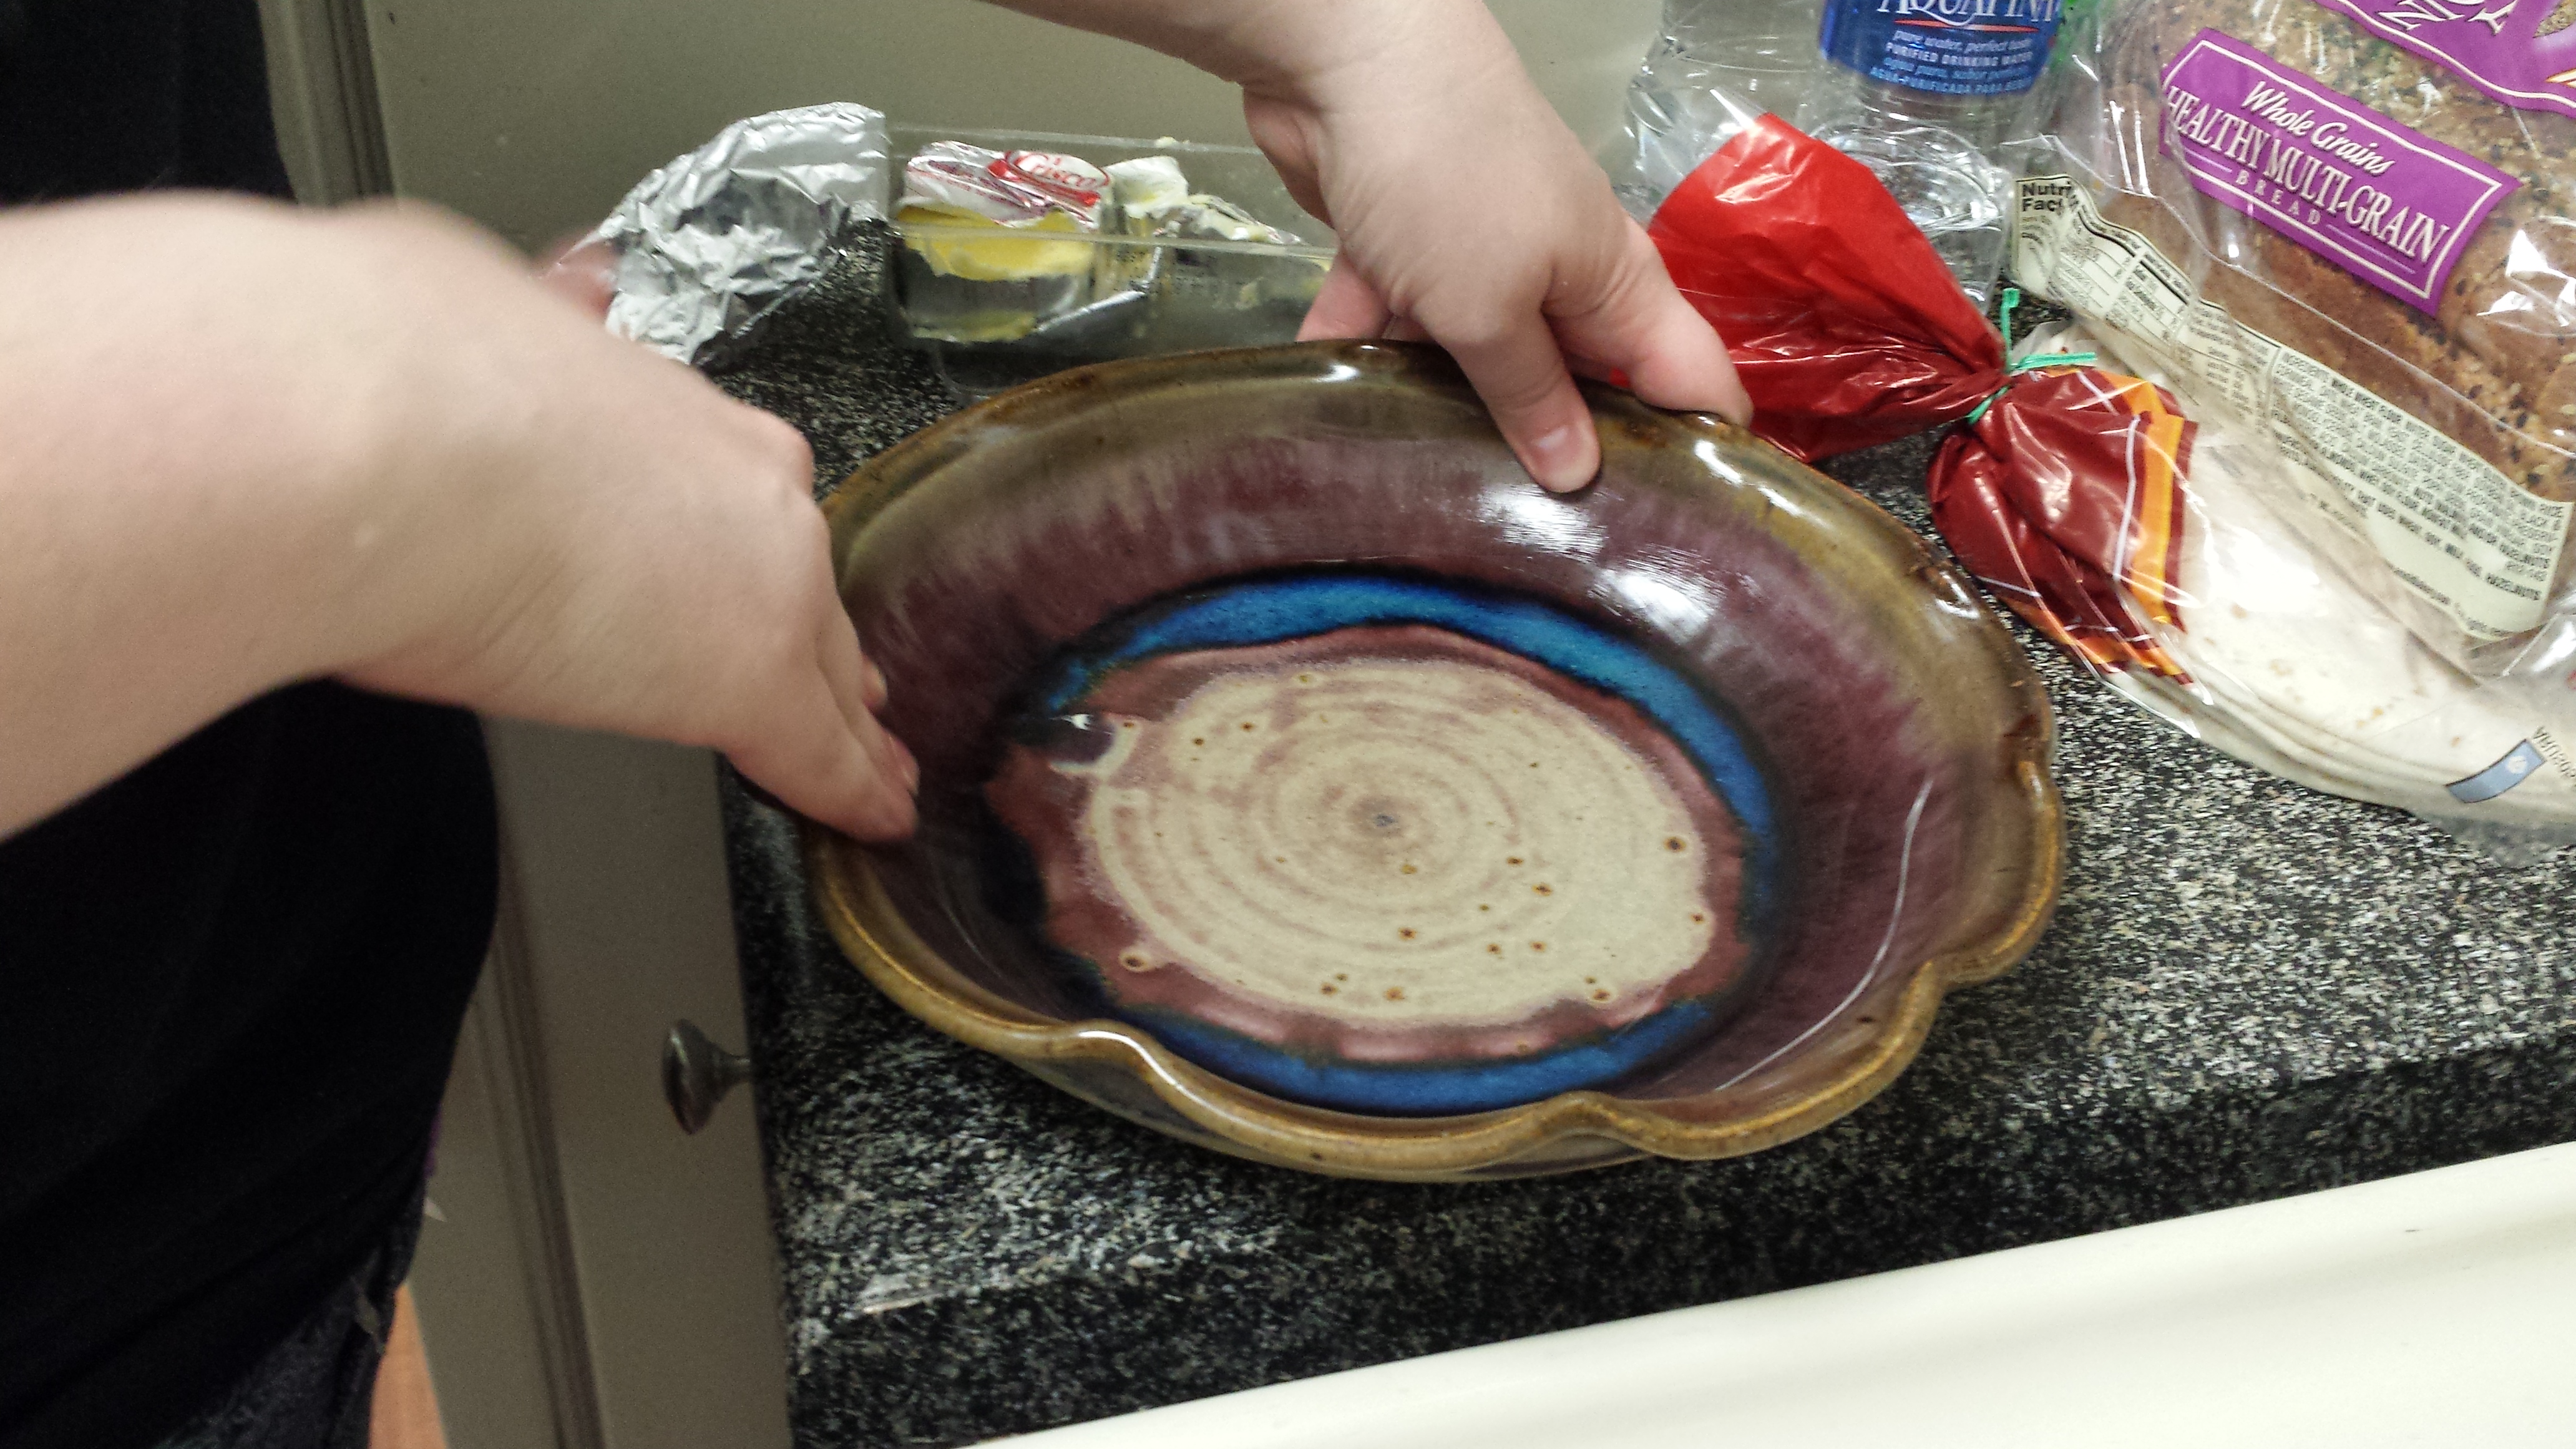
A pie plate
A rolling pin
Aluminum foil
Two bowls
A fork
A cup
A little counter space
Optional: Parchment or wax paper
You can use those disposable pie plates if you want. I get that maybe you are just trying this out one time and aren’t ready to invest in a whole other plate for this special occasion. Just know that you’re accepting a dip in quality and that pretty okay pie plates start at around $7. Plus, you can use them for serving things when you’re not making pies.
There are also lots of rolling pin options available. I bought the cheapest one Food Lion had when I moved here, but I have also used an empty wine bottle with no ill-effects. You just need a cylinder, really.
The full recipe is at the bottom. First I’ll walk you through it:
1. Prepare your filling
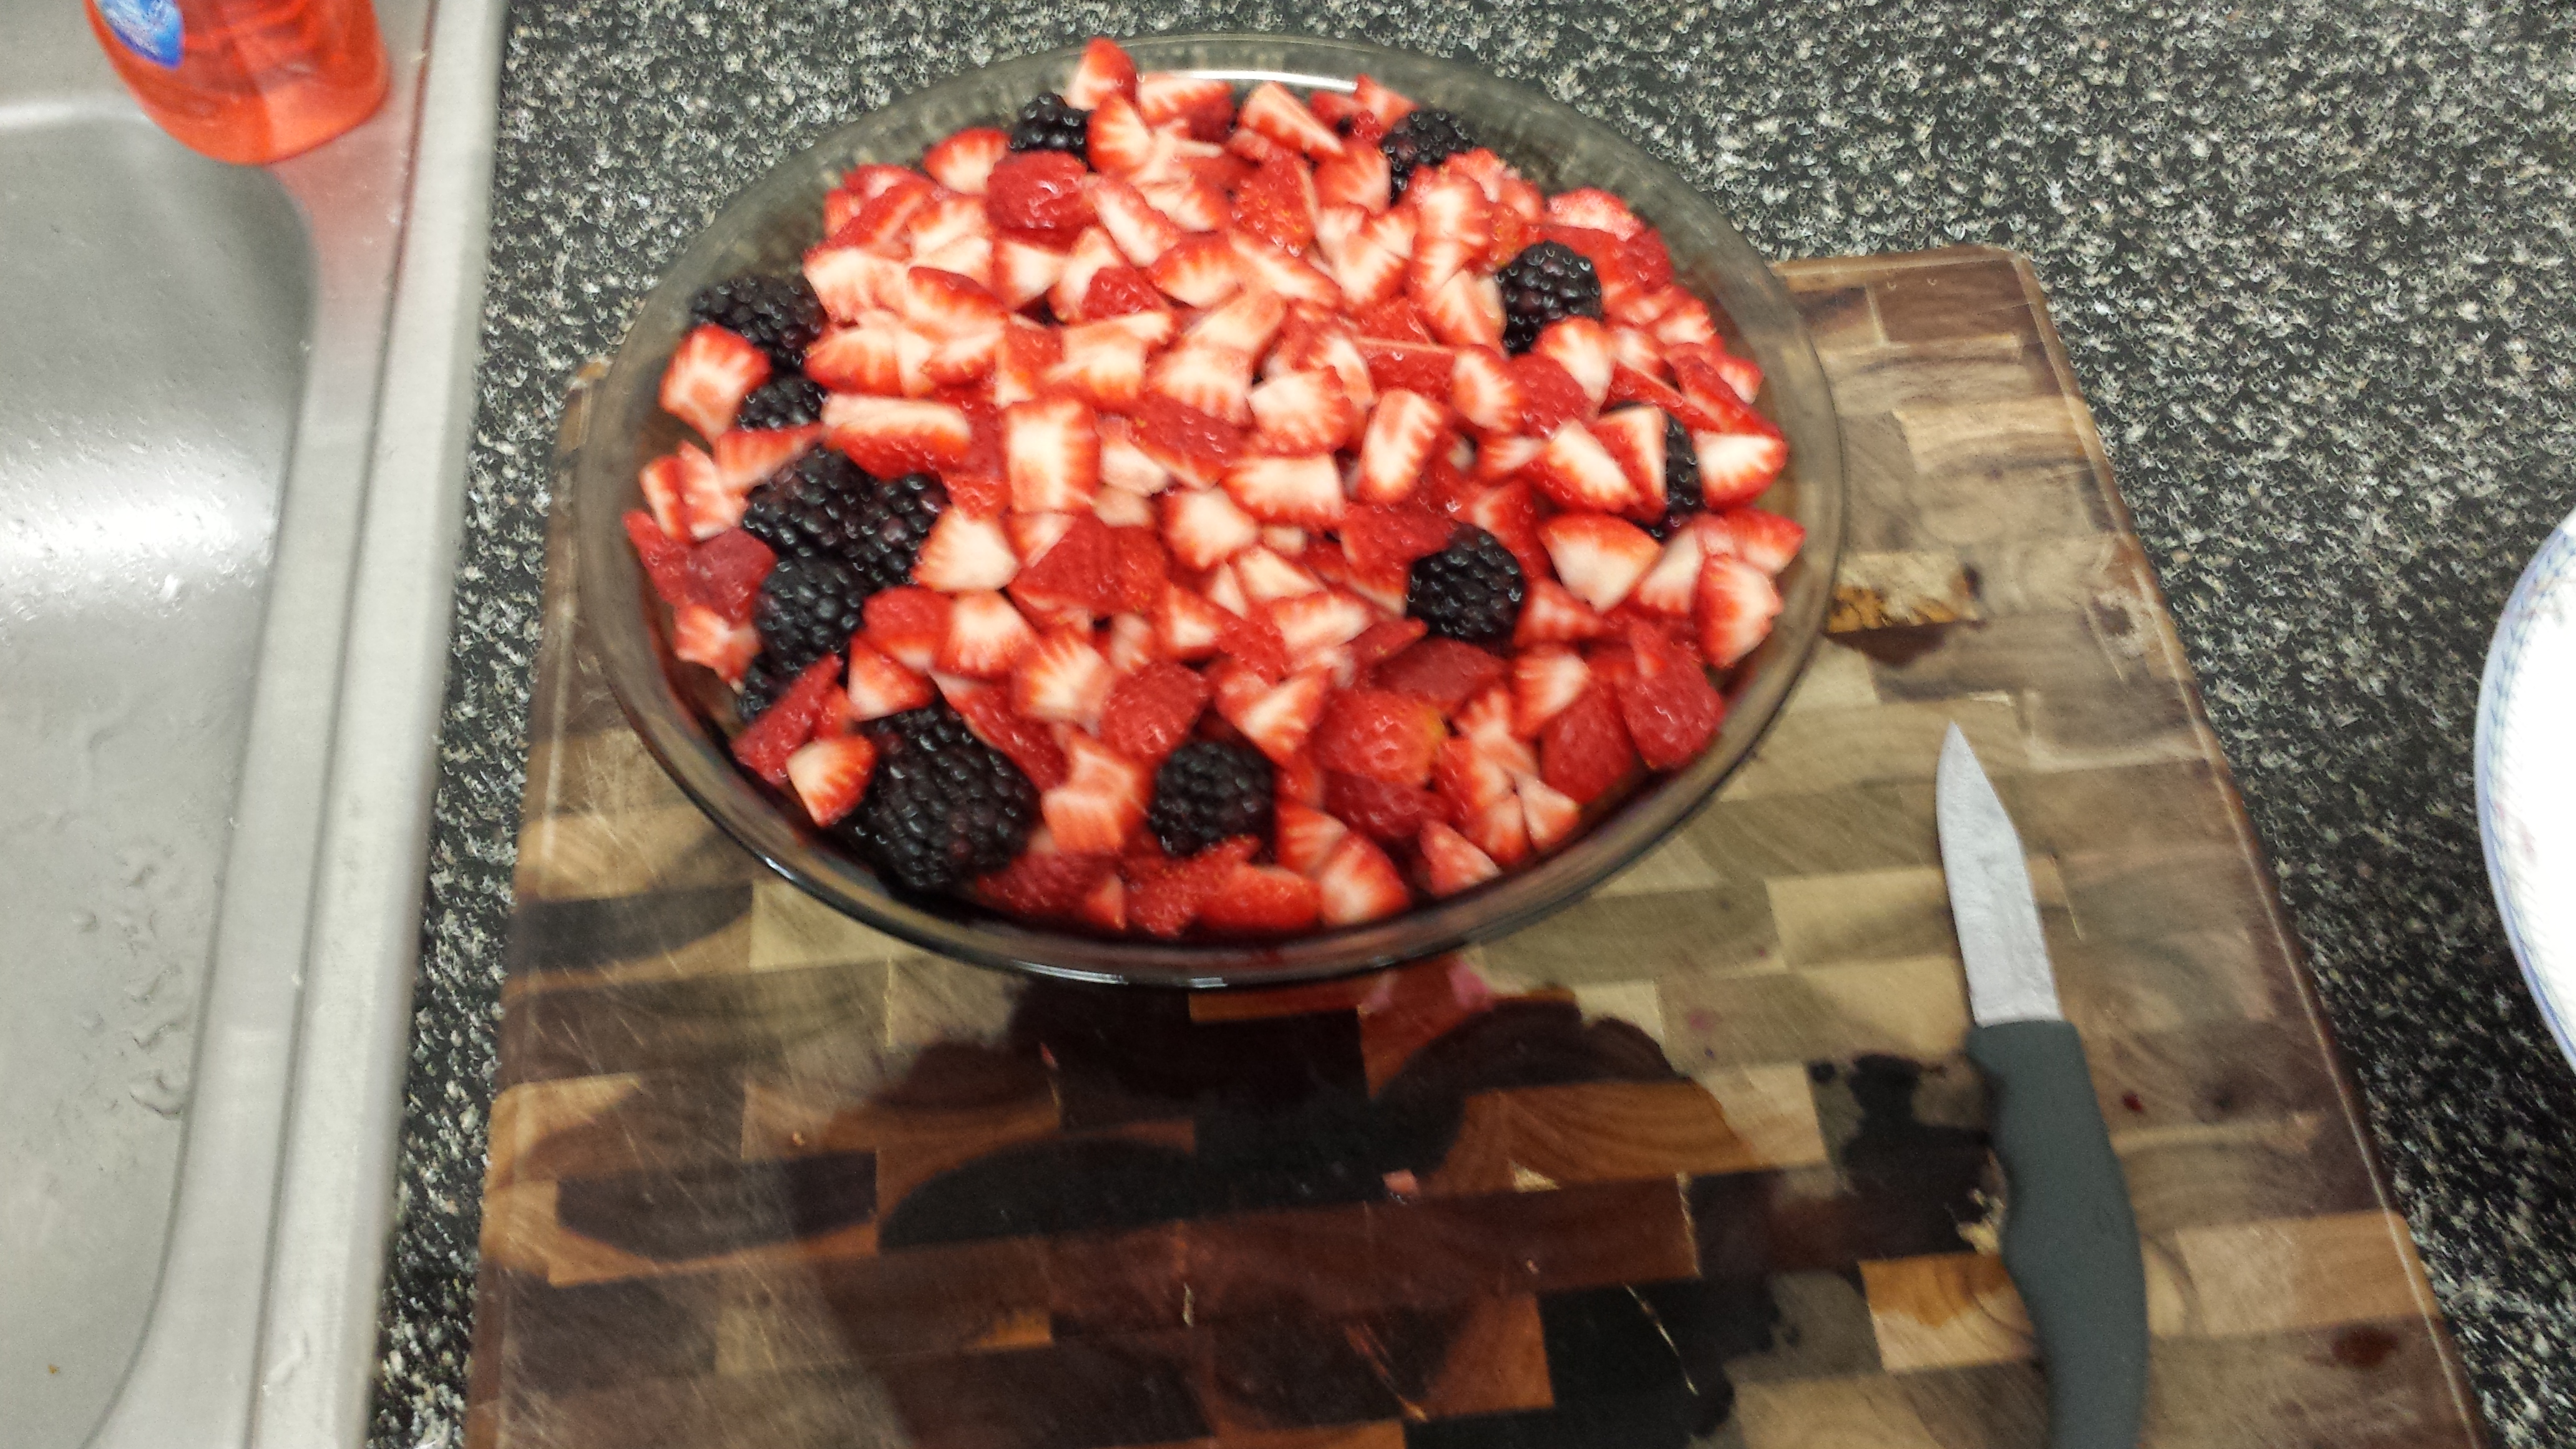
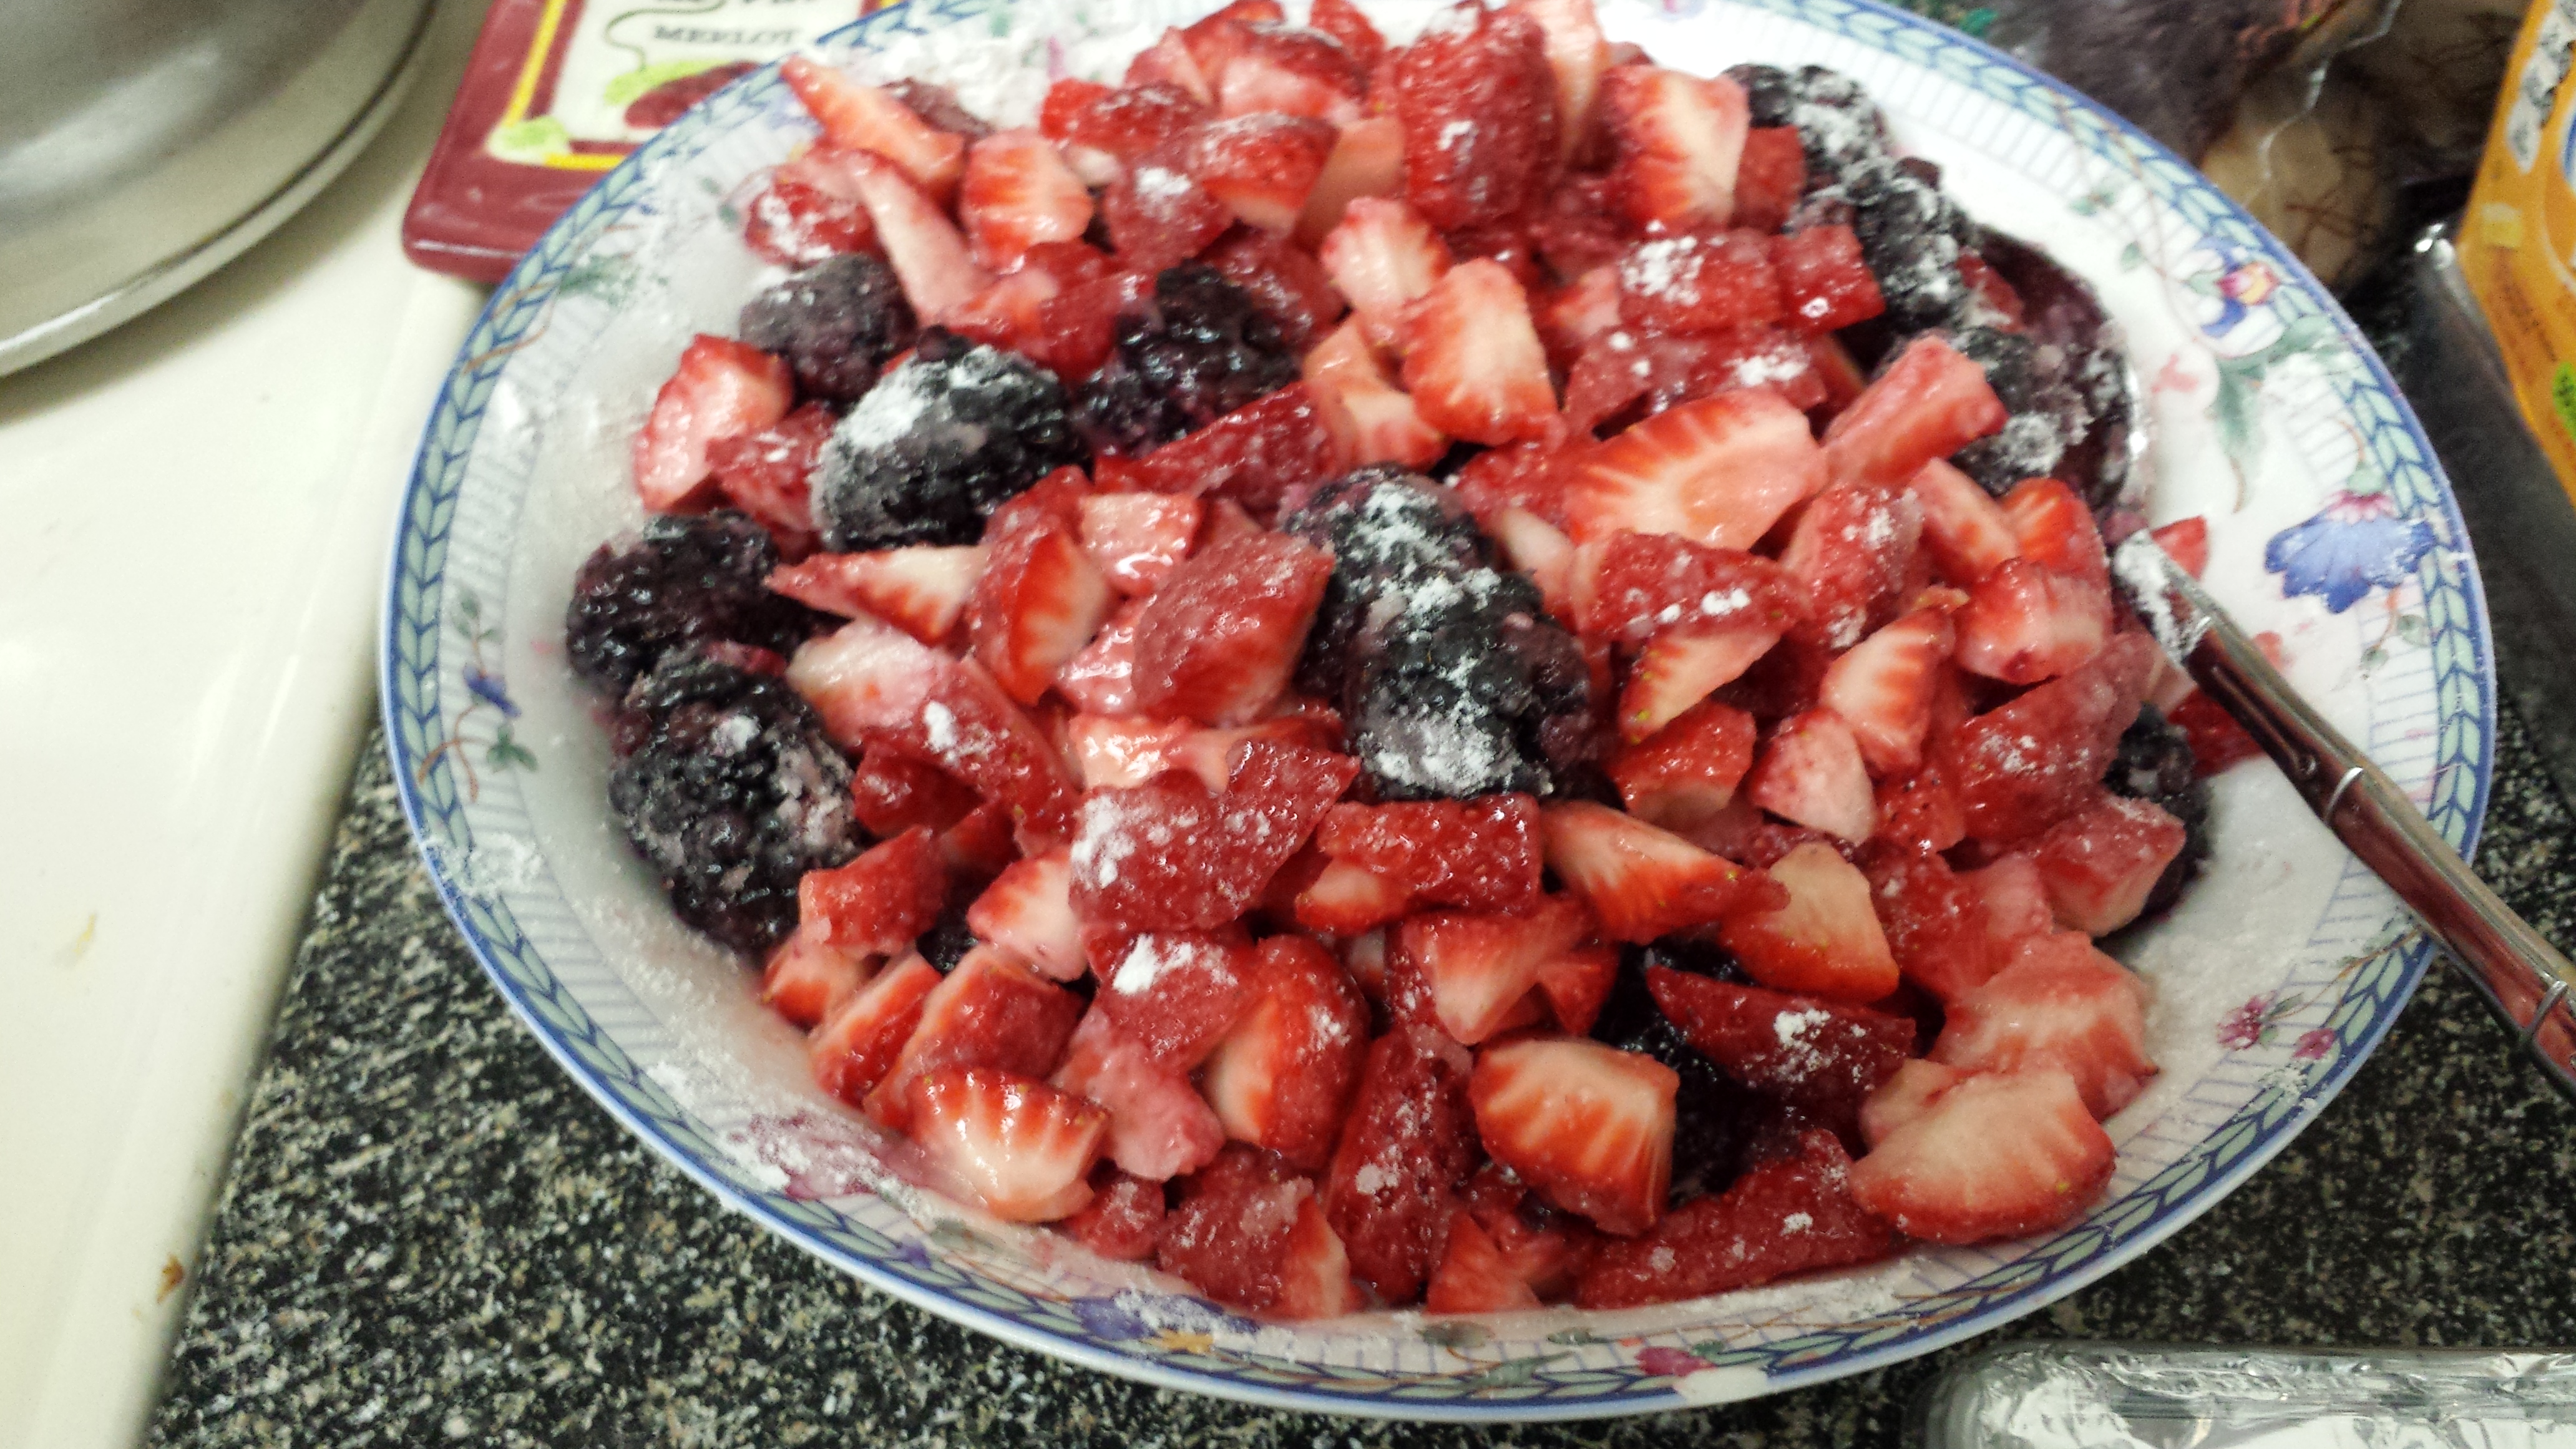
This time I did strawberry/blackberry
You can find all kinds of great filling recipes in books or online. They mostly involve chopping fruit and some sugar and spices so I won’t go into it here. Strawberry-blackberry is one of my favorites to use because it’s so easy. Hull the strawberries and cut them as finely as you want (I usually go for quarters unless they’re monsters or I’m feeling fancy), and the blackberries can go in whole!
If you’re not sure if you have enough or too much filling, try pouring it into your pie plate to check. Luckily, I have two:
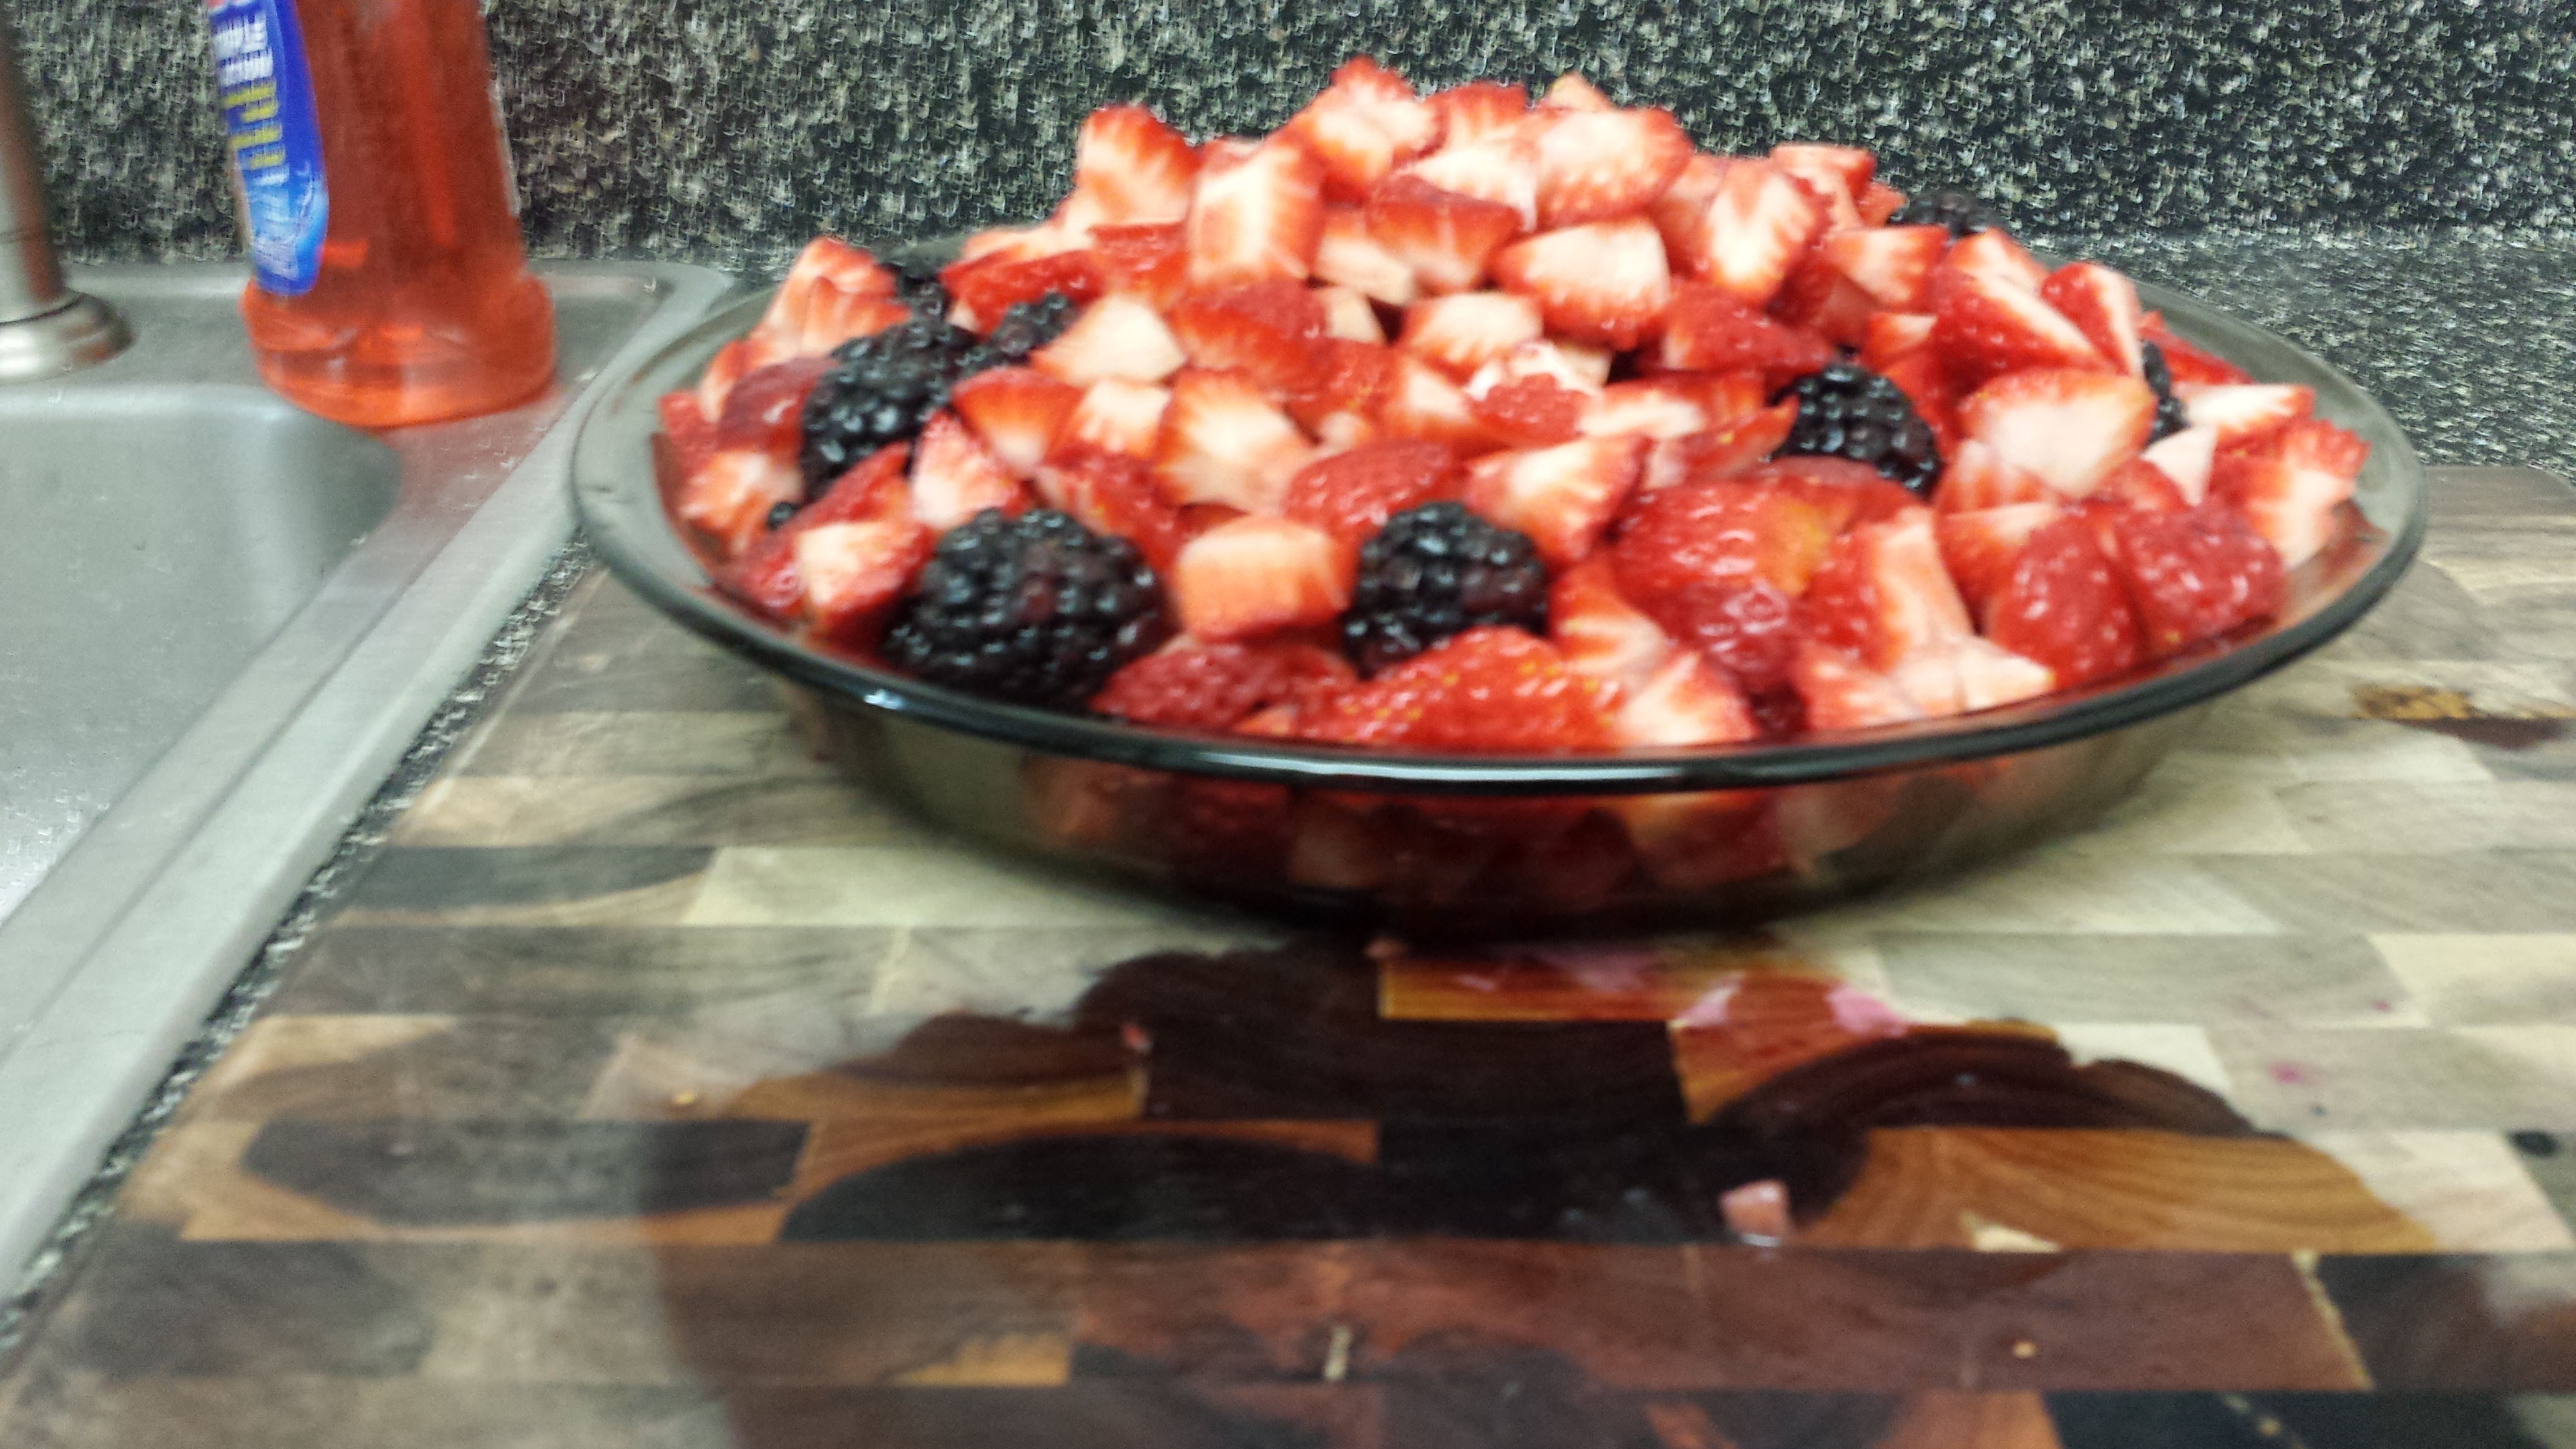
Boring Pyrex pie plate is always relegated to a supporting role
You want the filling to round up a little above the lip of the pie plate, because it will sink during baking.
After chopping the fruit, I add about 3/4 cup sugar and some flour to soak up the juices. Hopefully the recipe you choose will be a little more exact than my random guessing, but you don’t need something terribly fancy as long as your fruit is good!

Fruit: all sugared and floured up
Now set that aside while we work on the crust.
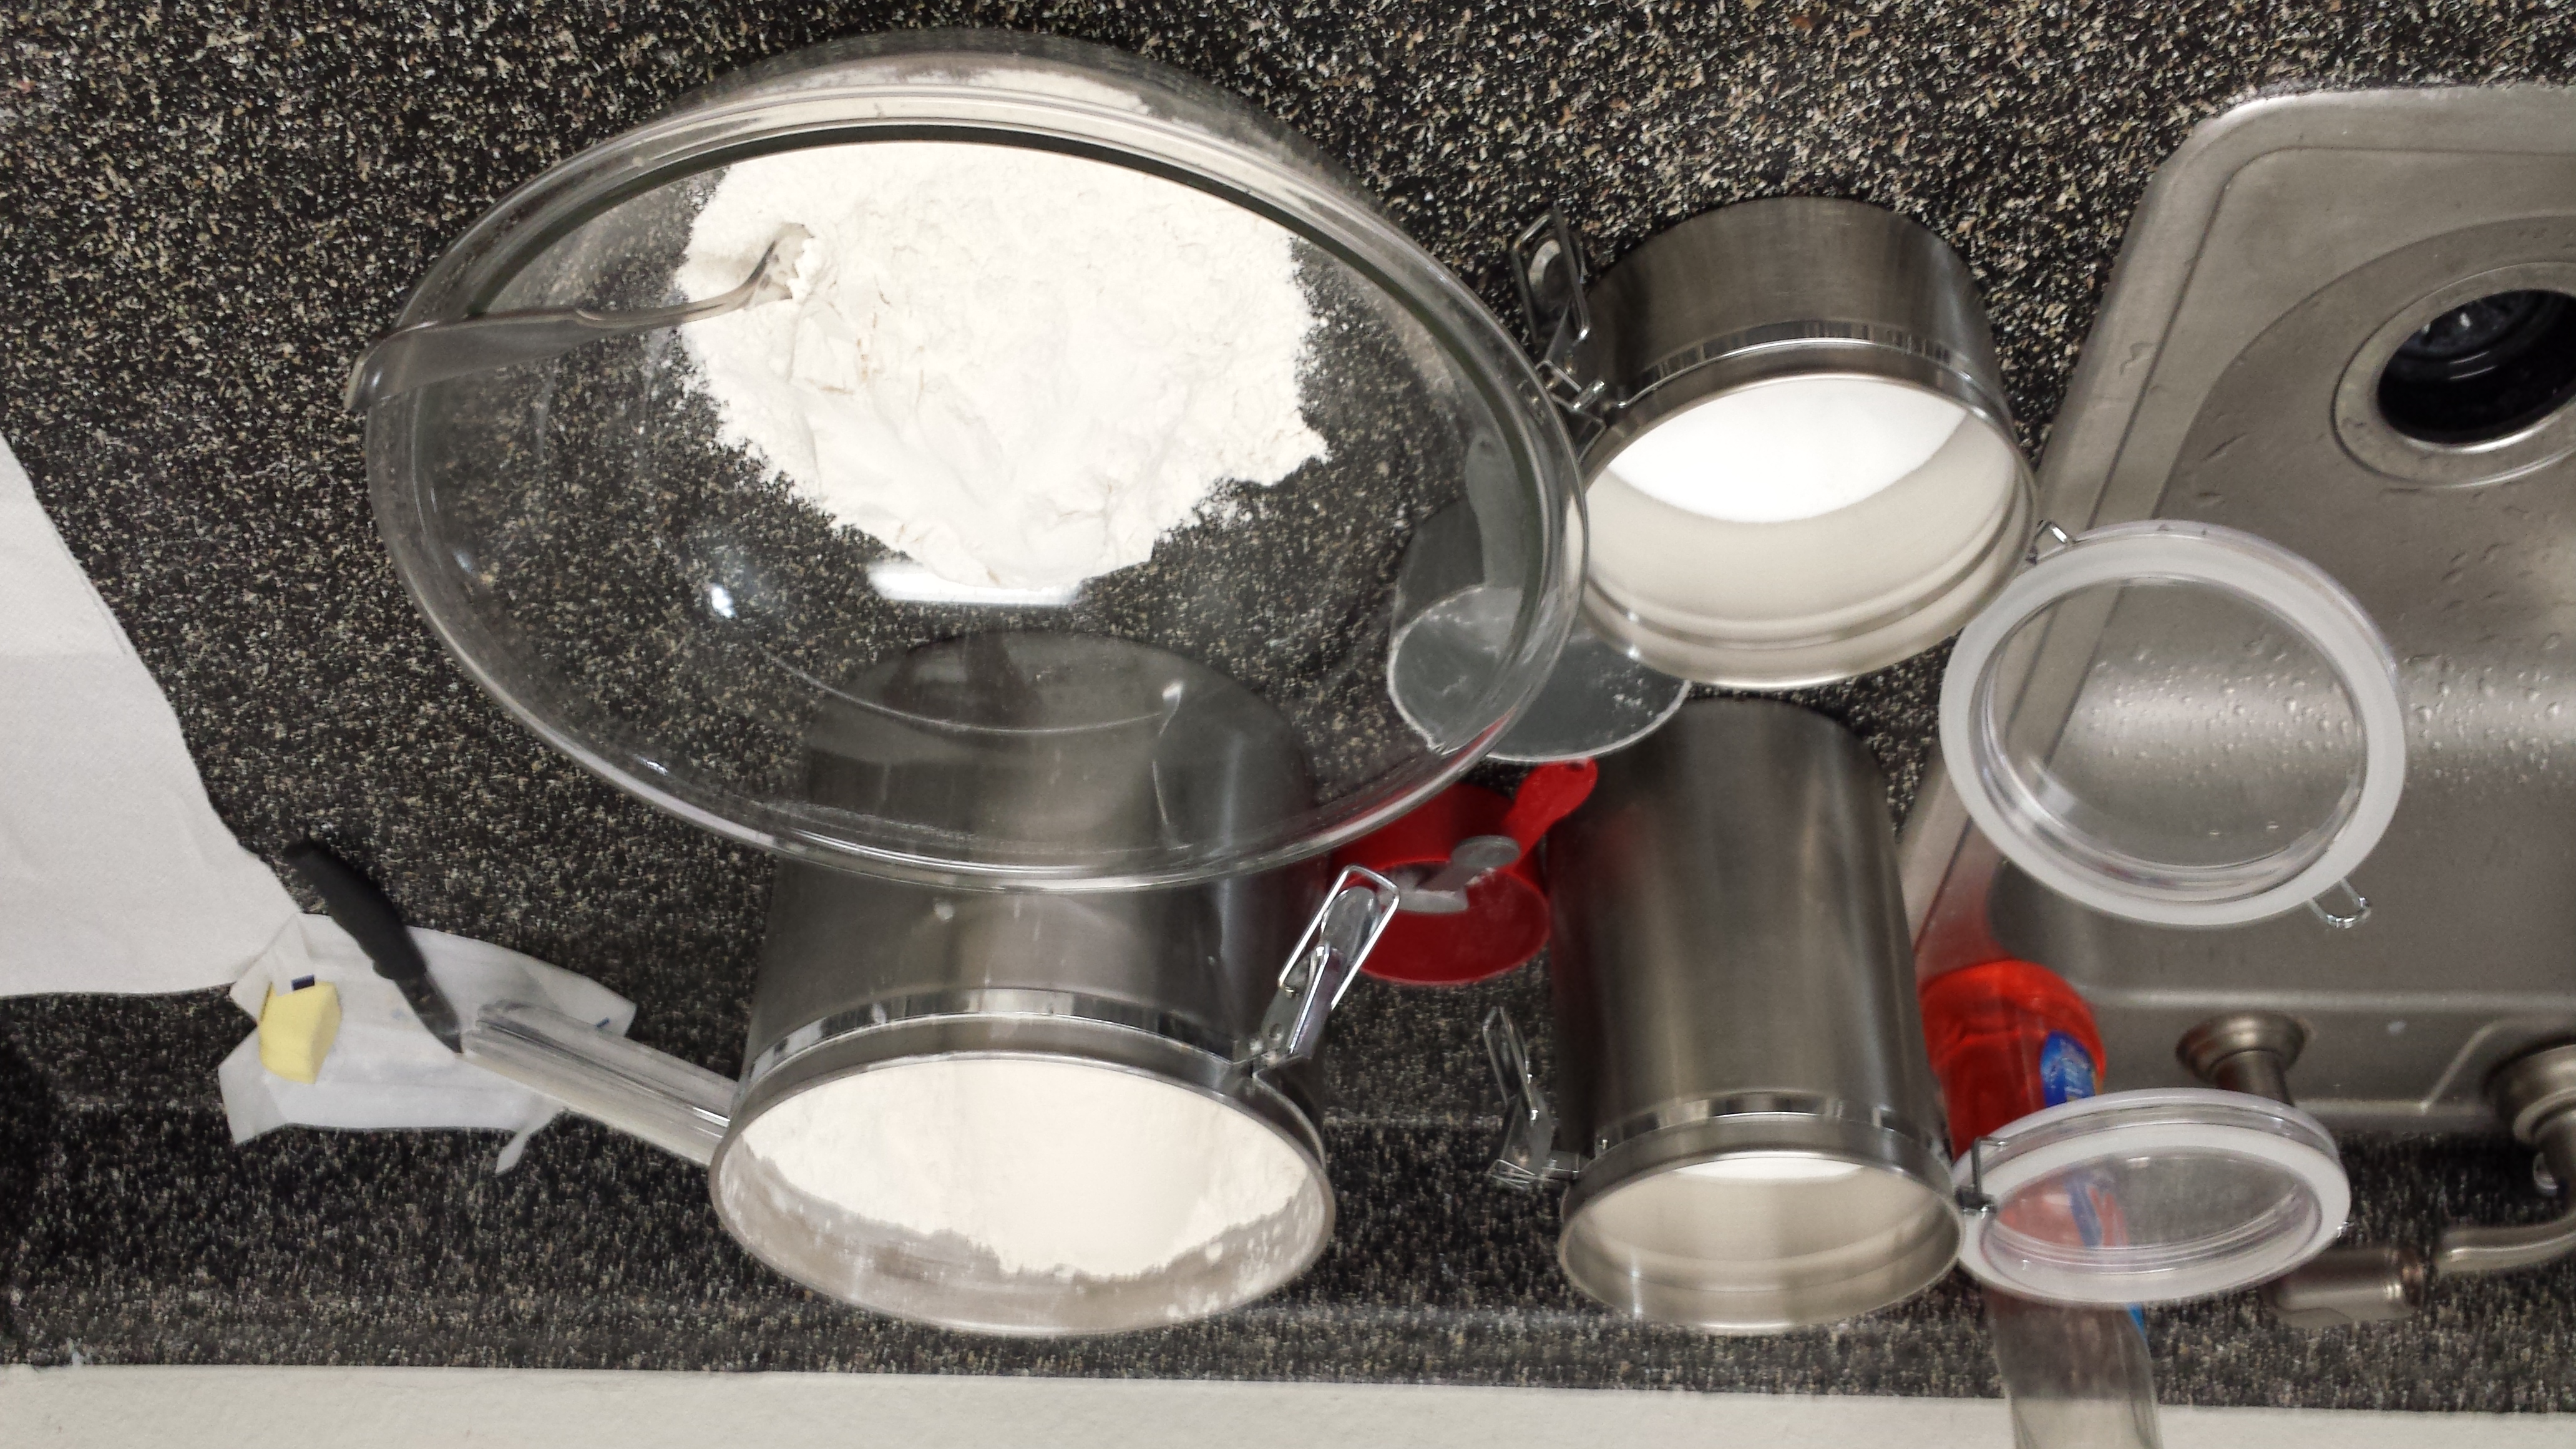
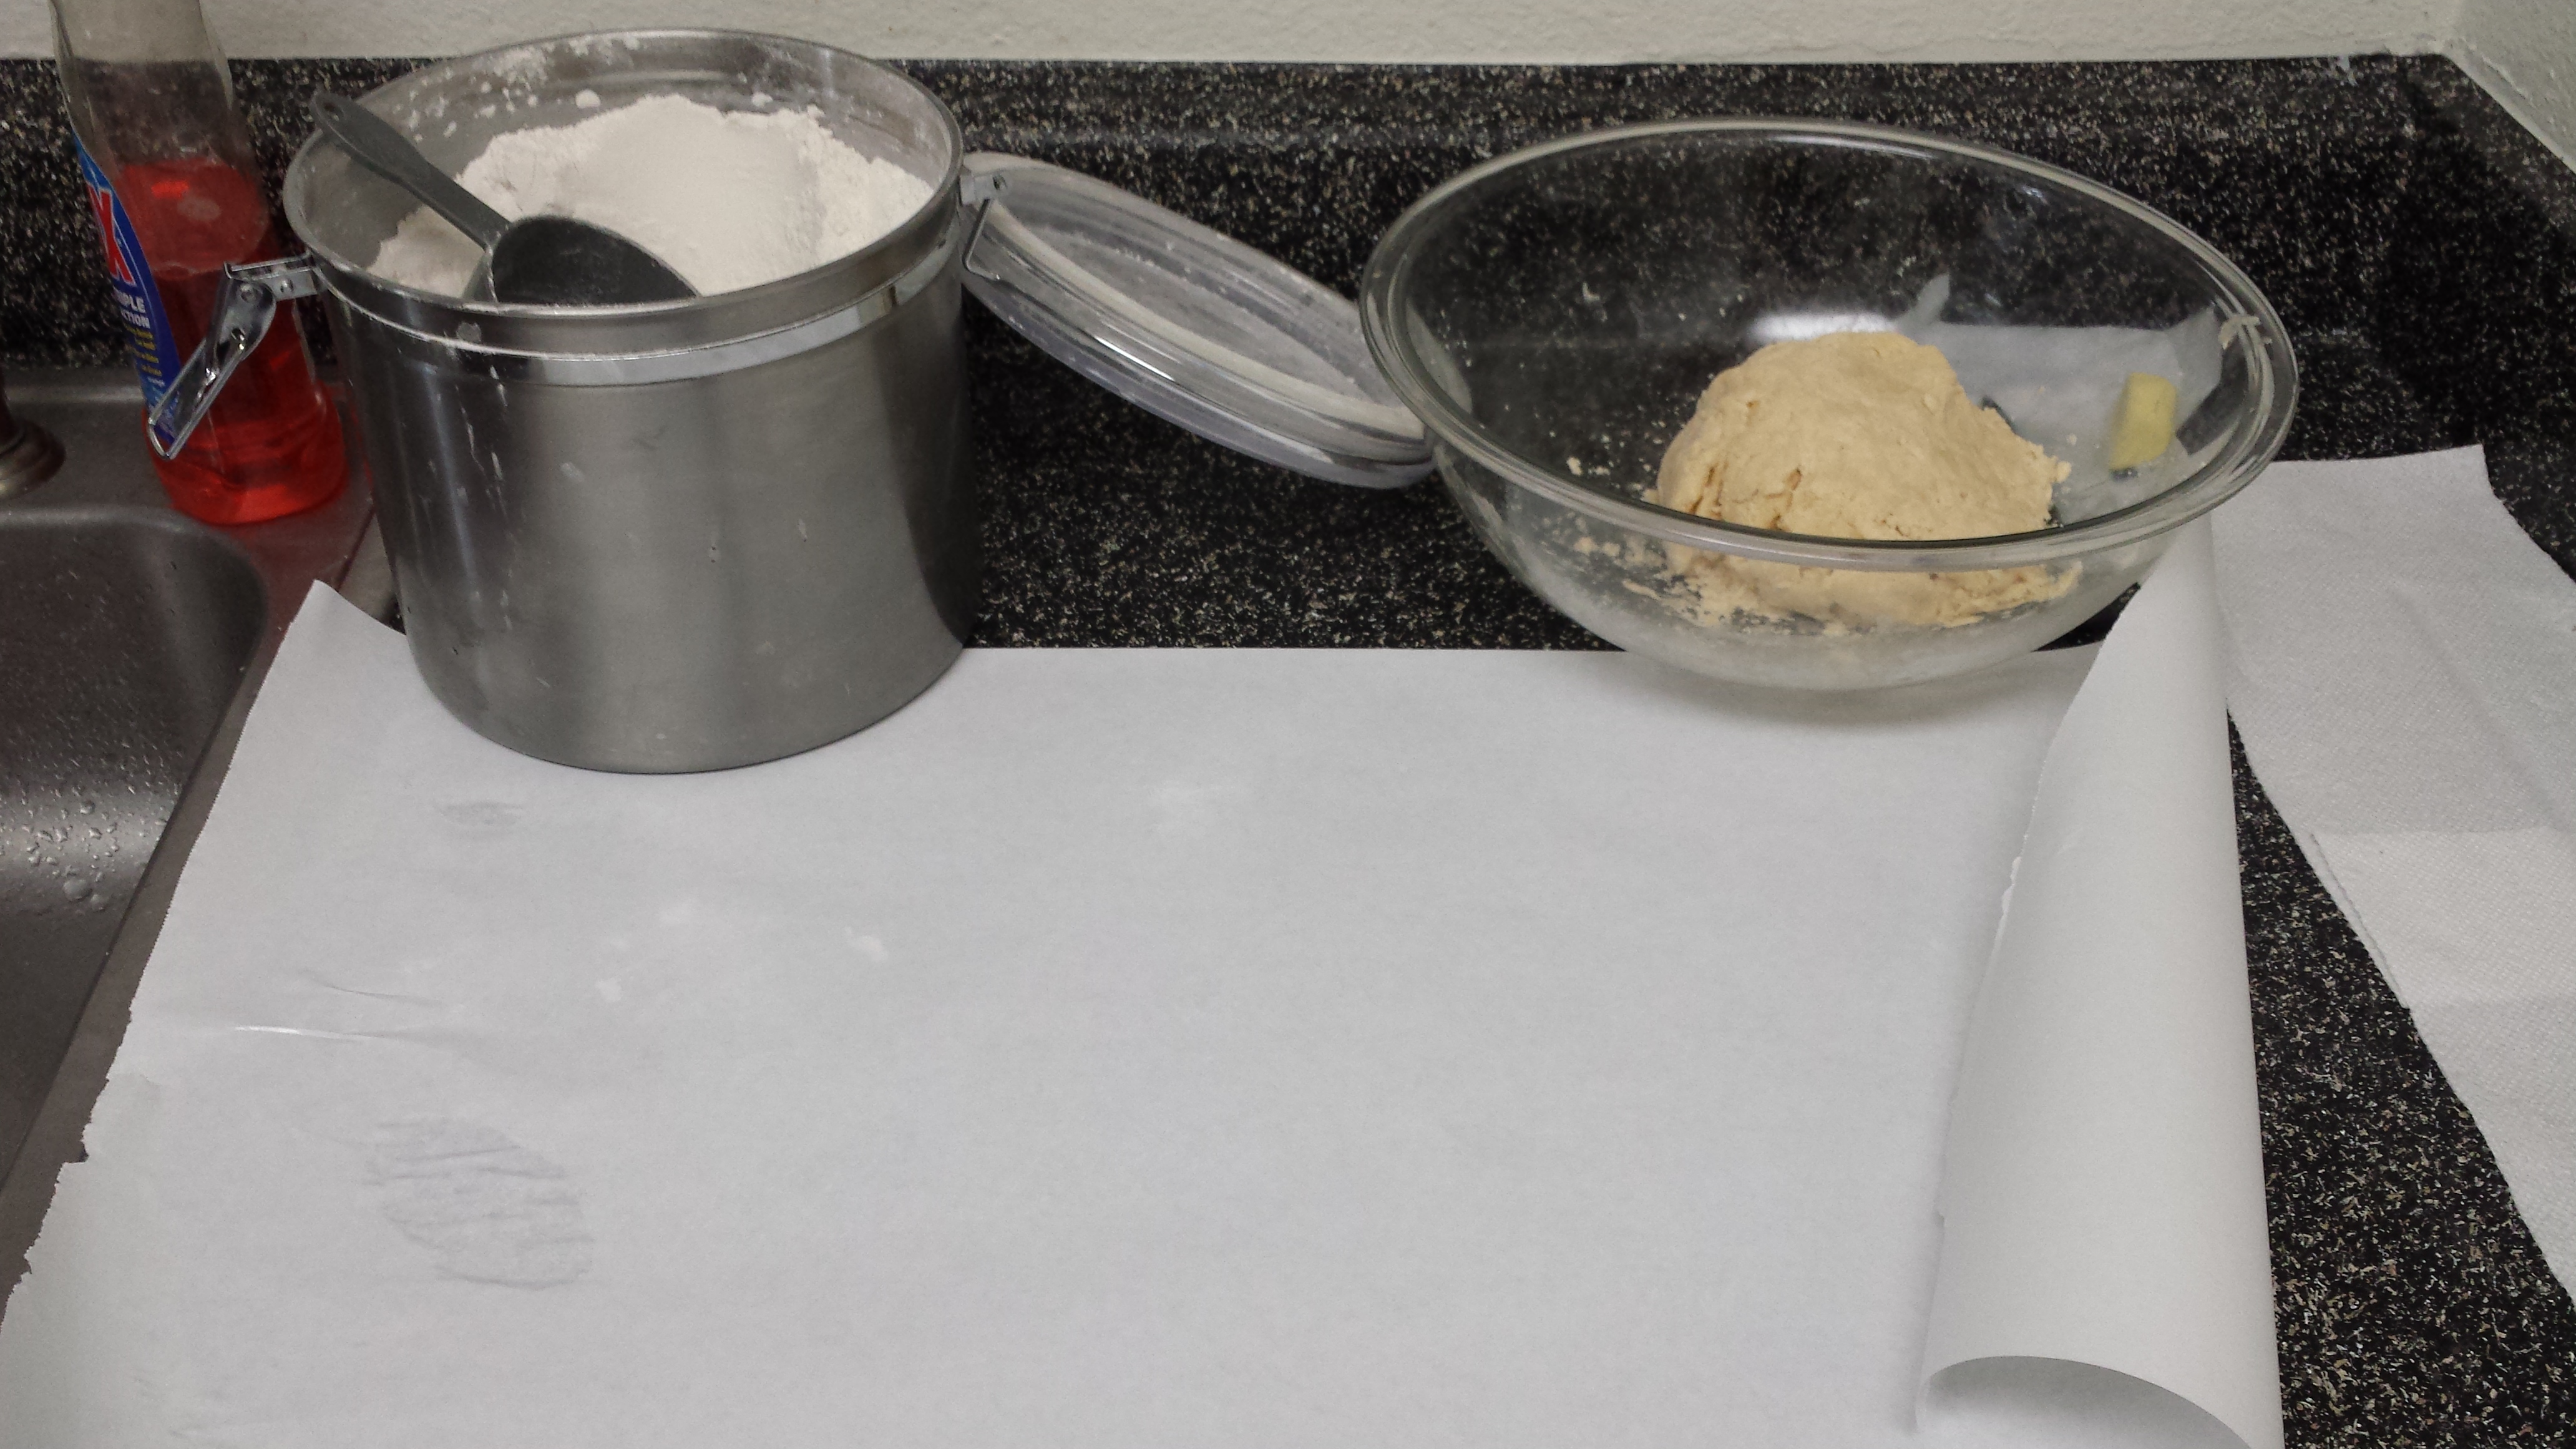
2. Dry Ingredients
First you combine the powdery ingredients: the flour, sugar, and salt.
Flour, sugar, salt
Just swirl them together with a fork. It’s mostly flour anyway. Now it’s time for the Crisco!
You can buy Crisco in lots of different forms at the store, but I always go for the baking sticks:
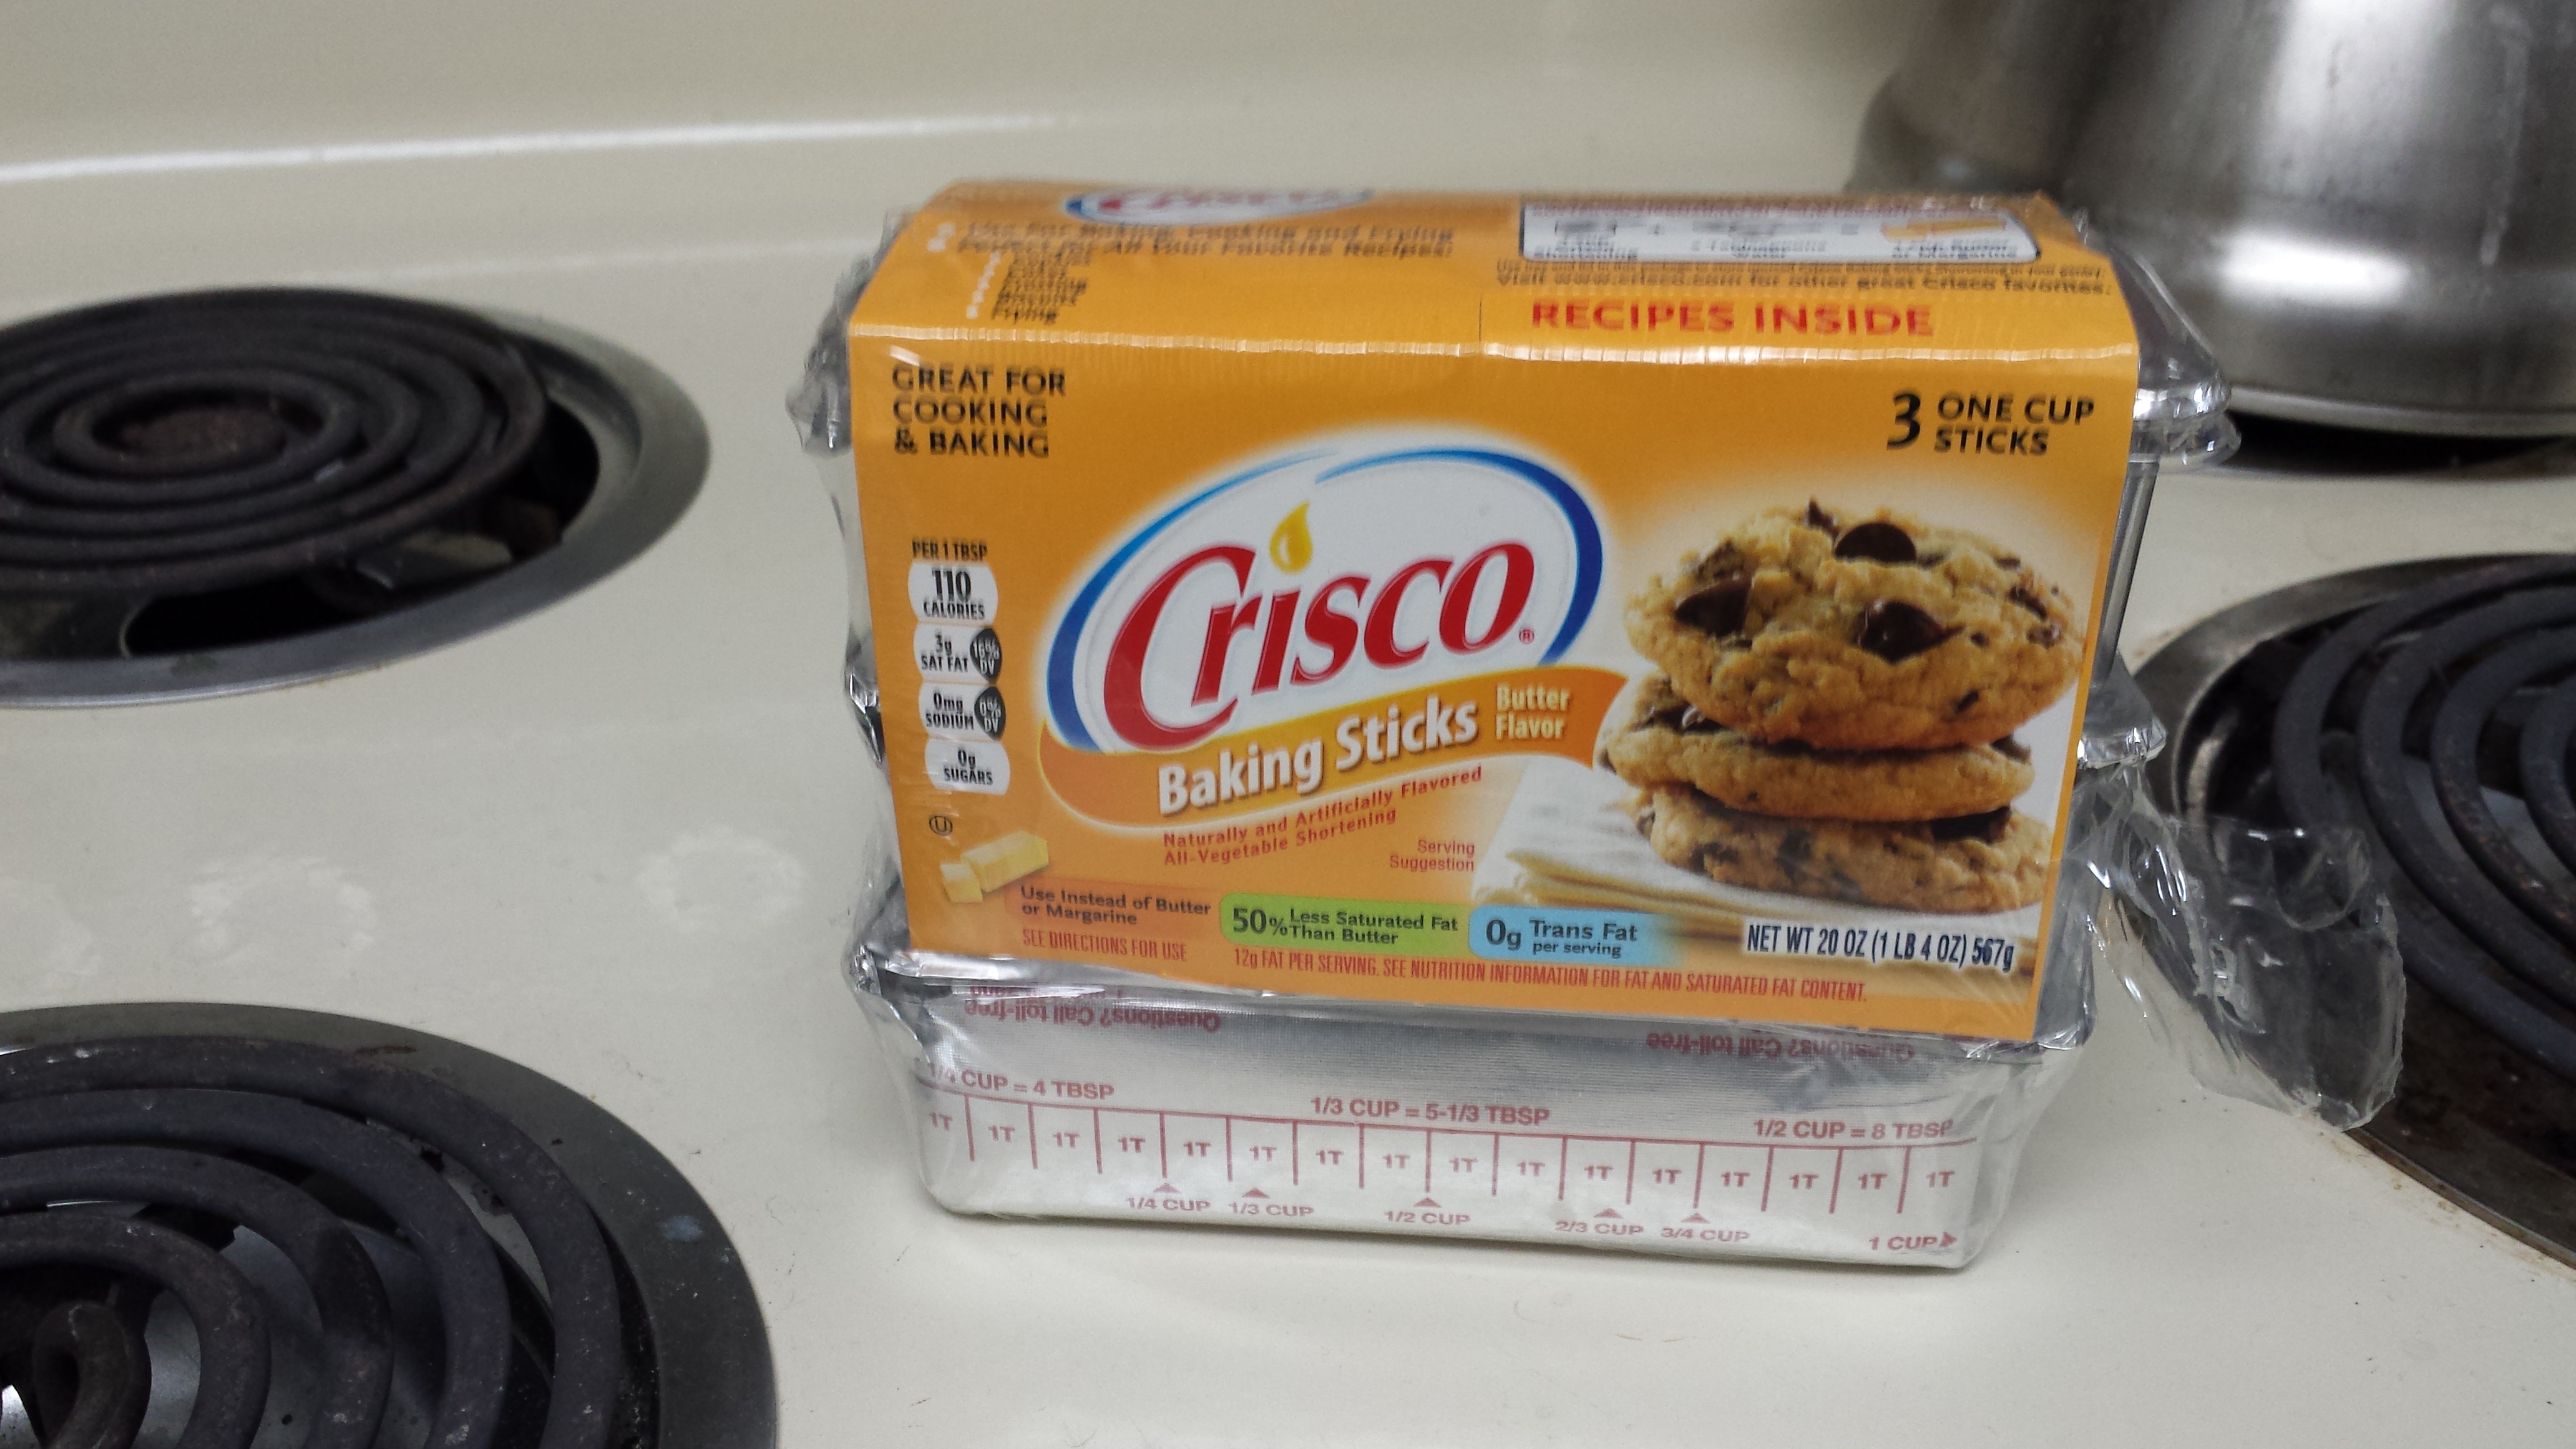
Also, the butter flavor, although regular kind apparently works too
I like them because they’re easy to measure out and chop up. Plus, they come in little resealable plastic boxes, which is good because this recipe uses only most of one. 7/8 cup is a little weird because this recipe originally made two pies and I cut it down. Luckily, with the measurements printed on the side of the Crisco stick, it’s easy to cut off the right amount:

There are 16 tablespoons in a cup, so 14/16
You could just plop that stick into the flour, but I find it easier to cut the stick up a little before adding it to the bowl:
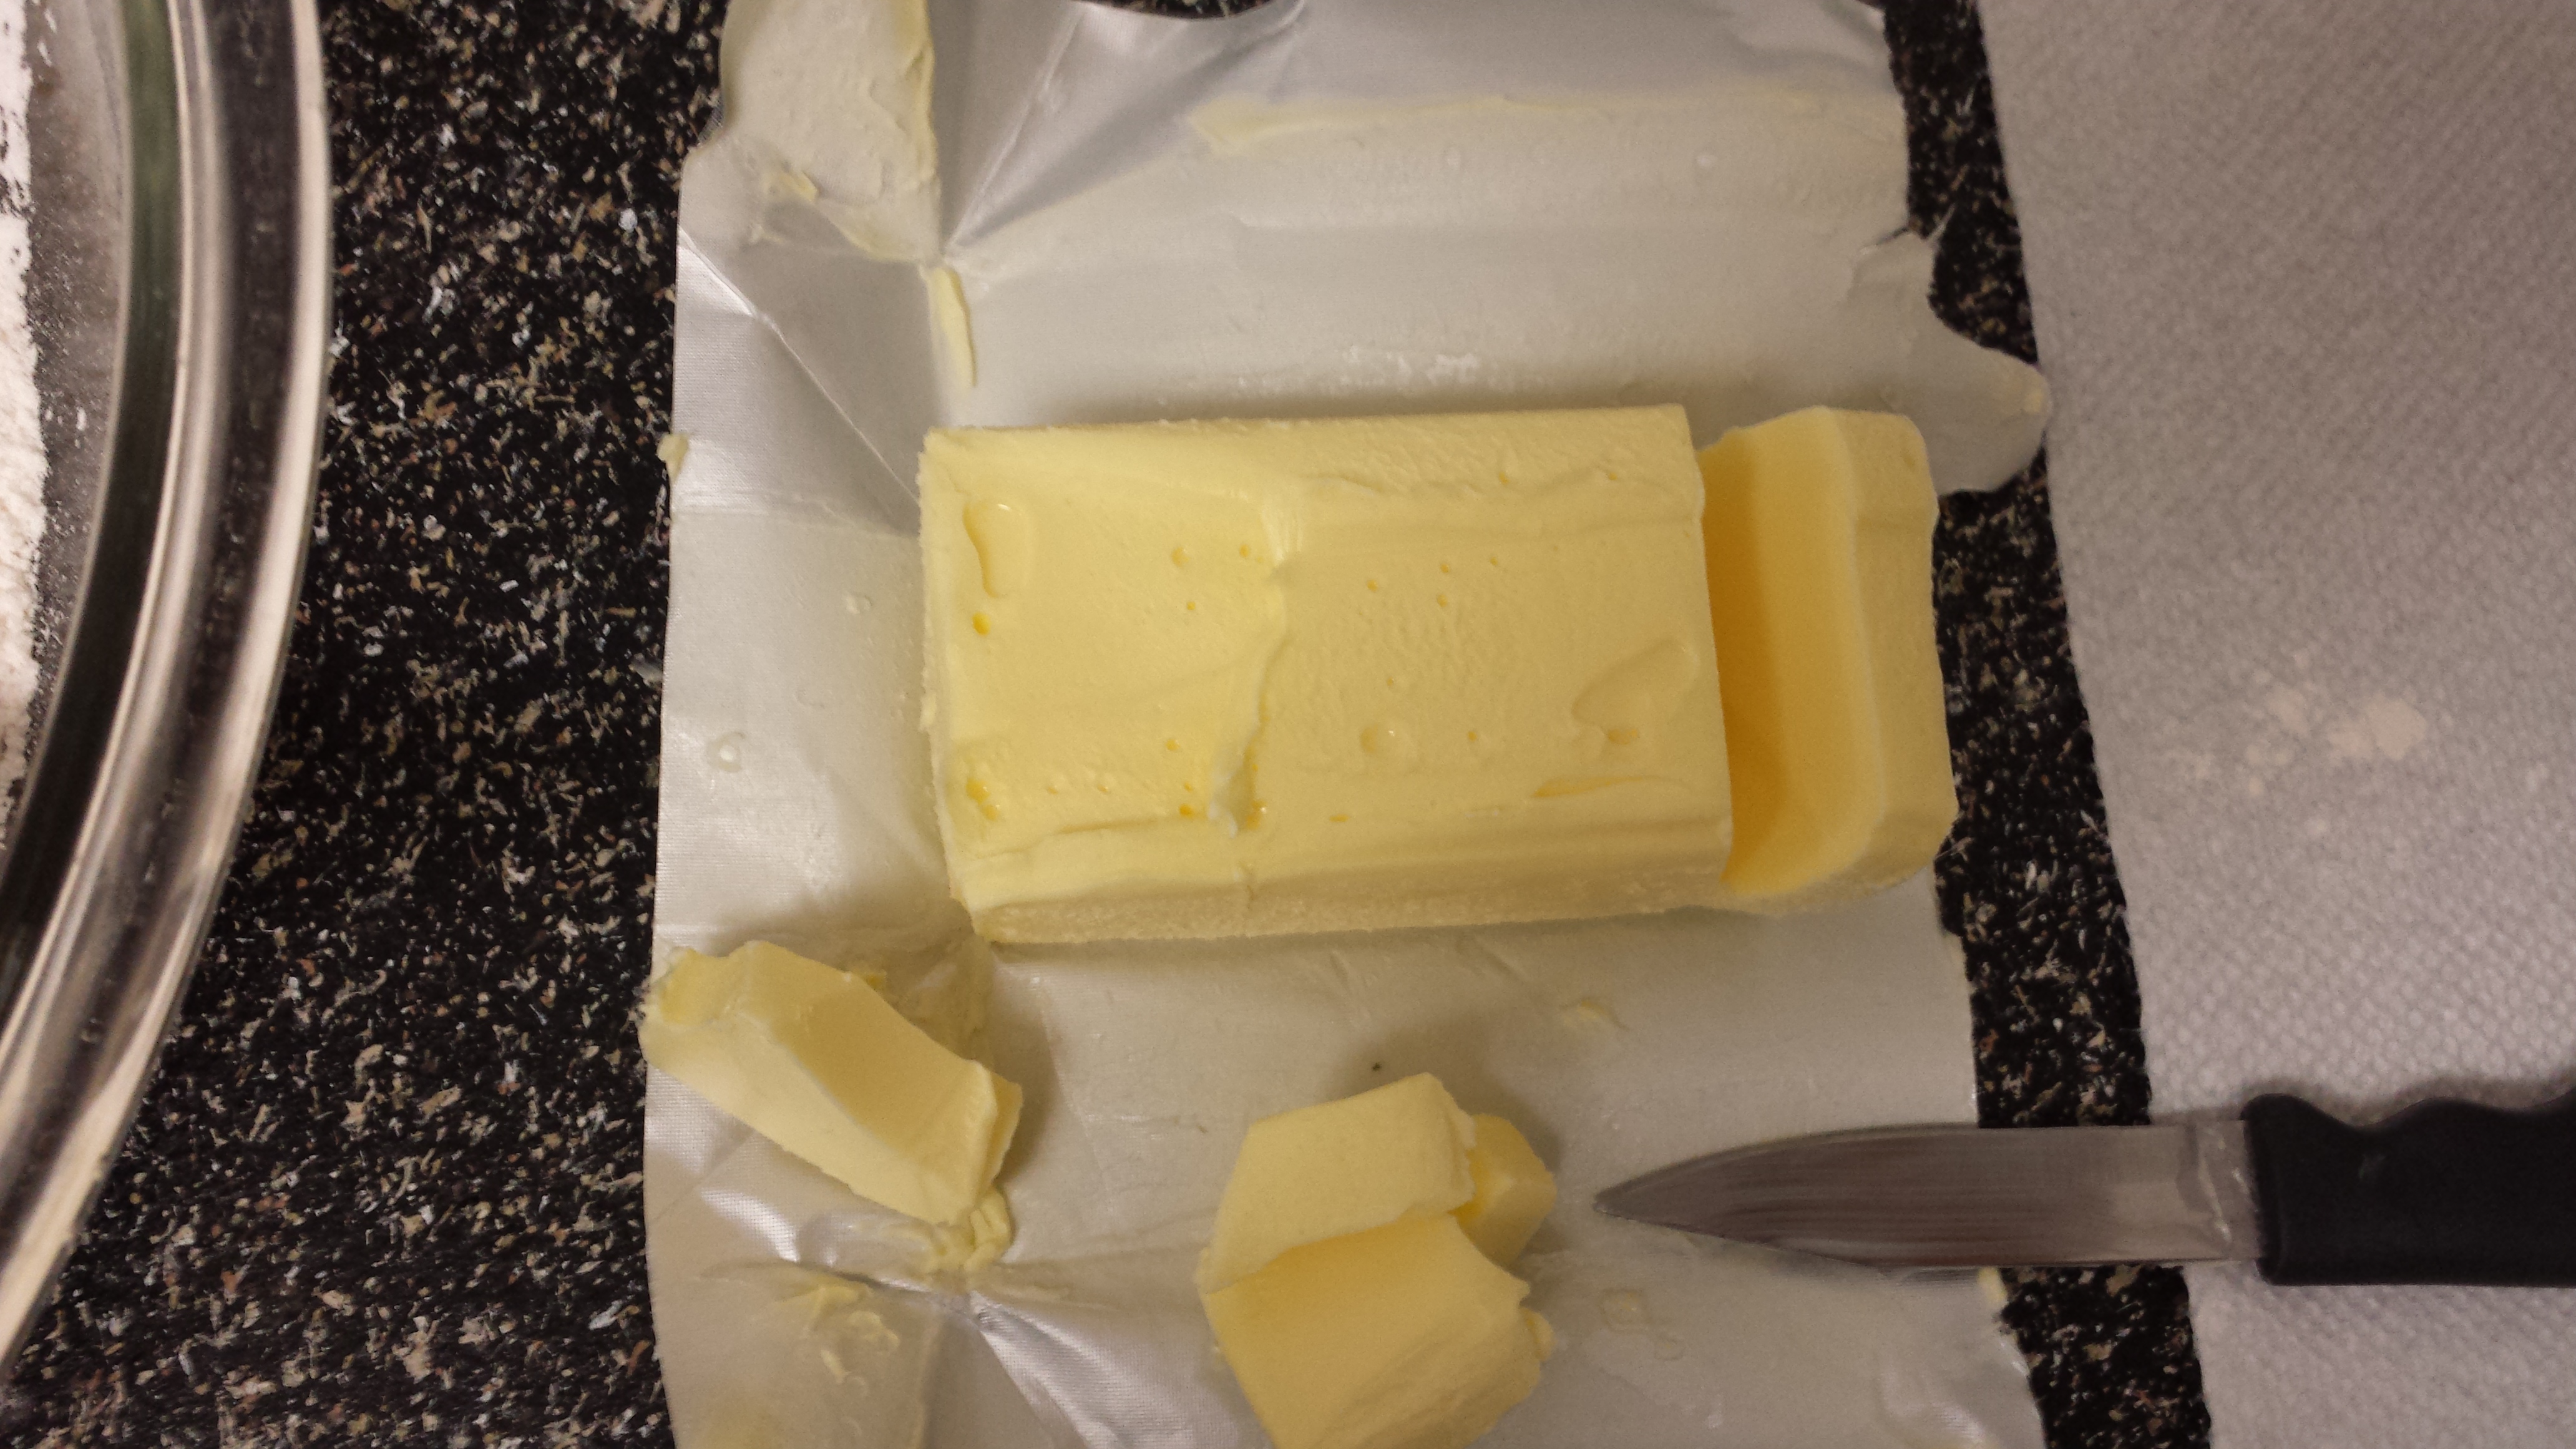
Cut pats out, or even cut your pats in half if you want!
In traditional butter crust, you’d be doing this step with a cold stick of butter, trying to hurry and not touch it for fear that it’ll warm up too much and ruin the consistency of your crust. With Crisco, you don’t have to worry. It’s room temperature and squishy.
Add those pats you made to the flour mixture:
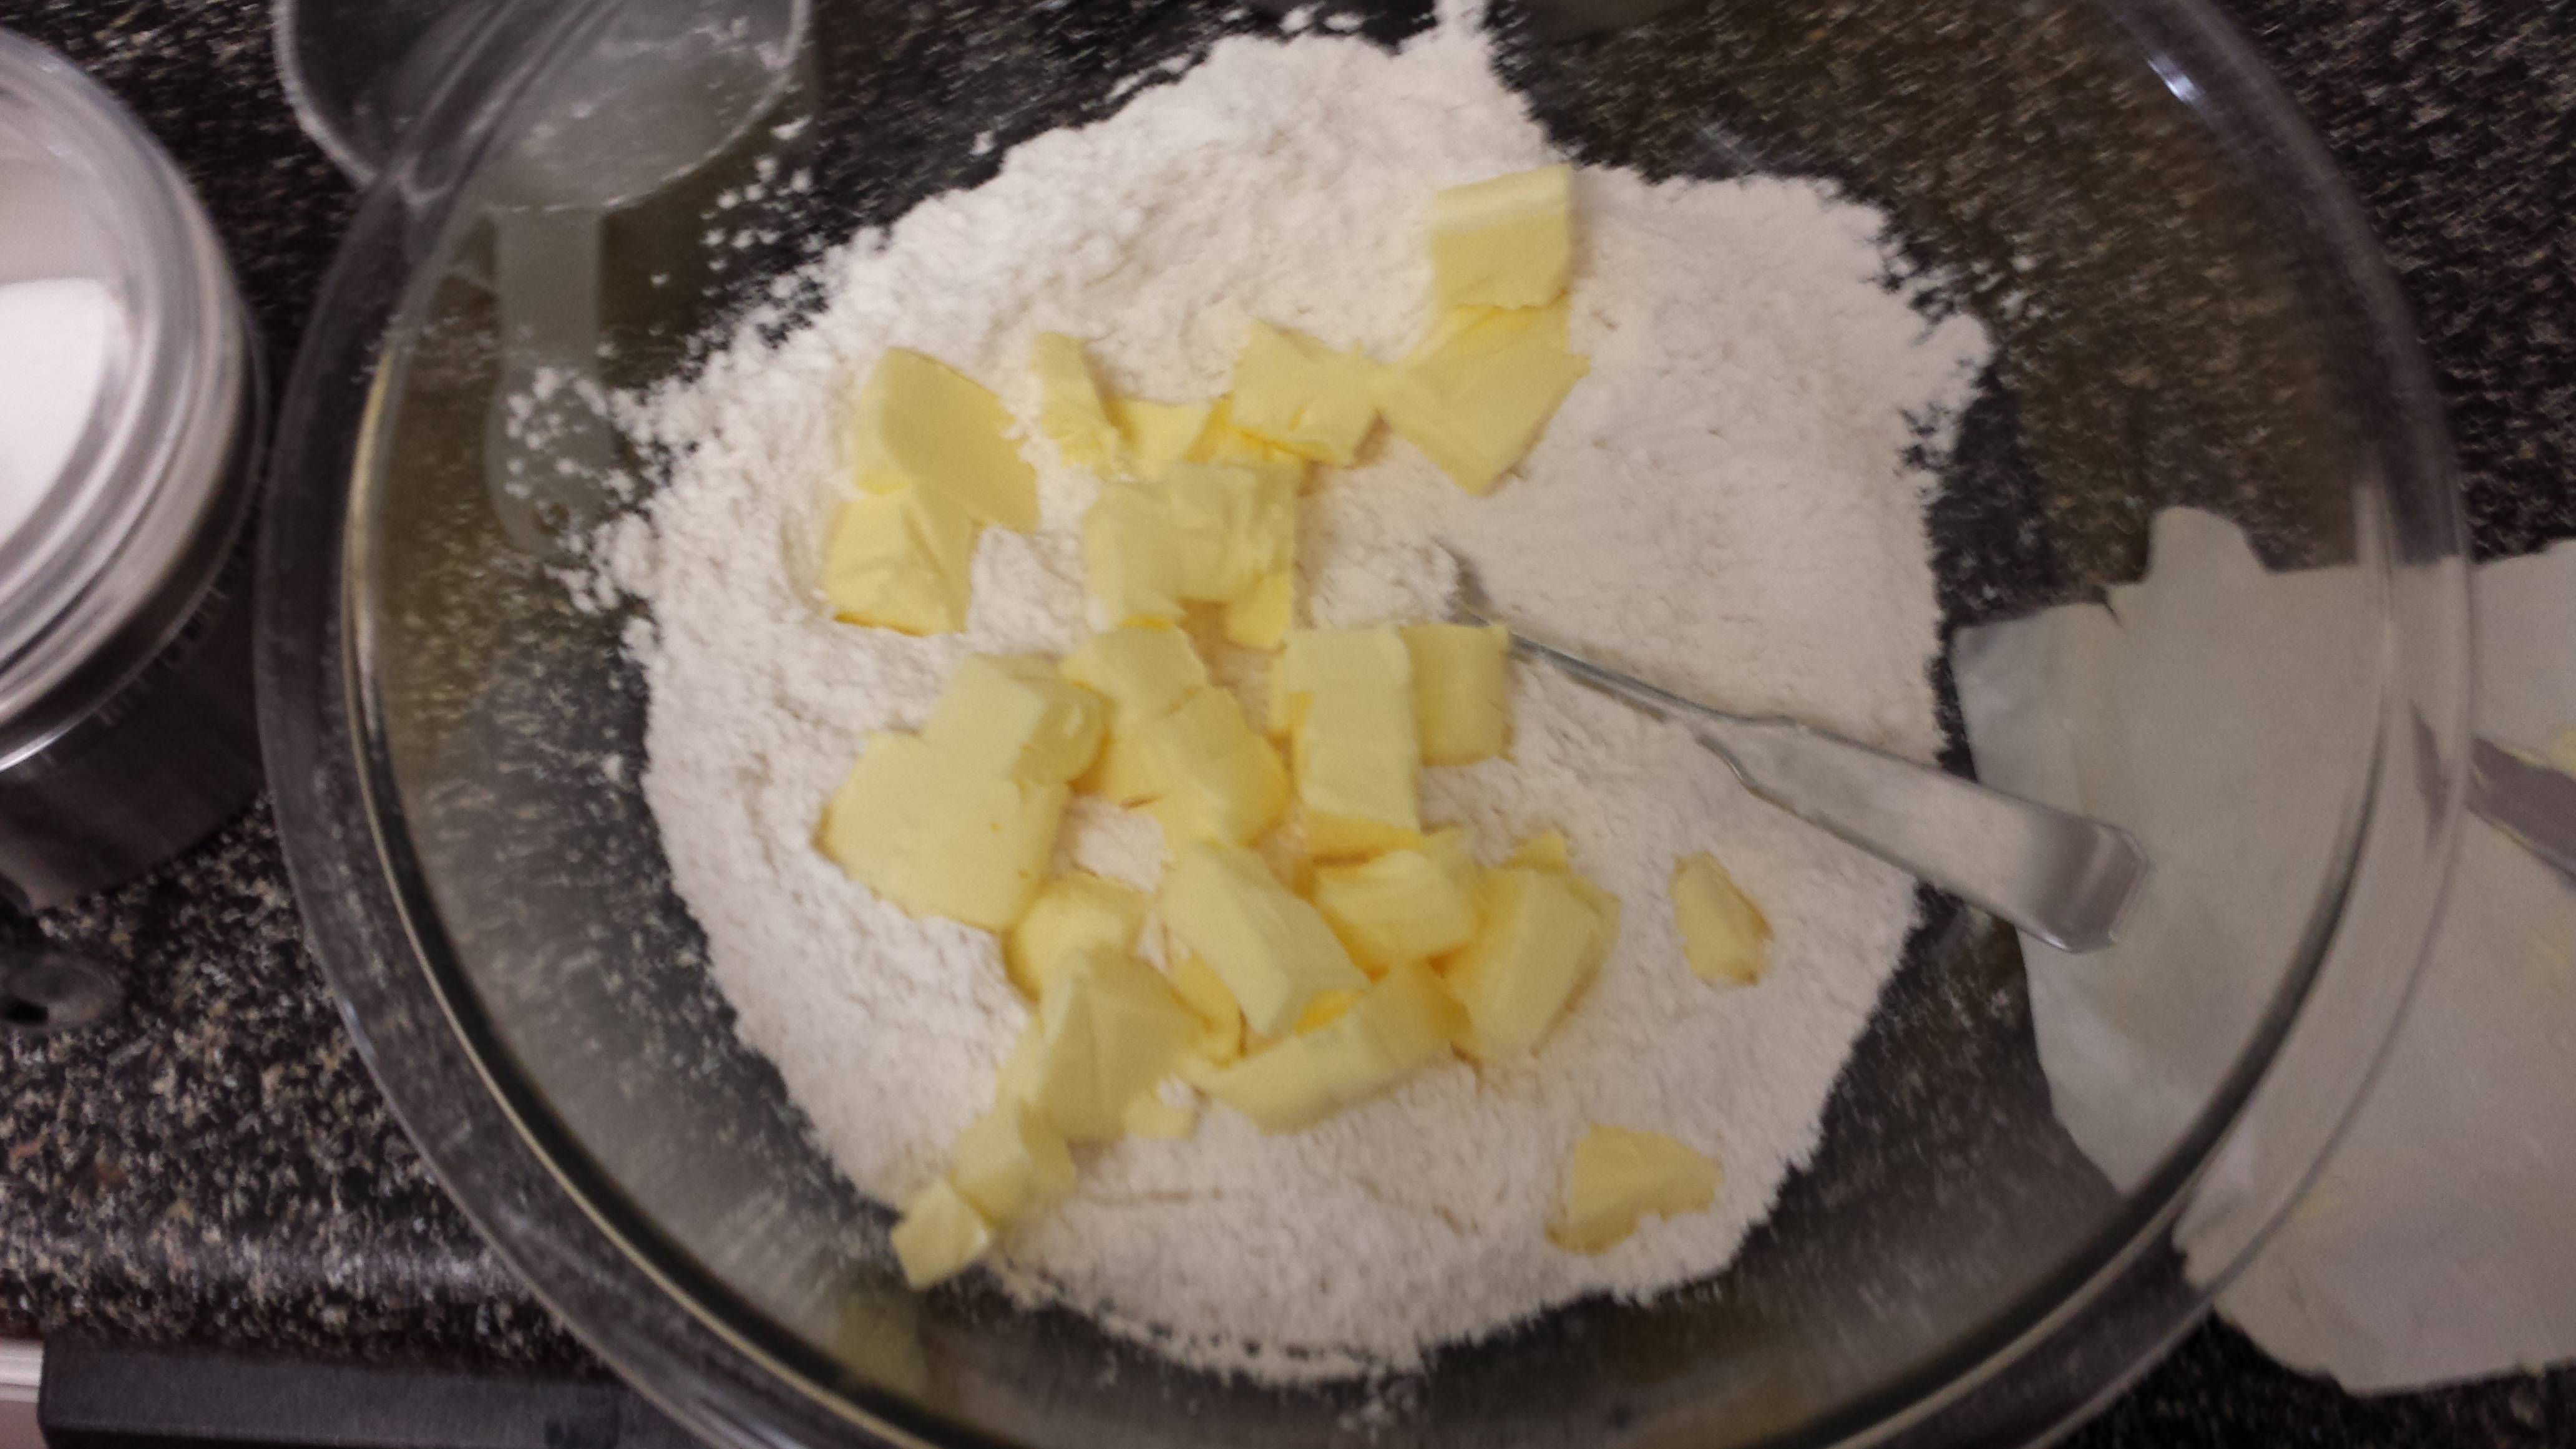
Get ready for the “hard” part!
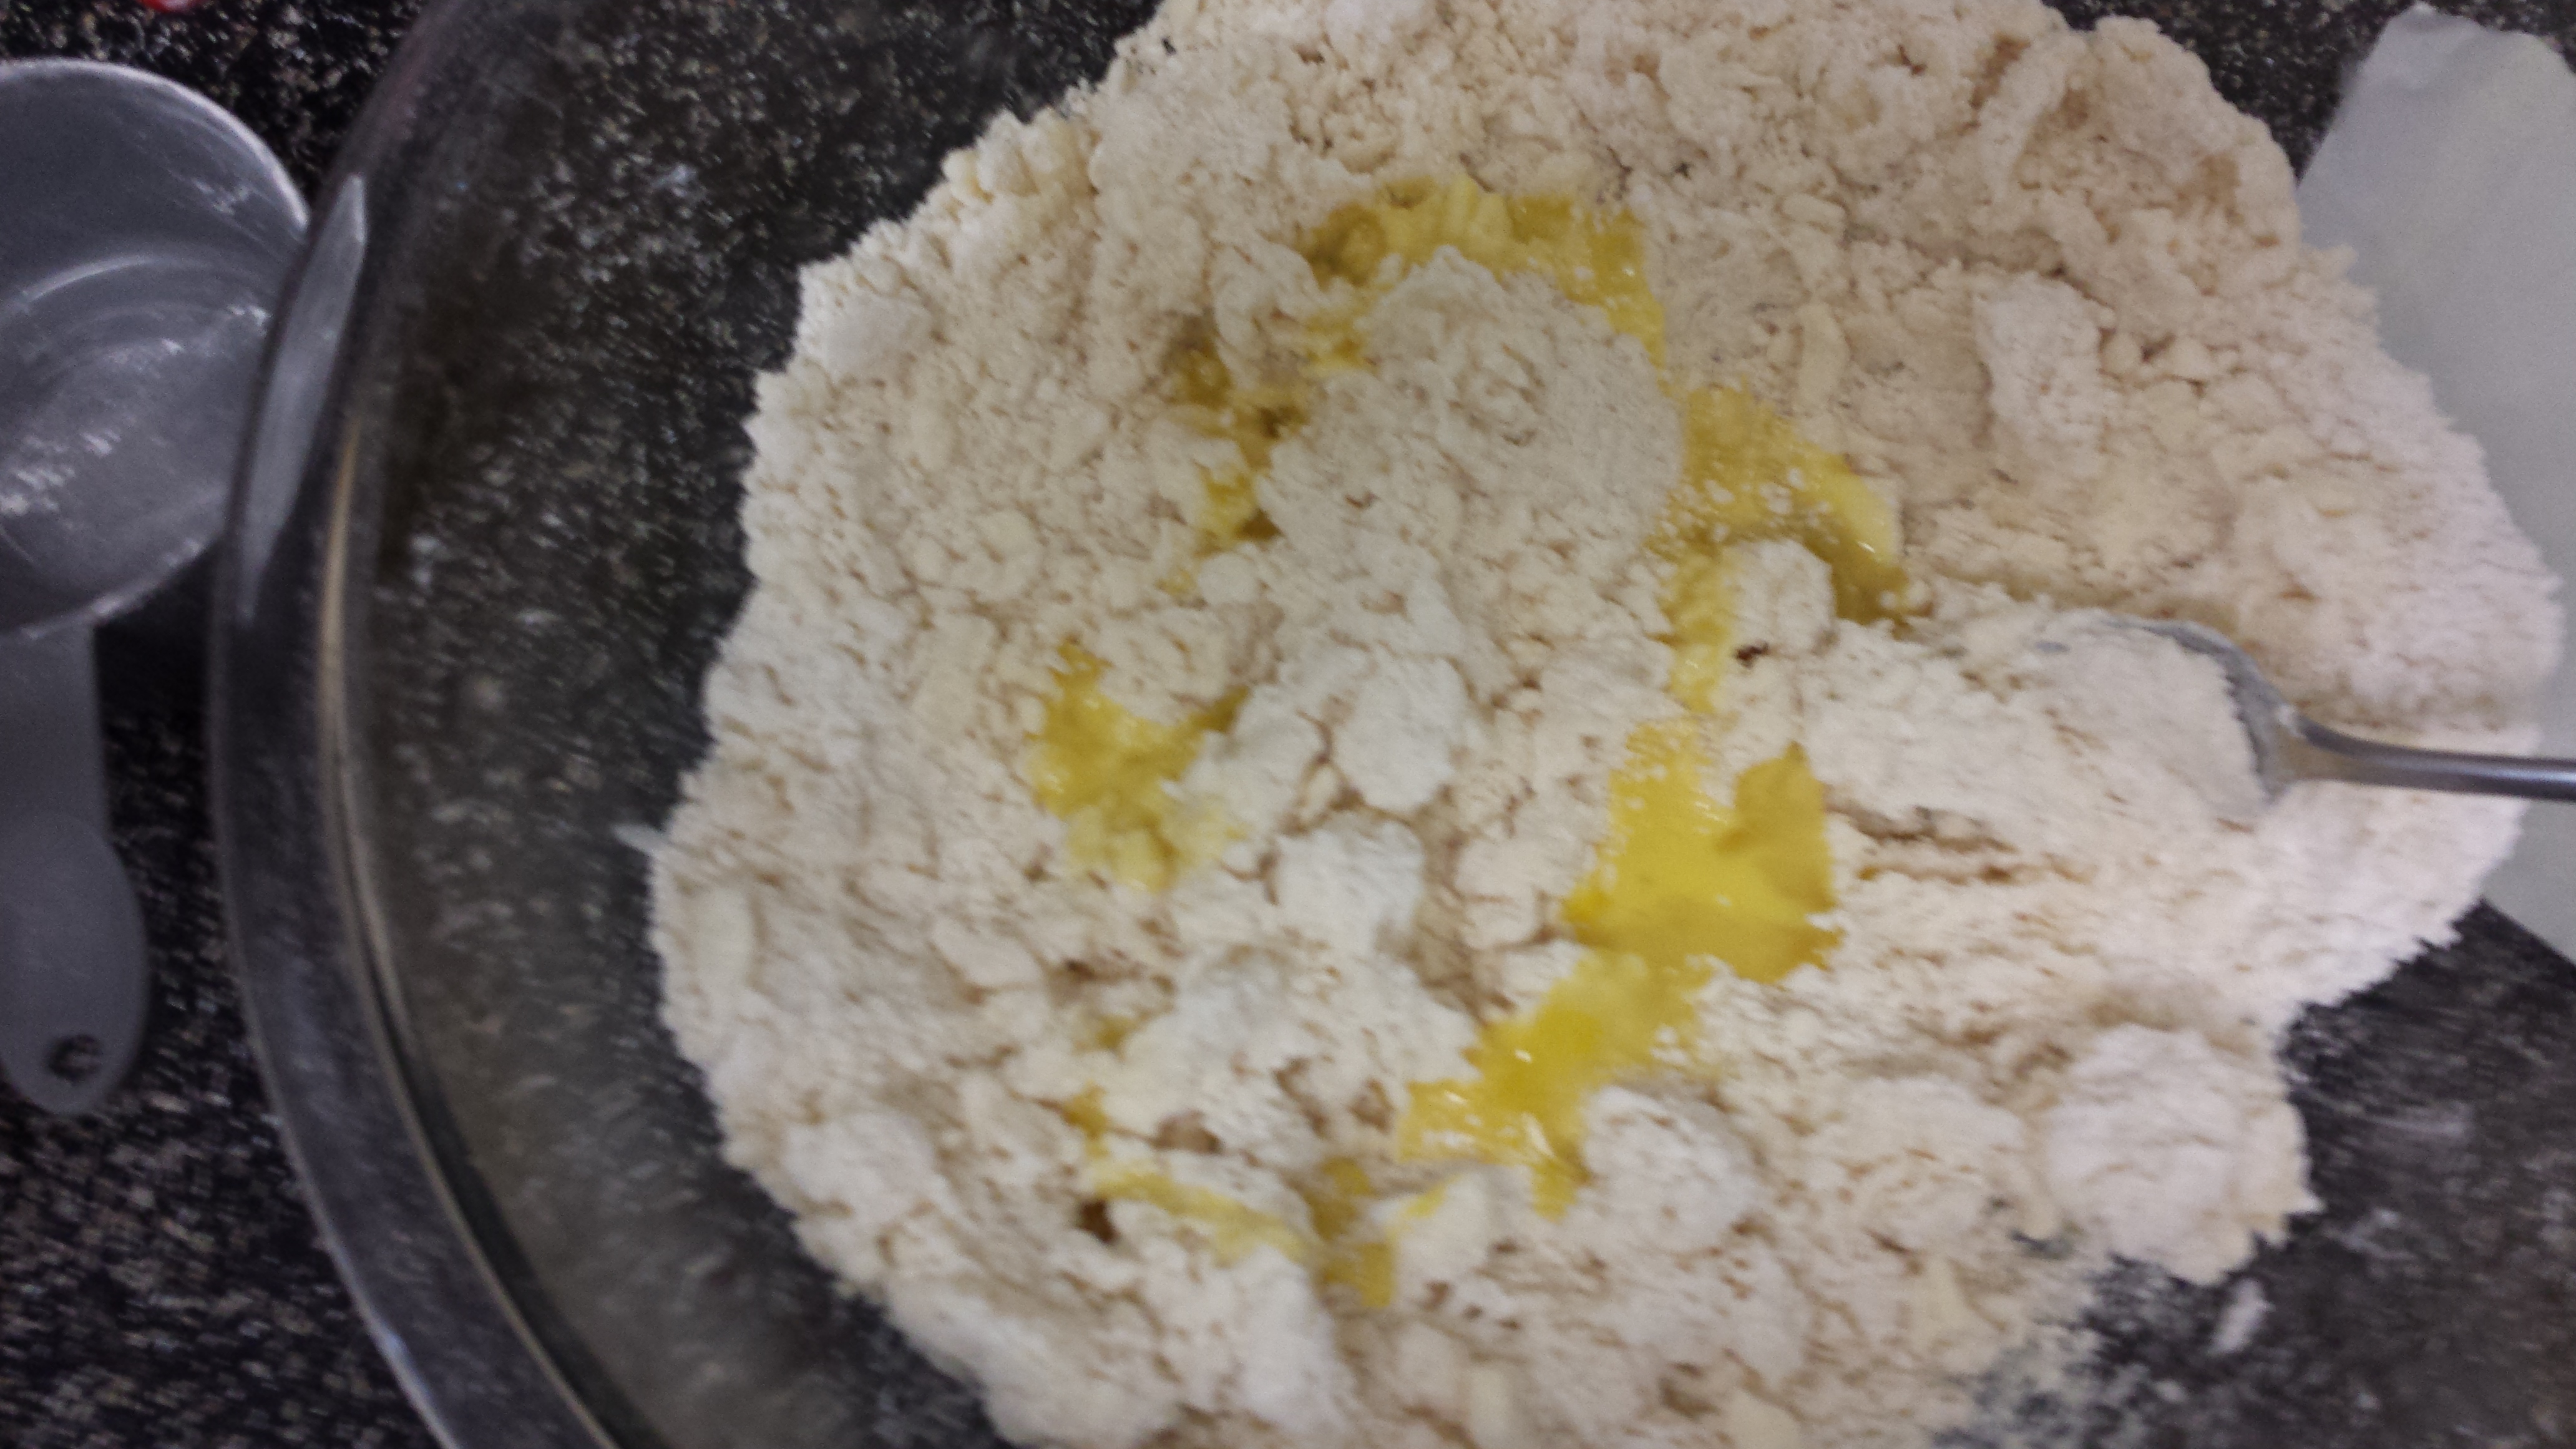
Now, using a fork, squish those pats into the flour. This is why I like using the butter flavor, because it’s yellow so you can better see how well your mixing is going.
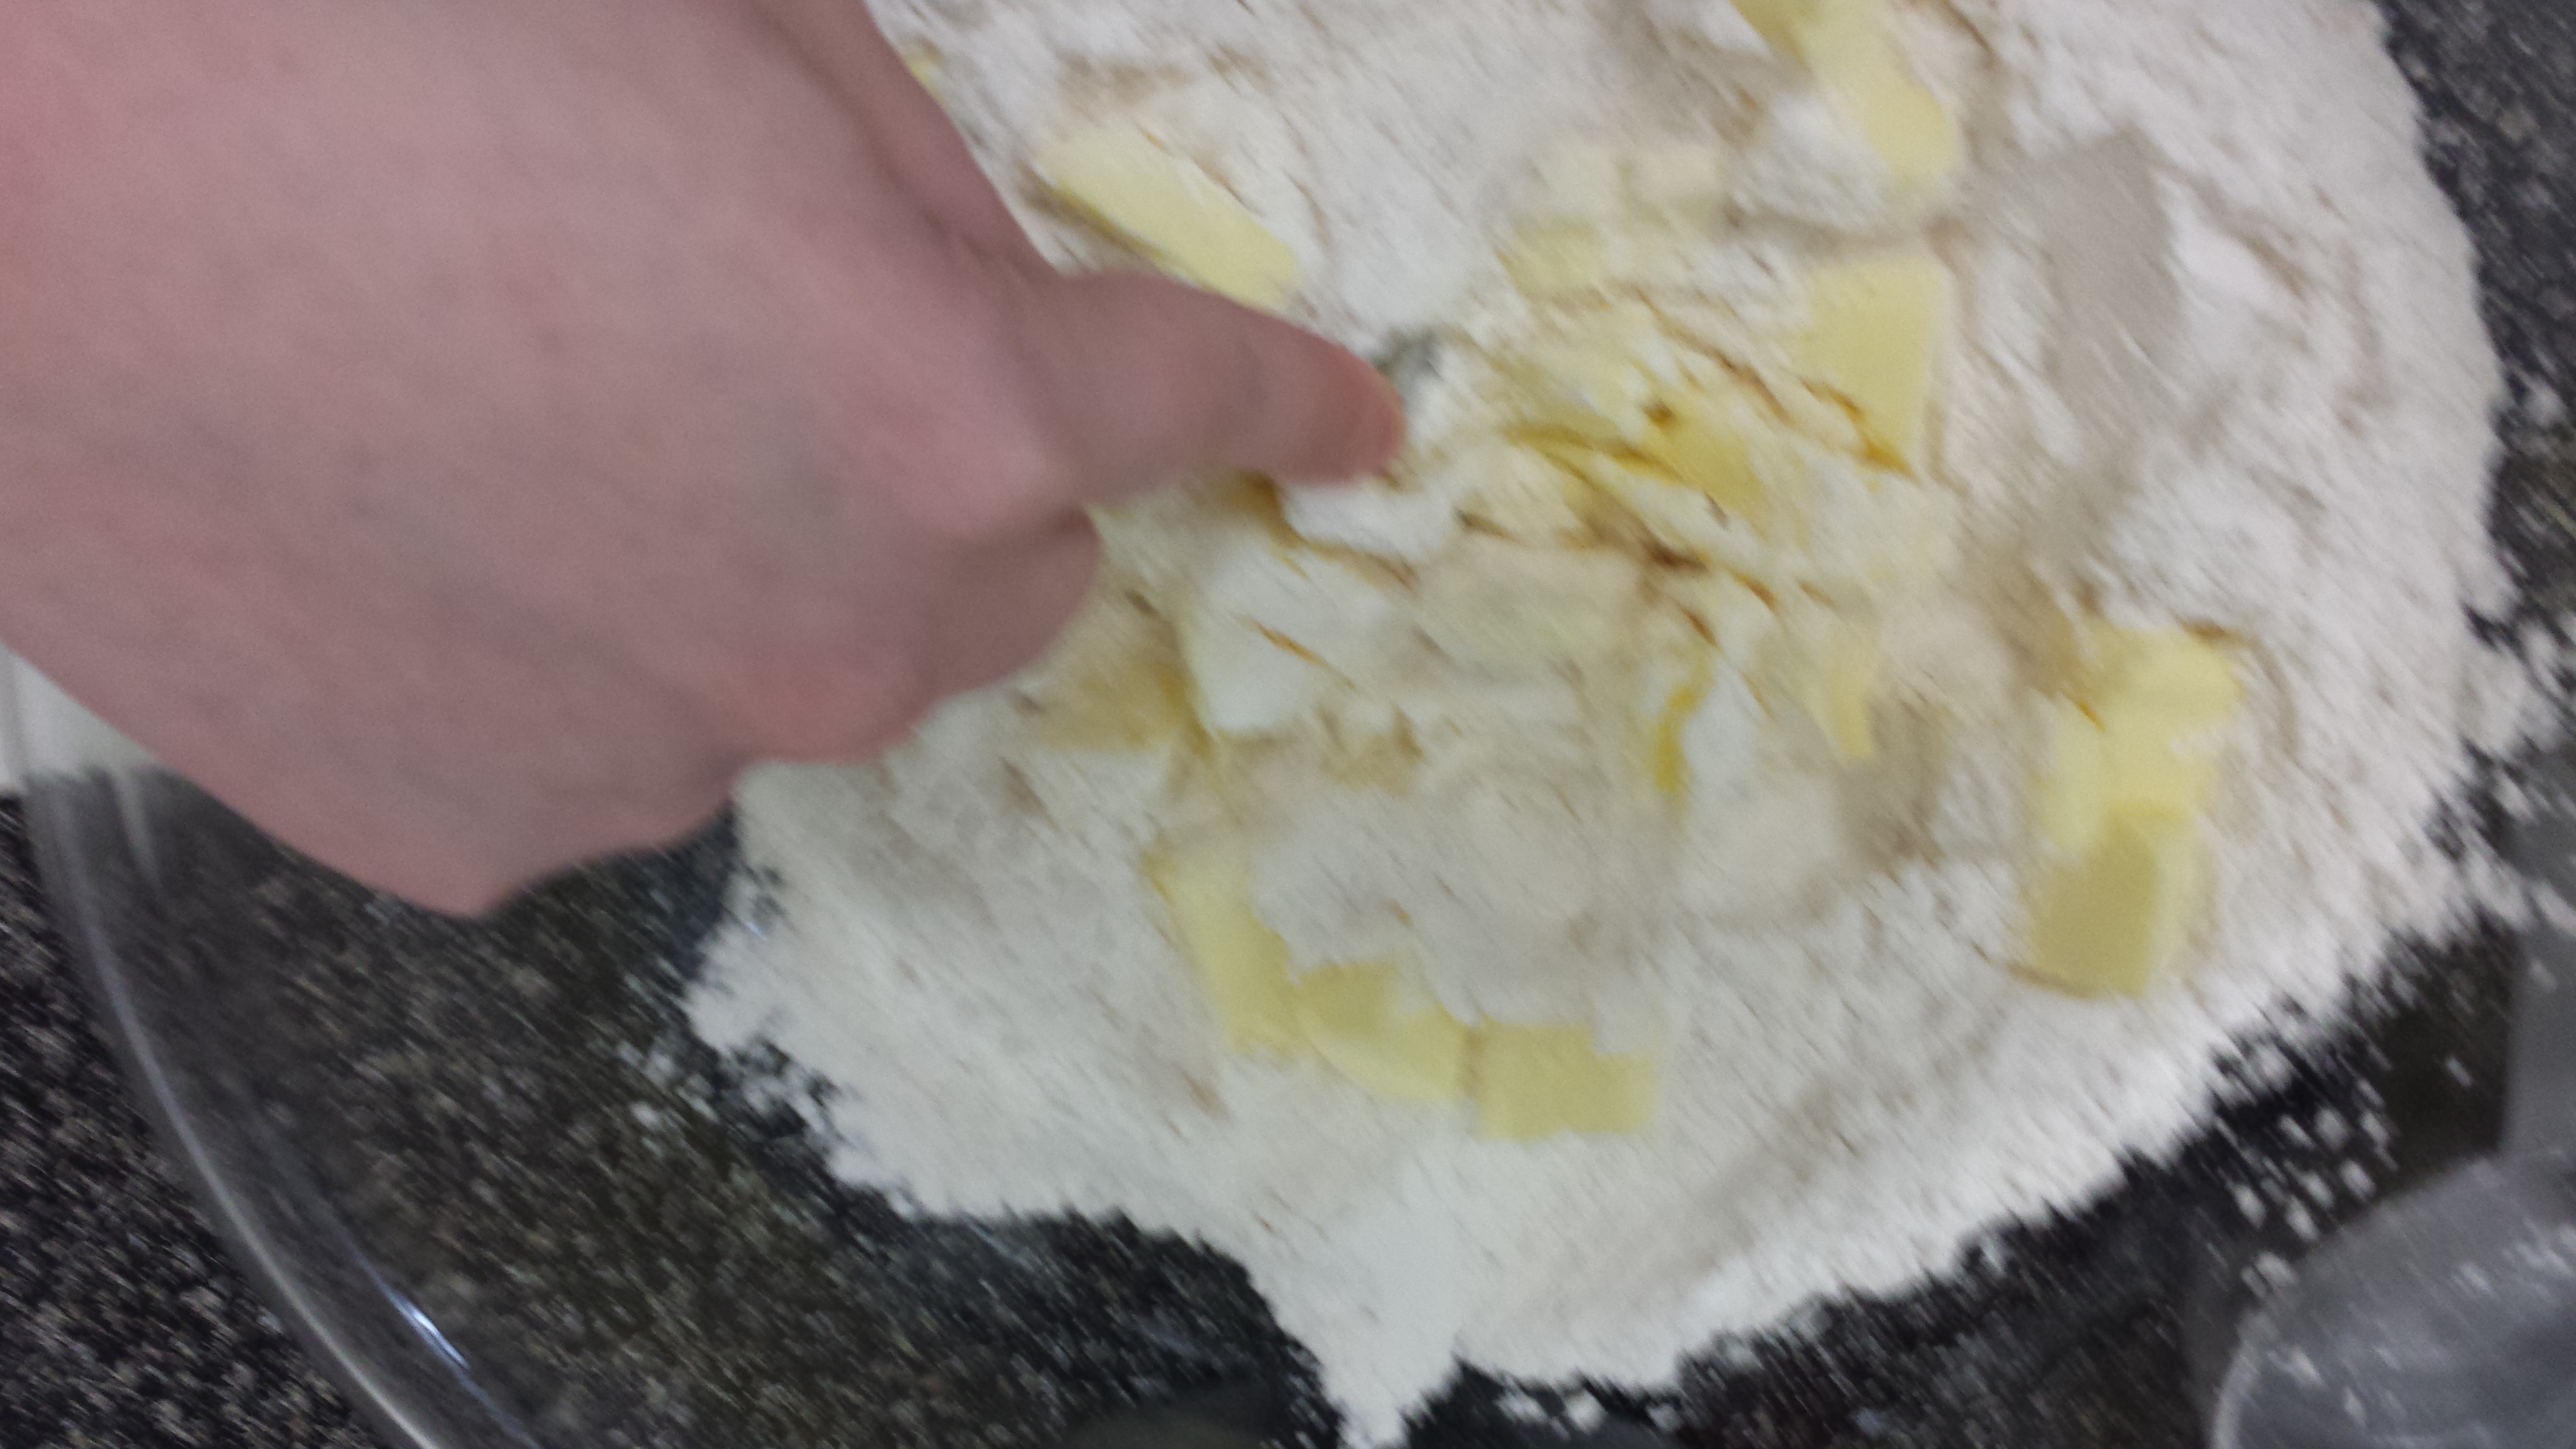
I tried to get an action shot
This motion seems weird at first, but you’ll soon get the hang of it. It’s kind of like mashing potatoes. You use the fork to press down on the lumps of shortening, mashing them in with the flour. Make sure to turn the bowl and scrape the sides to incorporate all the flour, and take at least one break to scrape any Crisco off your fork. It’s hard to describe, but it’ll probably only take you five minutes, max.

After shot!
After this step, the mixture should look kind of like crumbly sand.
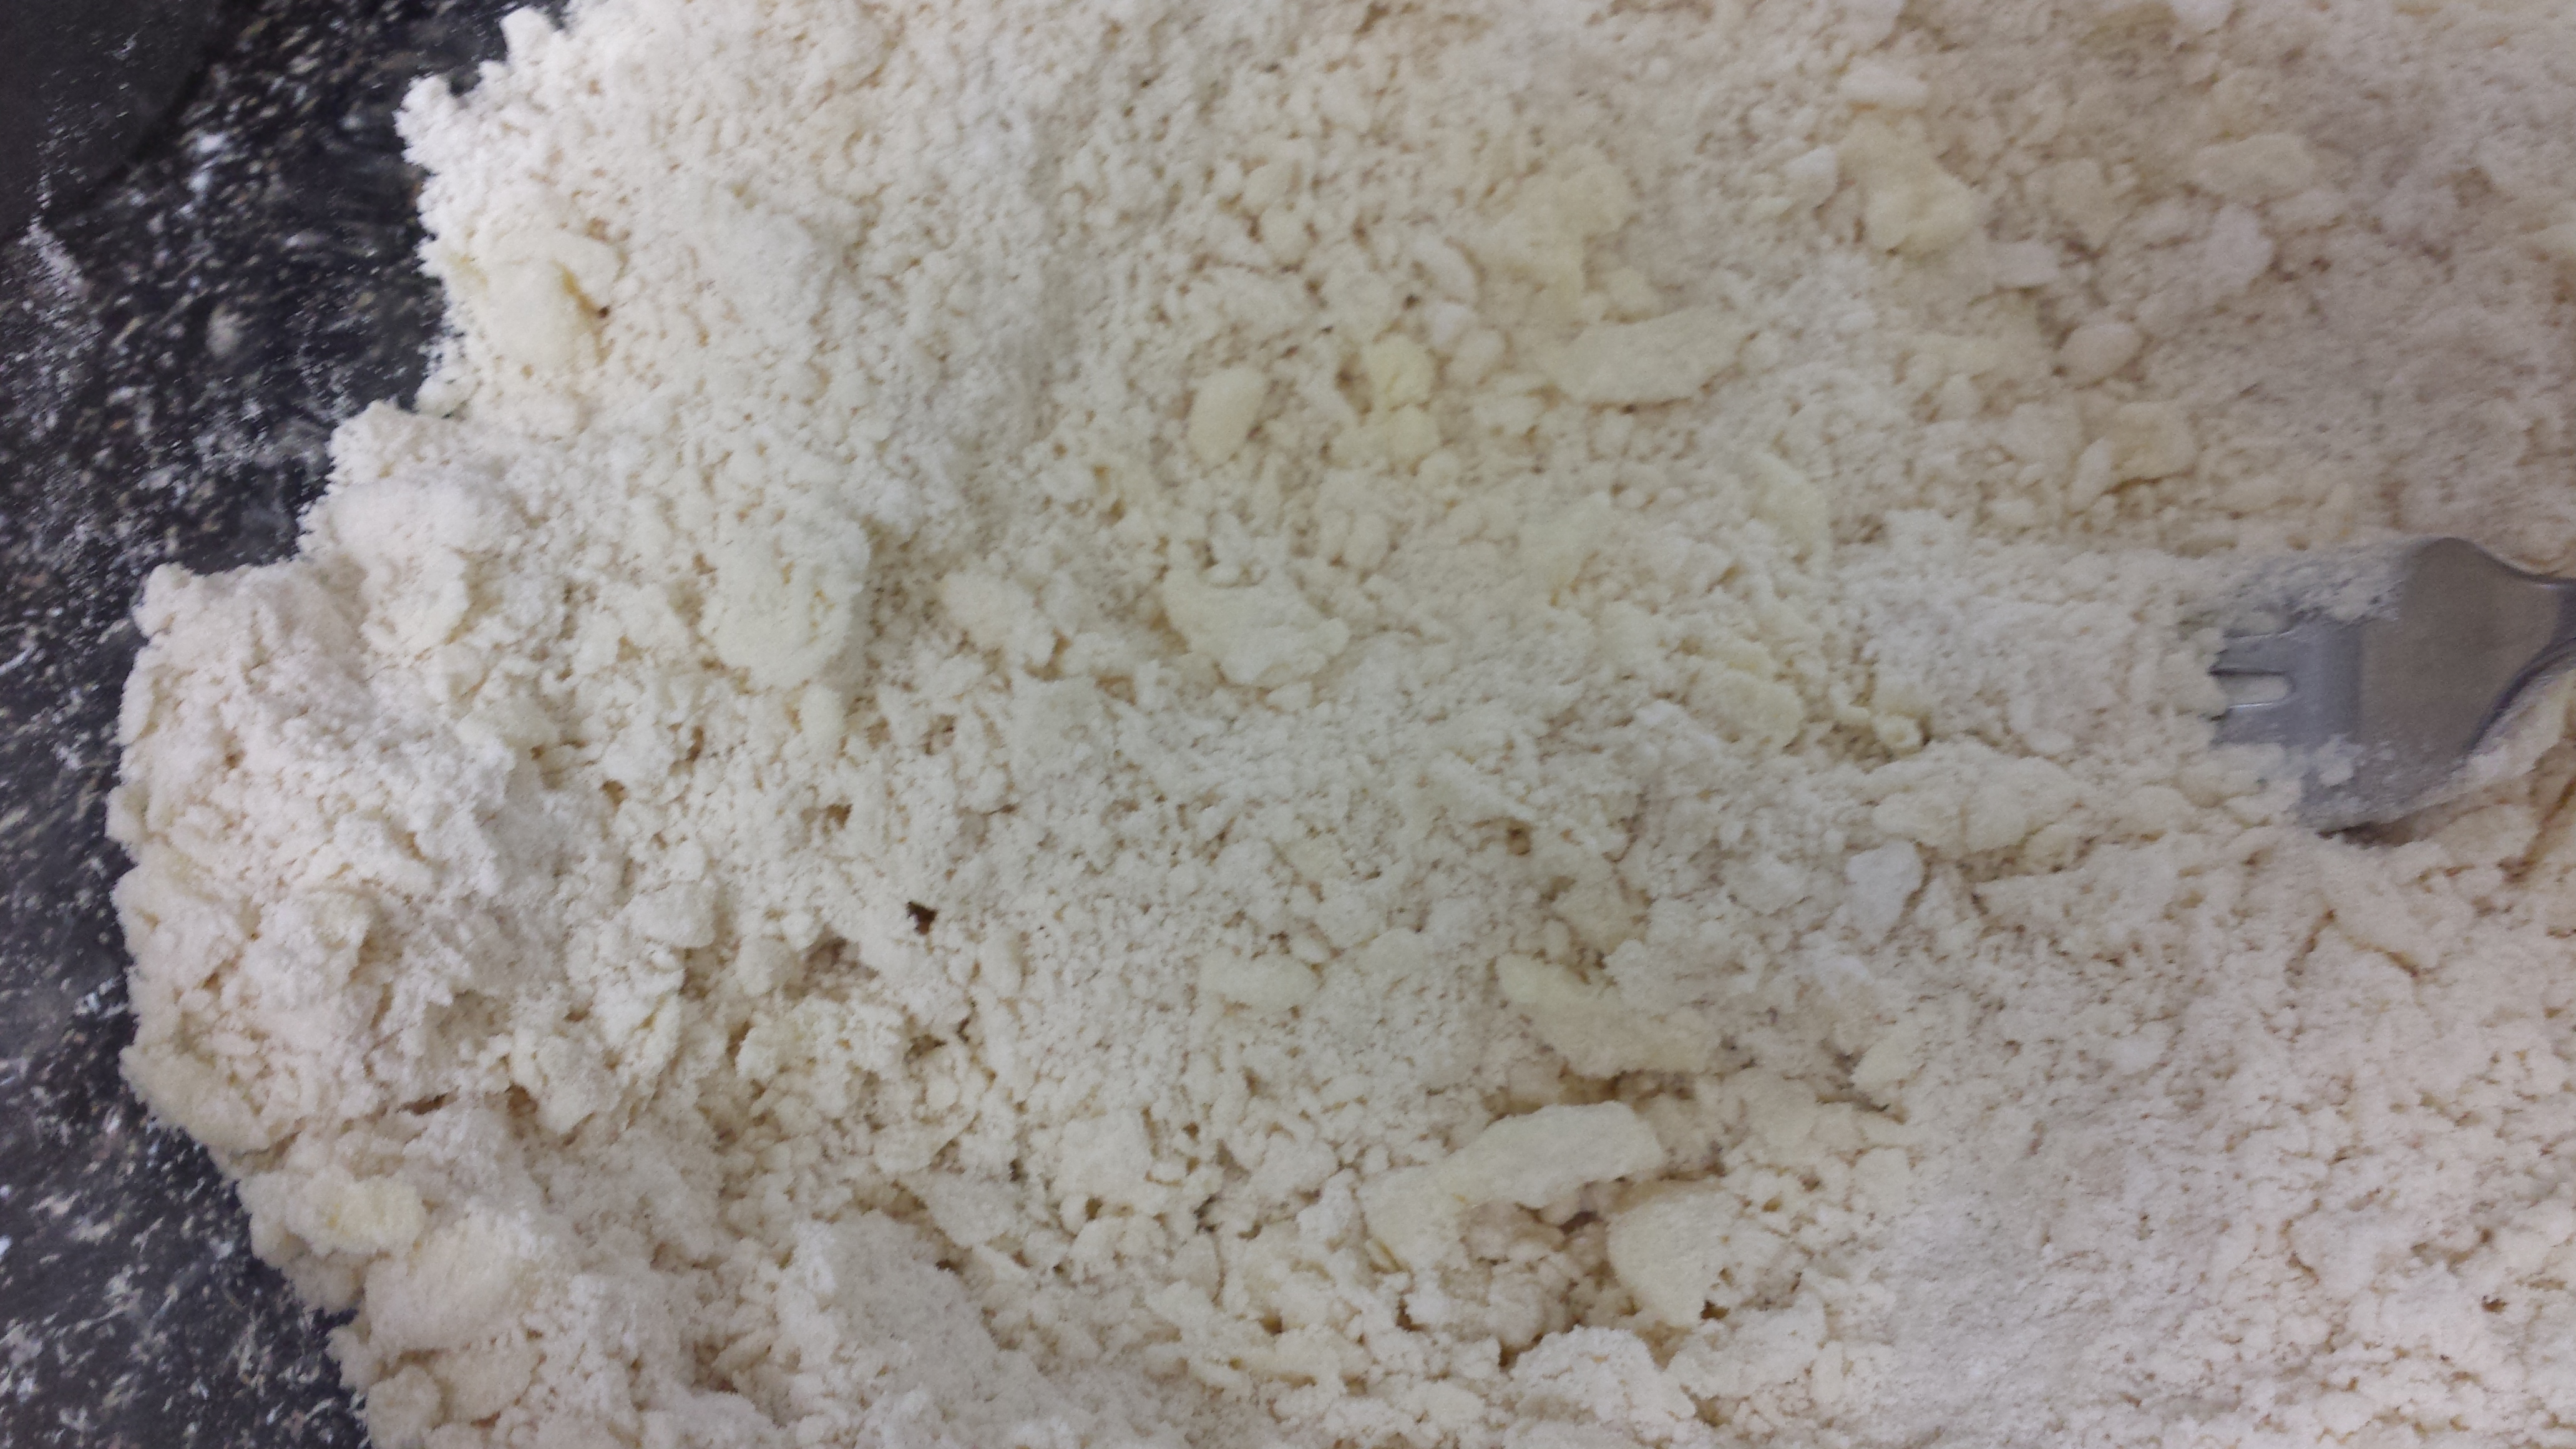
And if you’re using different colored shortening, it should be a uniform color
Congratulations! Now it’s time for wet ingredients.
3. Wet Ingredients
First, get out your egg and crack it into a cup or something:
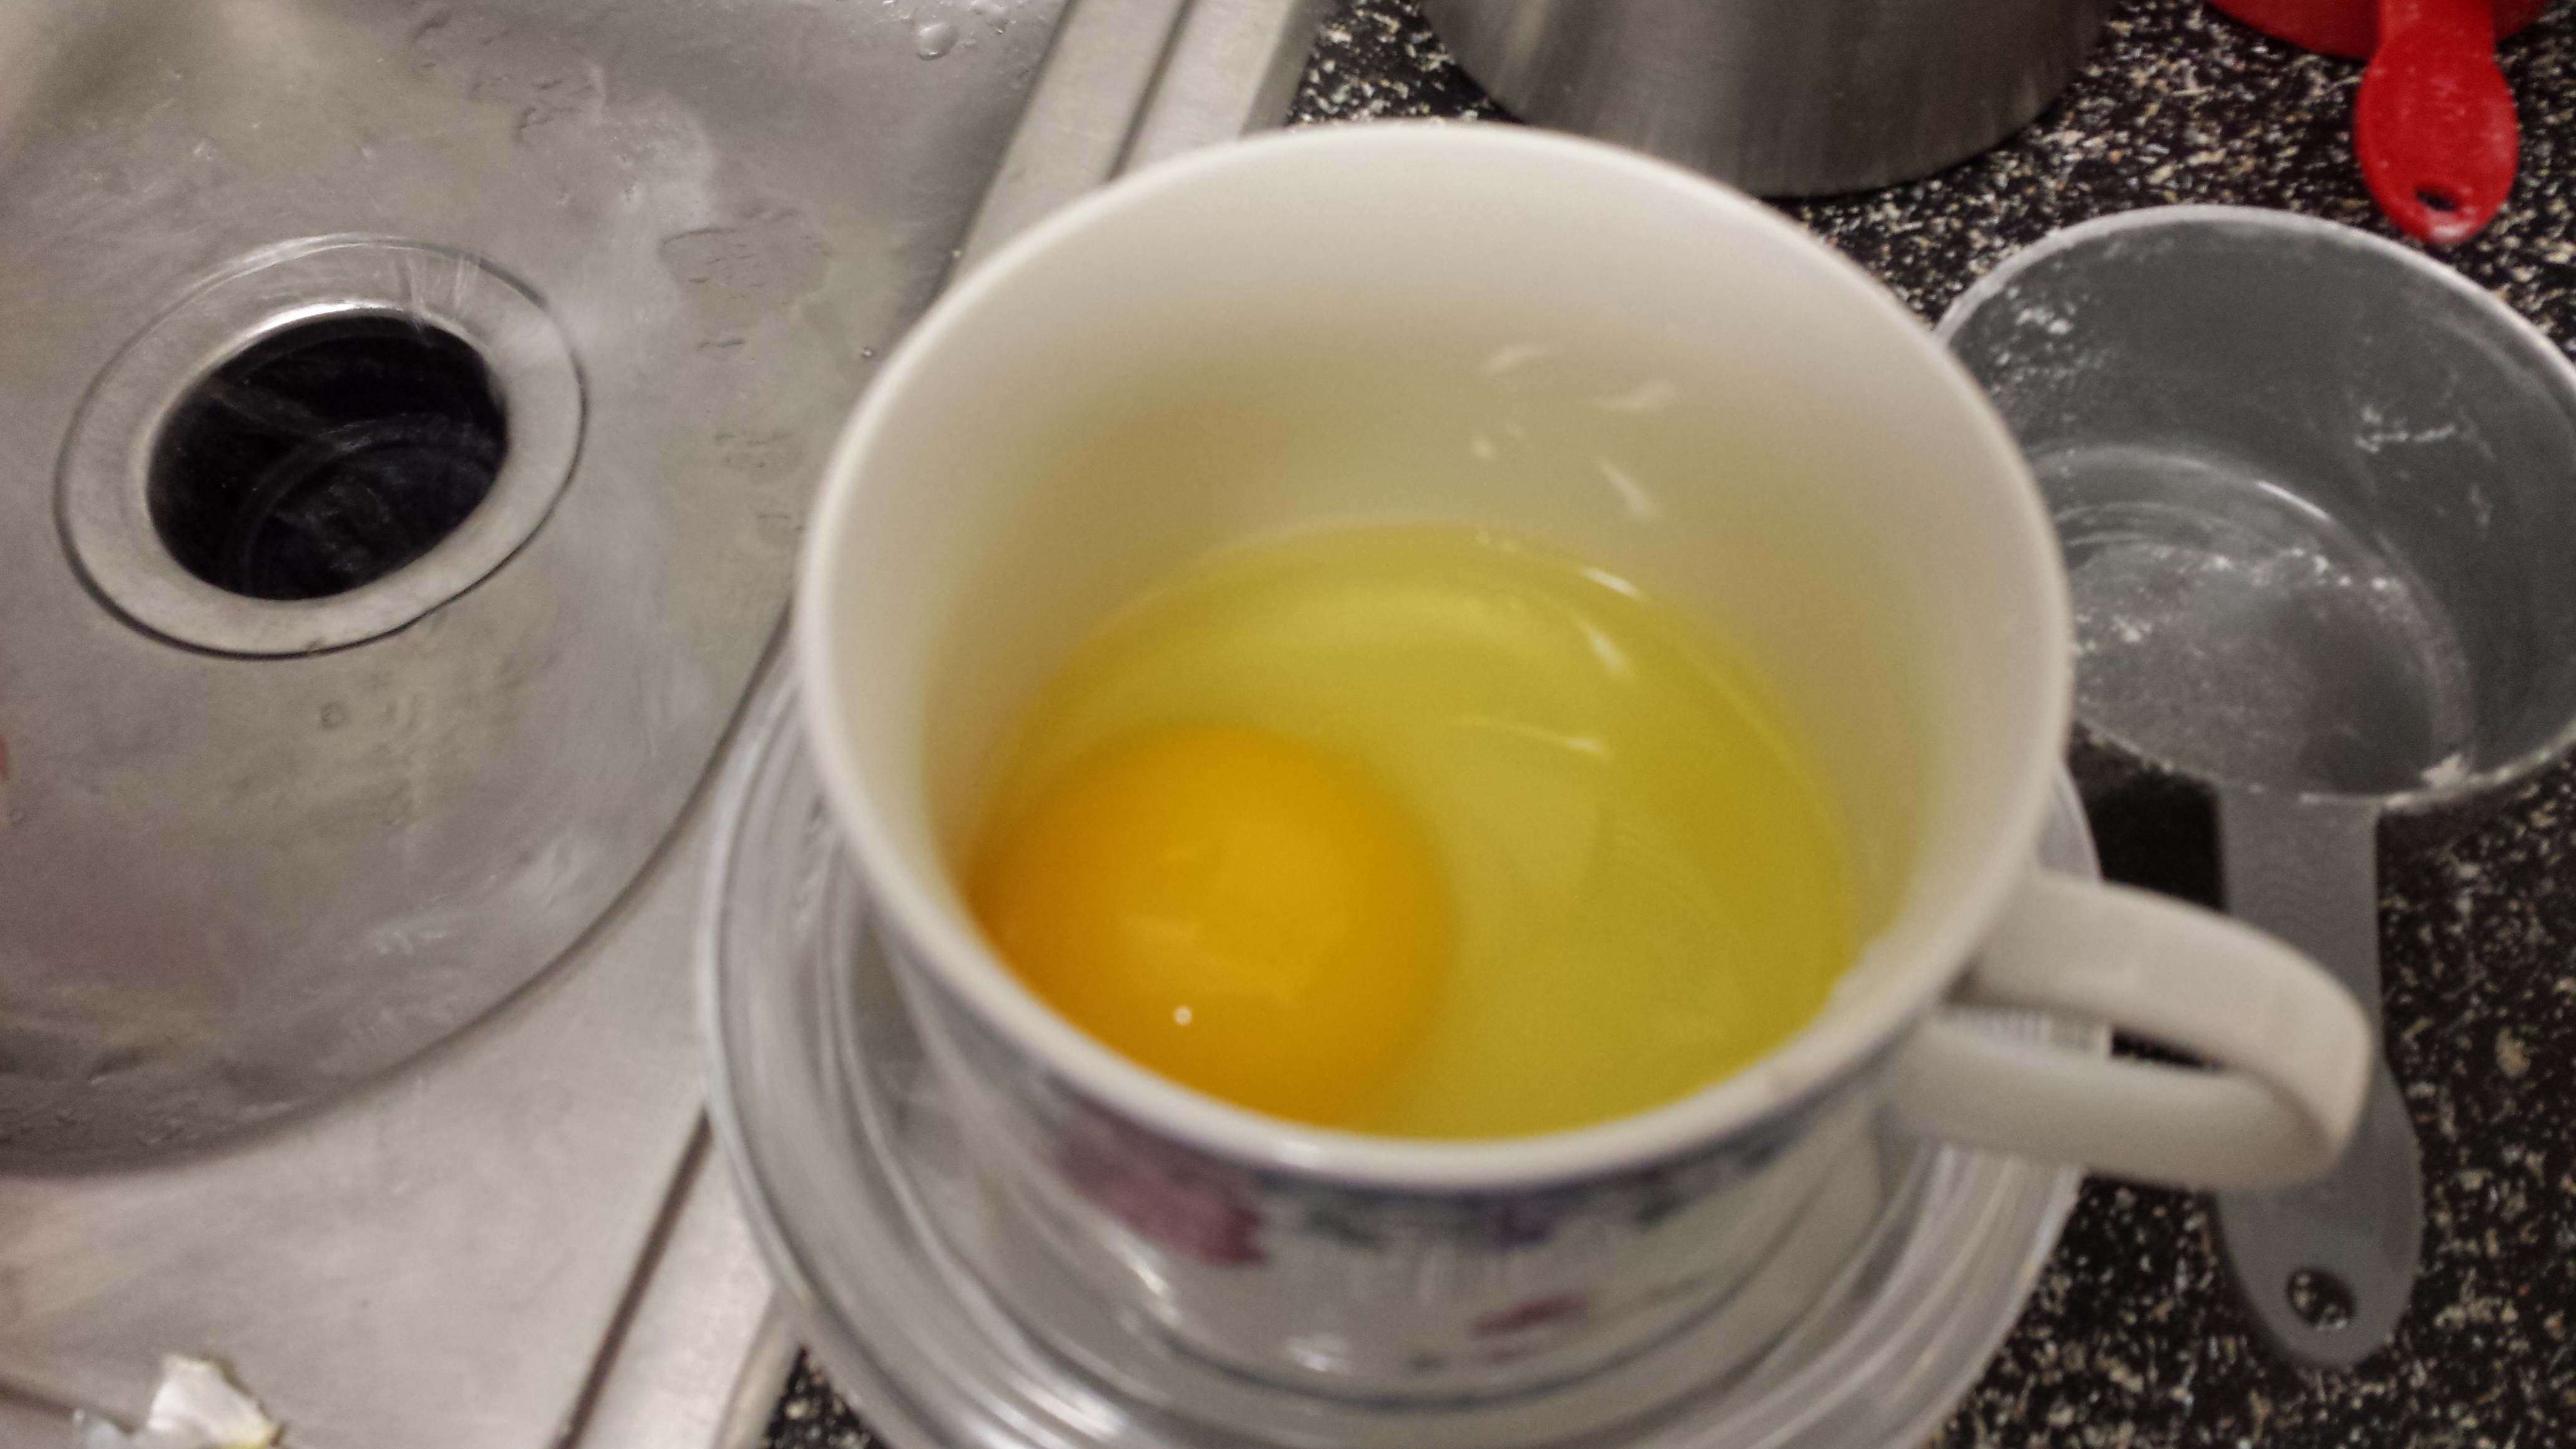
I always use the same one. It’s my pie egg-beating cup.
Now beat the egg with your fork!
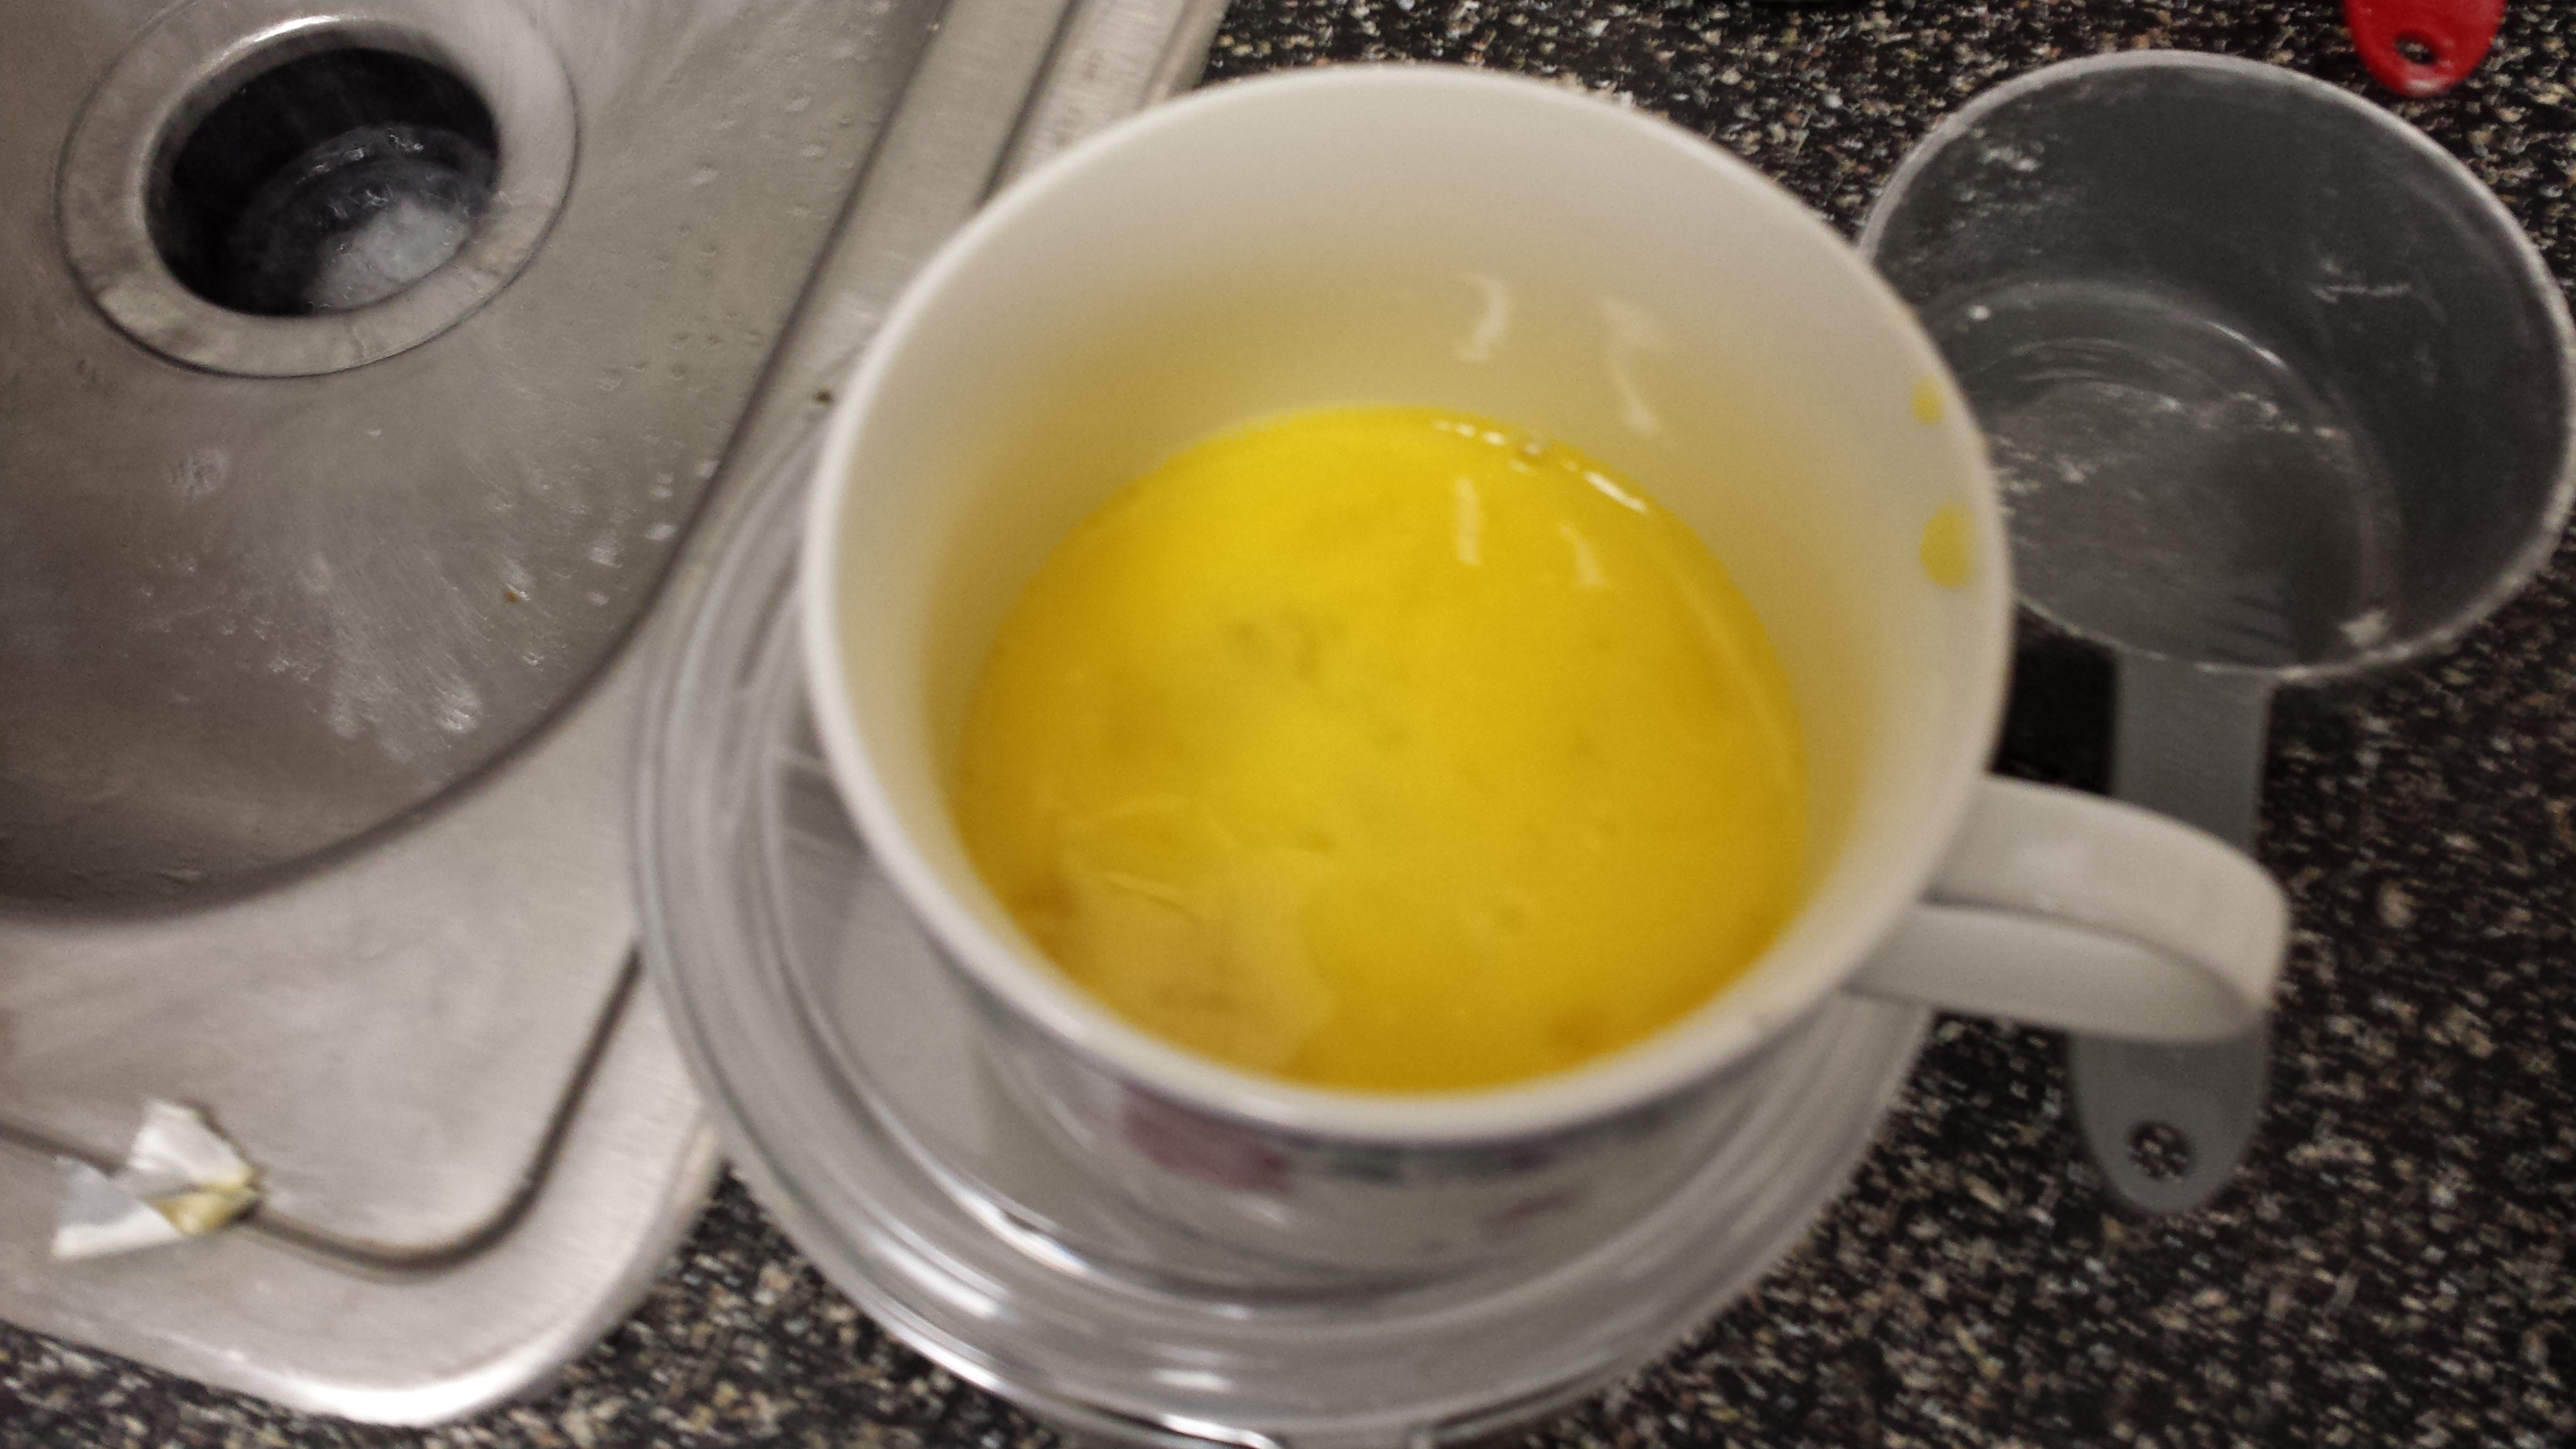
Weeeeeeeeeee!
Okay, good. Now measure out 1/4 cup of cold water. It’s underlined on my copy of this recipe so it must be important, probably because of science. Spread that over the mixture in your bowl. Add the little bit of vinegar too:
It doesn’t seem like it should be enough liquid, but it is
Now add half the beaten egg. I know that’s weird, but just eyeball it. Keep the cup with the rest of the egg nearby, in case you decide you need more during the following steps (the dough will be too dry). If you accidentally add too much, just add more flour. Wait before adjusting till you’ve worked the dough a little bit to be sure.
I always think it will never be enough, but then it is
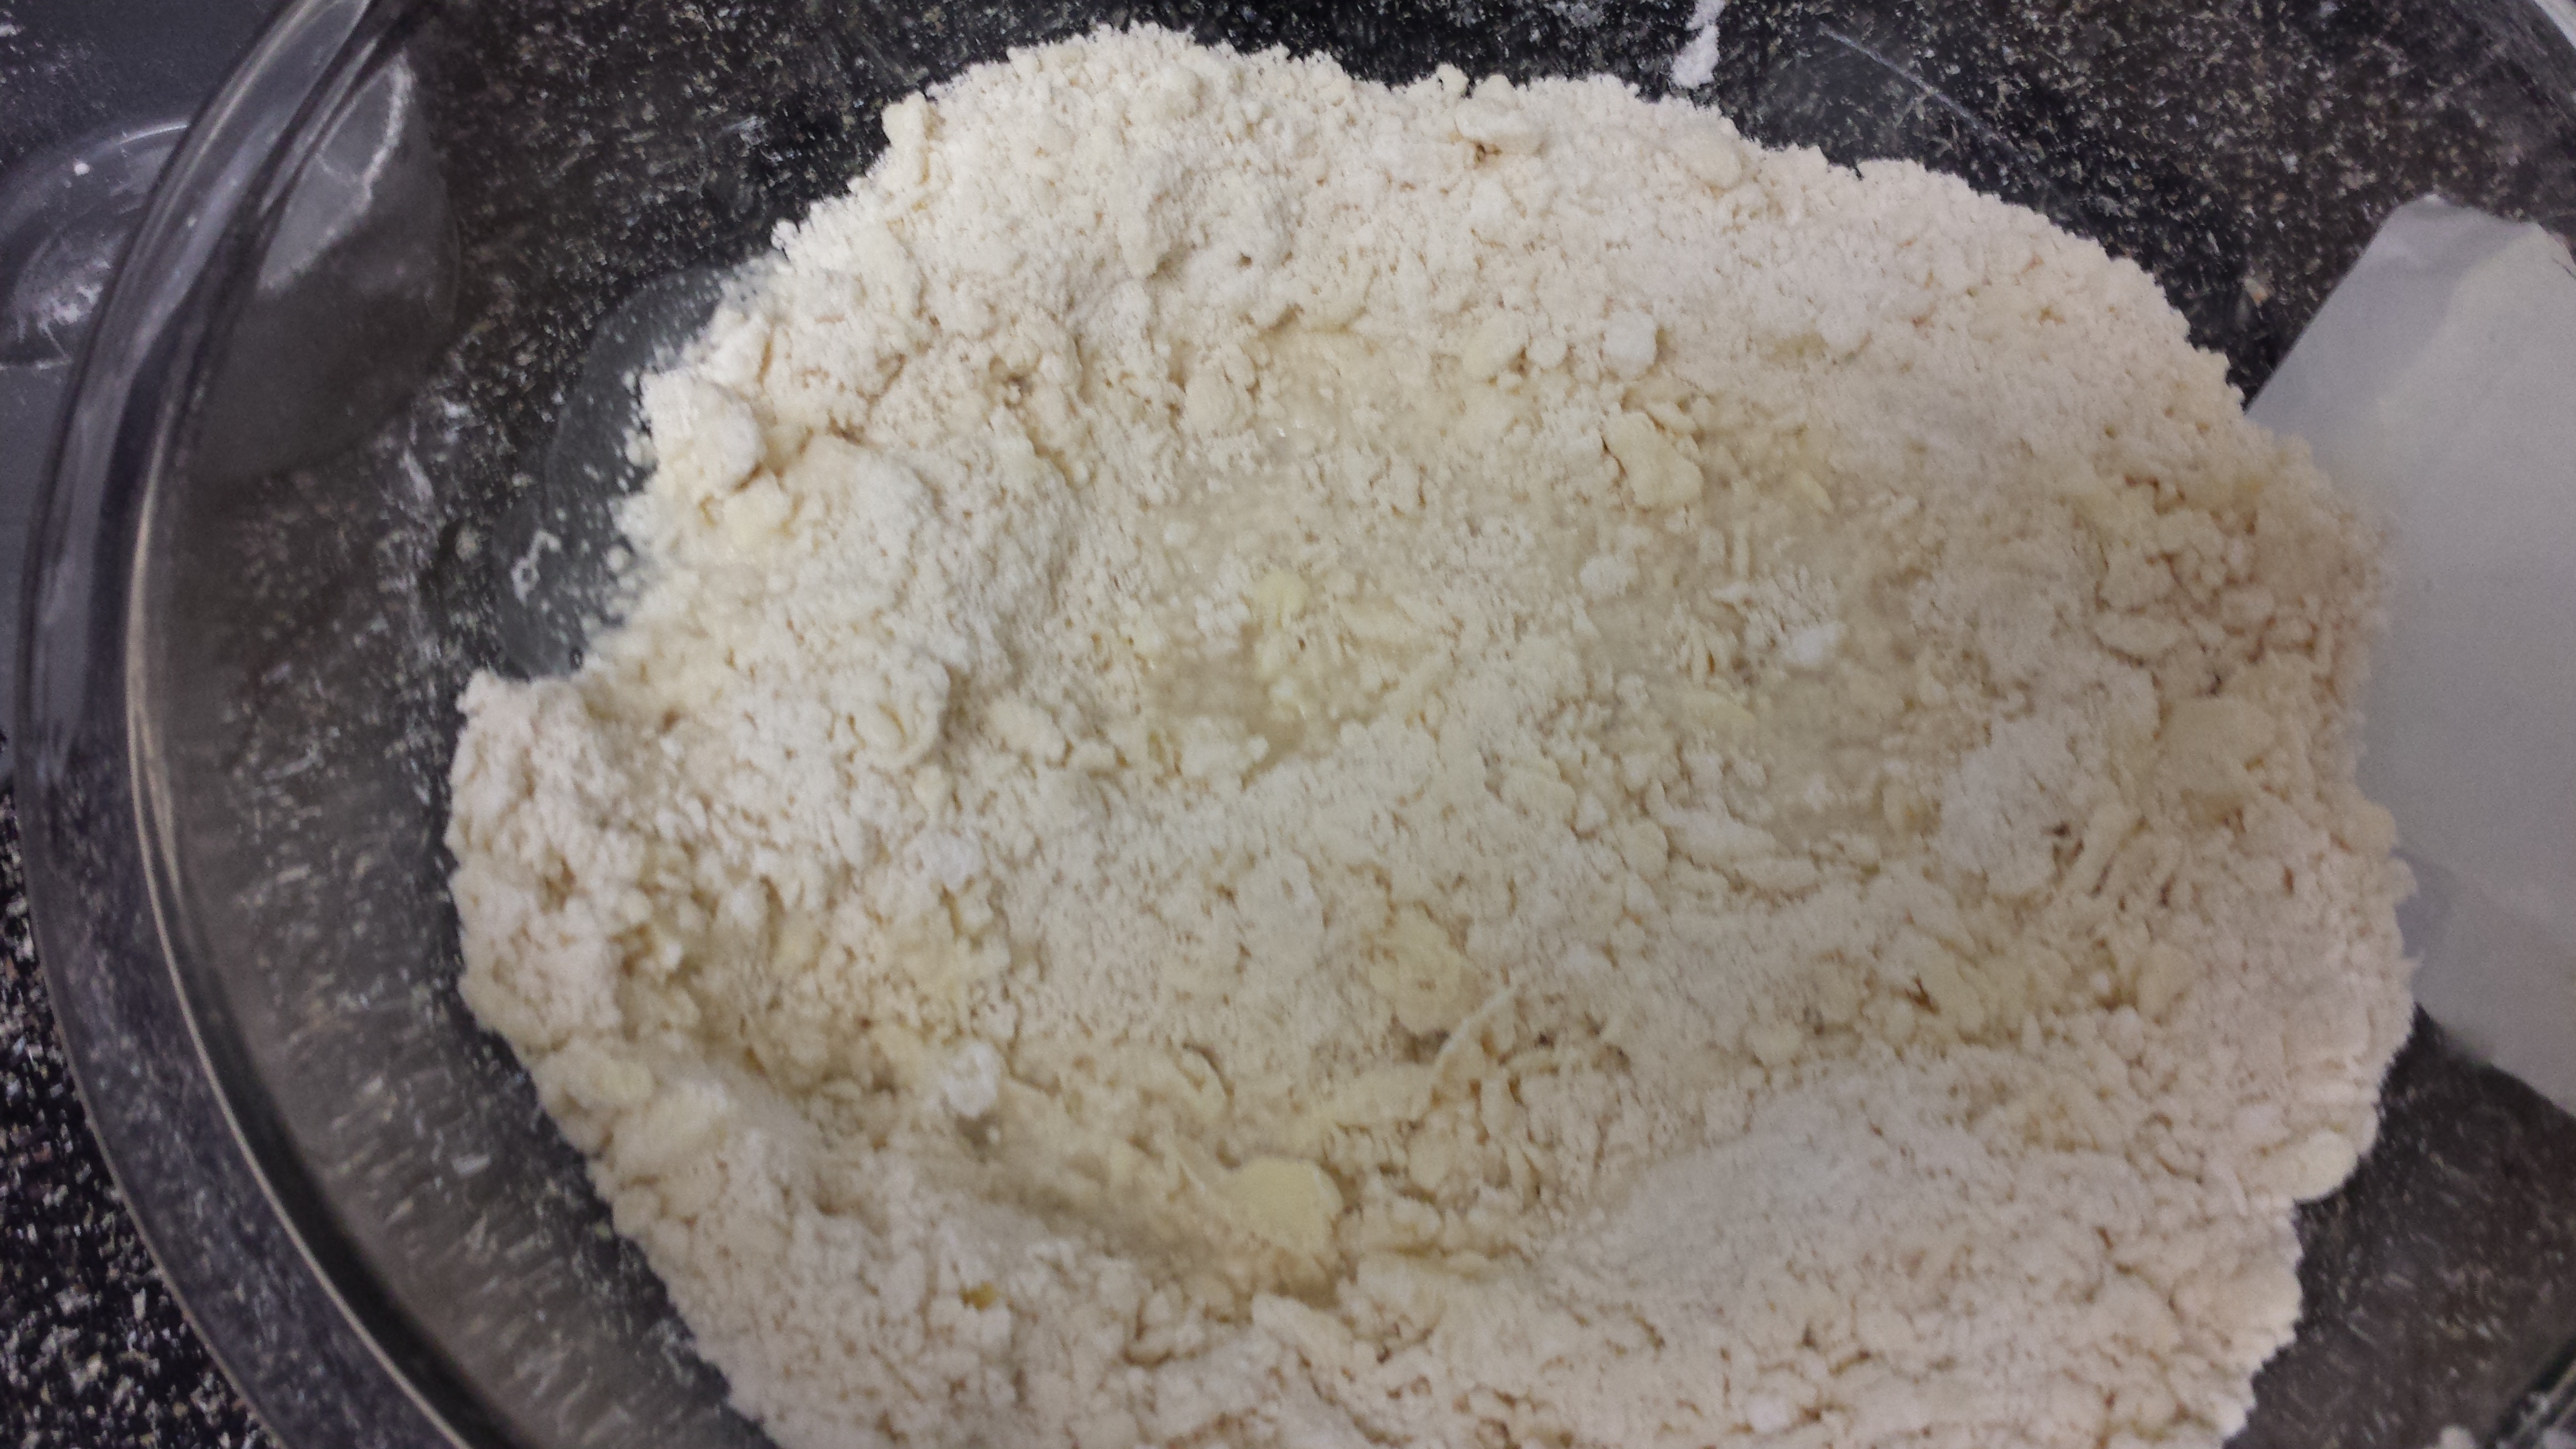
Now start mixing that moisture in with your fork. I tend to use a similar mashing sort of motion as when I mixed in the shortening. It should start sticking together like this:

Like this!
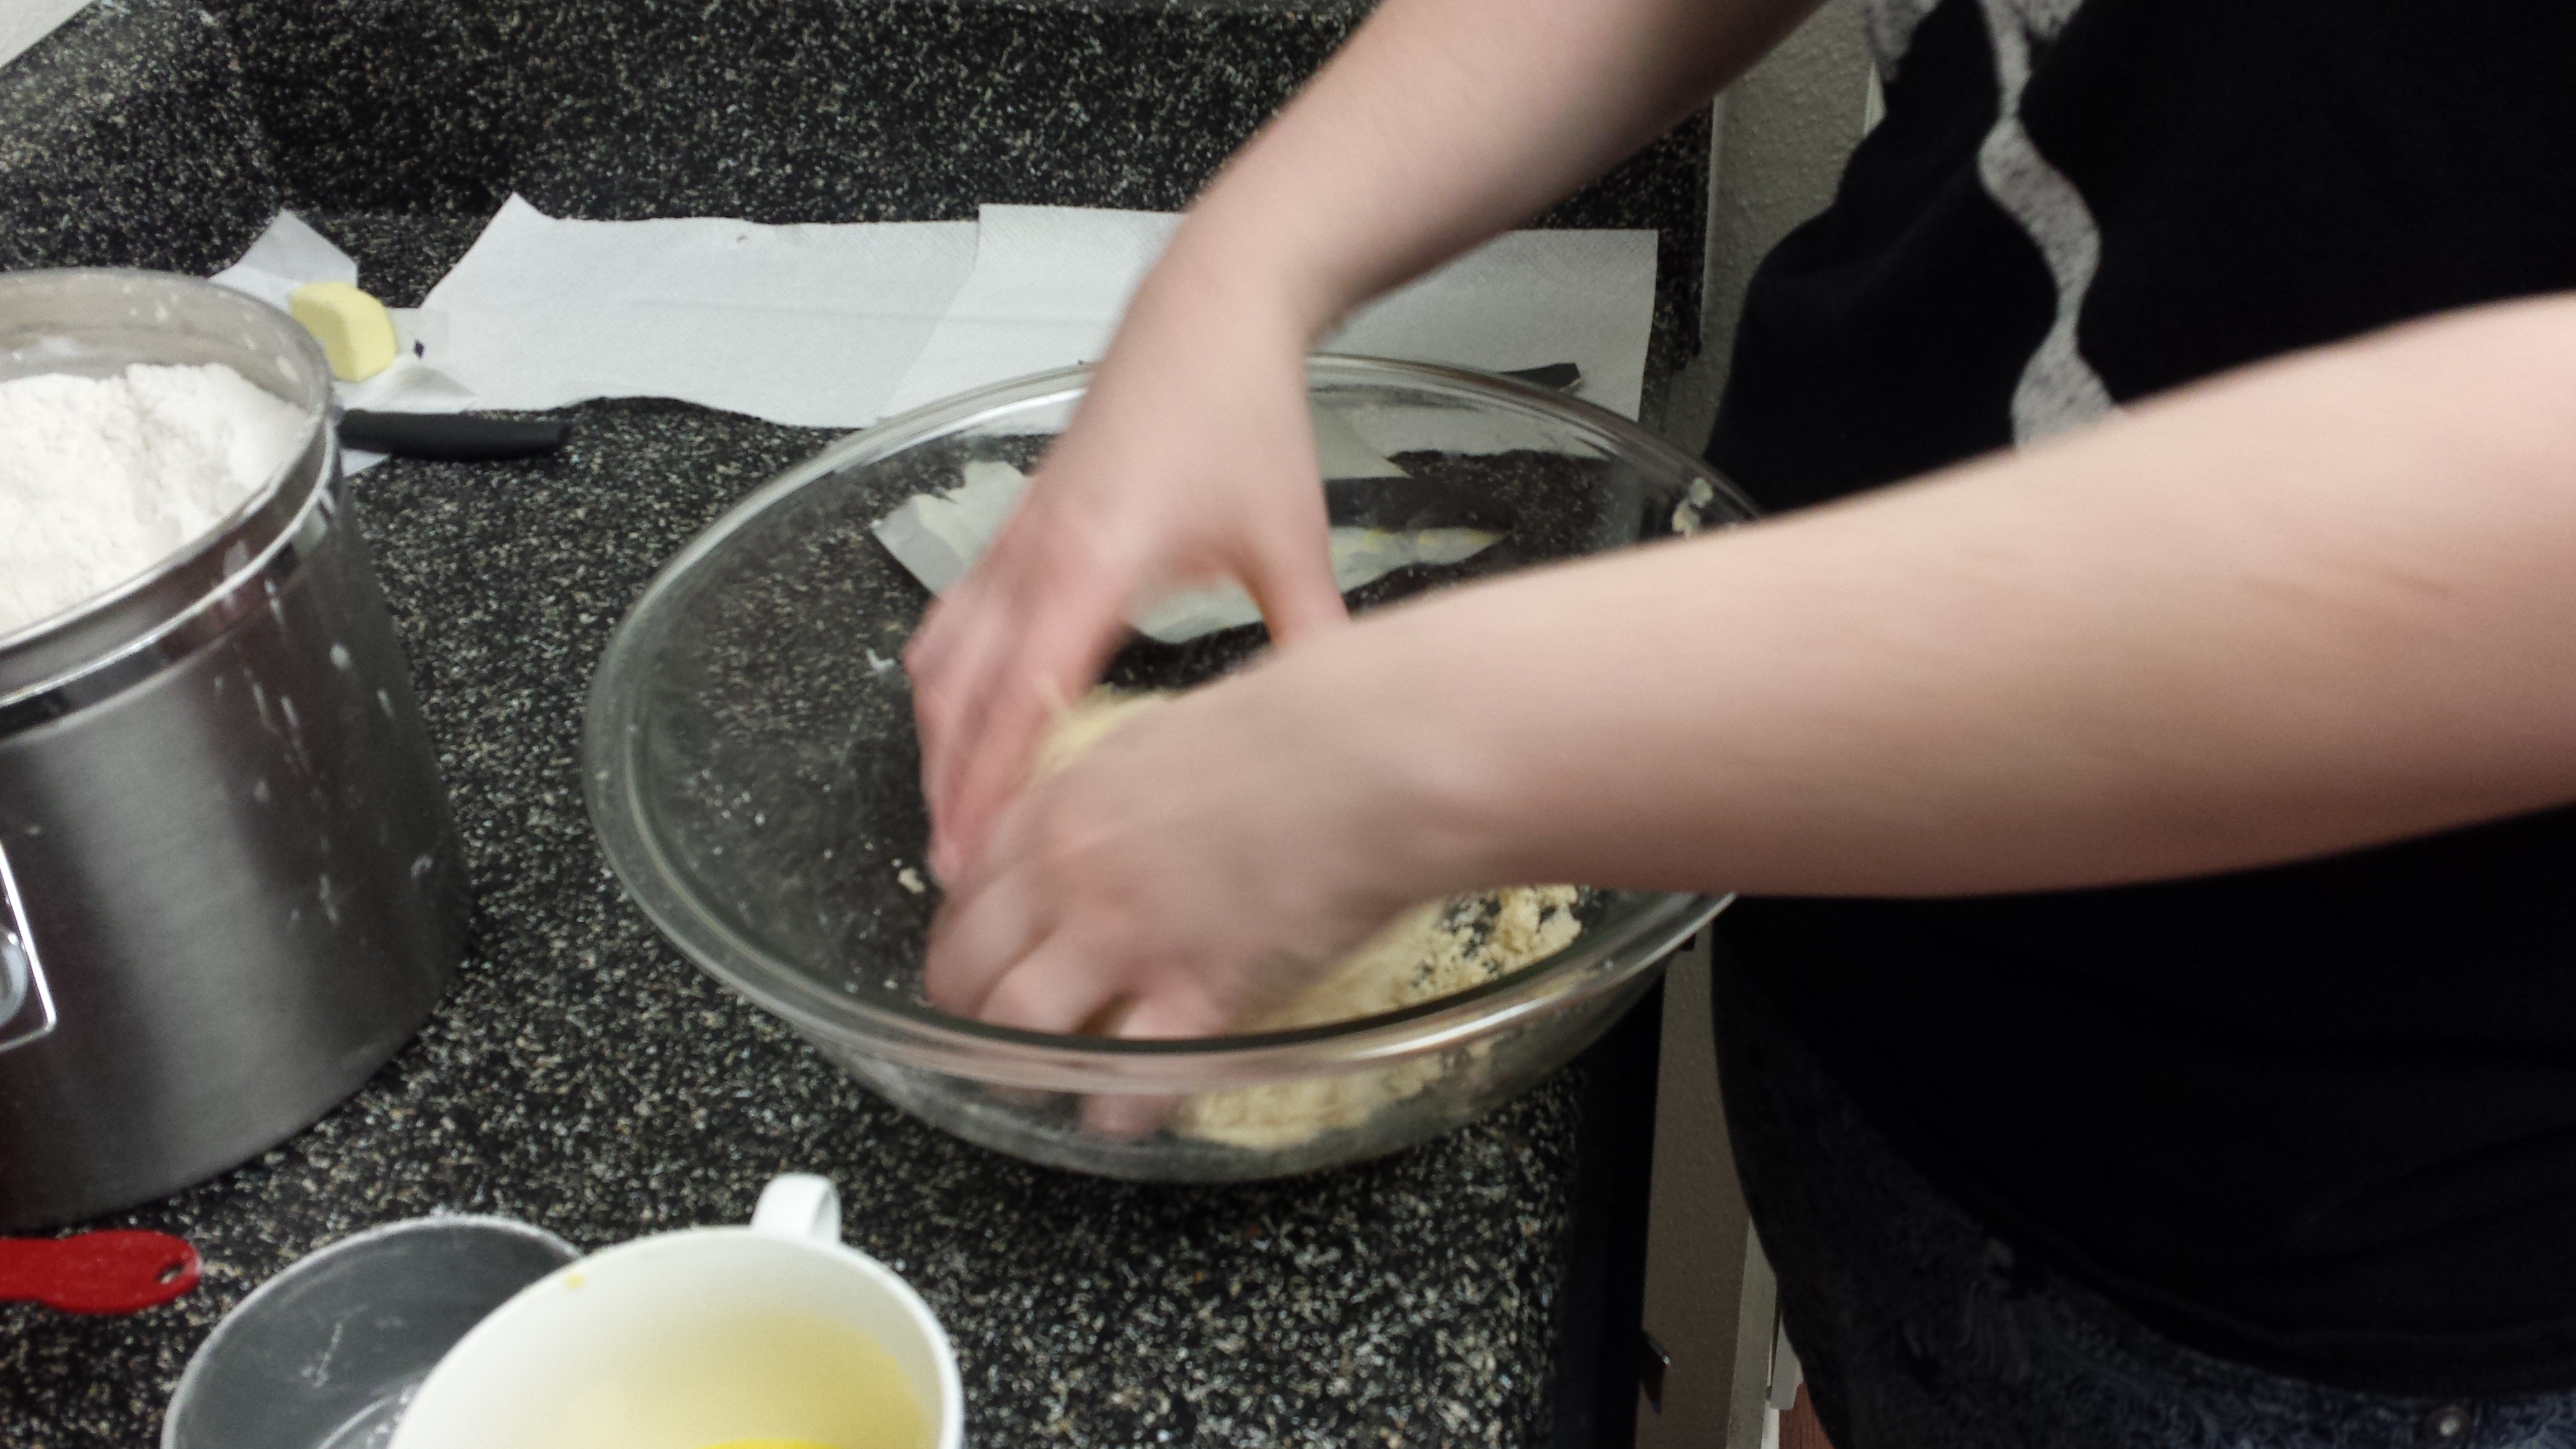
After that, it’s time to get a little messy. Try not to touch the dough too much because the oil from your hands will cause it to be less flaky. But get in there and squish it into a ball:
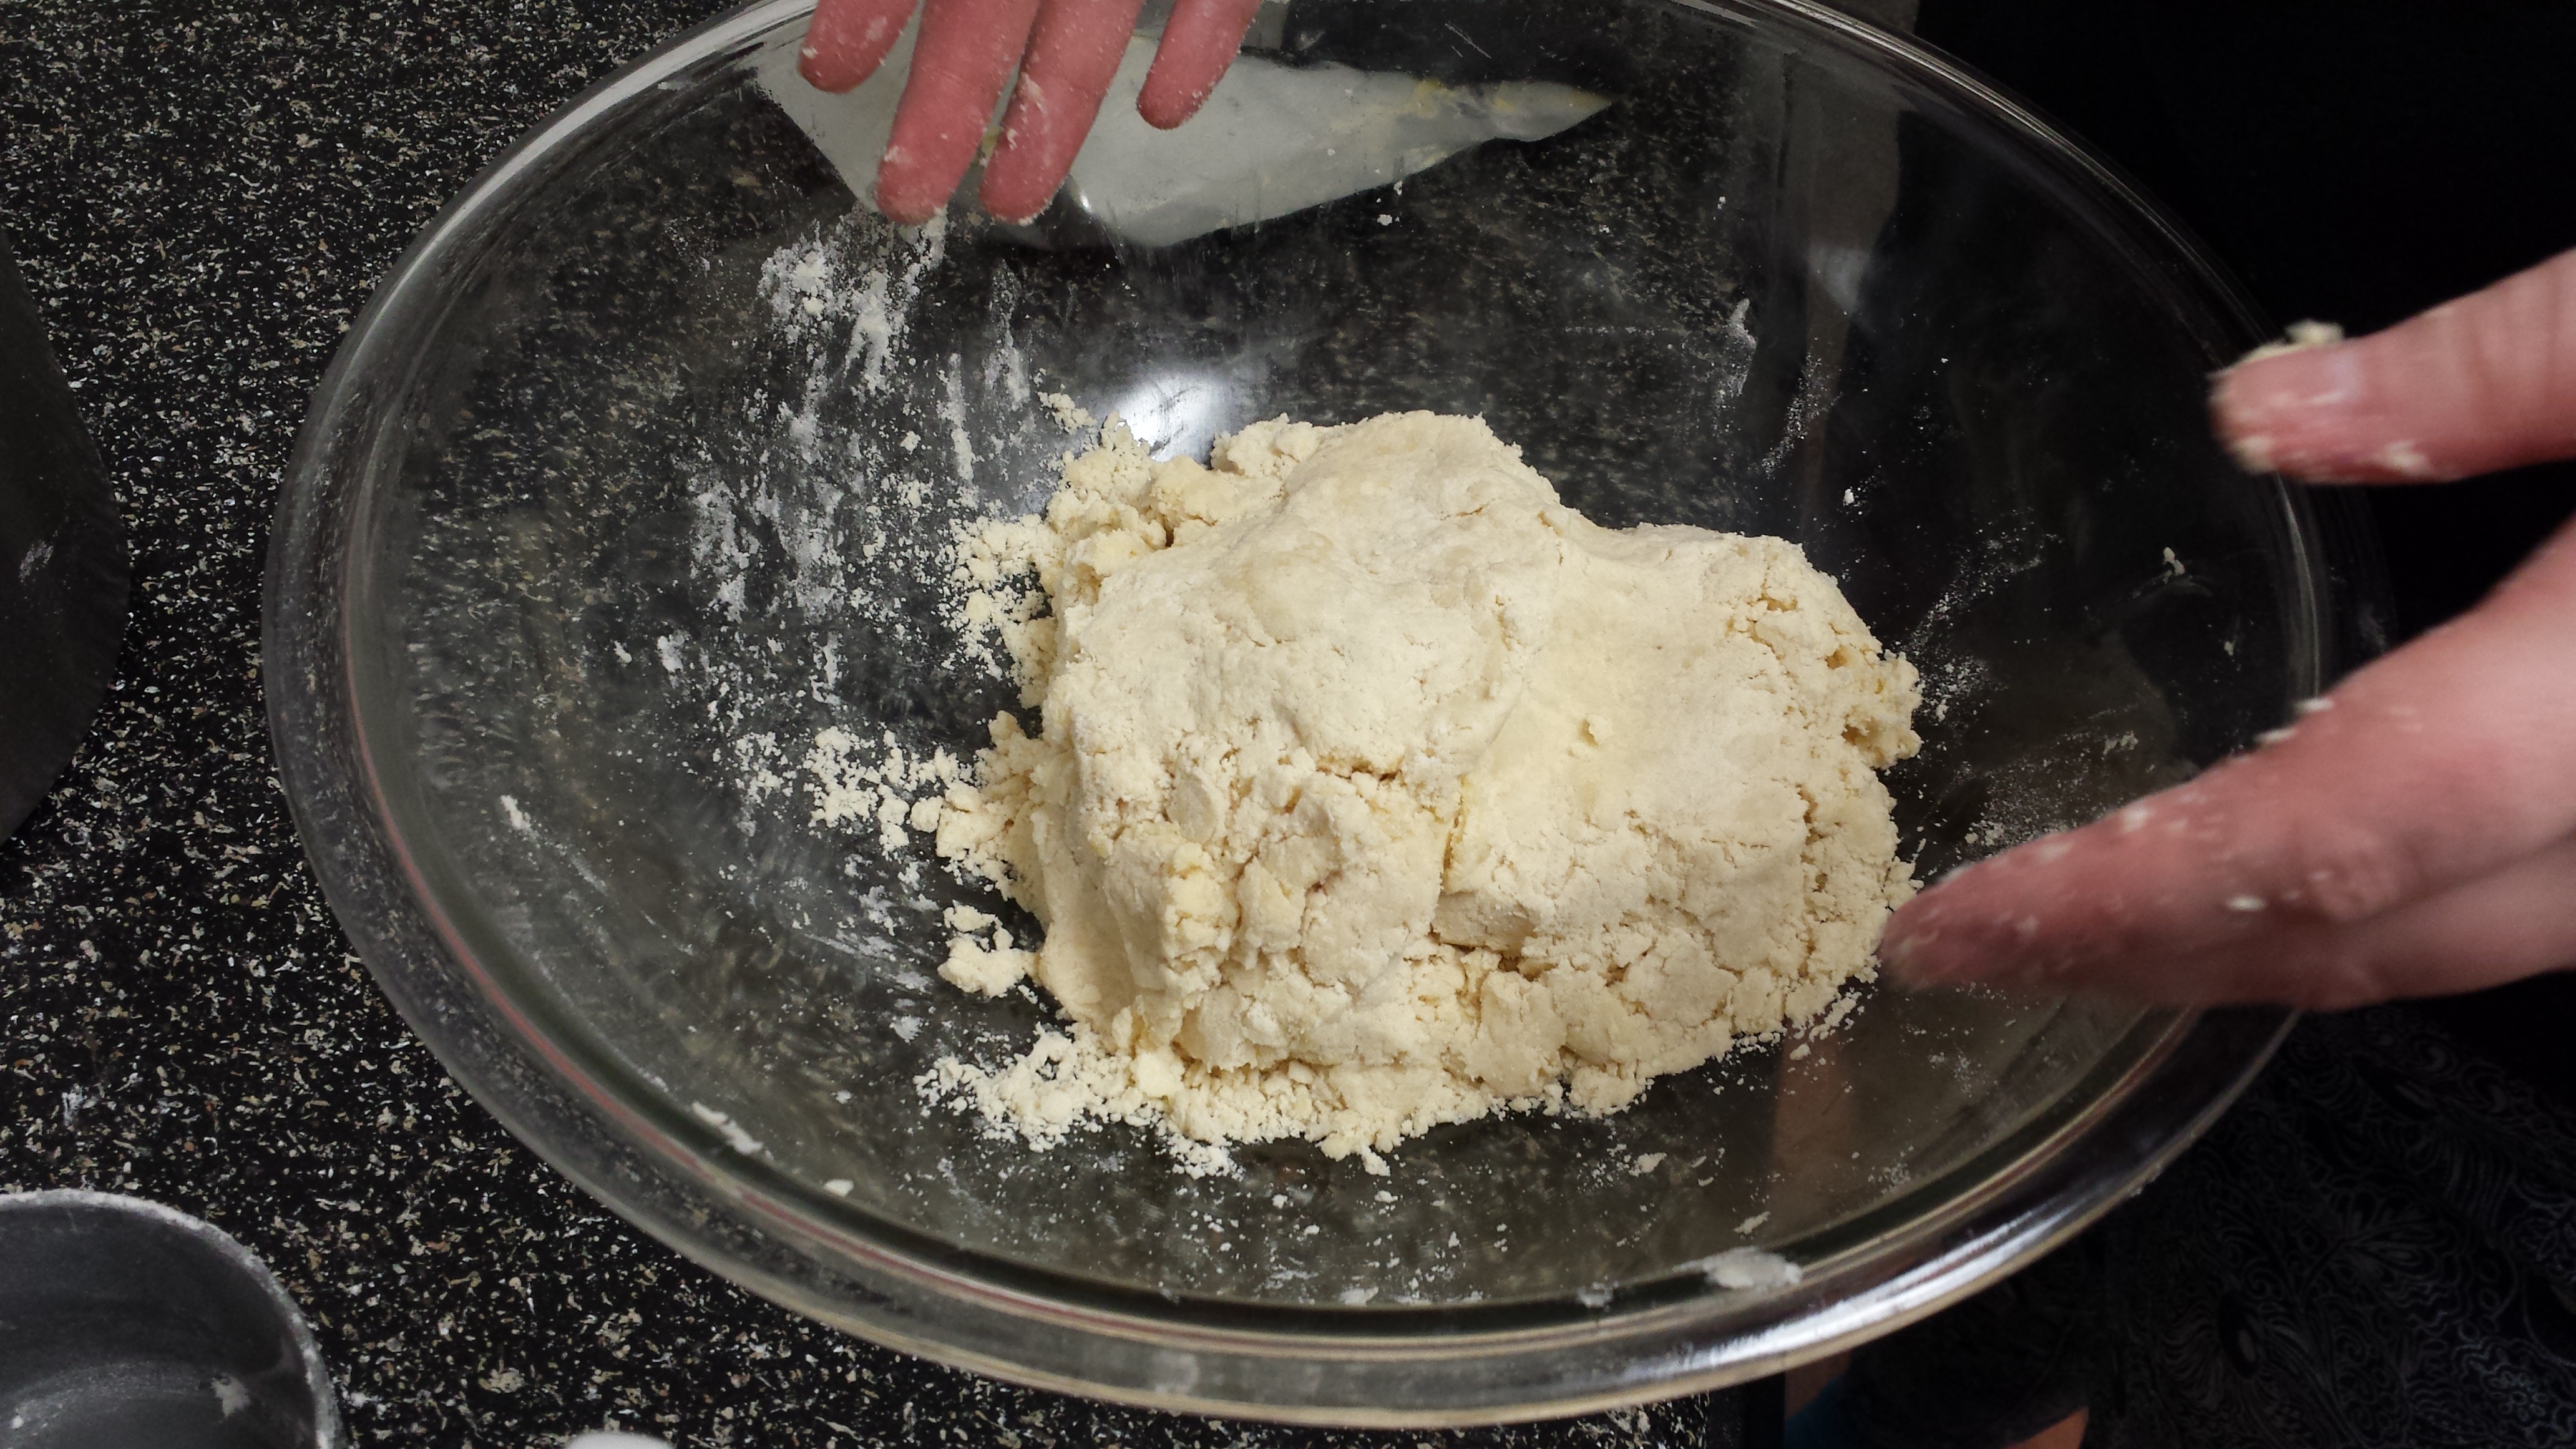
Sort of a ball
You don’t really have to knead it like bread, but I generally squish it around a little bit to make sure everything is incorporated and sticking together
Steven is taking the pictures at this point
It should stick together without being sticky. I usually try to err on the side of too floury rather than too wet. Otherwise the rolling out will be annoying.
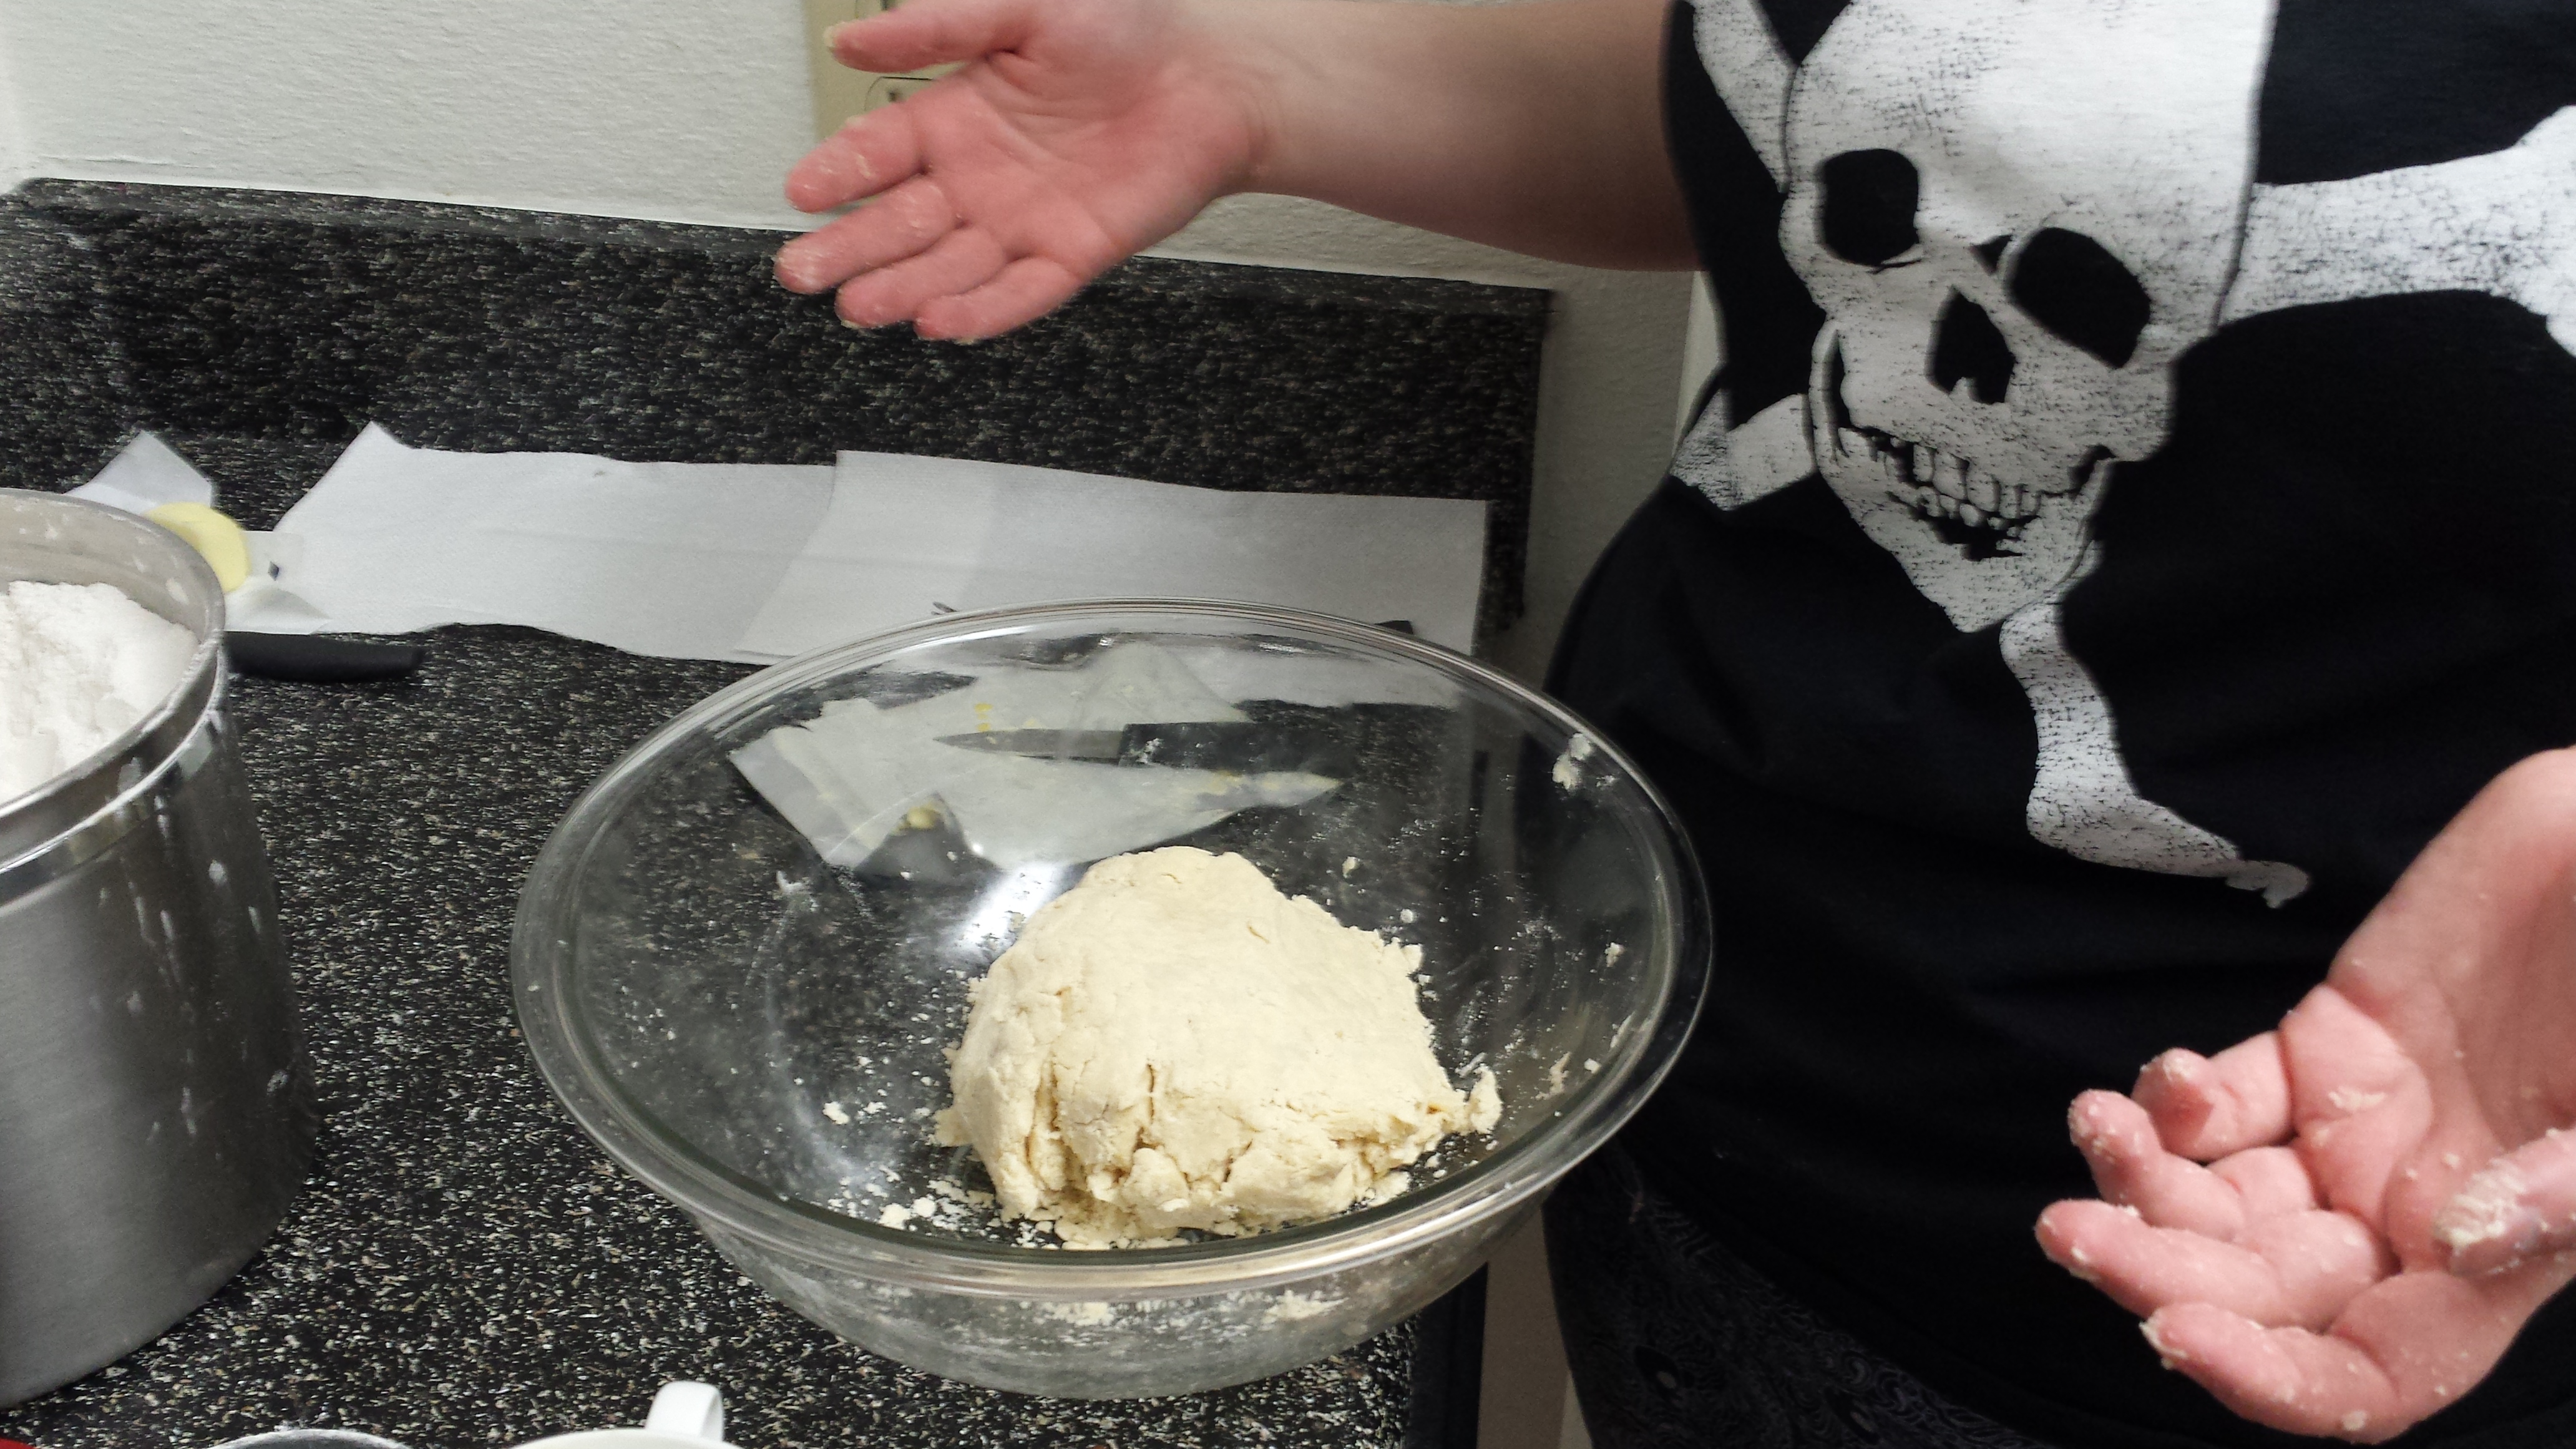
Crust dough!
4. Rolling Out the Bottom Crust
OMG I’m so proud of you for making it this far! We’re almost done! One thing it would be good to do at this point (that I almost always forget), is greasing your pie plate. Just use the little leftover Crisco stub (it won’t take that much), until the plate (including the top edges) is slick. This keeps the pie from sticking.
An important step
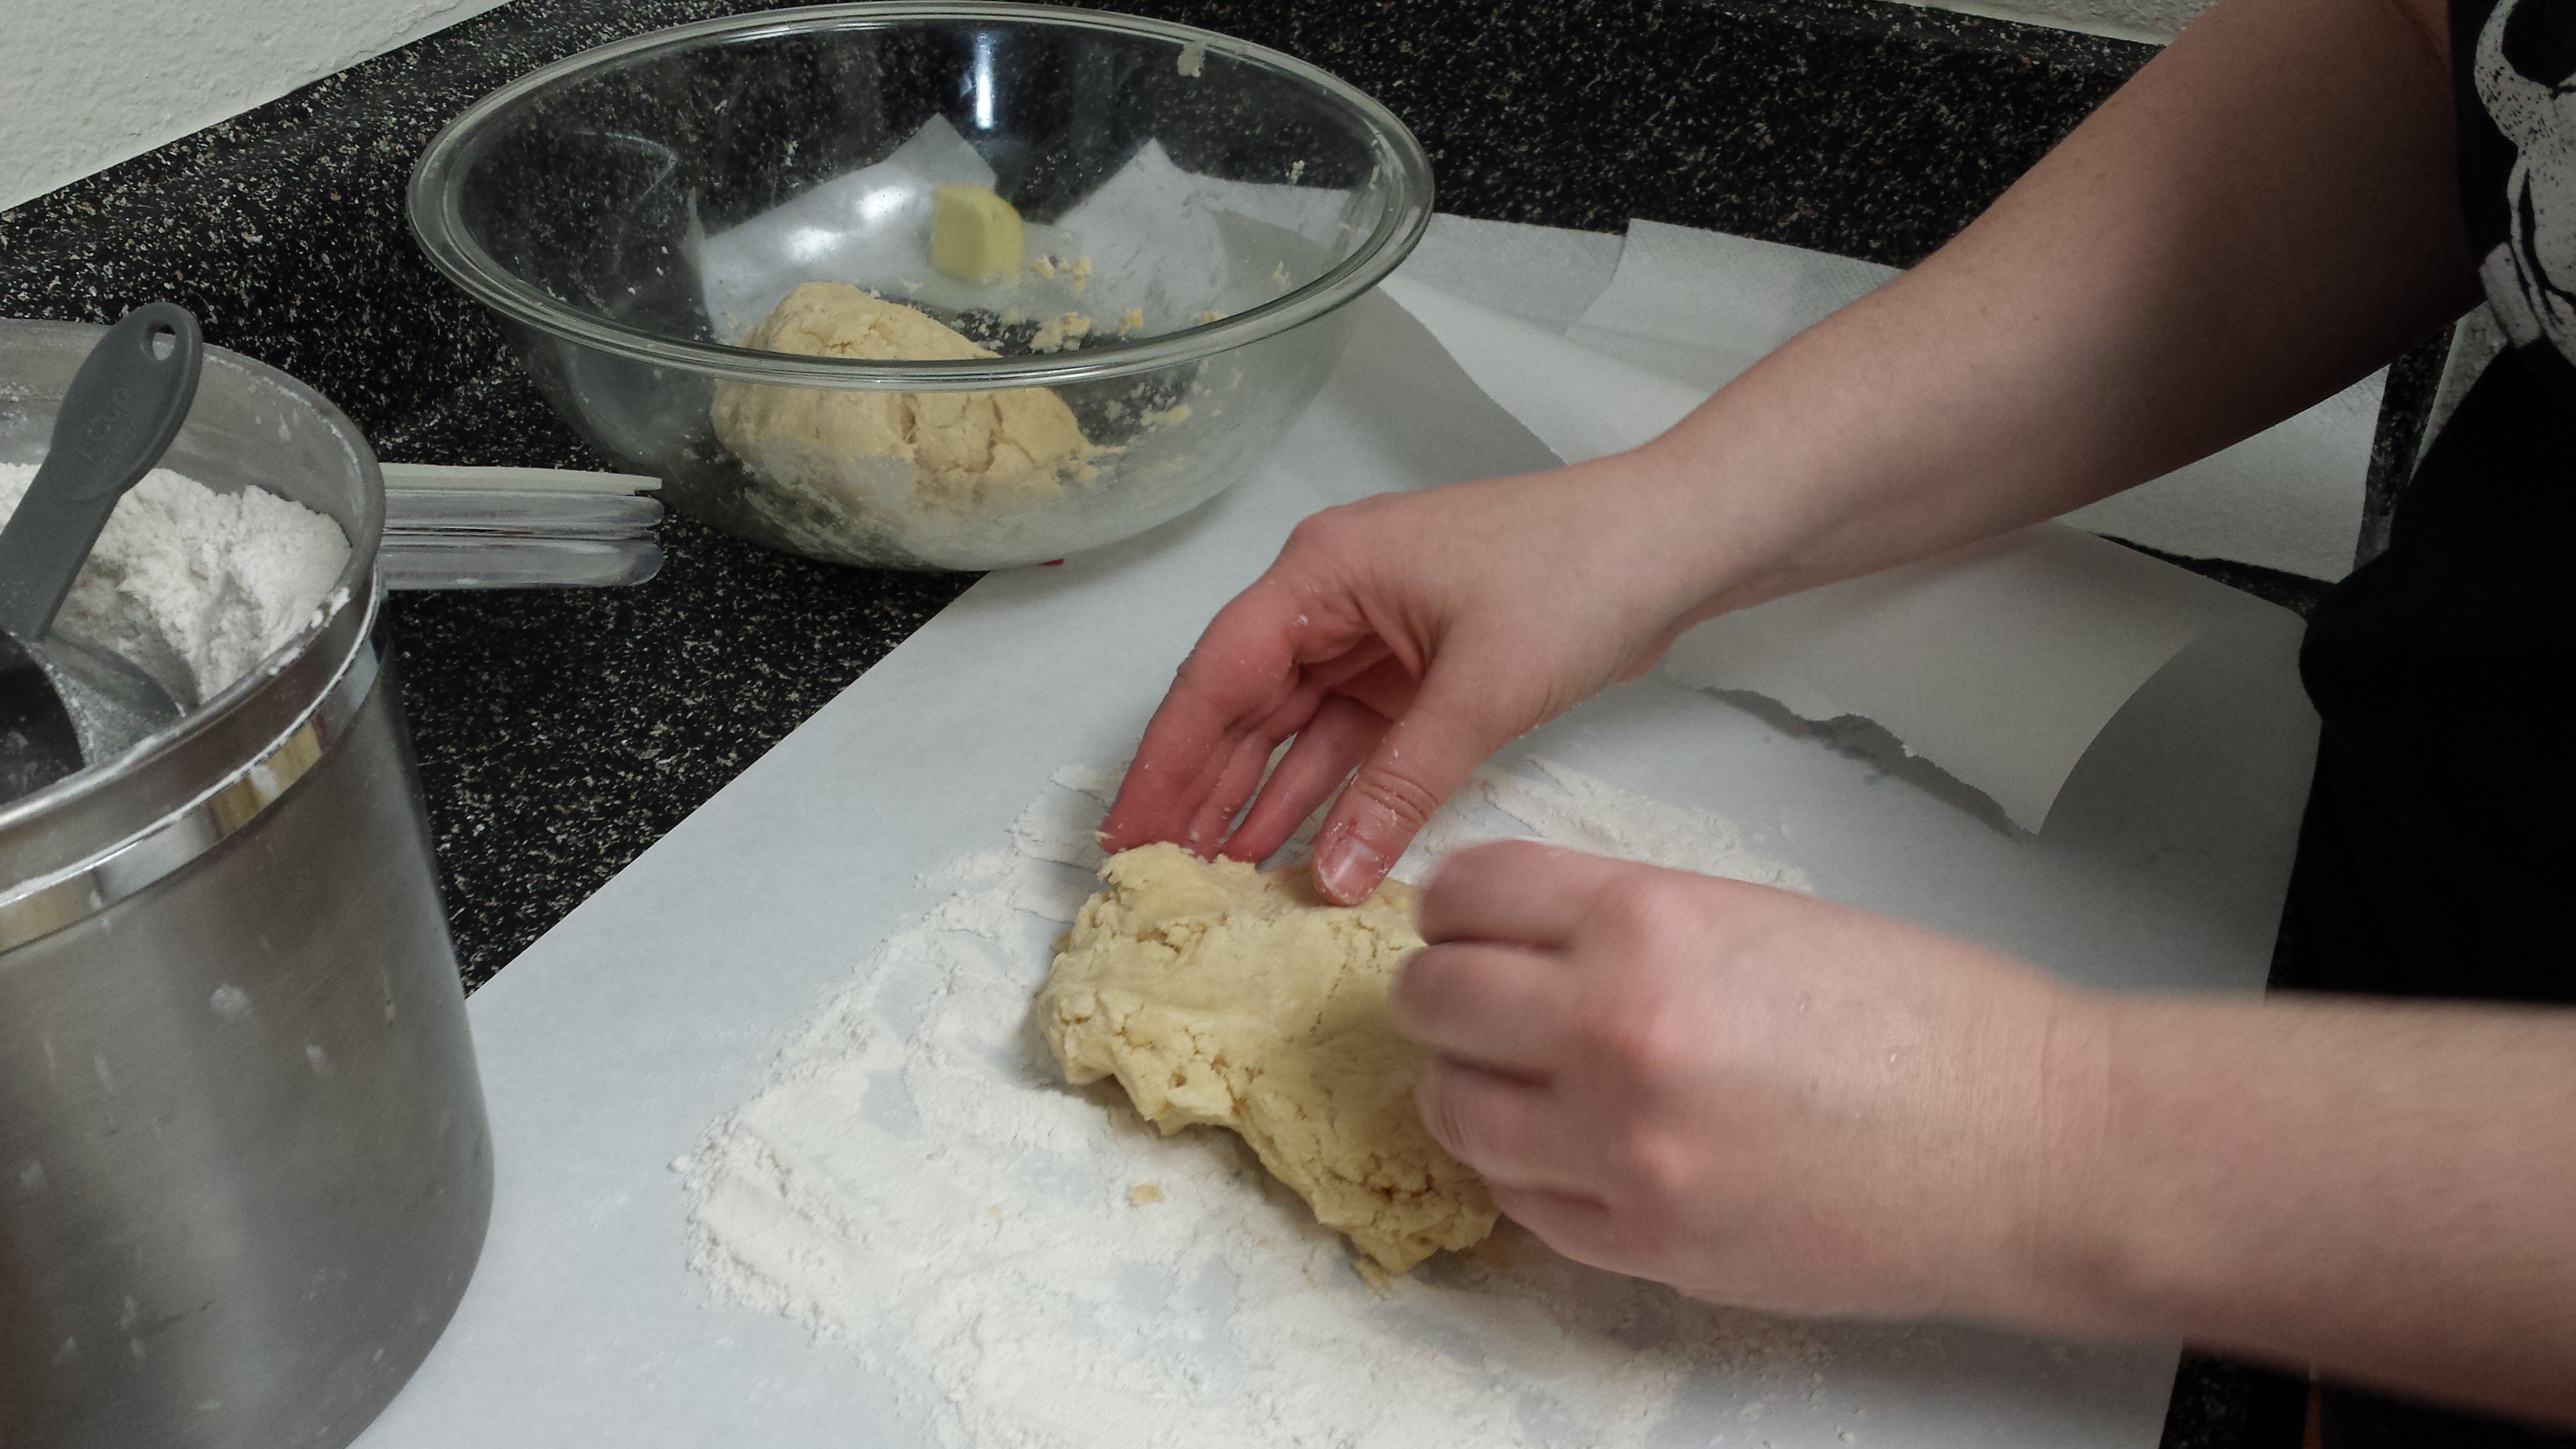
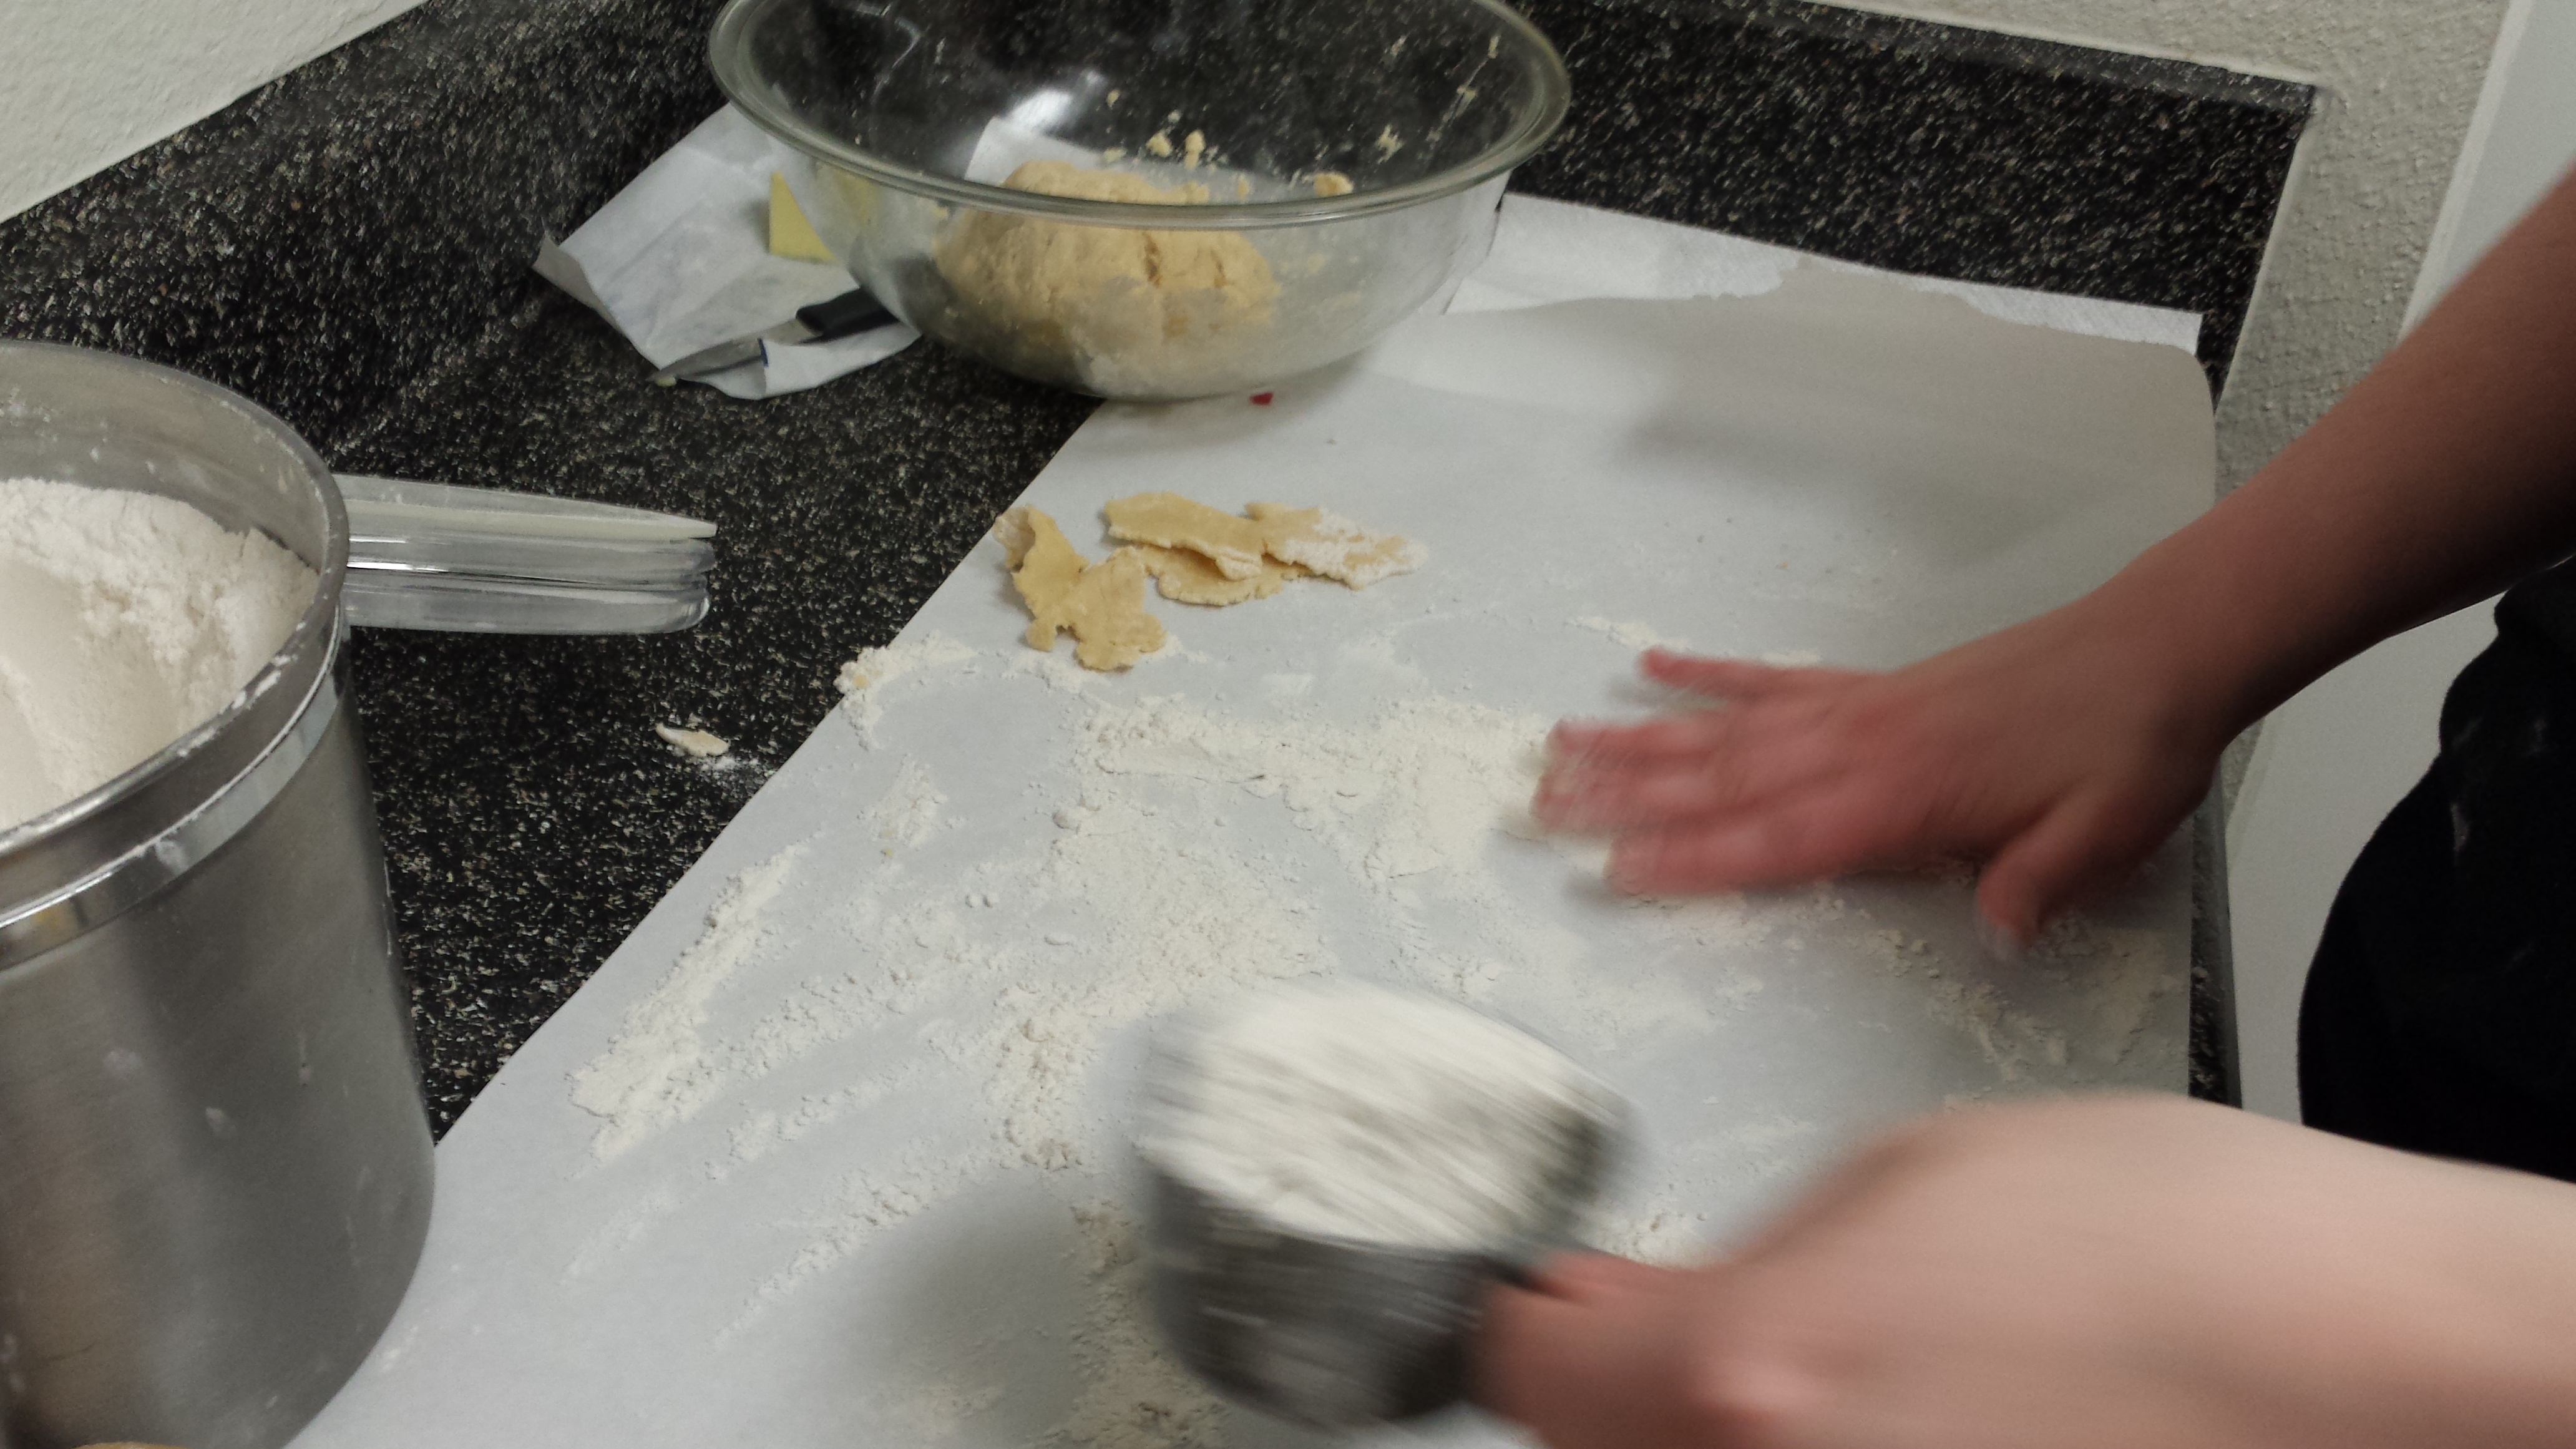
Then, prepare your work space. I usually put down wax paper because I’m lazy and it makes cleaning up easier. Plus, I’m scared of the sketchy faux-marble paint they sprayed on my counter tops. Make sure to have your flour handy.
Ready!
You want to spread some flour out on the paper or counter so that you can roll the dough on it without it sticking. Some people use a sifter for this to get it all evenly coated and nice. I am lazy and just kind of spread some out with my hands:
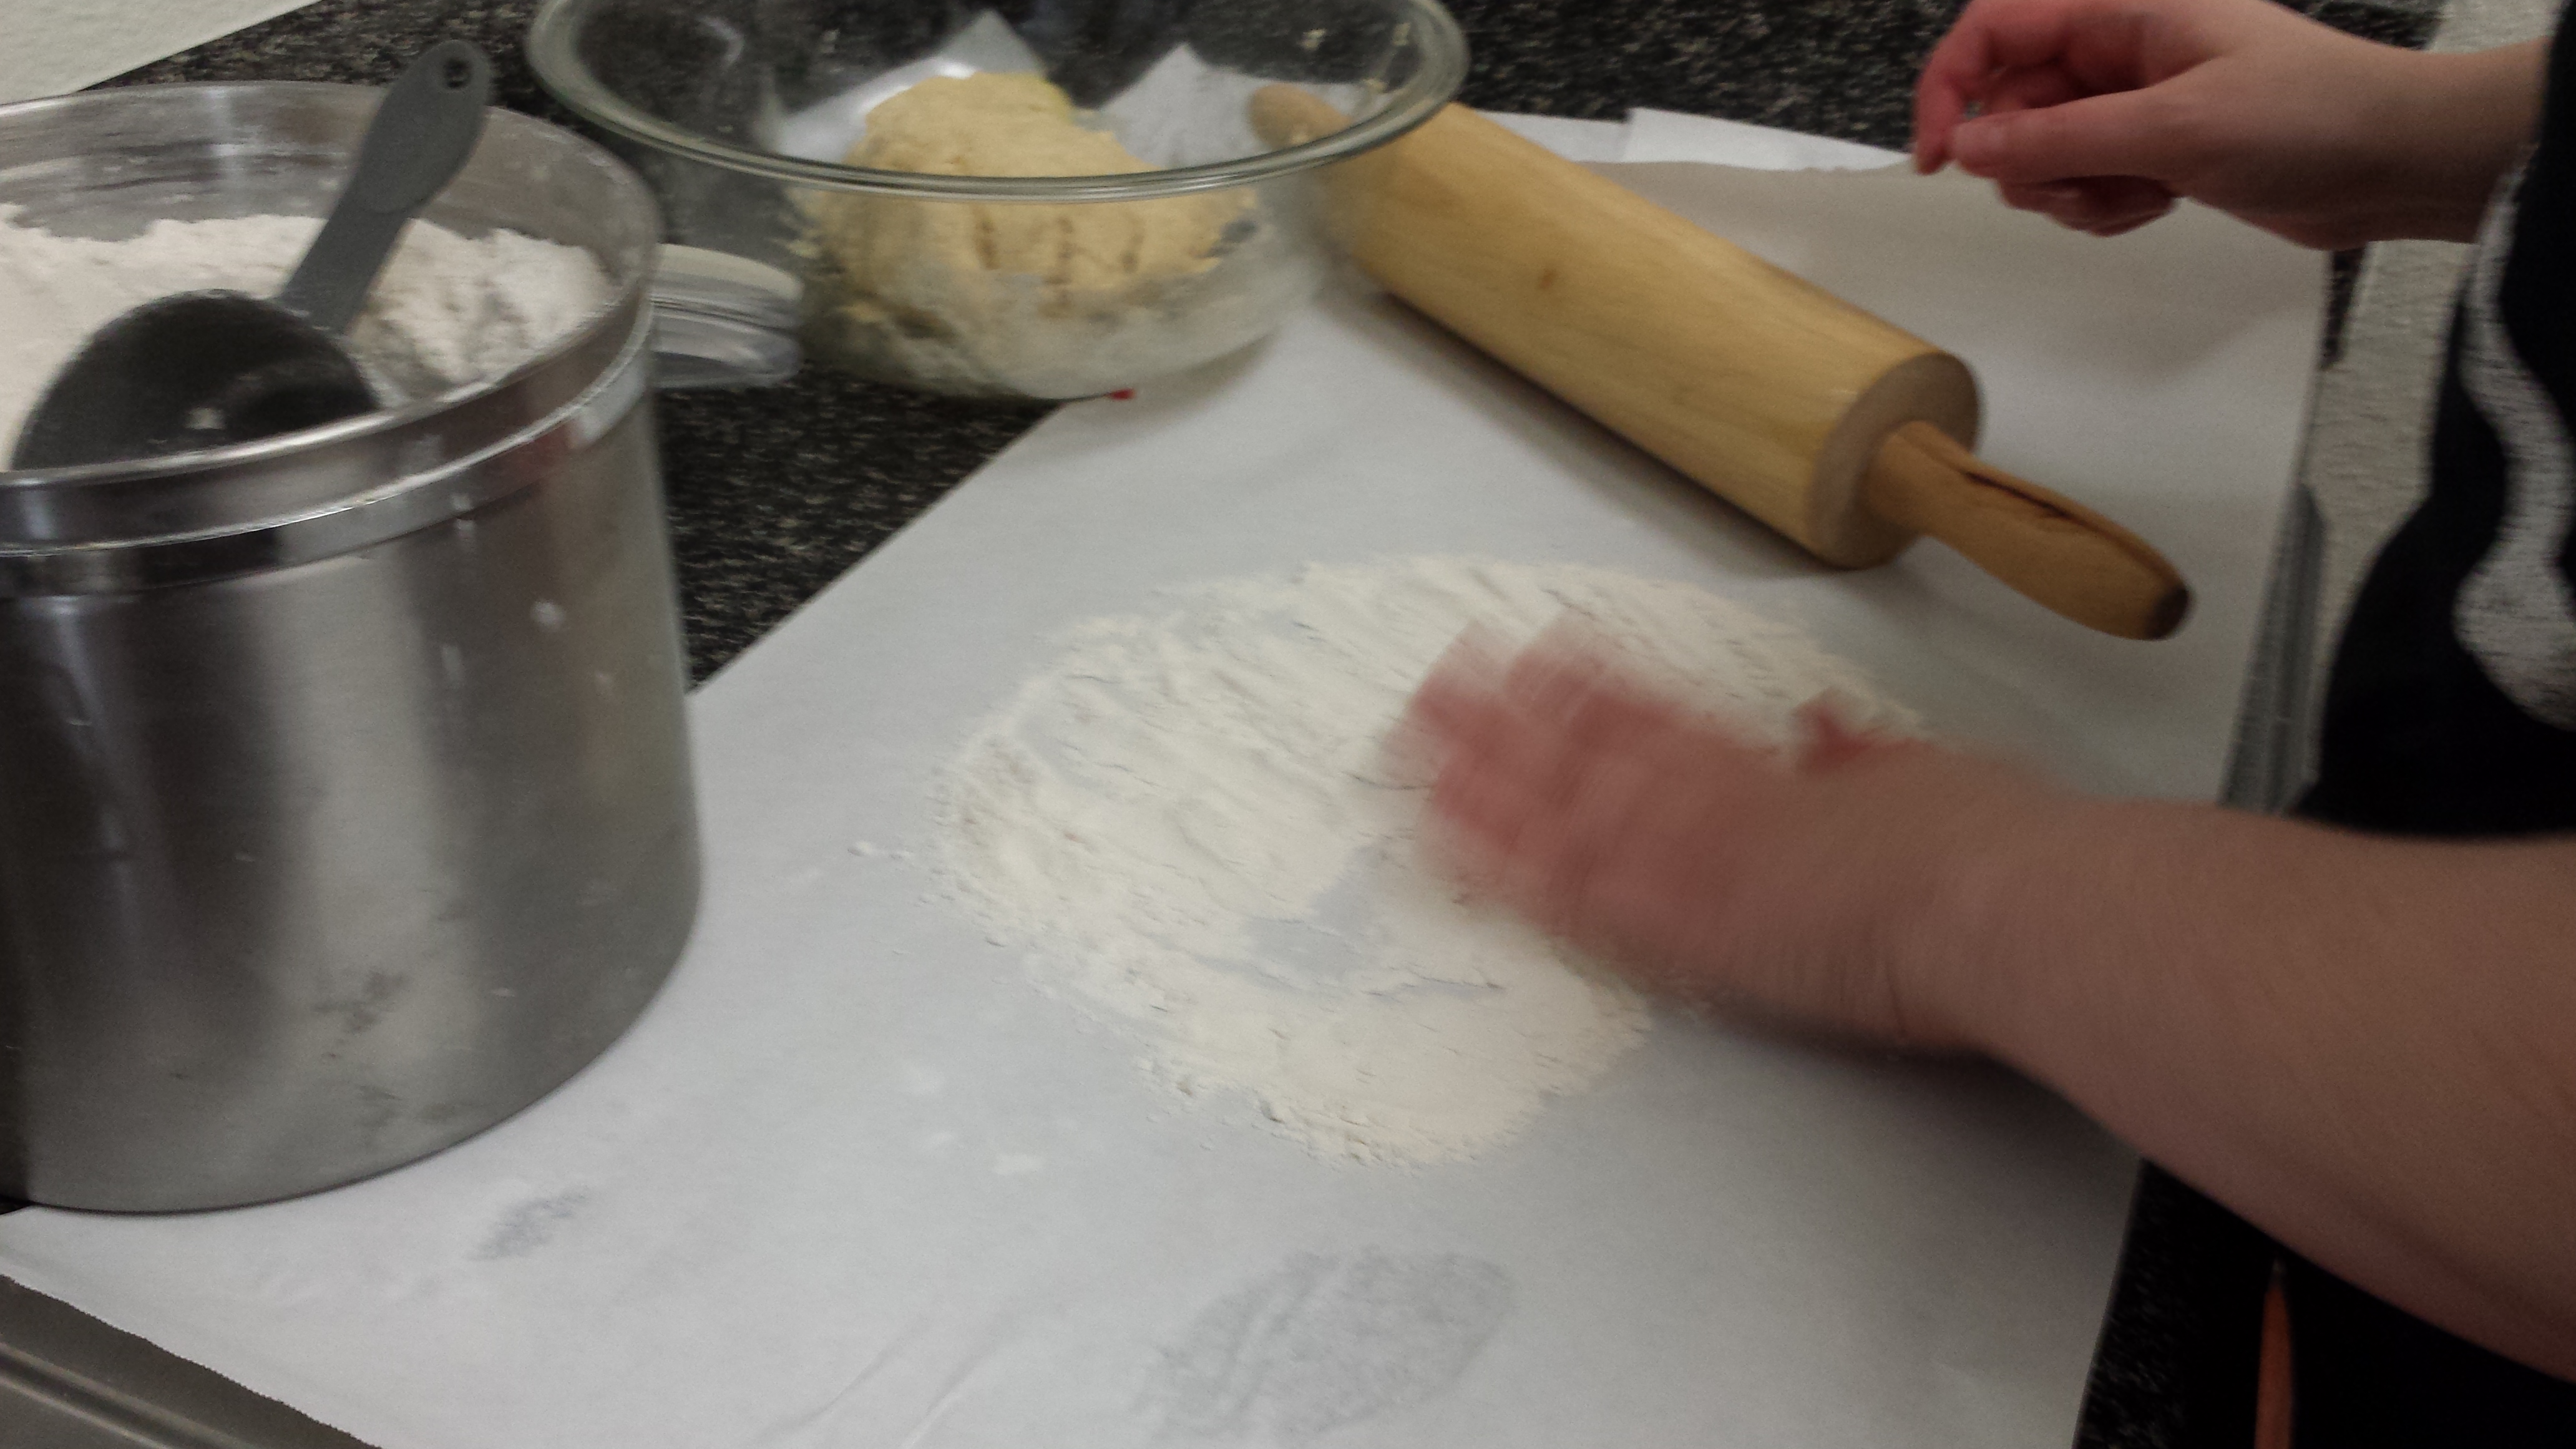
Whatever
You want to do the same thing to your rolling pin/wine bottle/whatever you’re using to roll this sucker. Rub some flour over it so that the dough doesn’t stick to it.
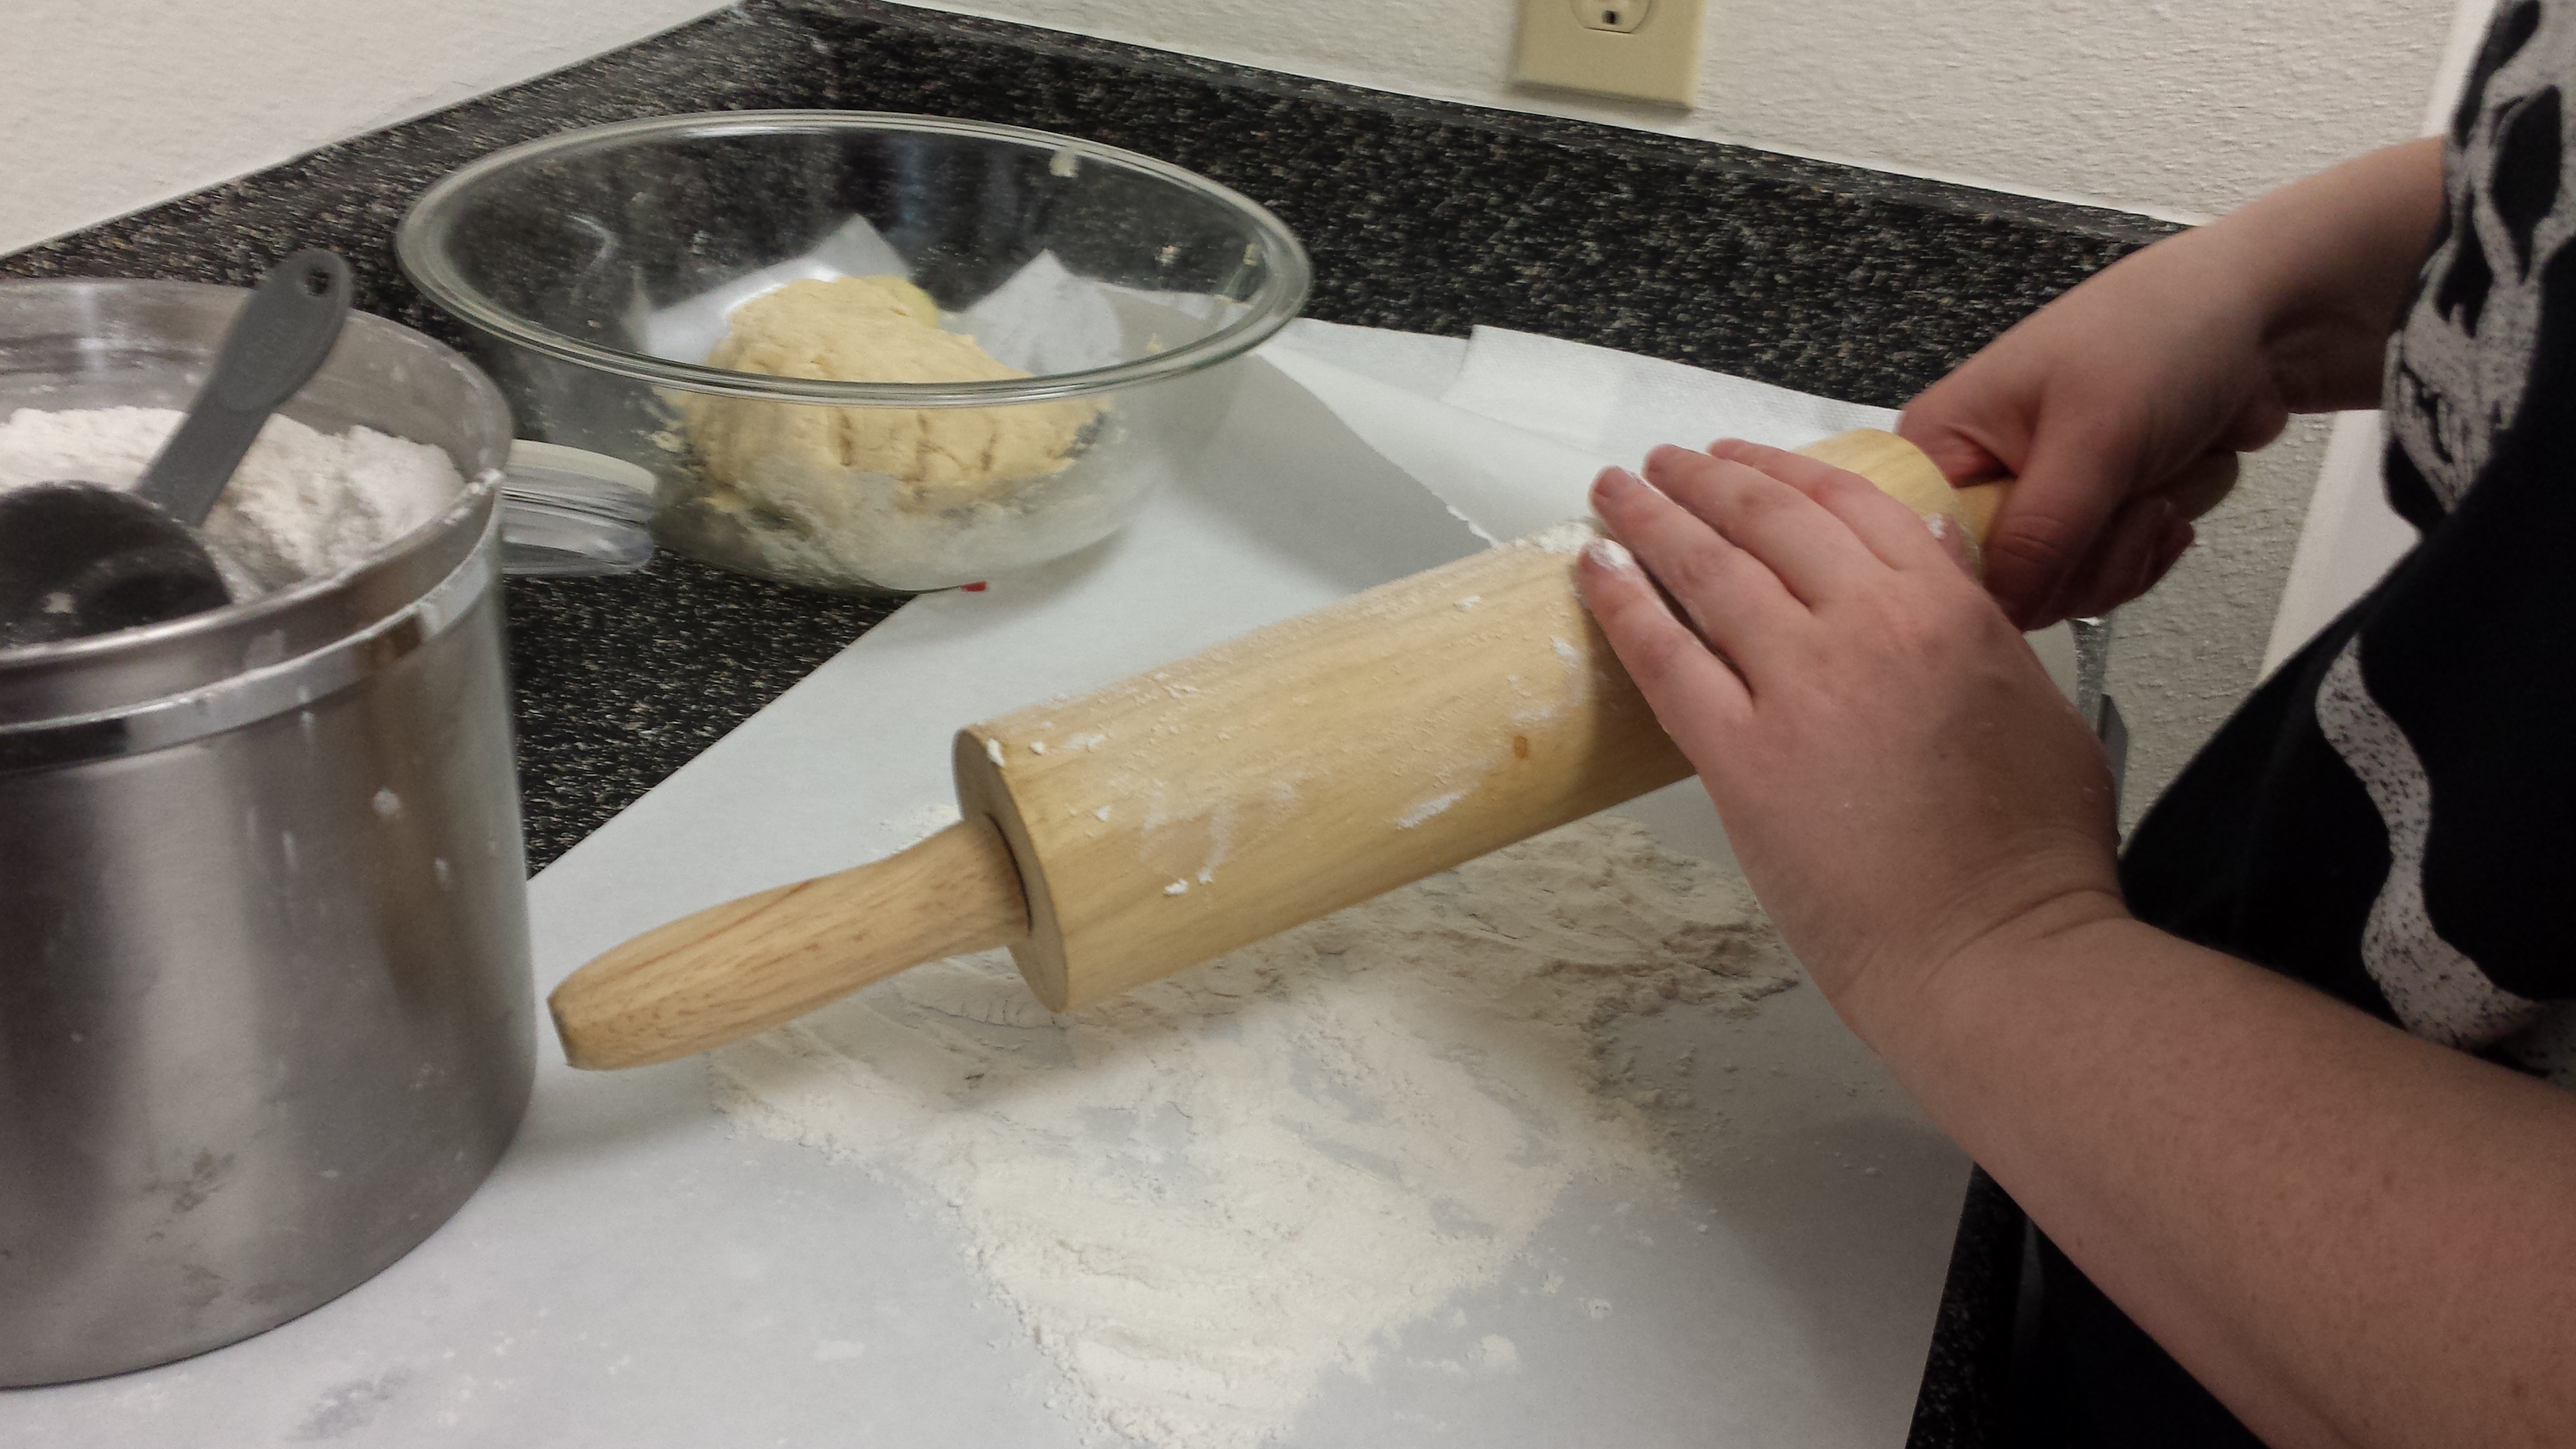
No matter how many times I do this, I always end up covered in flour. Embrace it.
If at any point the dough is sticking to your rolling pin, just do this again. I usually re-flour my rolling pin about 3 times before the rolling out is done, but you might have to do more or less depending on the consistency of your dough.
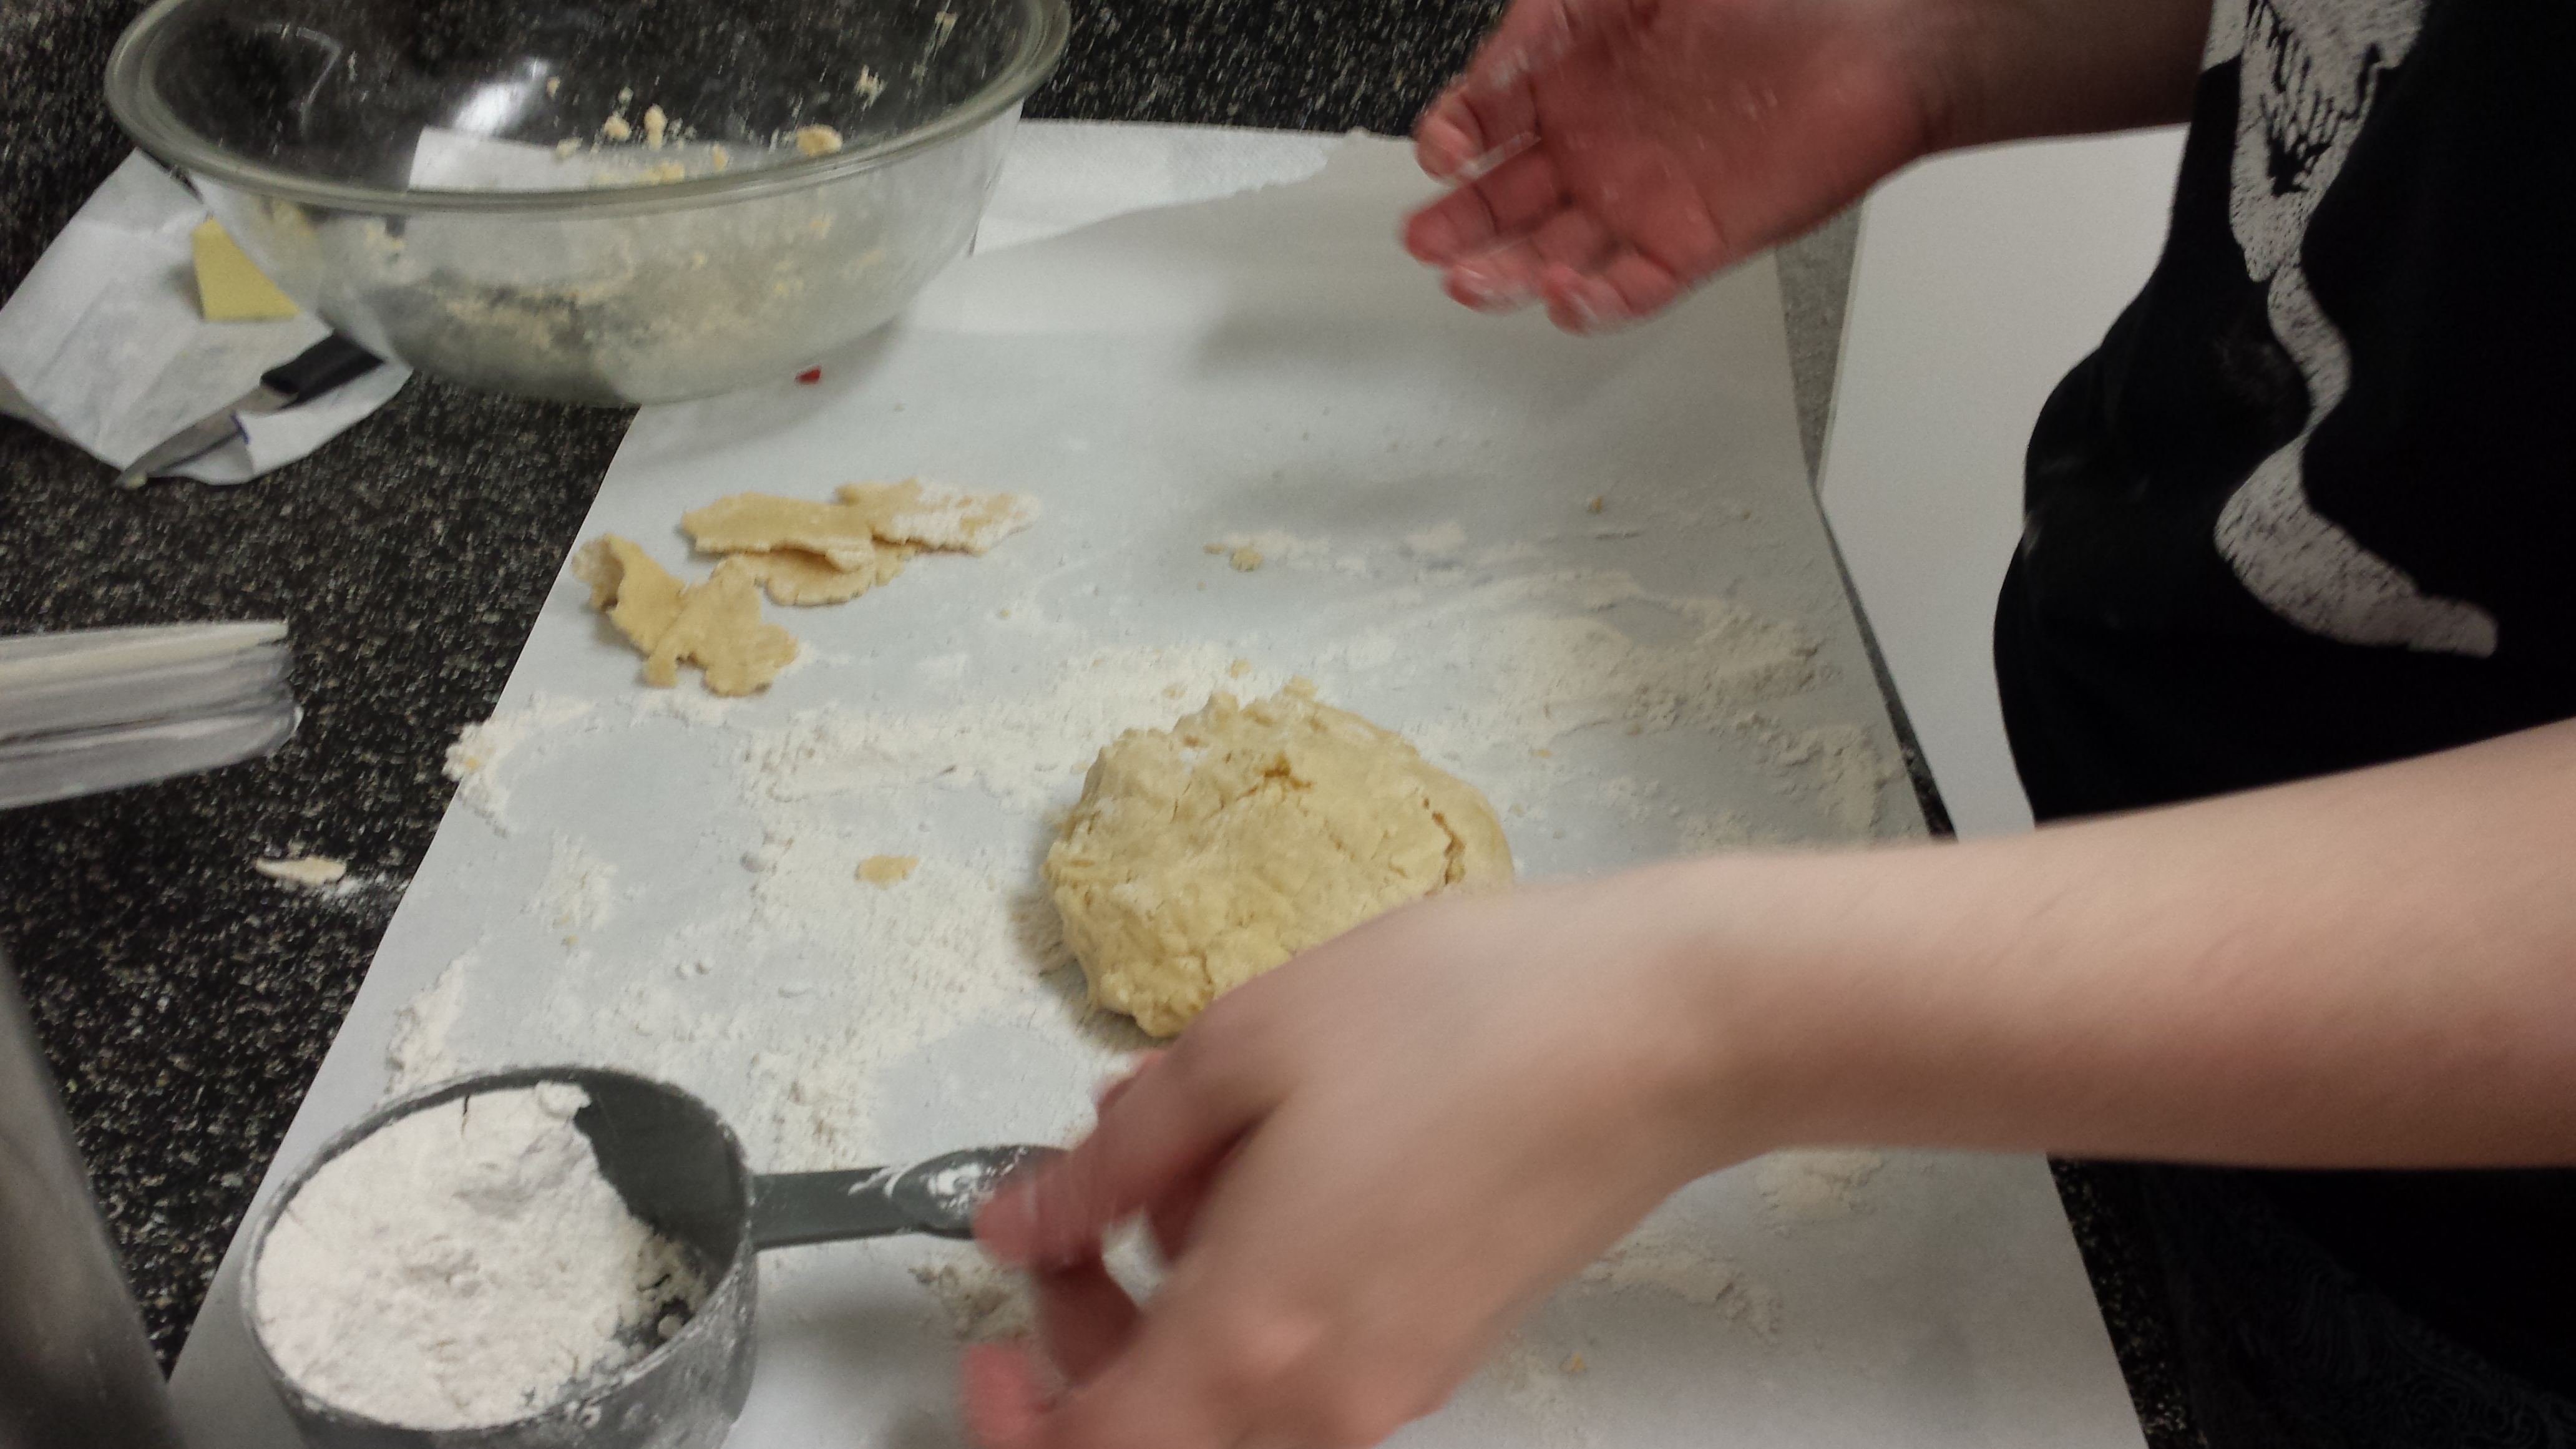
Now, break or cut your ball of dough in half:
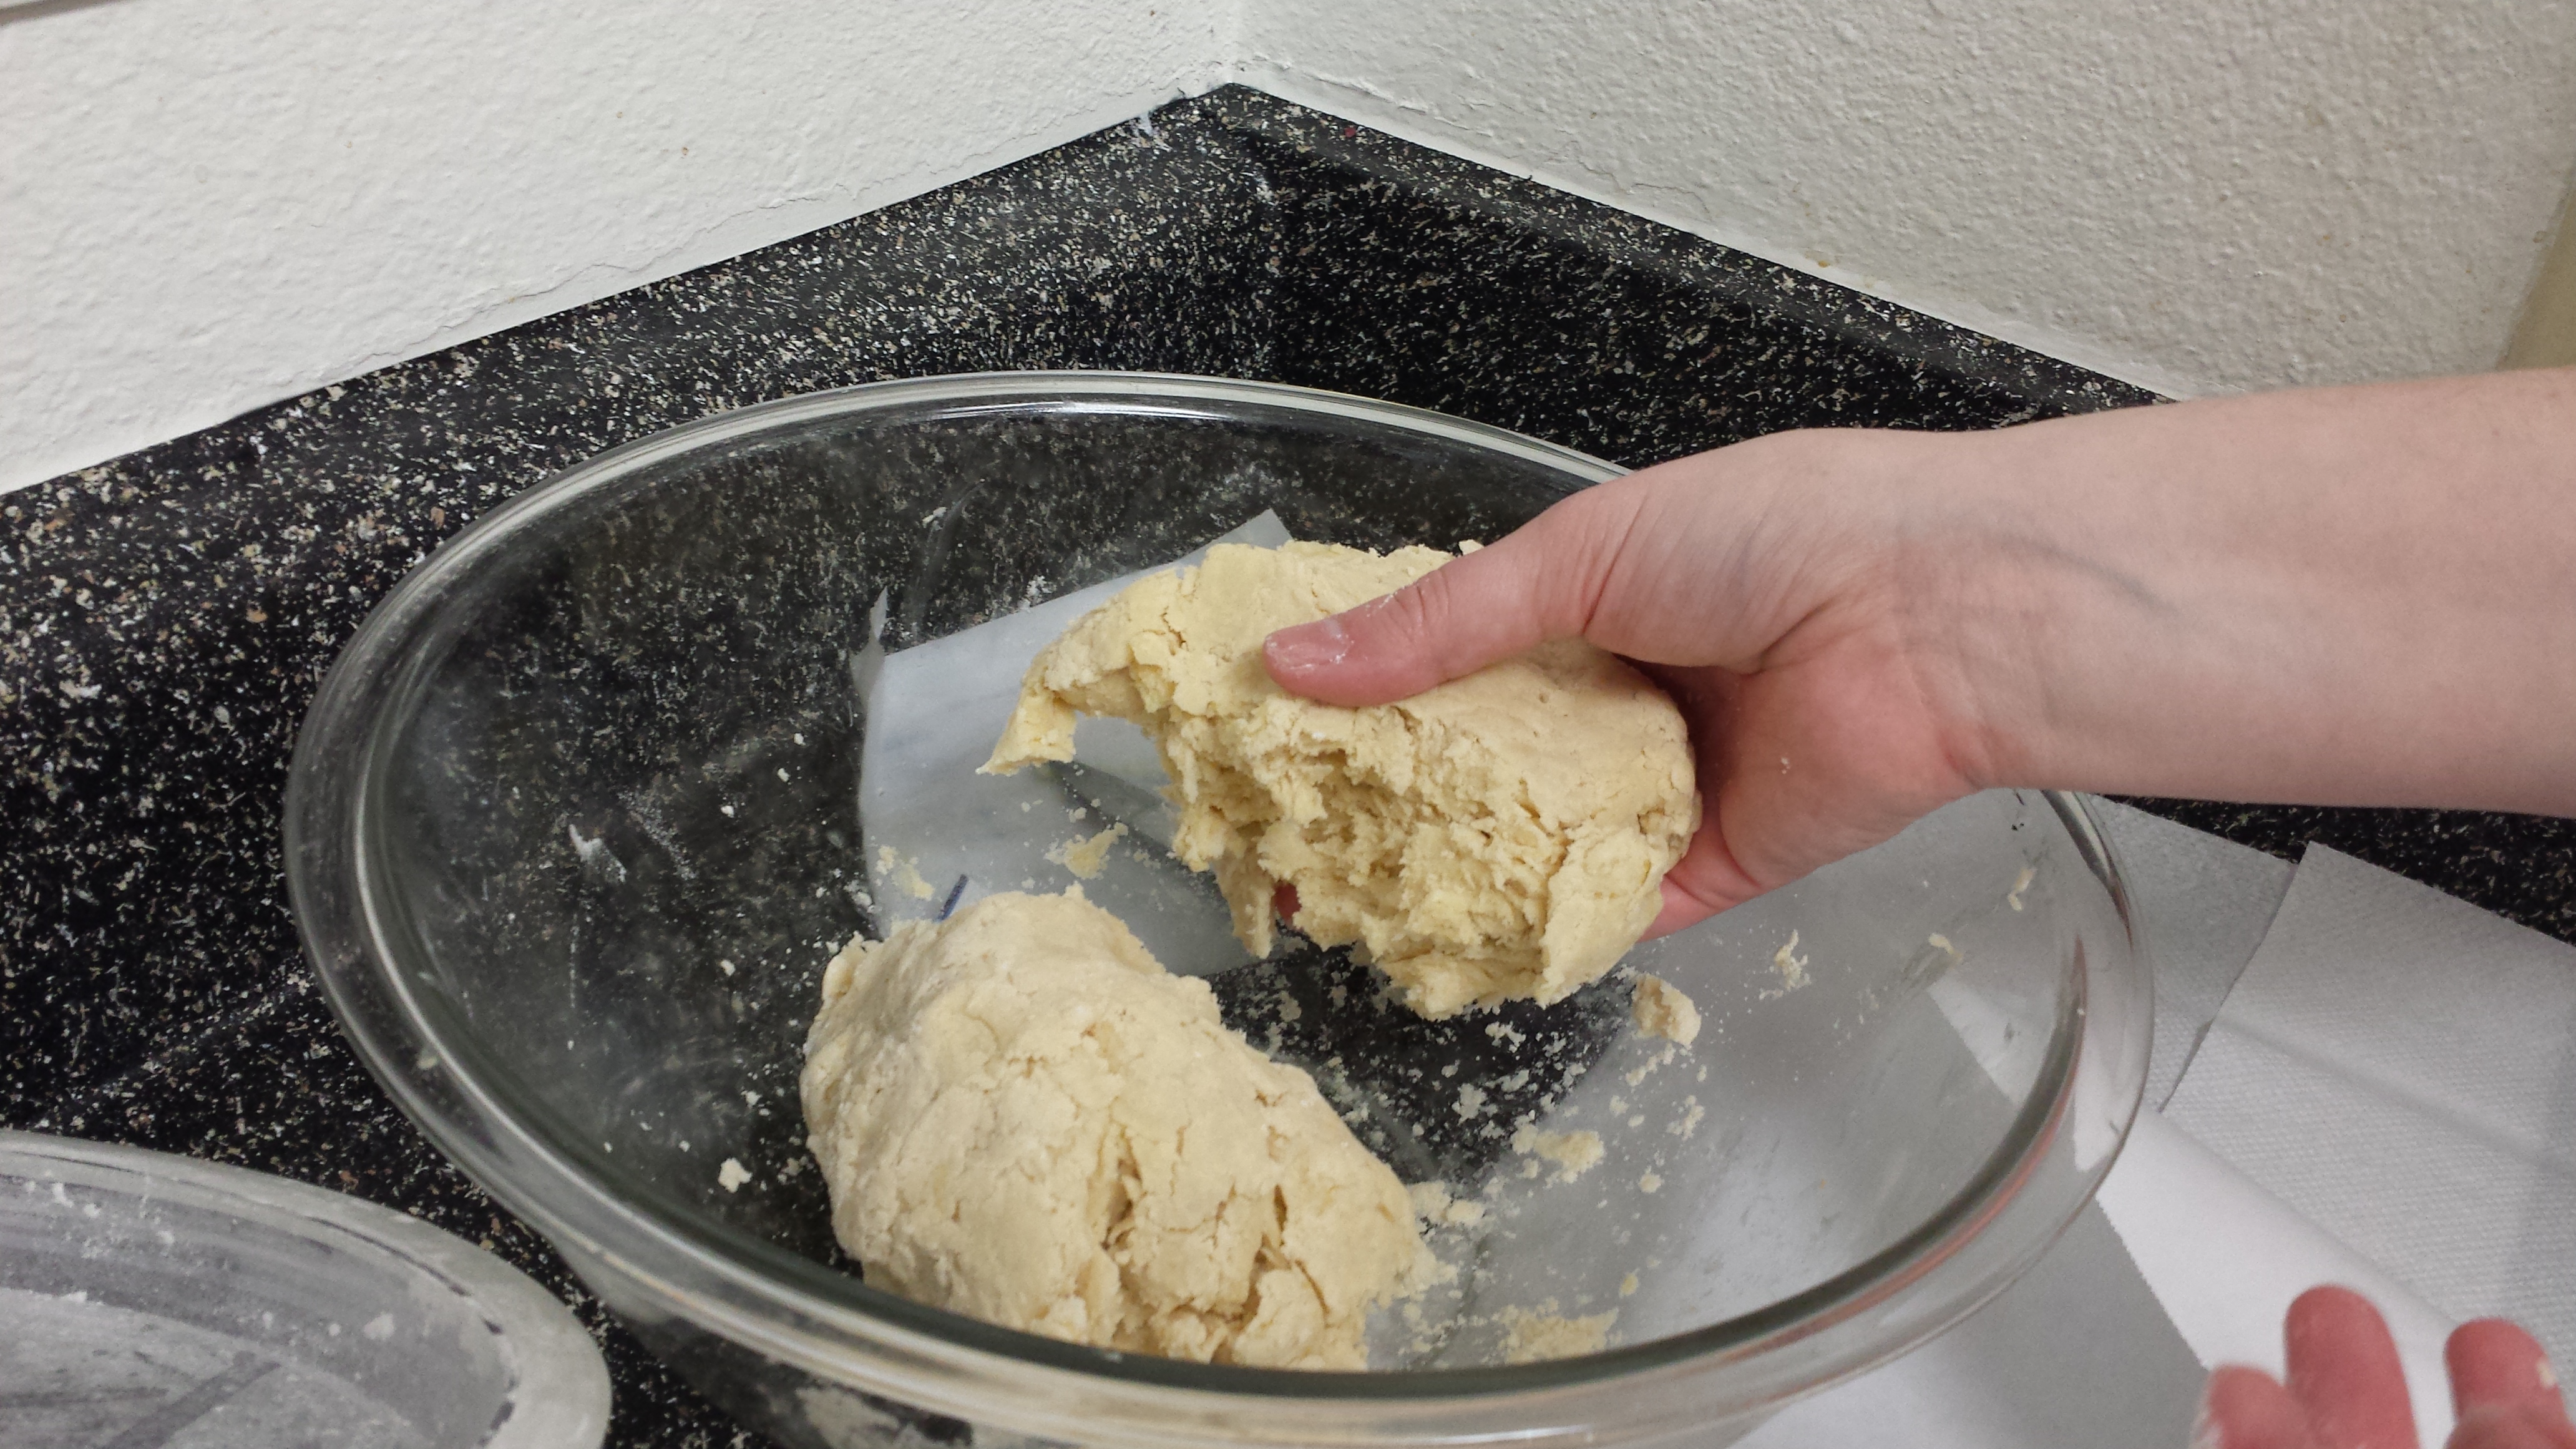
Or about half
It’s okay if it’s not exact. The bottom crust (the first one we’ll be rolling) can be bigger than the top if you have two slightly different sizes. You can also smoosh some dough onto other dough. Whatever. So take your first dough half to make the bottom crust! I usually press it a little into a vaguely flat circle in my hands before laying it on my floured surface:
Ready for rolling!
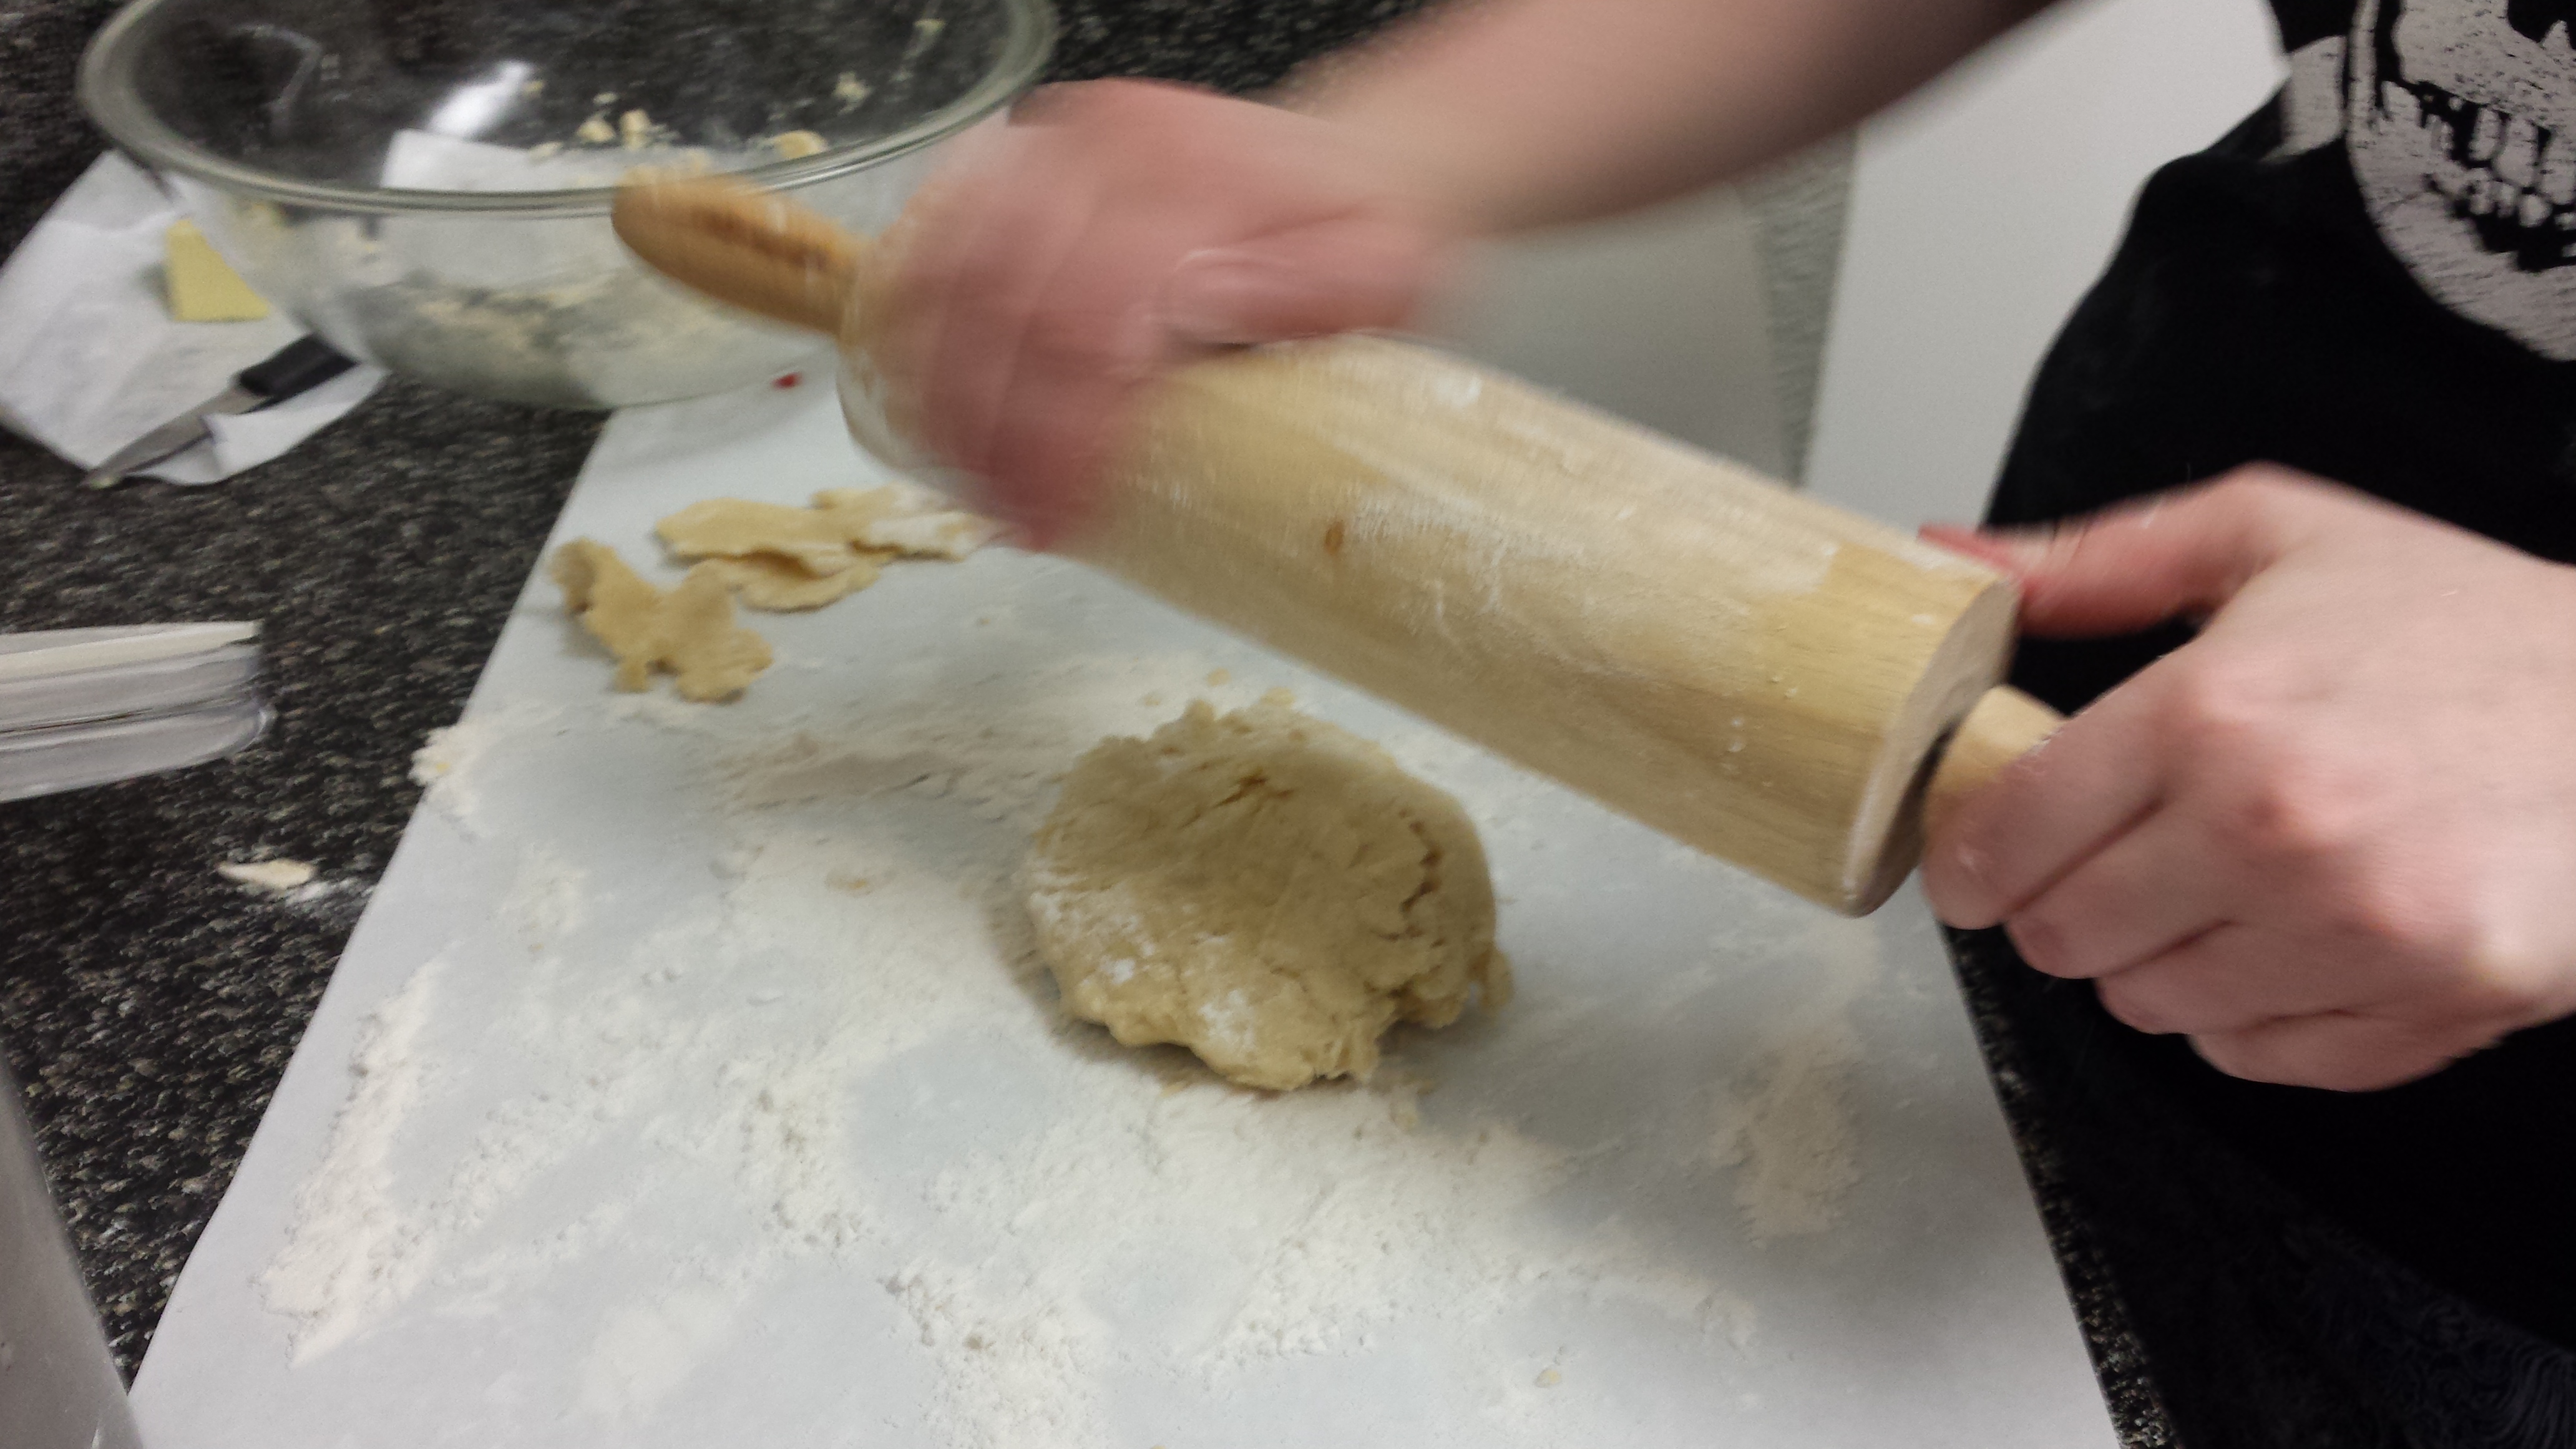
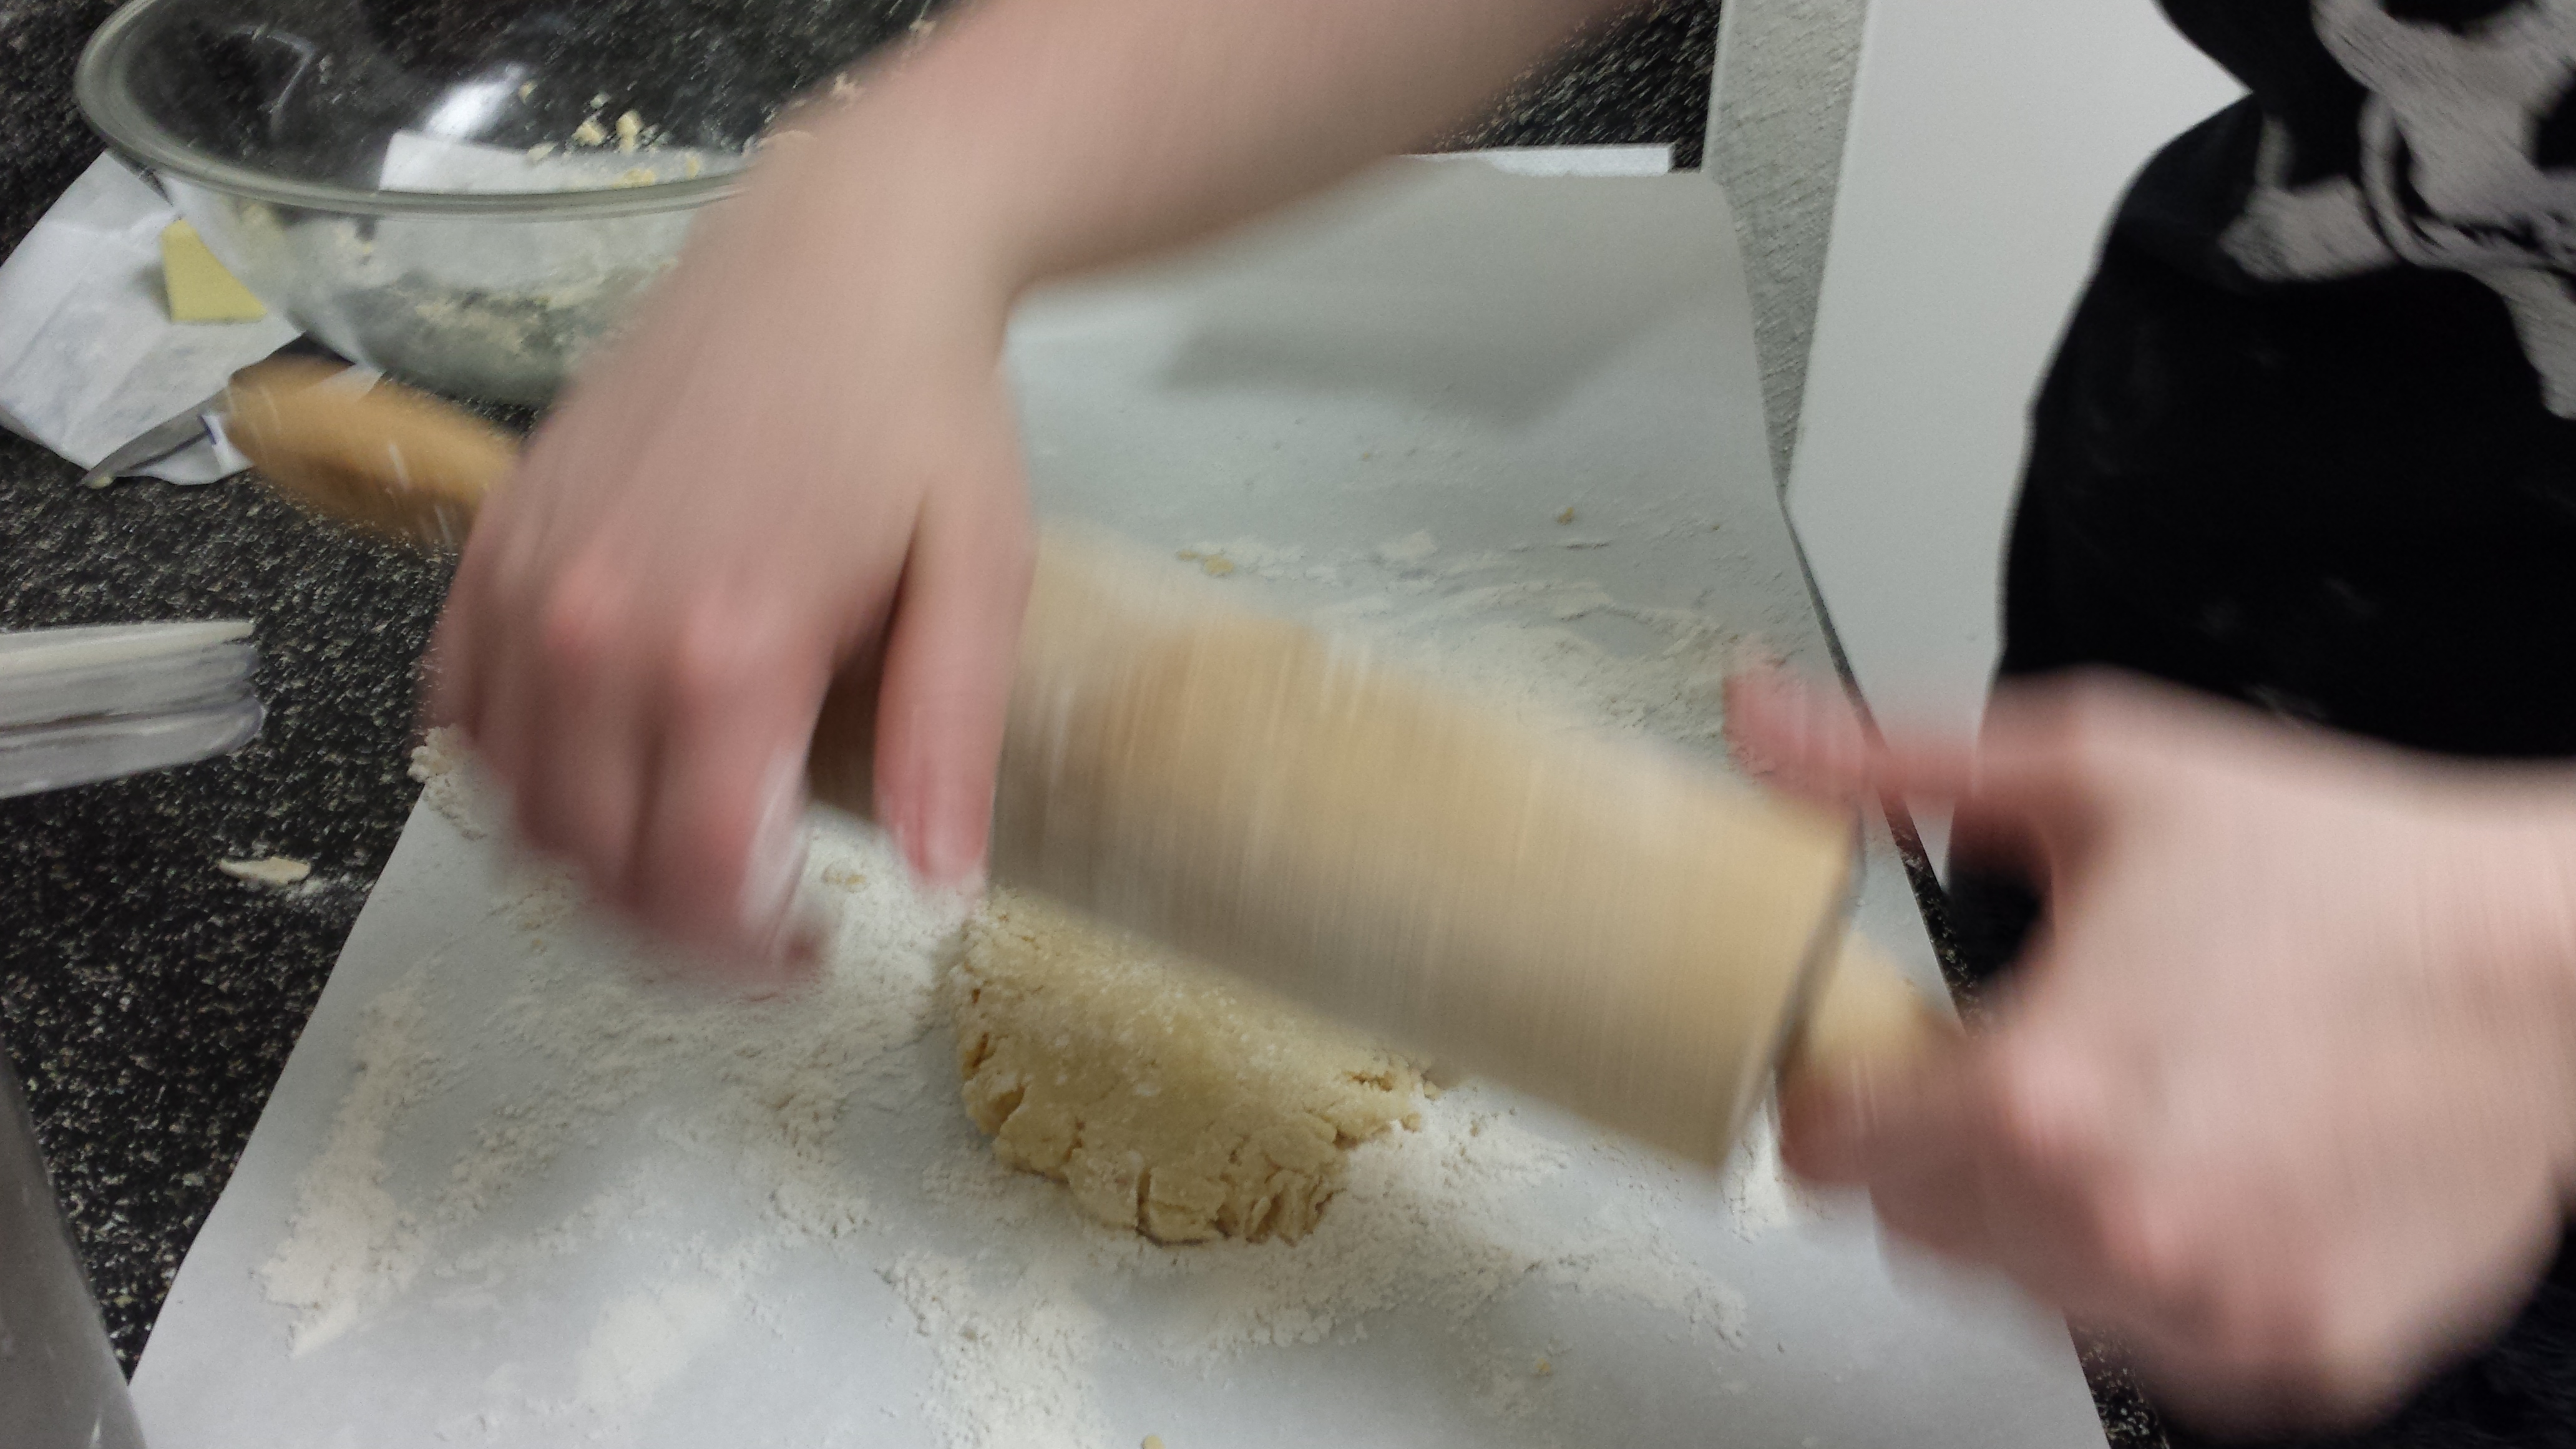
Using a rolling pin can seem intimidating if you’ve never done it before, but I promise it’s pretty simple, as long as you keep everything well-floured. Have you ever played with Playdoh? It’s essentially that. You want to get your thick circle to flatten out into a thin, vaguely circular thing. The shape doesn’t have to be actually pretty or regular. Mine never are, and I can show you how to easily mask this so the world will never know (until you take pictures for your blog).
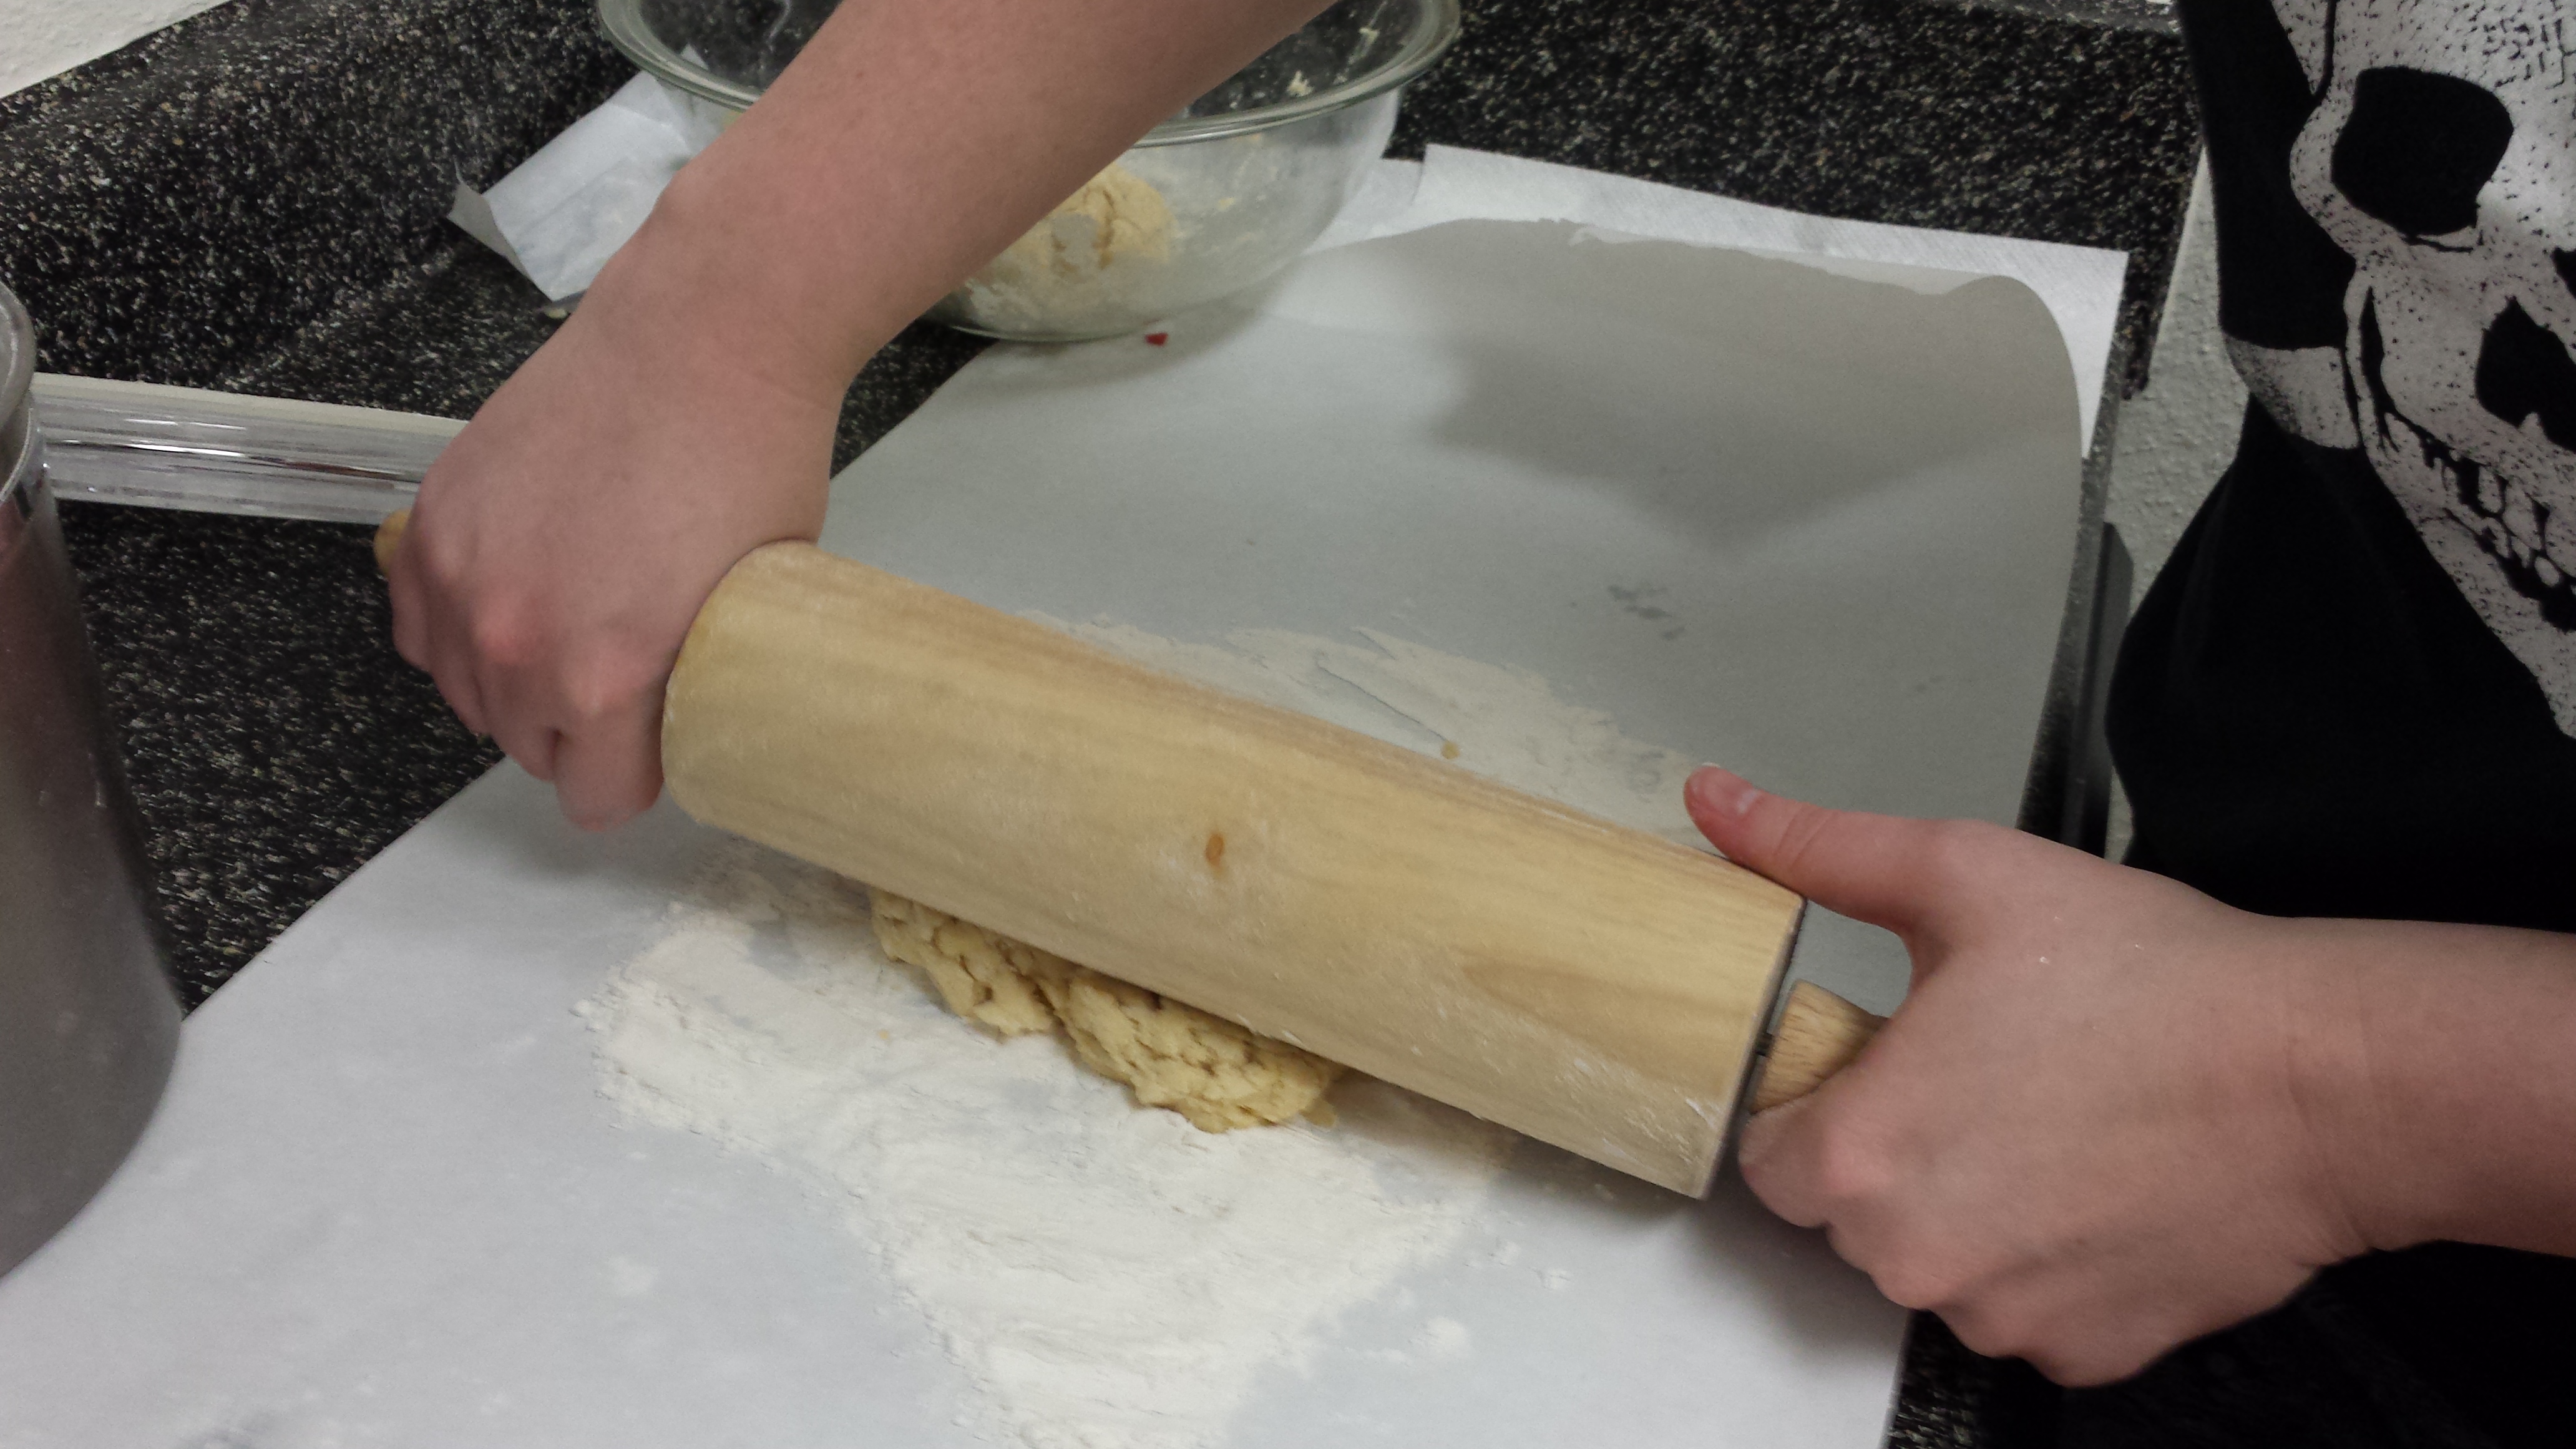
Action shot!
Always start with your rolling pin in the center of your blob, and press out towards the edges. Then when you reach the edge, return to the center and press out to the side. Then return to the center and press towards you. Then to the other side. You don’t have to press very hard to get it to spread, although don’t be surprised or frustrated when it doesn’t make a perfect shape (it won’t). Remember to reflour your pin when it starts sticking.
Stopping to reflour
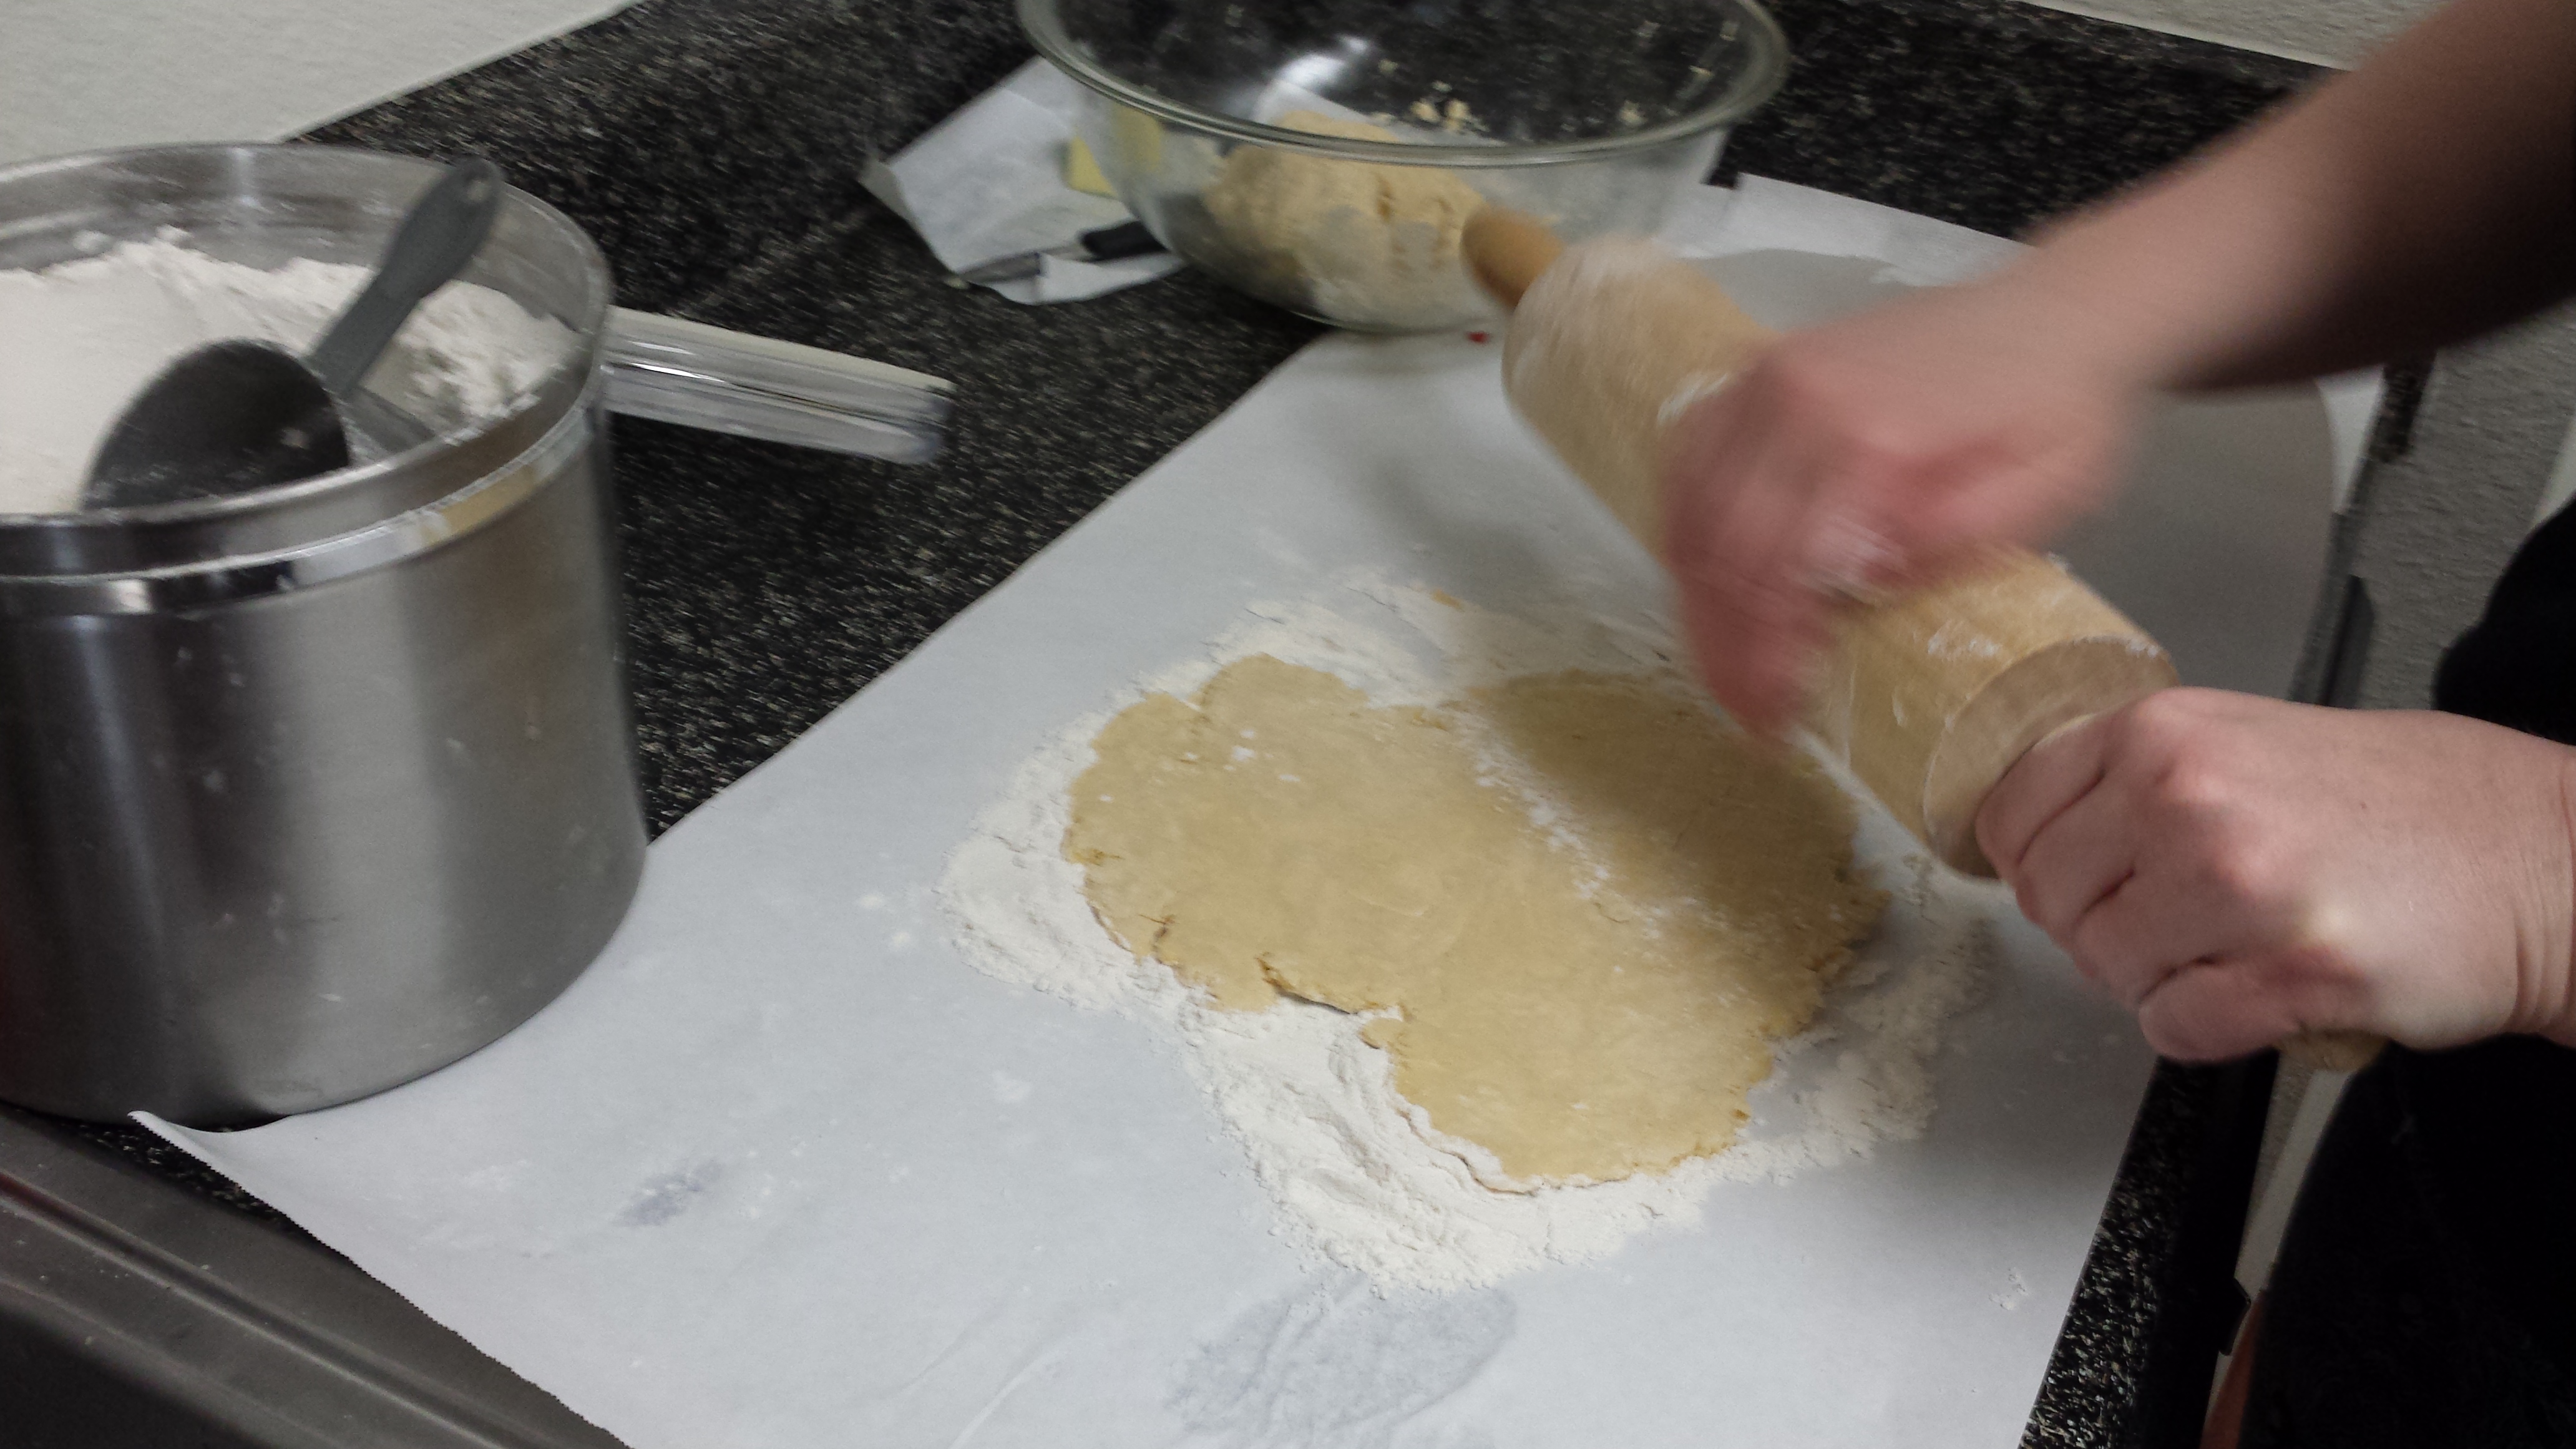
If you can see there are places where the dough is thicker, target those, always working from the inside towards the outside.
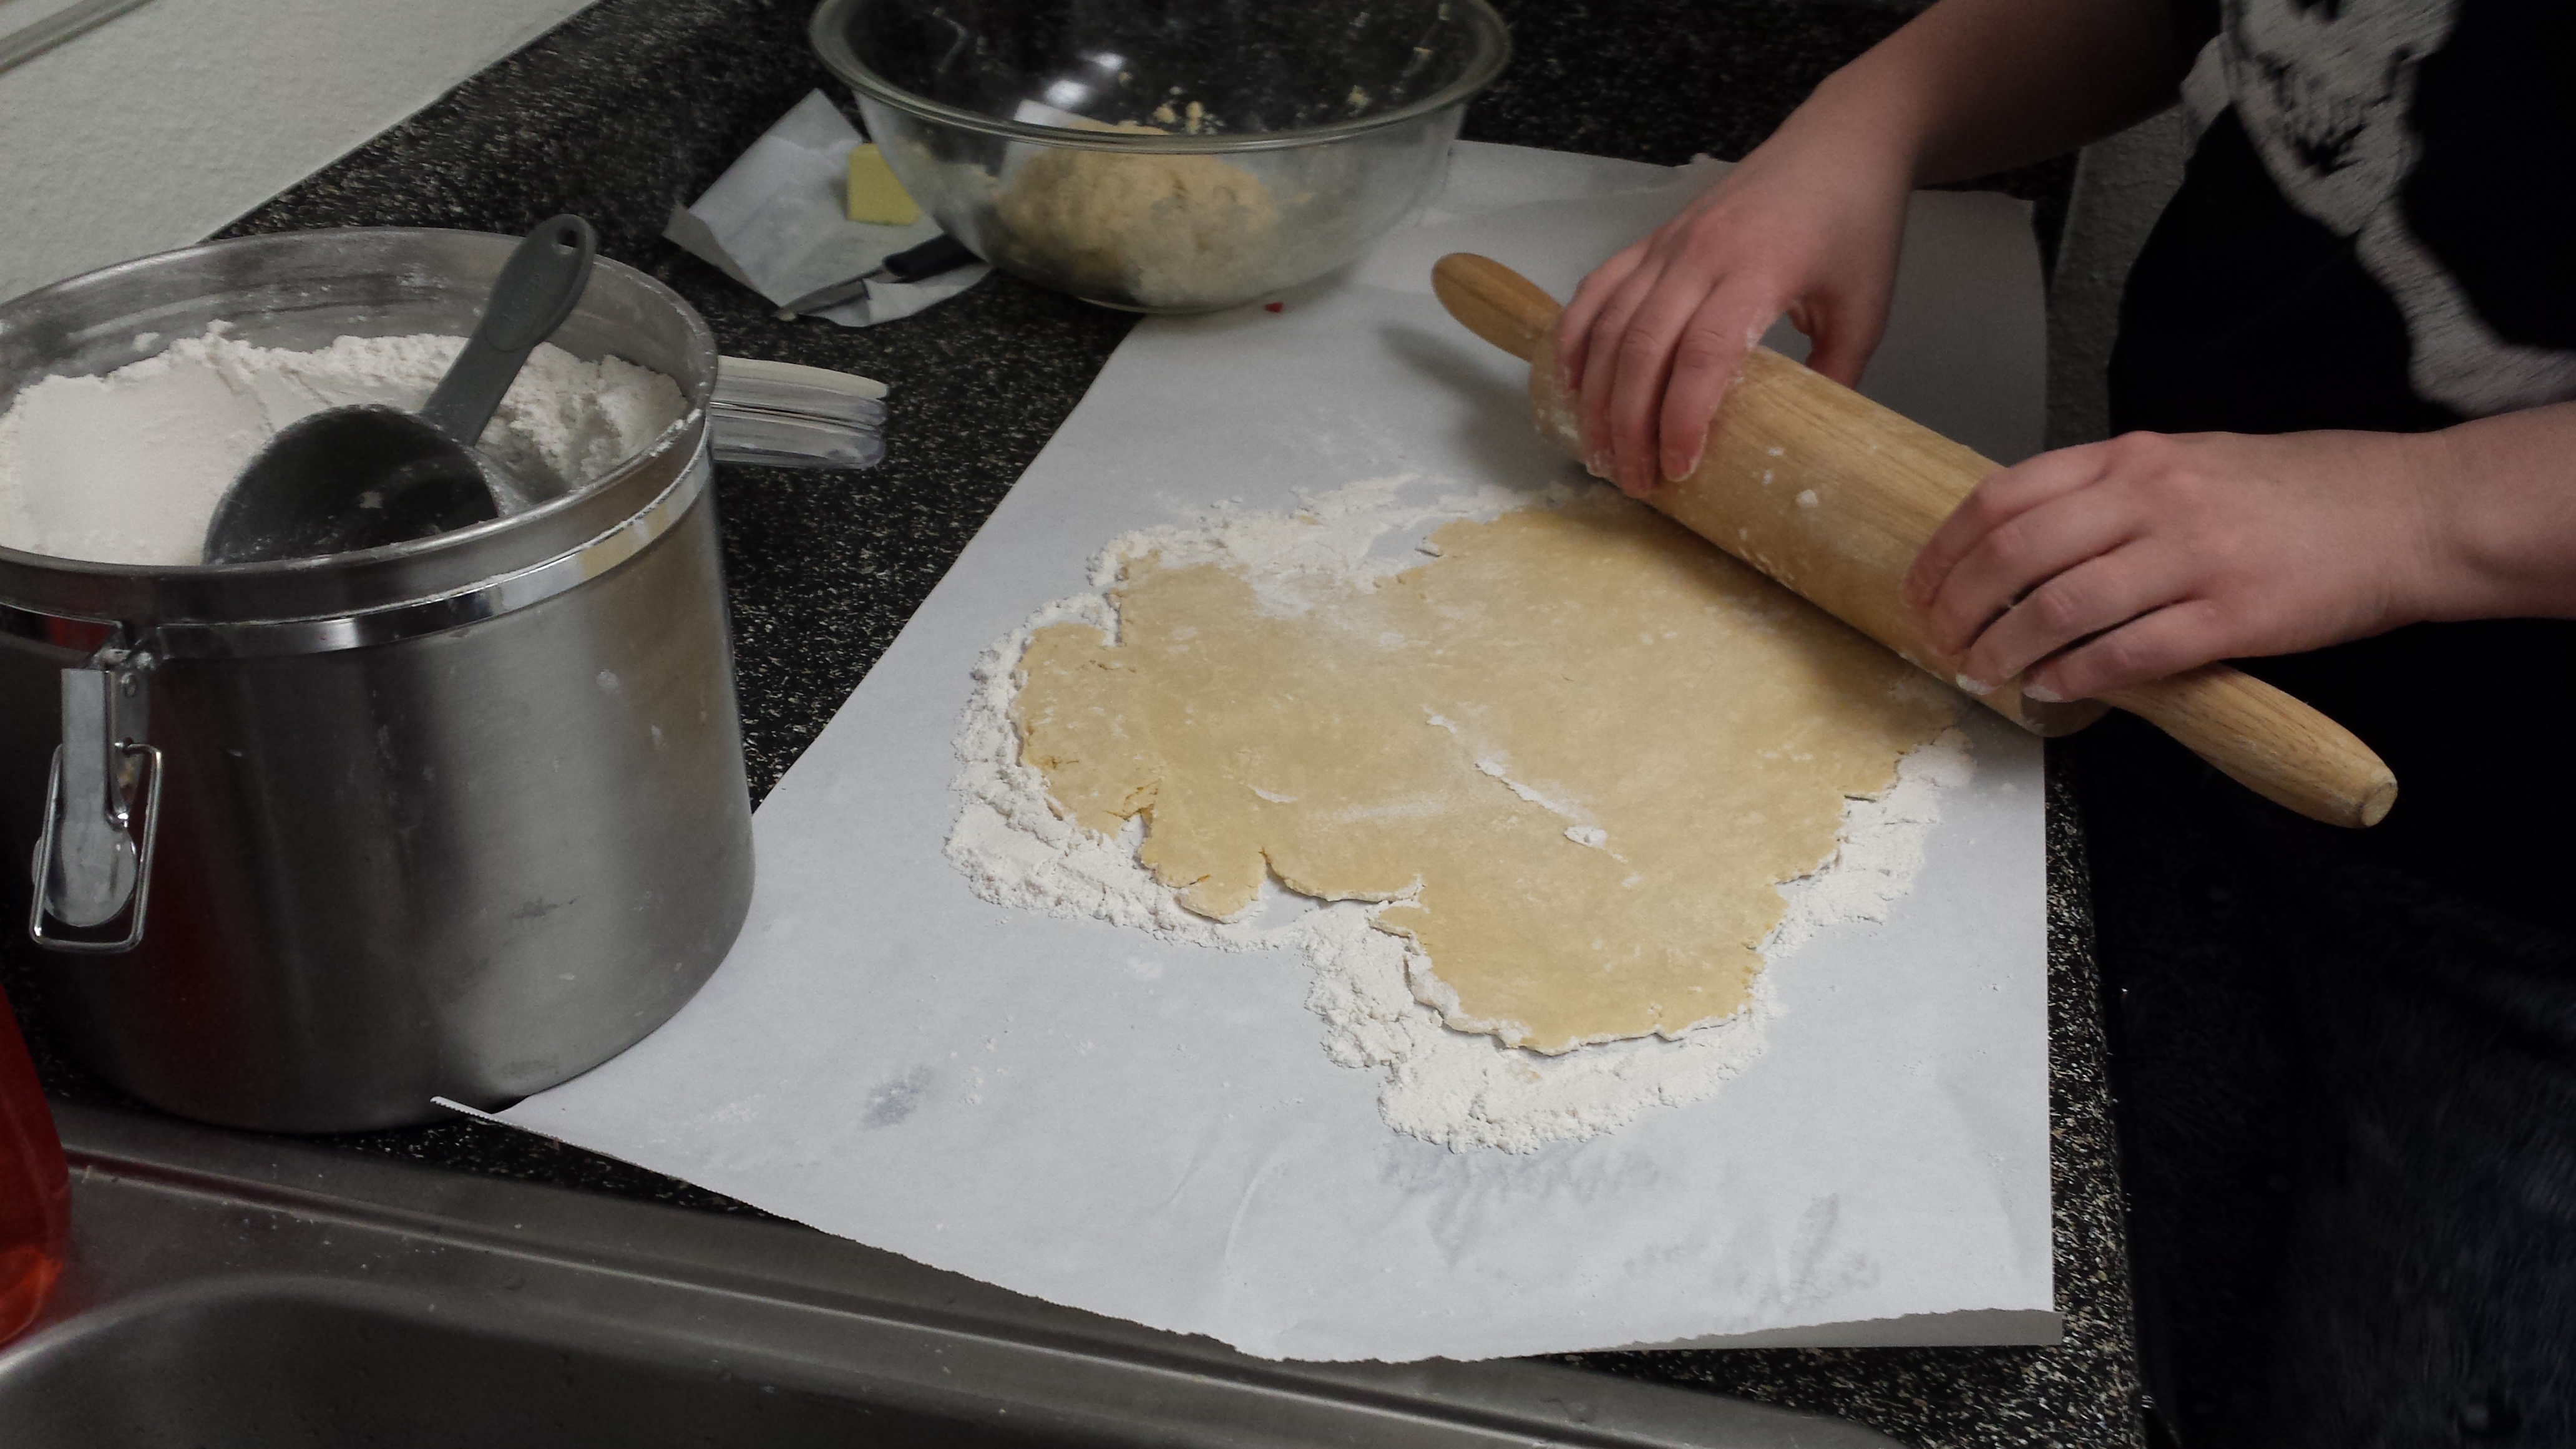
It’s easier than it looks
This is what my finished bottom crust looked like:
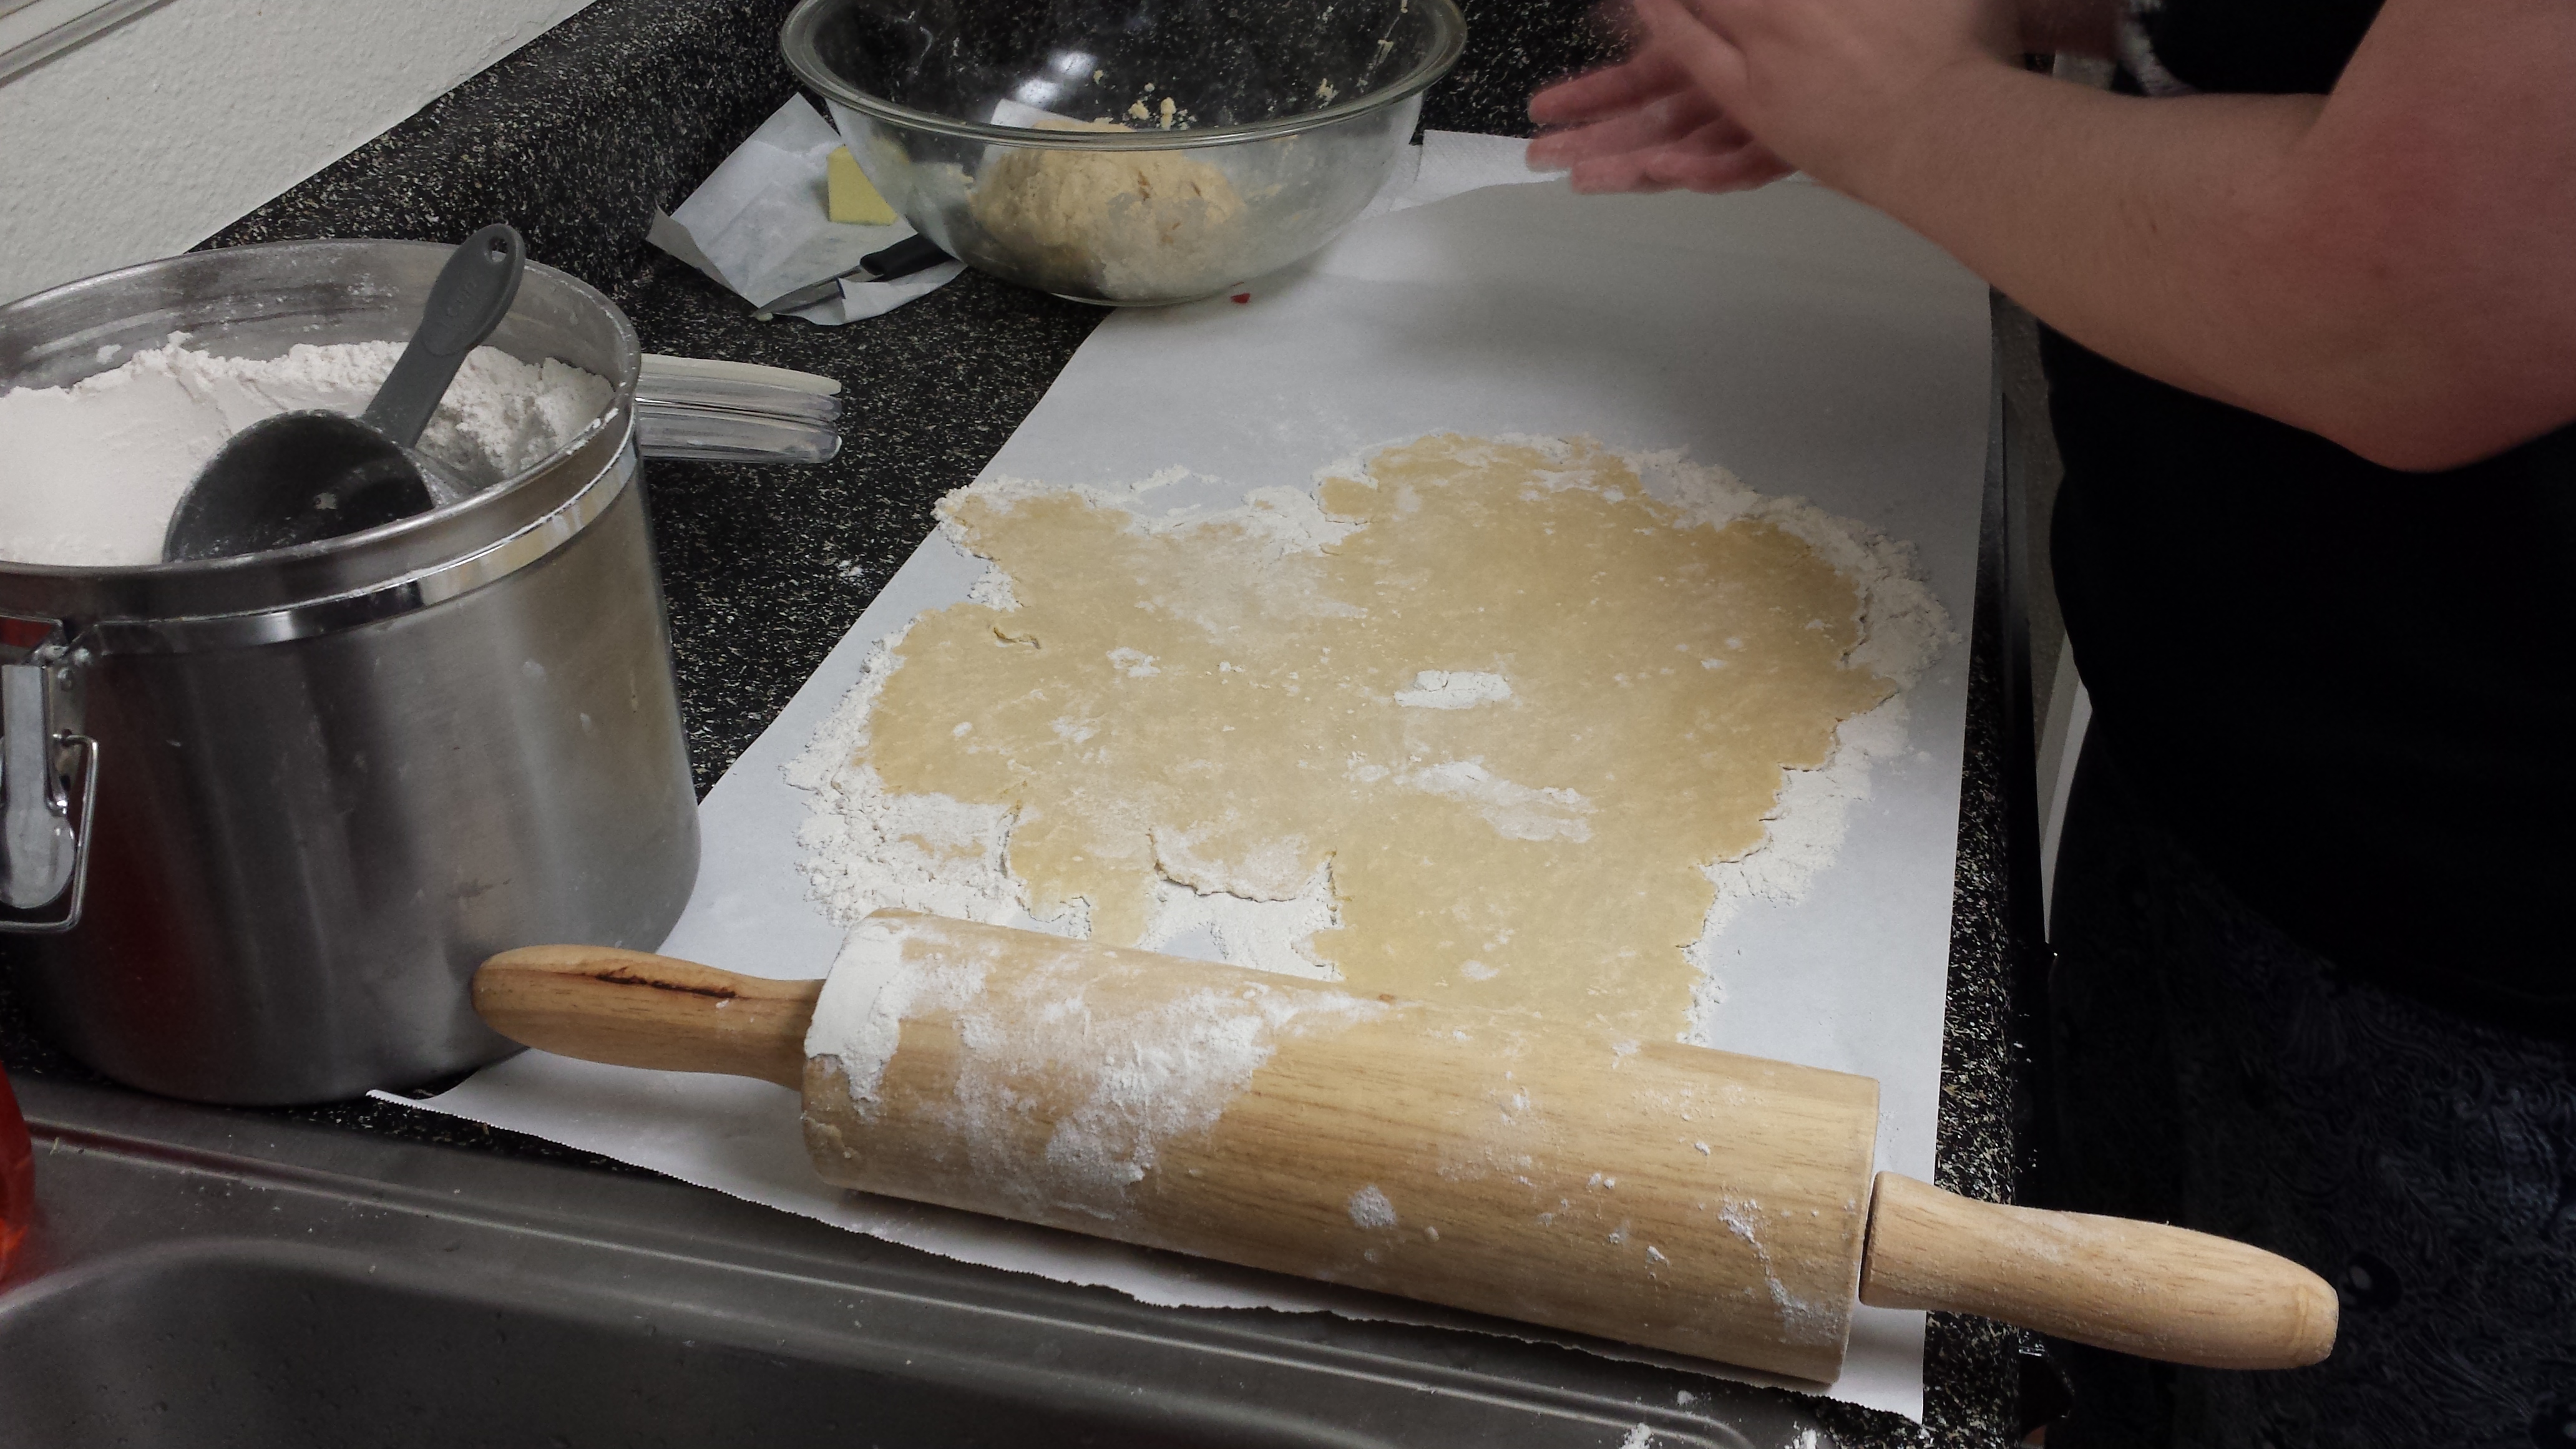
Remember what I said about awkward shapes?
How do you know when you’re finished rolling? I usually hold my pie plate over the rolled out crust to check that it’ll mostly cover it.
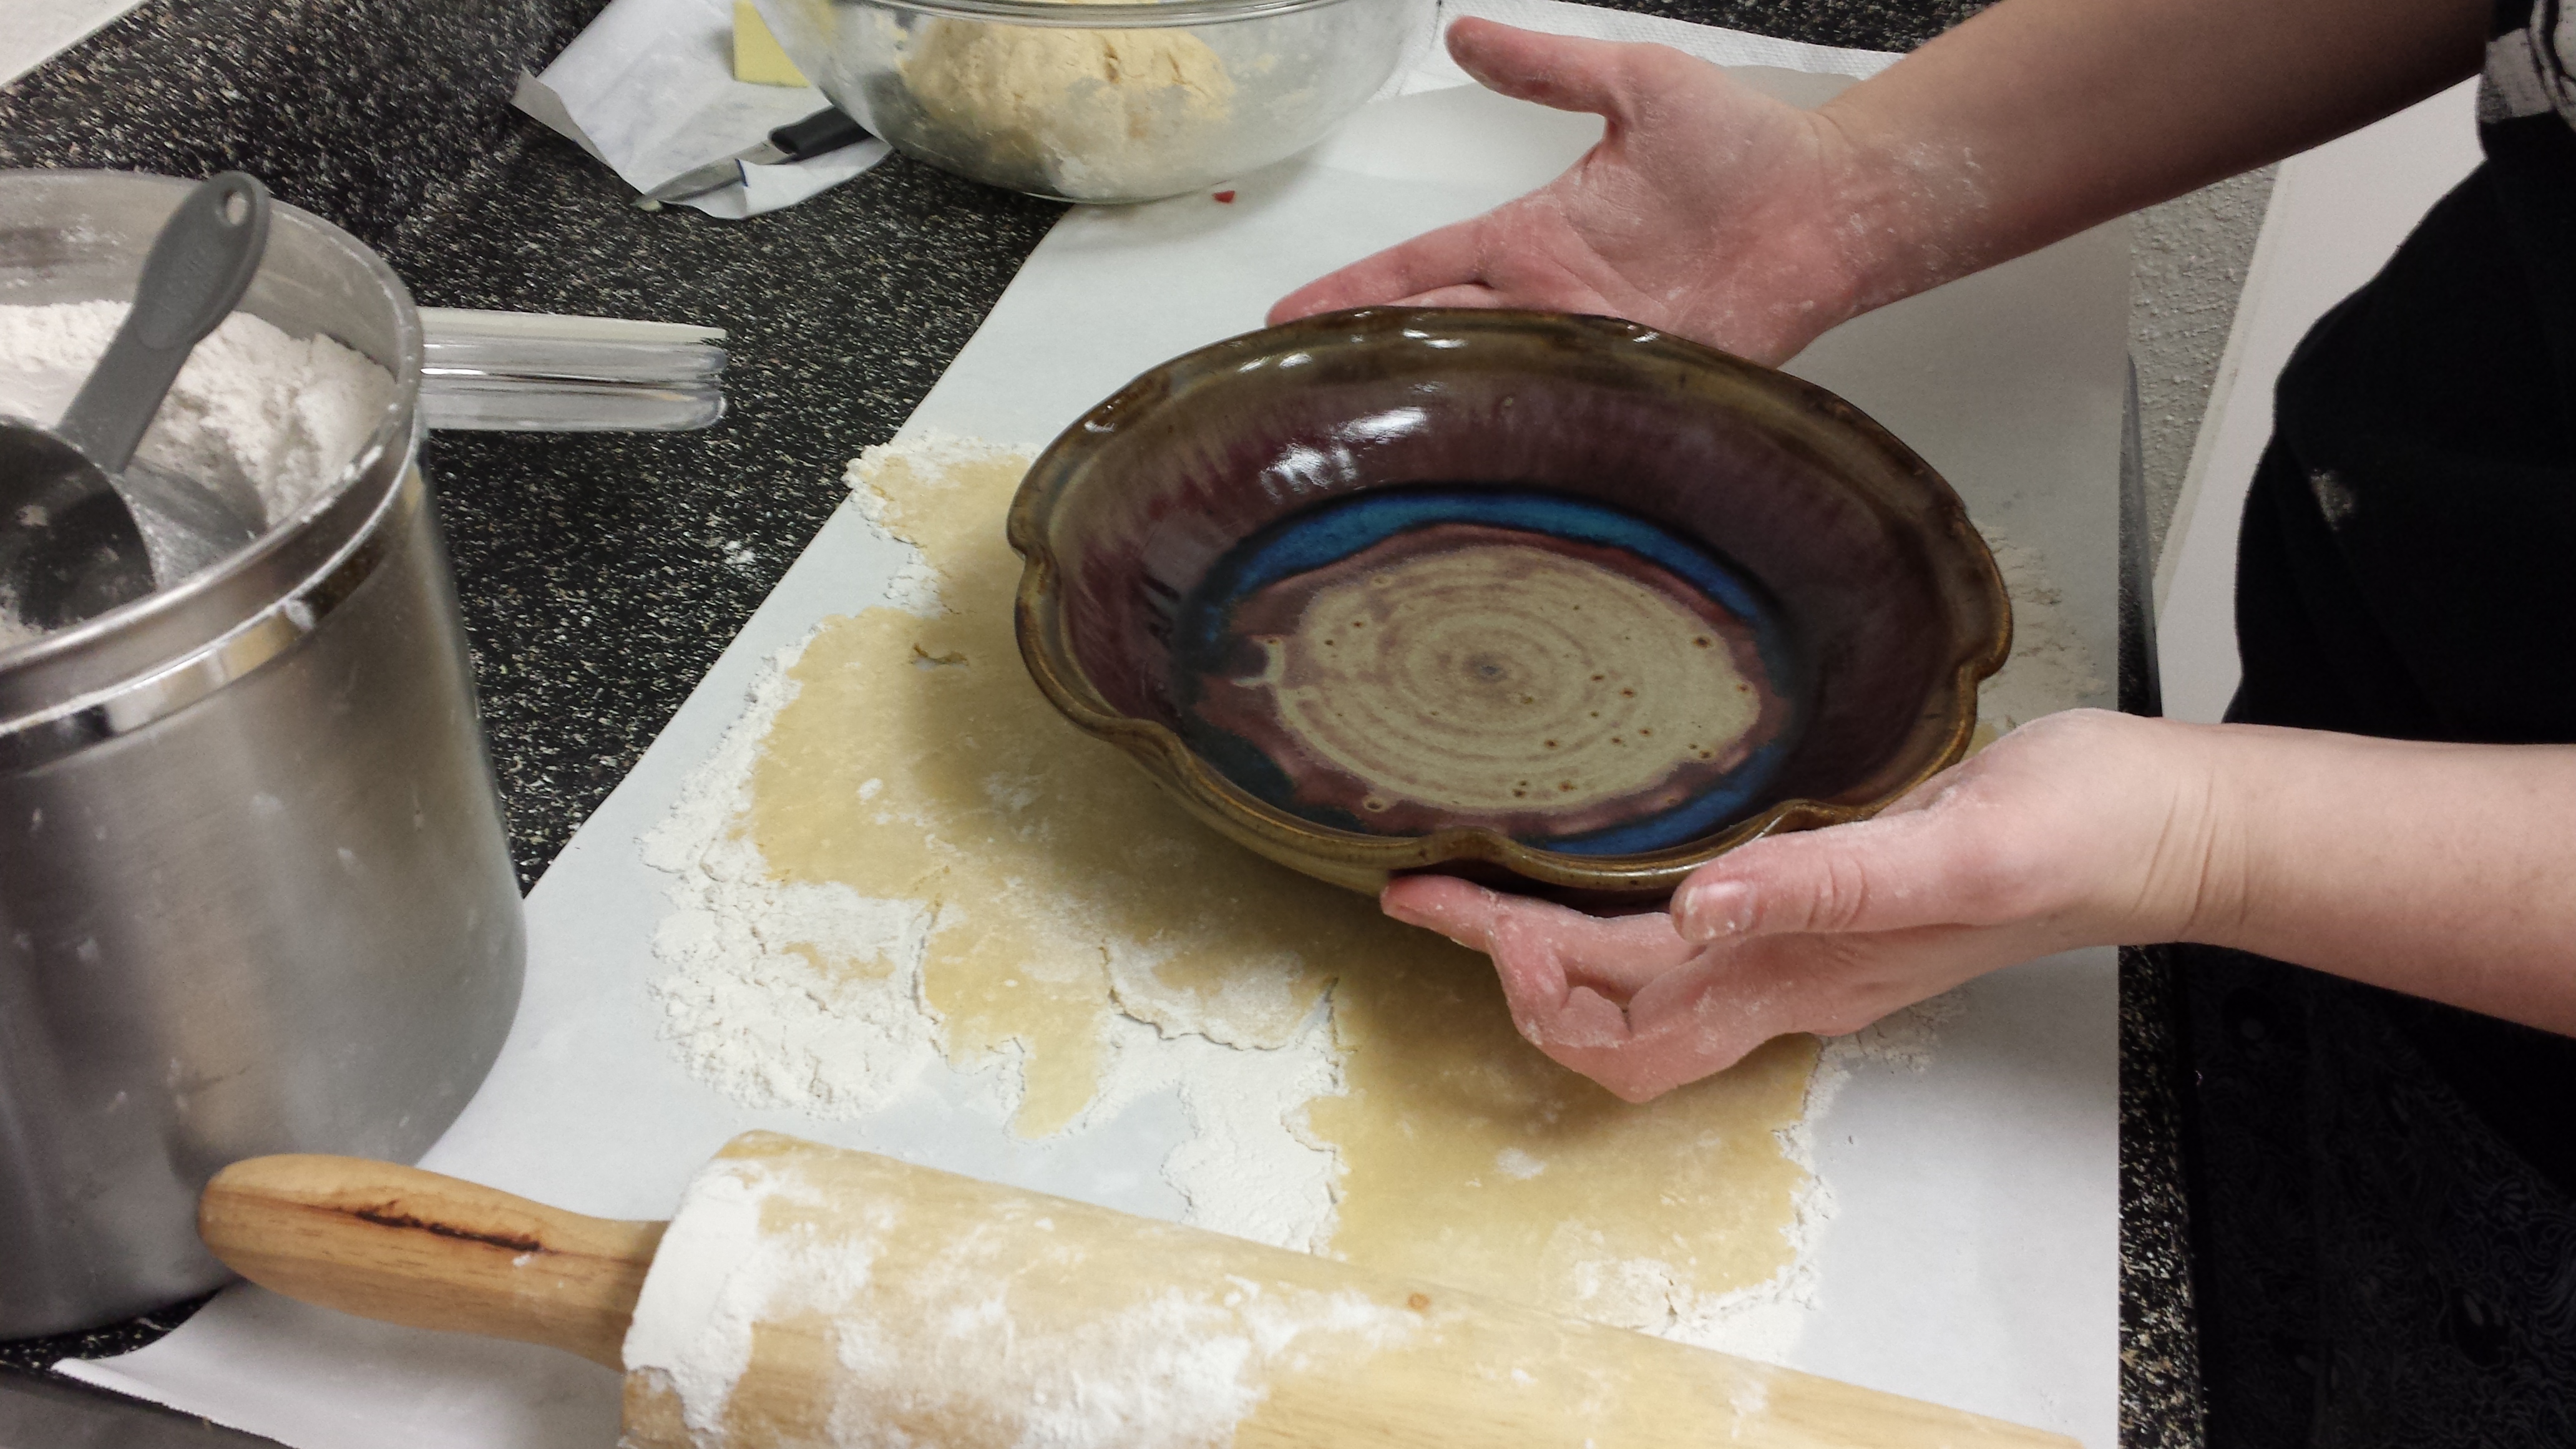
More about that “mostly” in a second
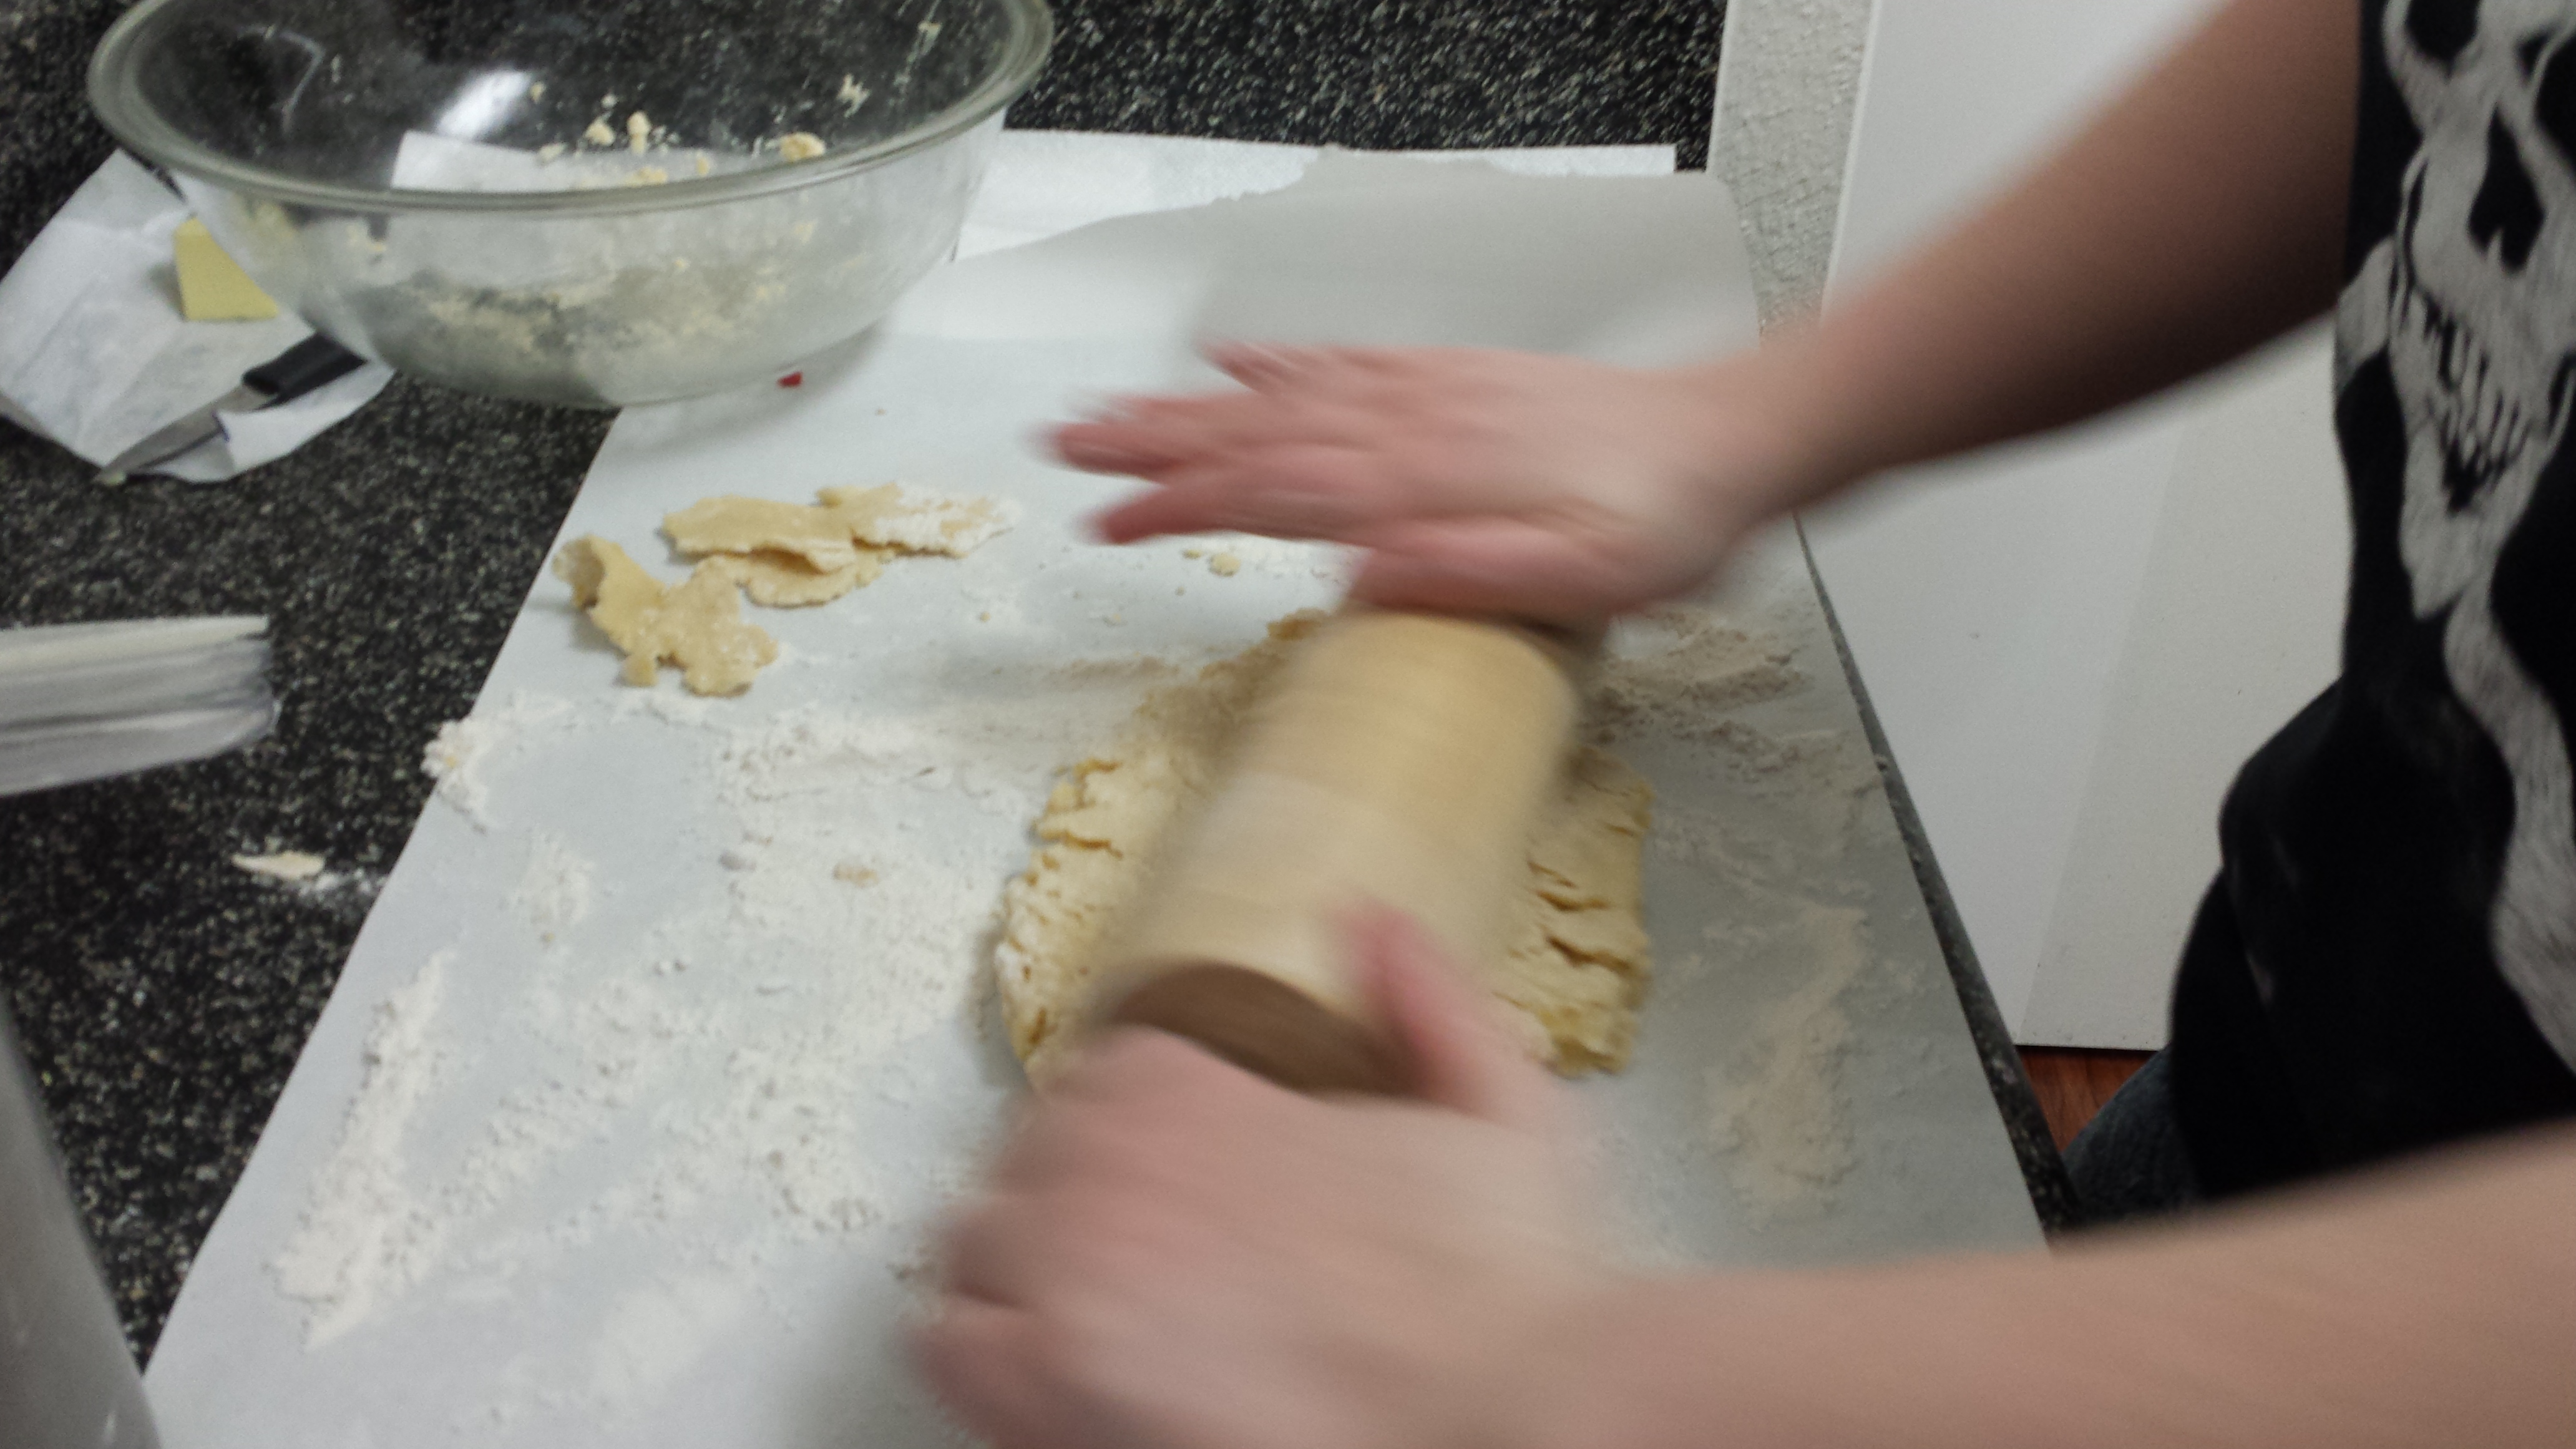
Getting the crust into the pie plate is also sometimes cited as being hella difficult. I’ve never found that to be the case, probably because I believe in using a lot of flour and doing everything on wax paper. You don’t want your crust to stick to your work surface. Still, even if you do everything right, it can be fragile. The easiest way to transport it is to gently fold it in half and stick the pie plate right next to it to make the transfer fast.
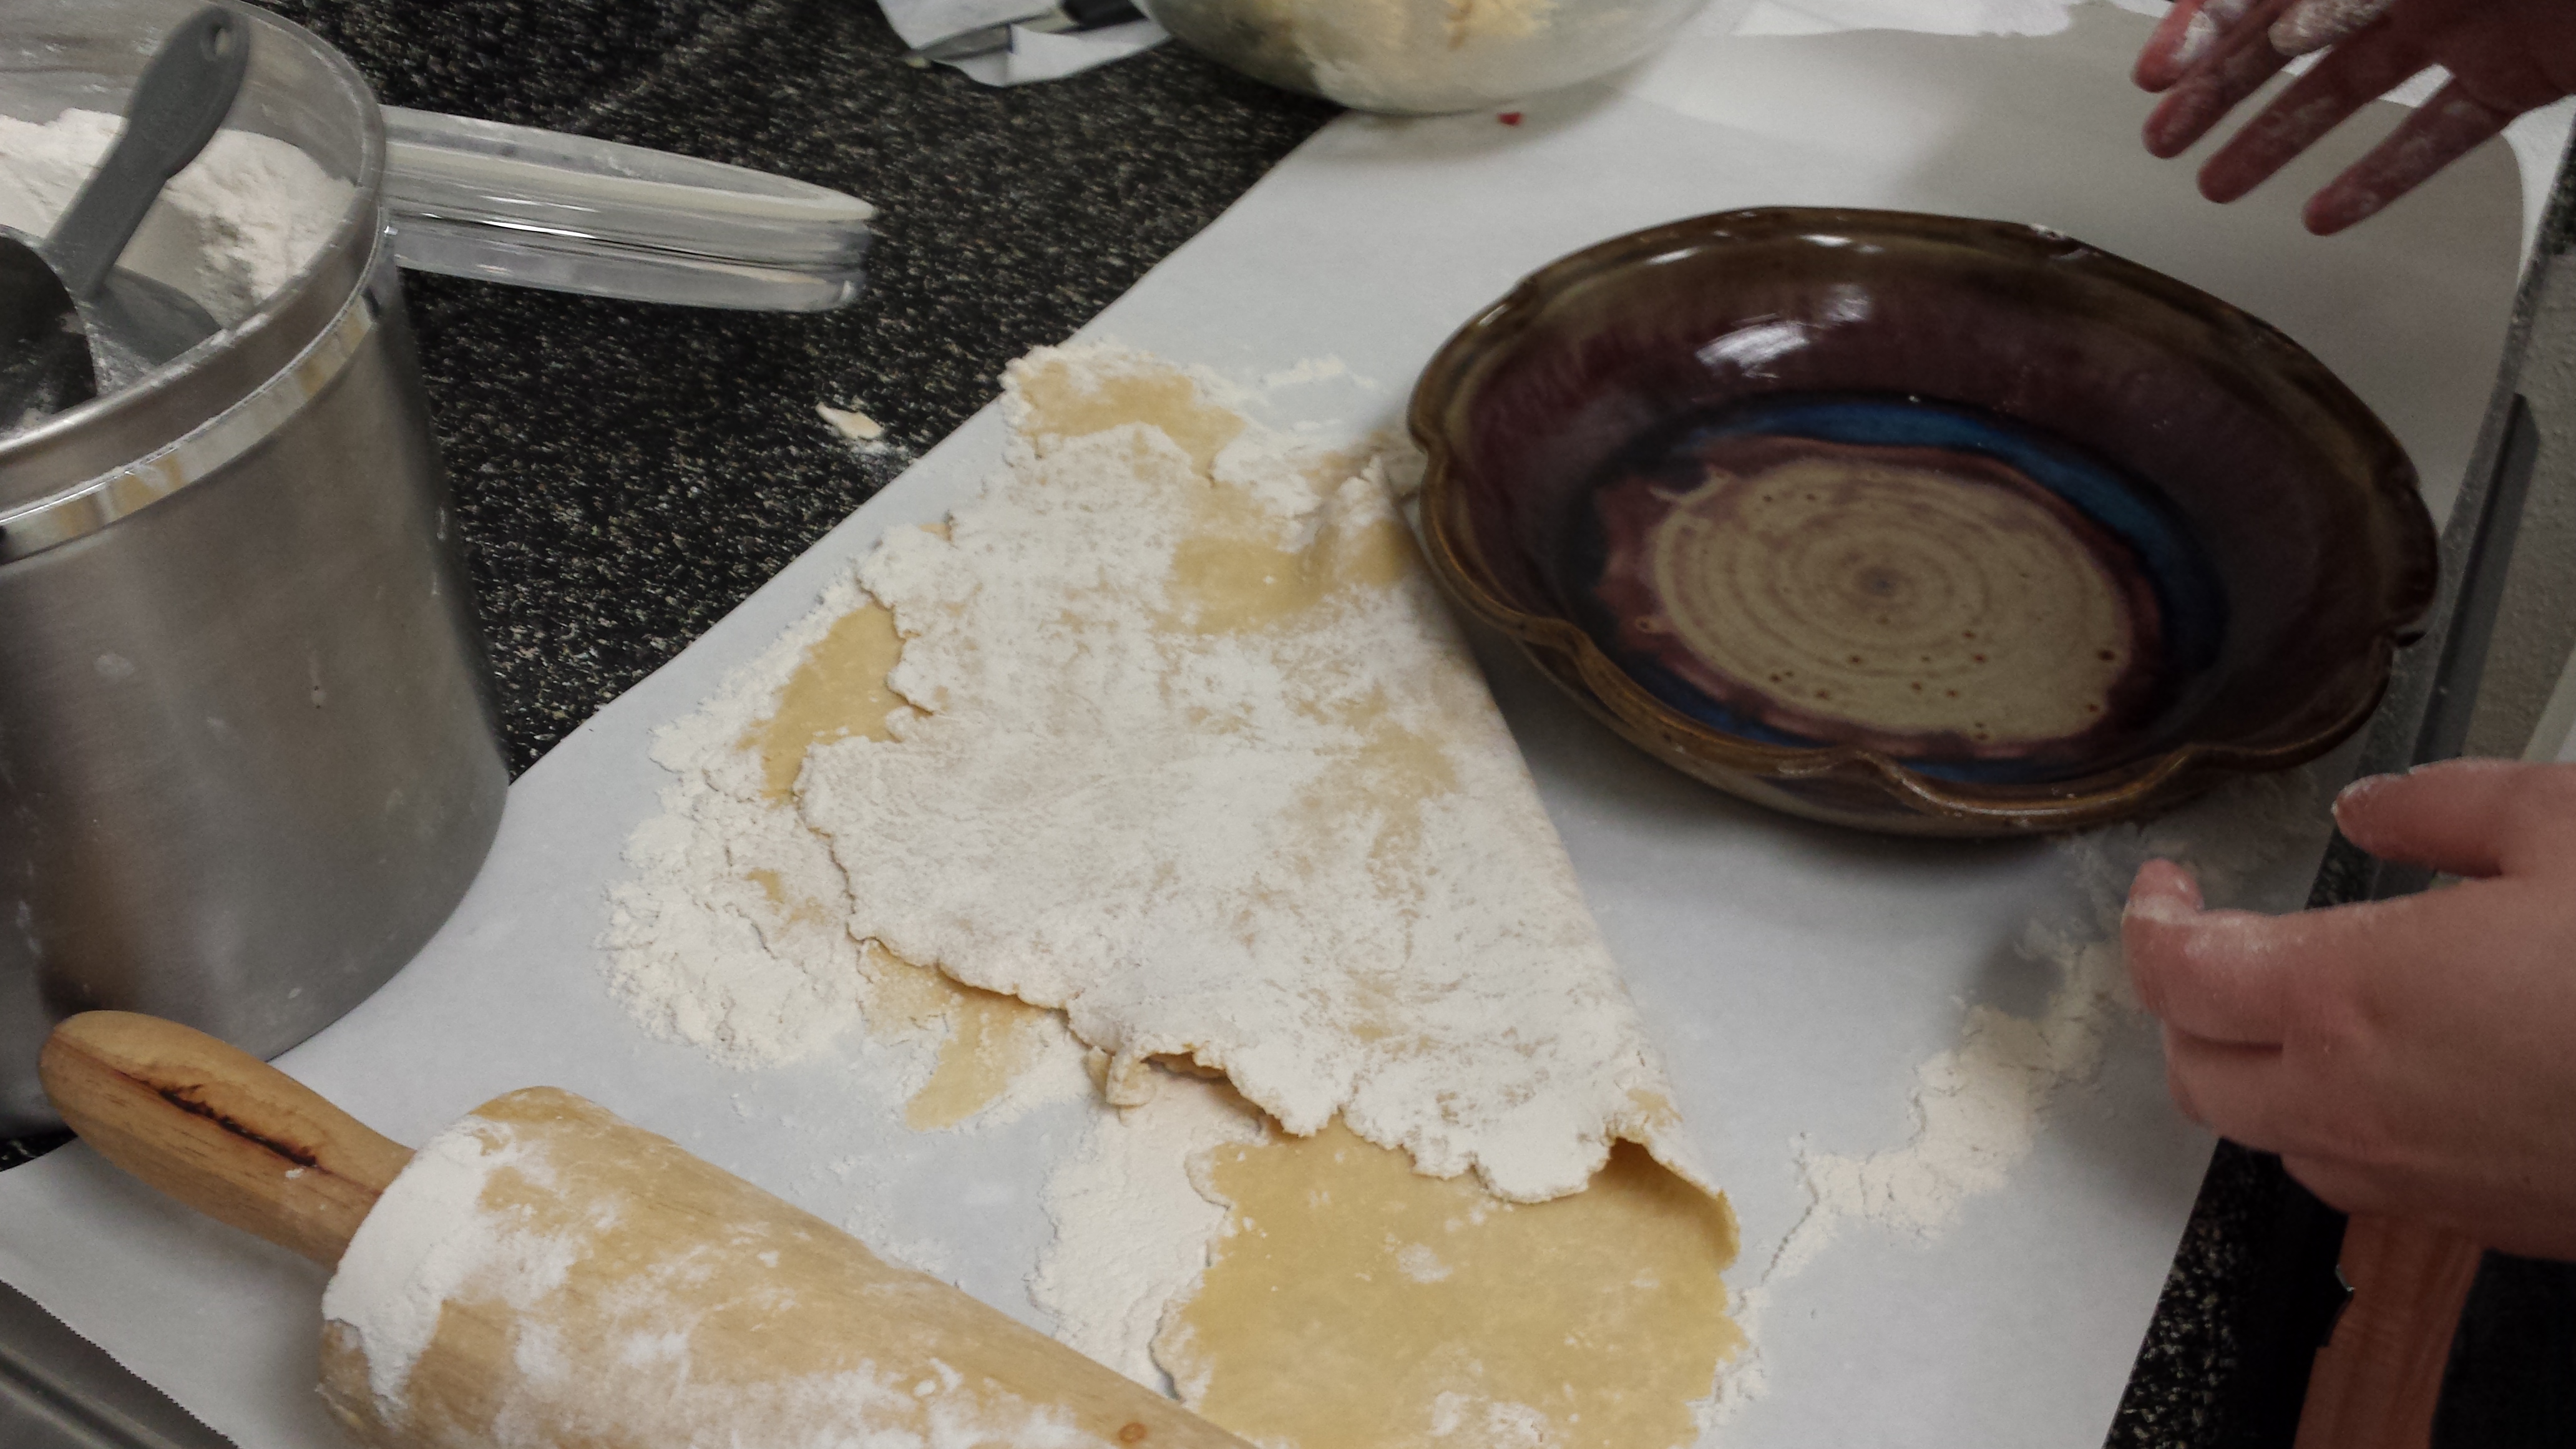
Look at all that flour!
You can’t just pull at the crust from the side or that part will break off. You kind of slide your hands under it, supporting as much of it as possible from the middle. Don’t stress so much if something breaks apart. It’s basically the consistency of Playoh, so you’ll be able to smoosh it back together as I’ll show you.
Not so bad!
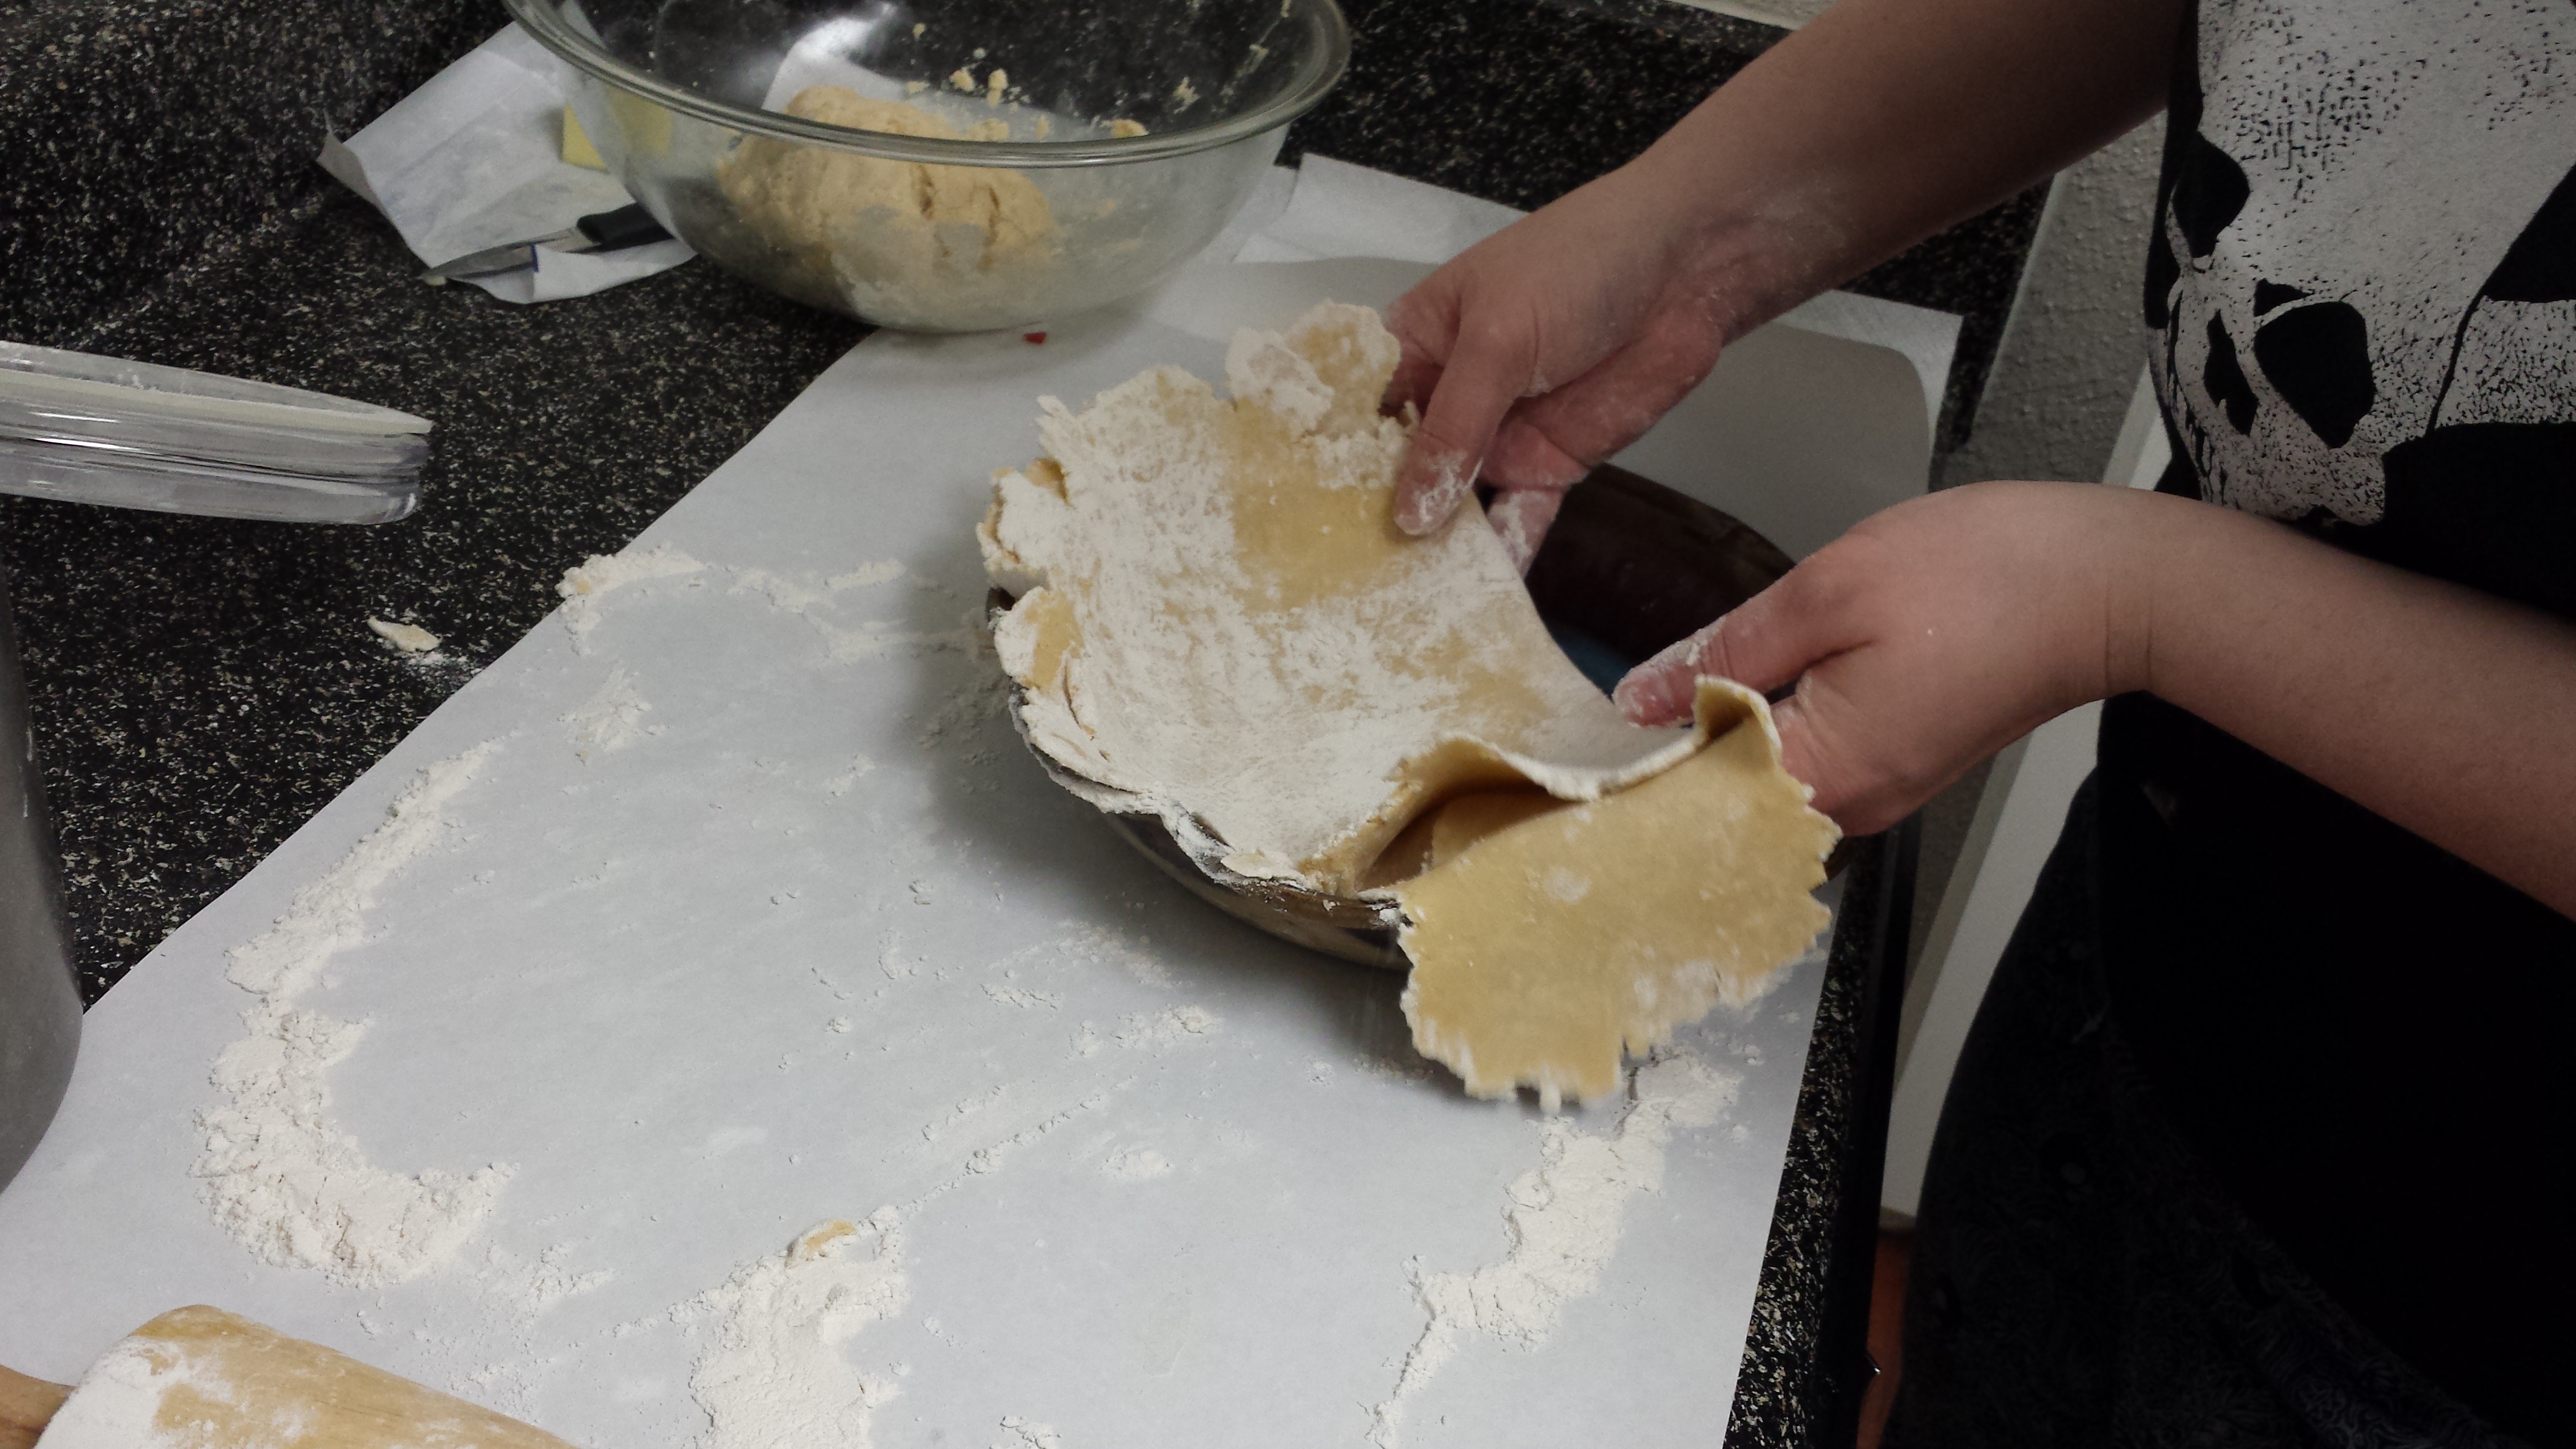
Now arrange the crust in the pie plate as best you can. Unfold it and make sure it’s reaching to the bottom of the plate all the way around. Parts of it will probably hang over the side.
So beautiful, right?
Notice that hole in the crust where you can see the pie plate? That will be unfortunate if it’s left there–the filling could all spill out! But don’t worry, it’s an easy fix. You already have all this extra crust hanging over the sides, so gently break off a piece:
Like so
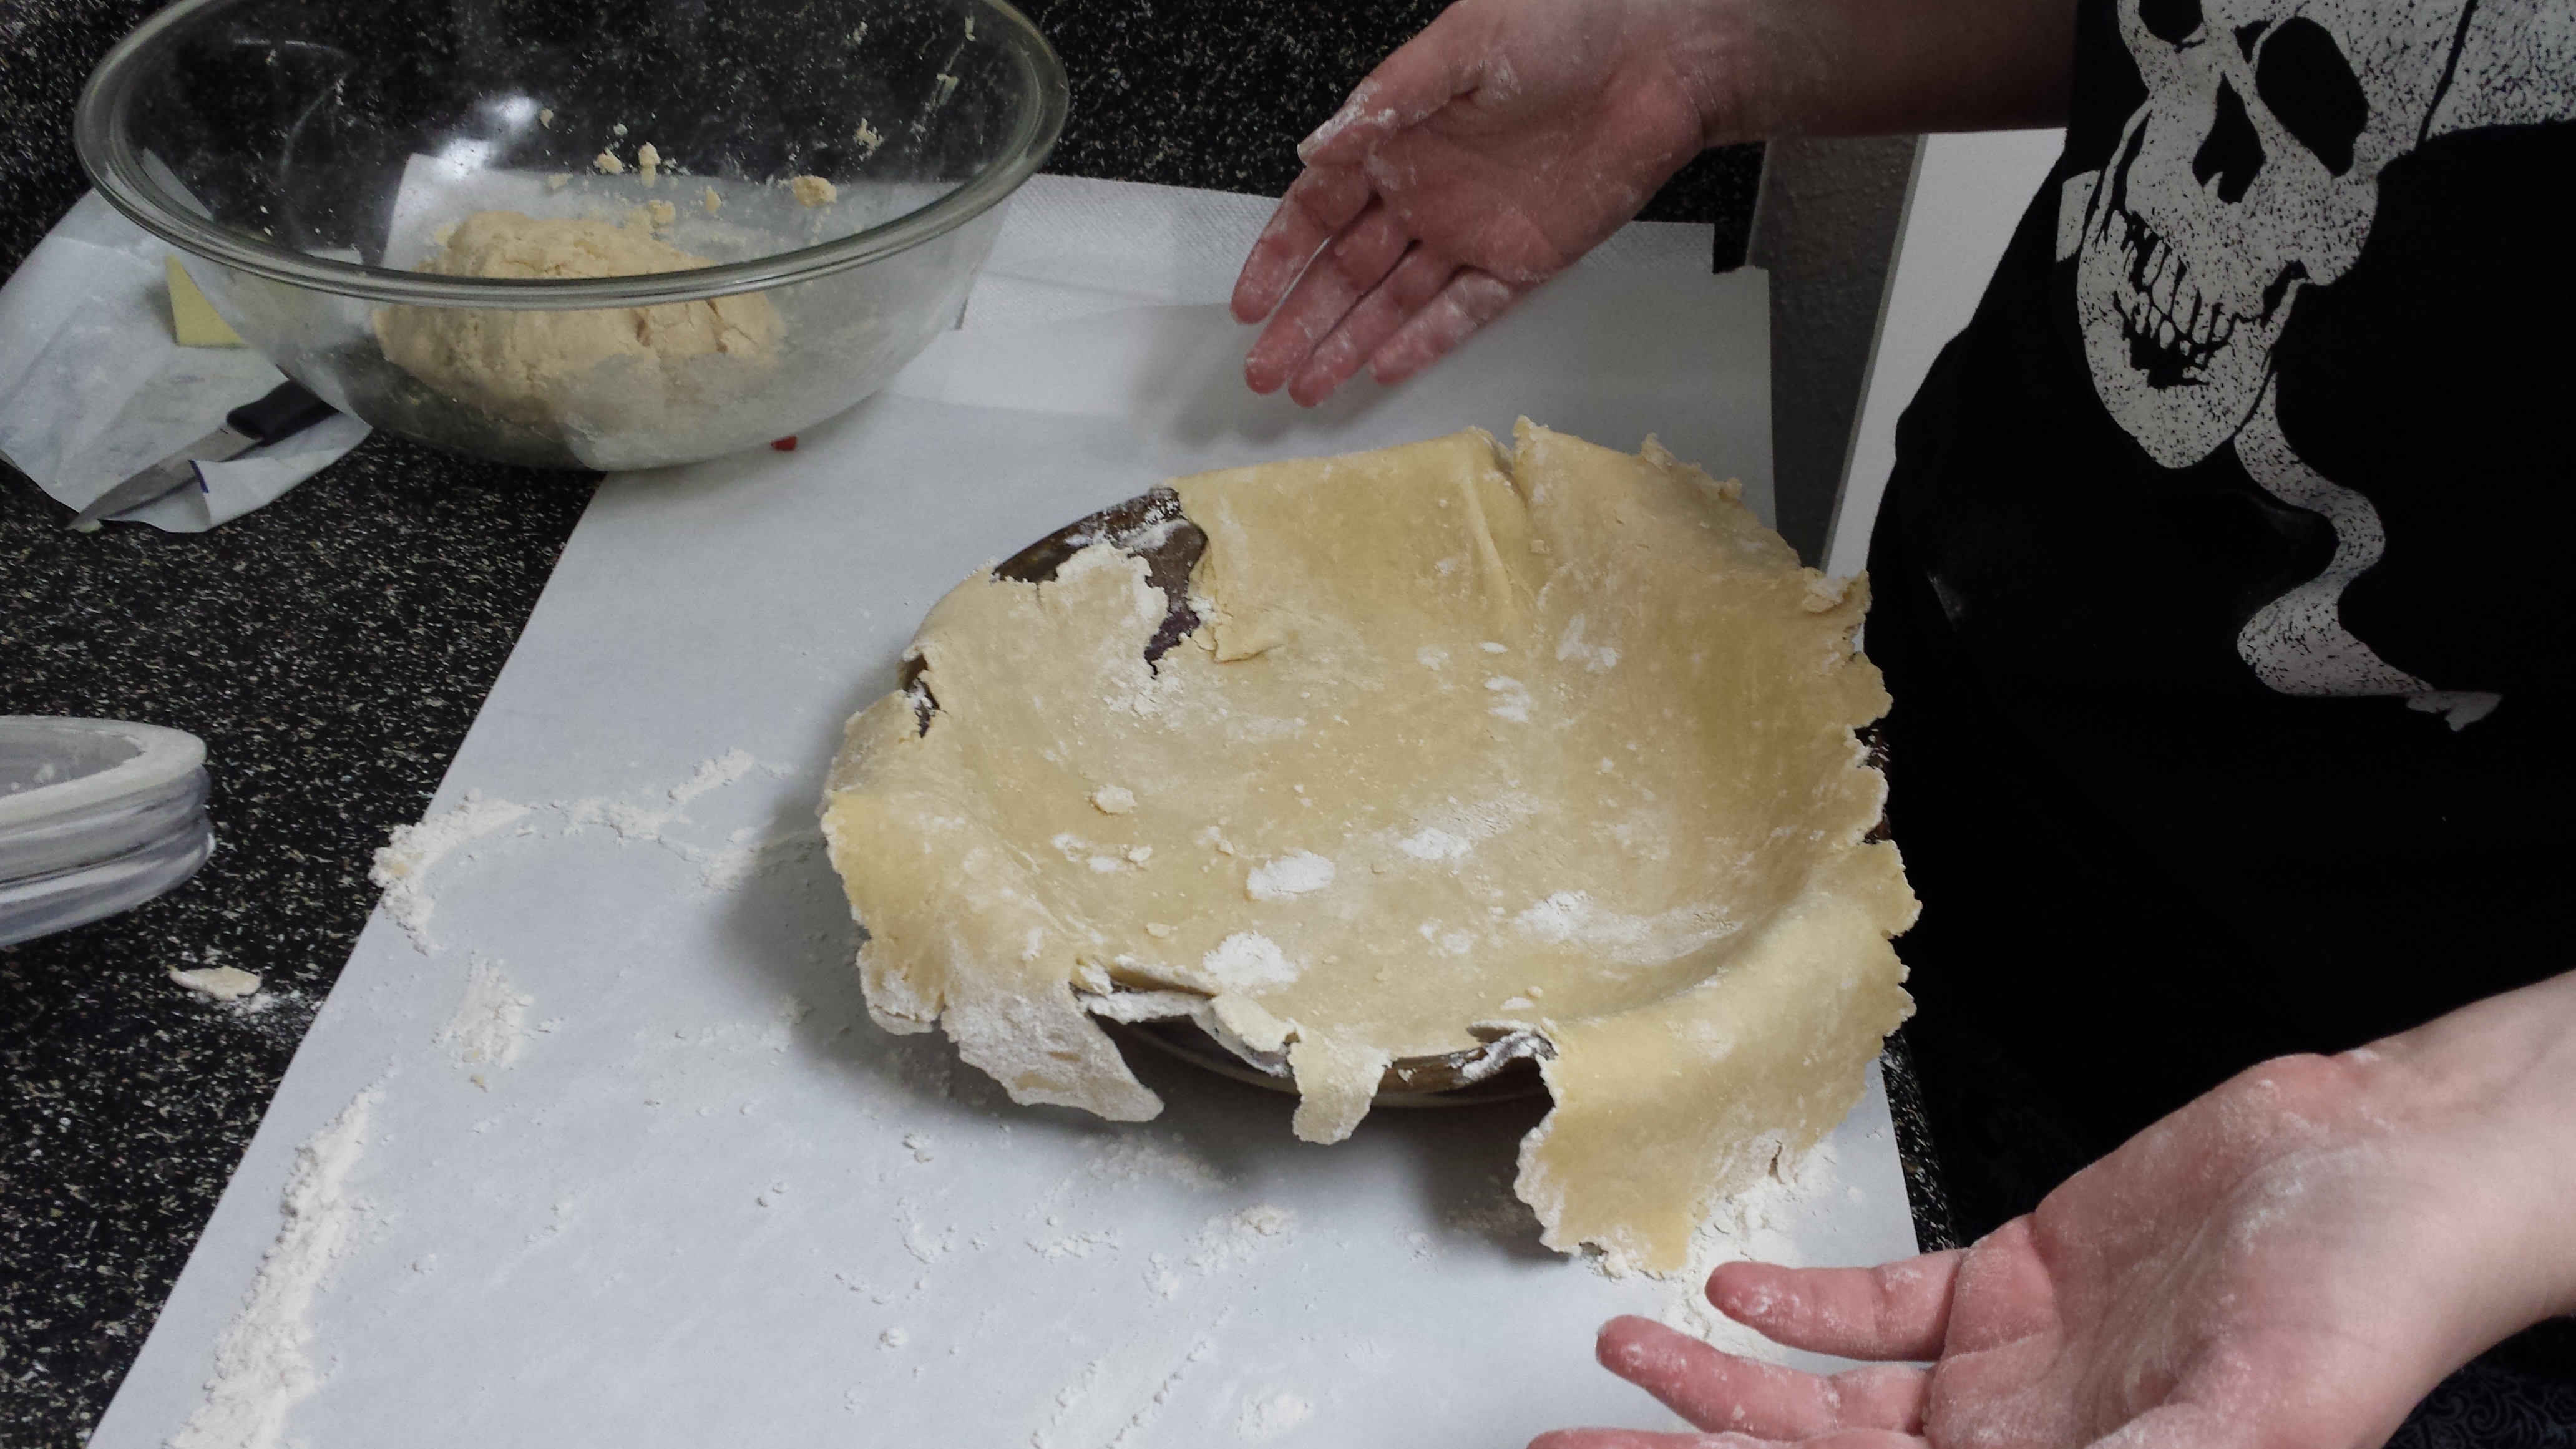
And patch that hole up. You shouldn’t have to press hard to get this crust to stick to the other. If you’re having trouble, wet the edges with a little water.
Like I keep saying, it’s basically Playdoh
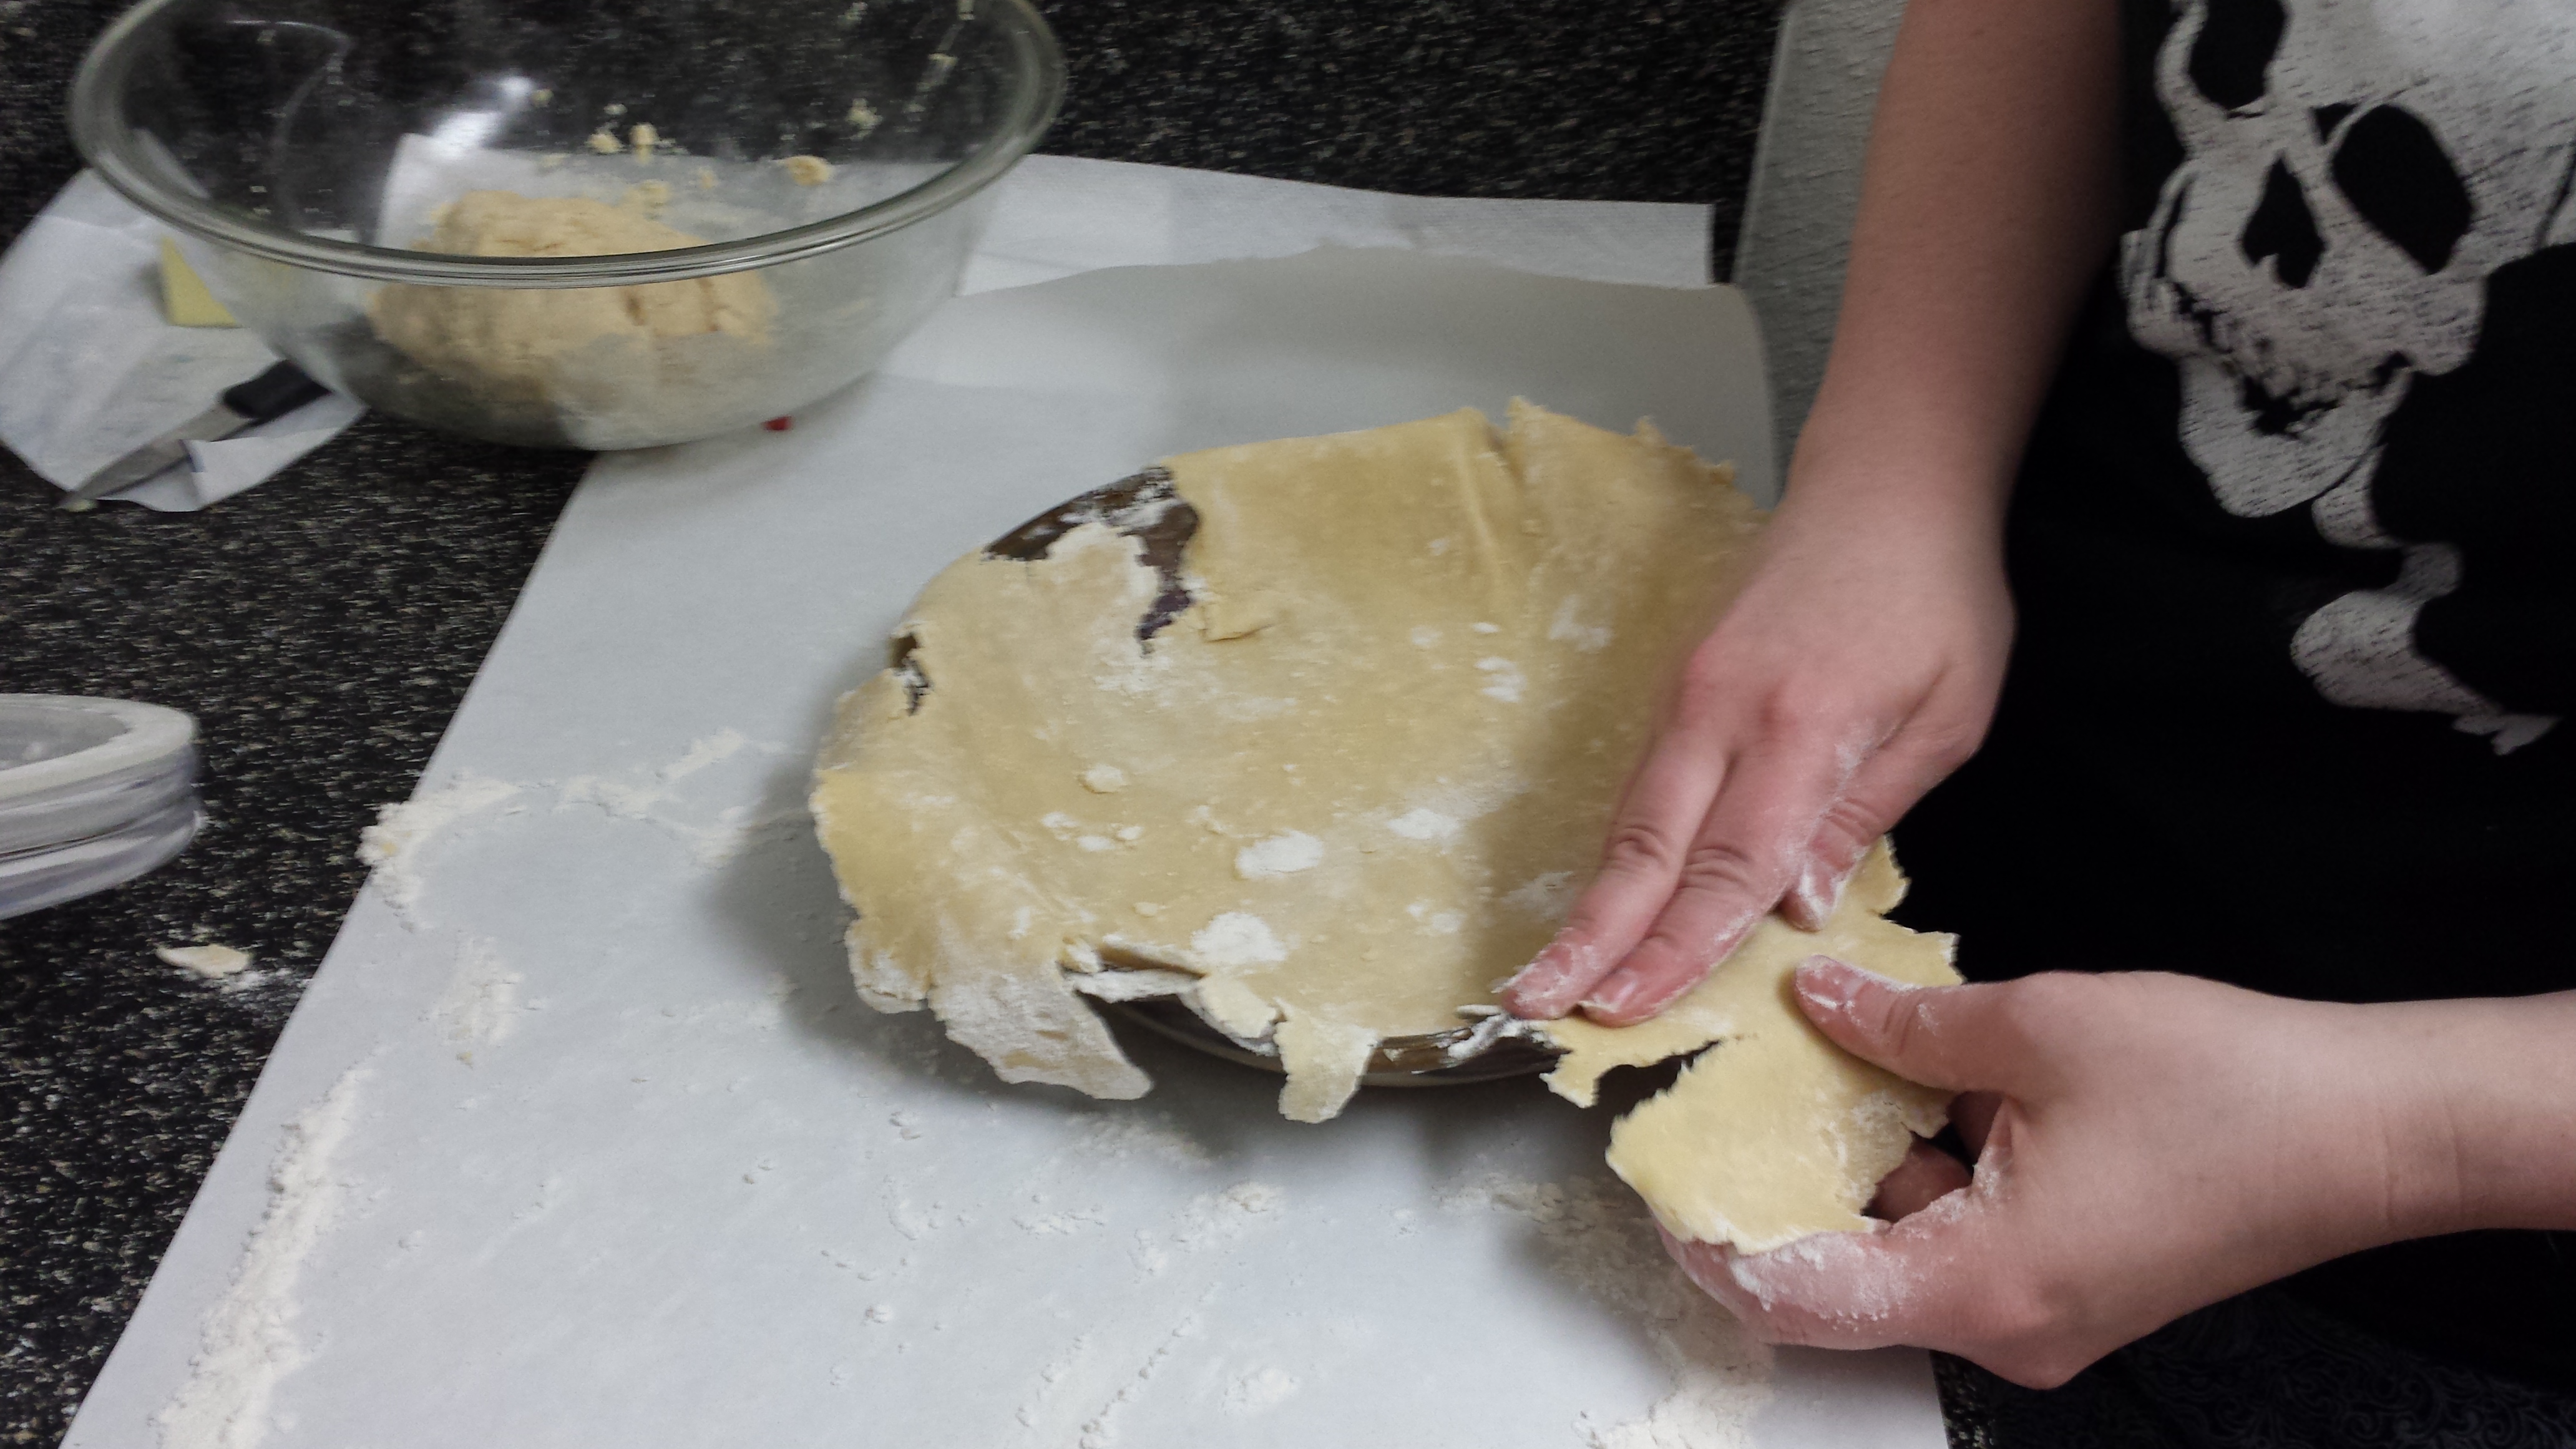
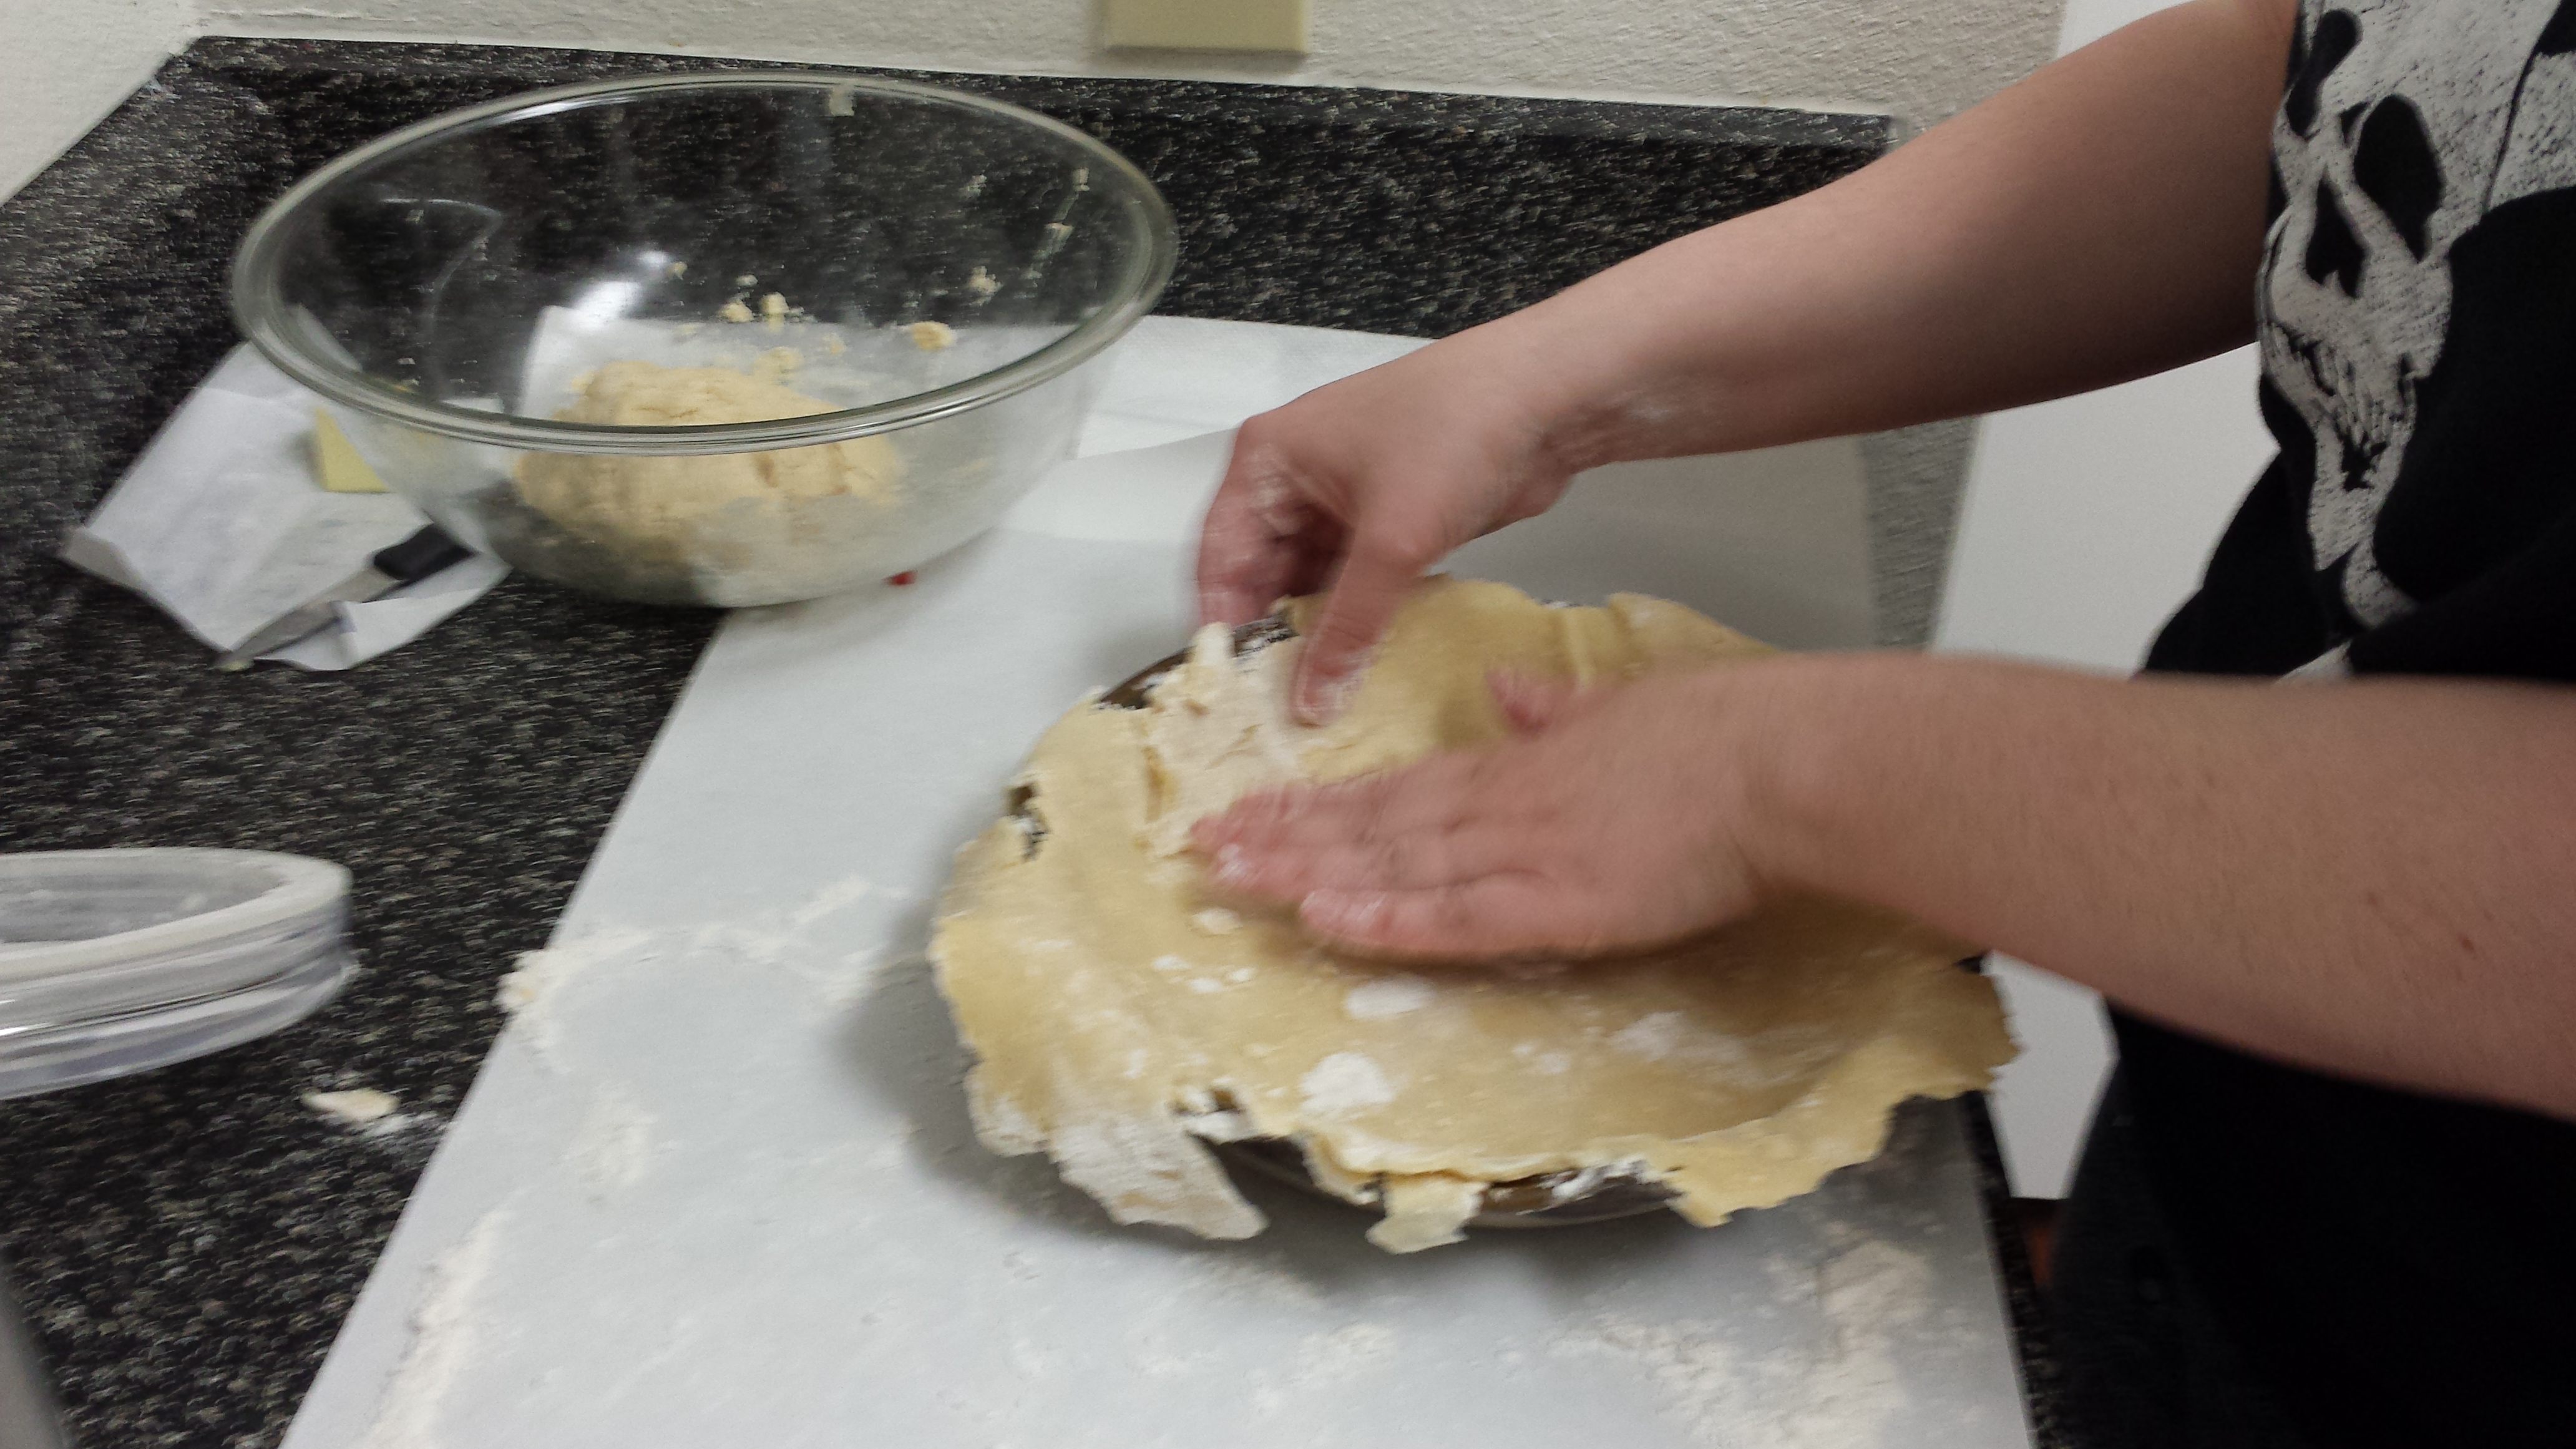
You may have more than one spot that needs help like this, so go around and make sure your crust is covering the whole bottom of the pie plate. Press cracks together, patch holes etc. Here’s what mine looked like after that:
Ta-dah!
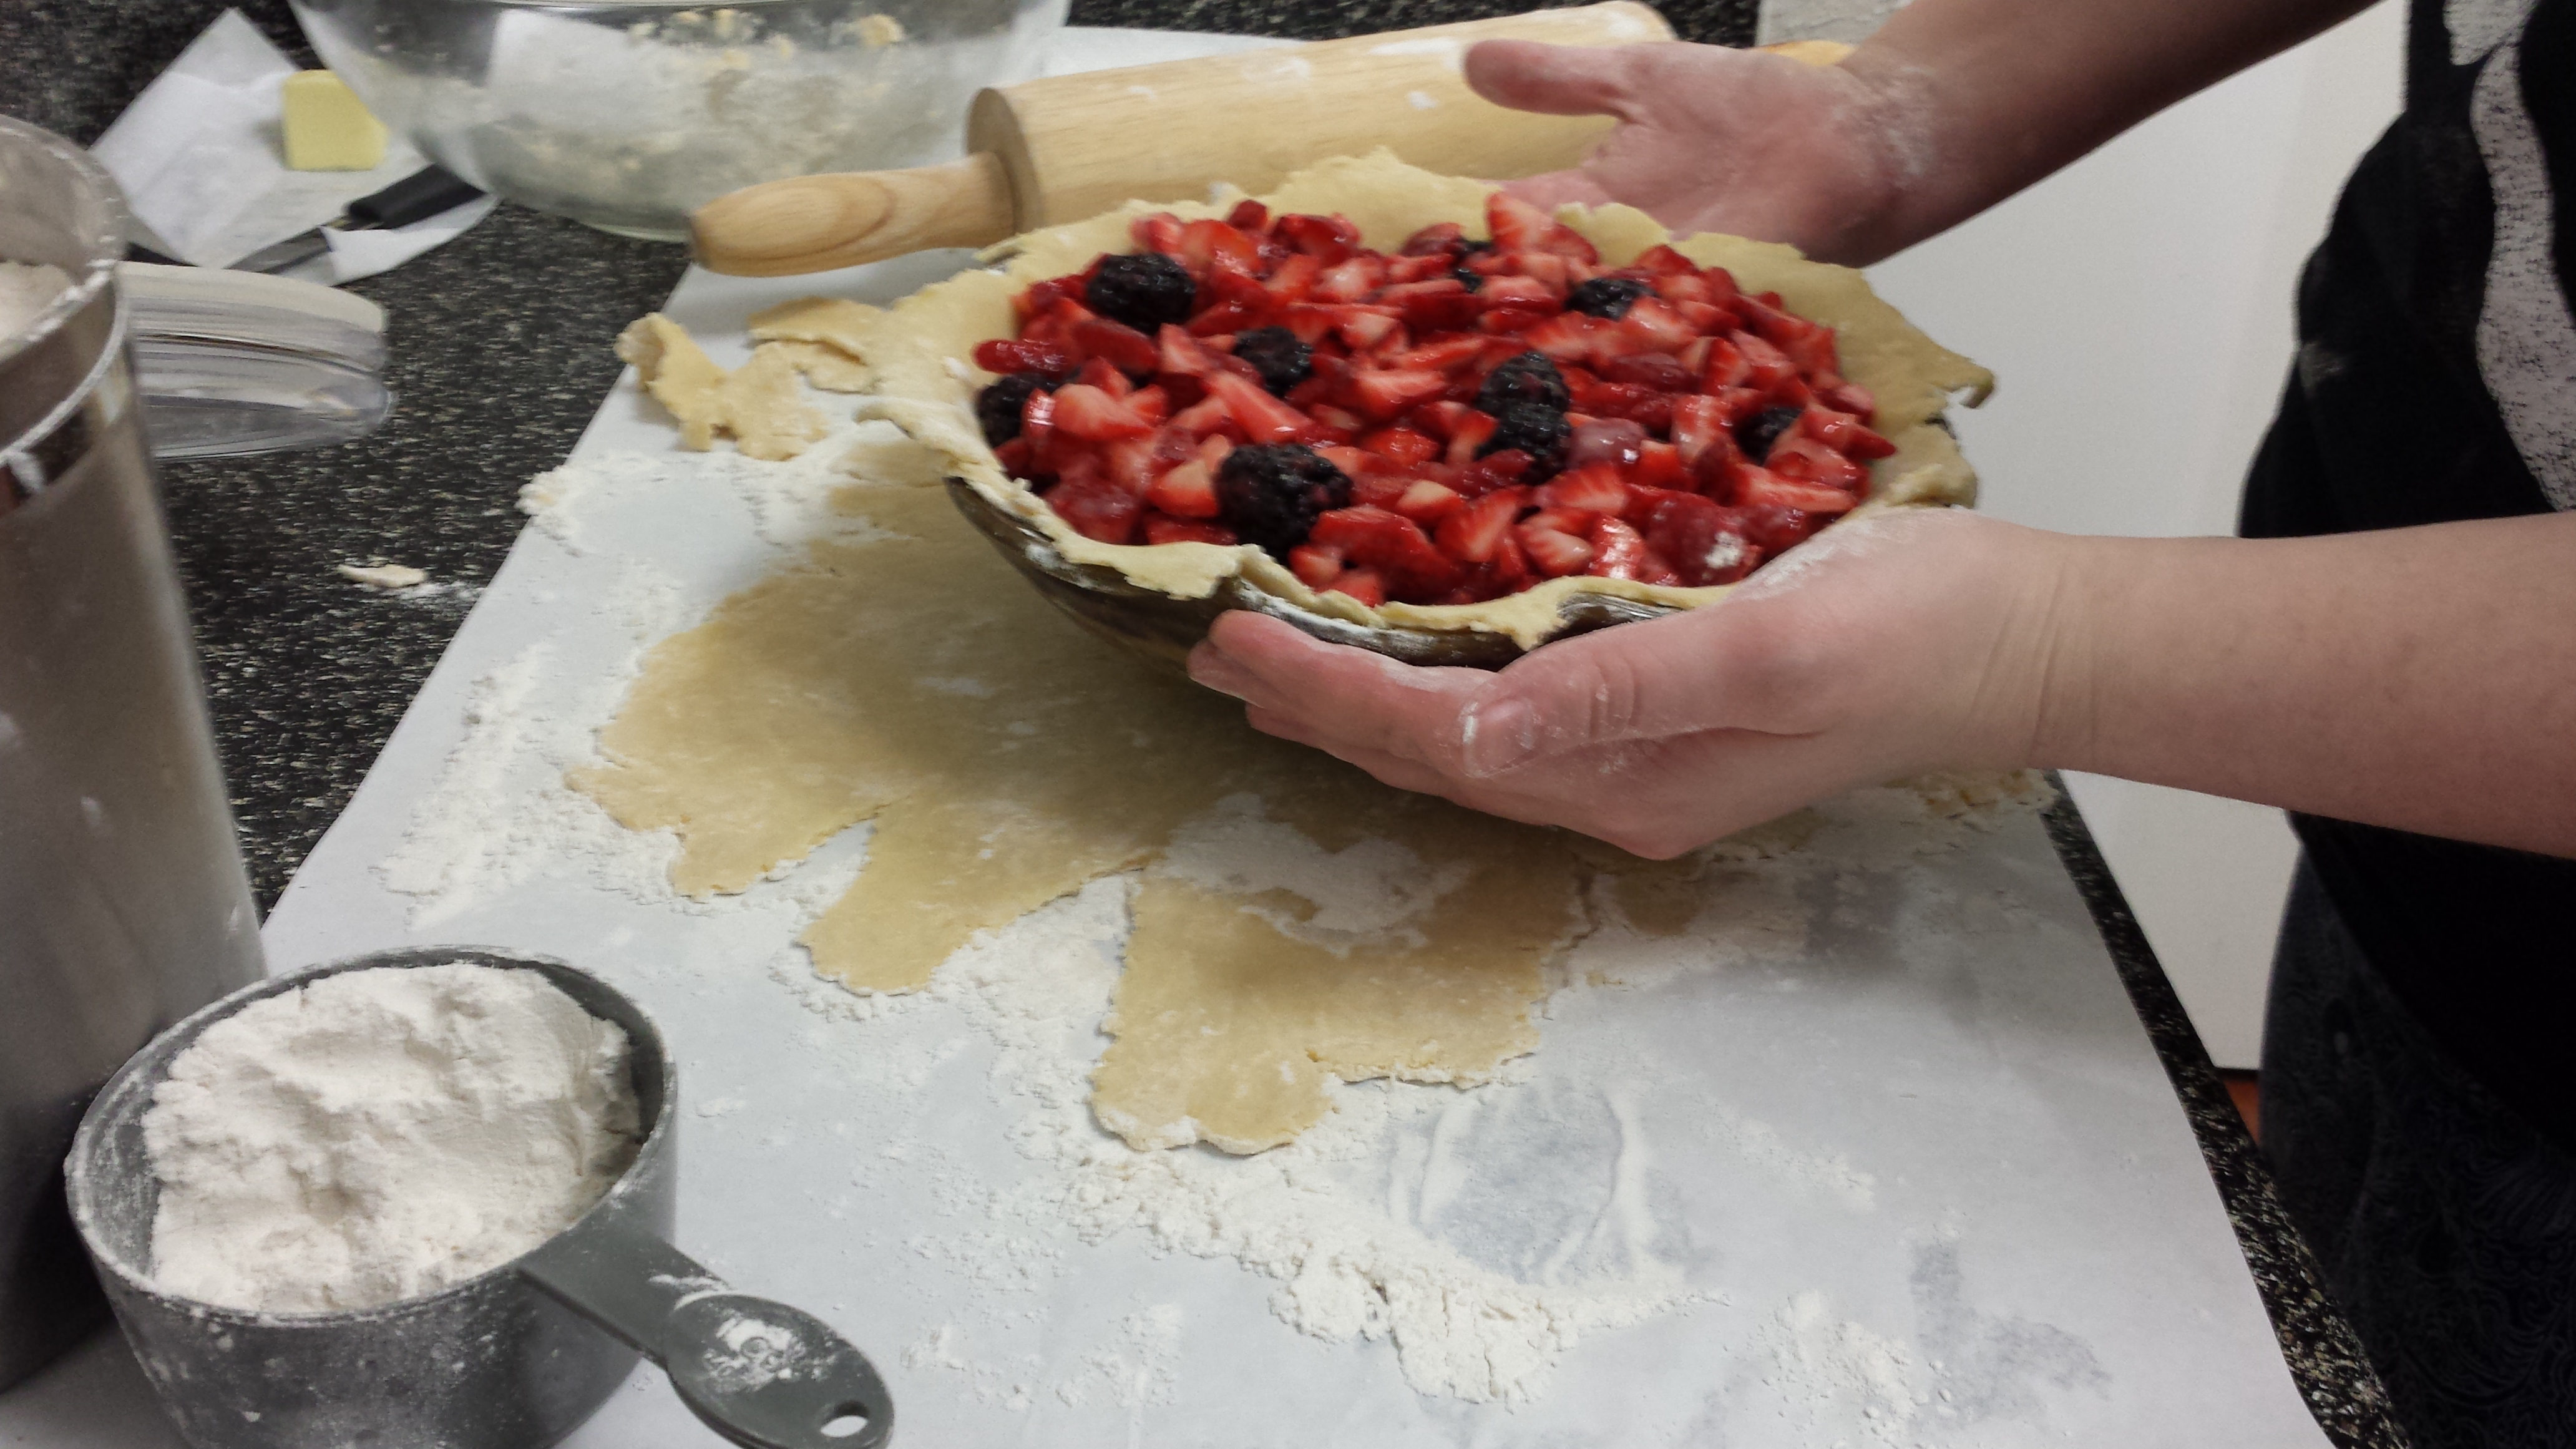
5. Adding the filling
Remember your filling that we left to hang out in sugar?
omg the sugar has made them so juicy!
Time to pour that filling into the bottom crust!
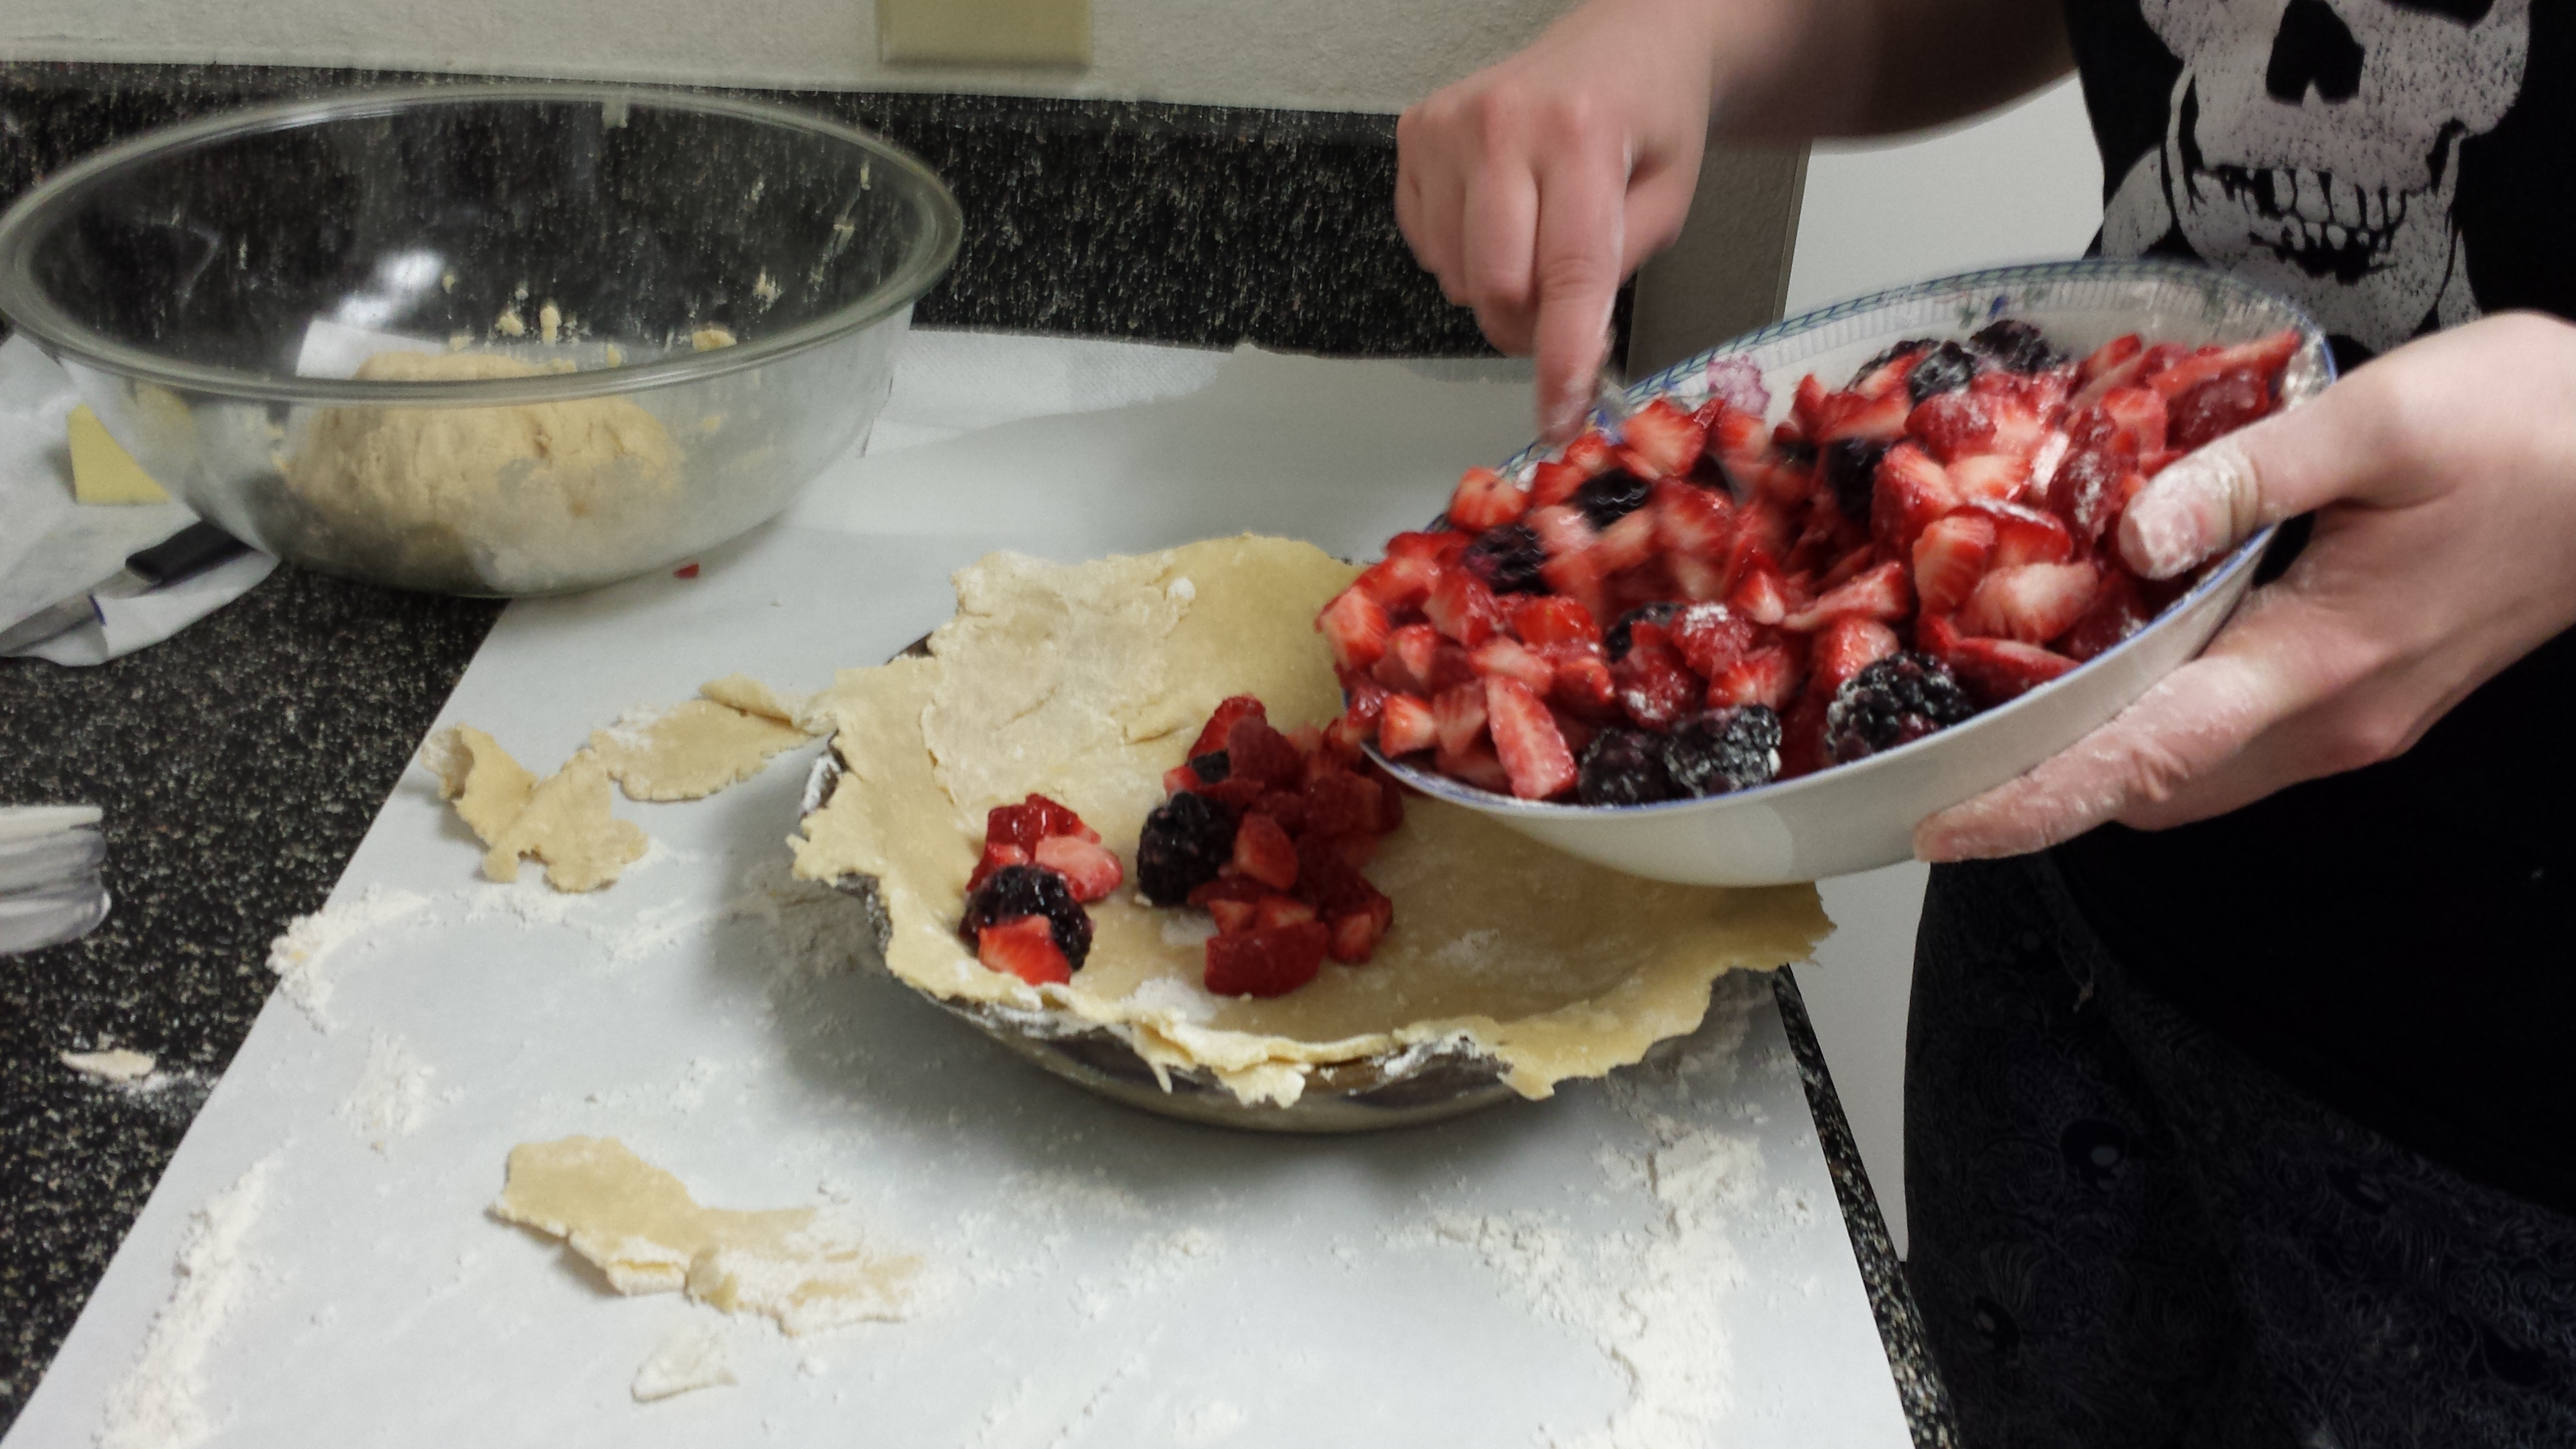
You should feel so accomplished right now!
Some fillings are juicier than others. Berries are insane, so usually I try to keep most of that juice out of the filling. There’s plenty more where that come from, and you’re making pie, not soup.
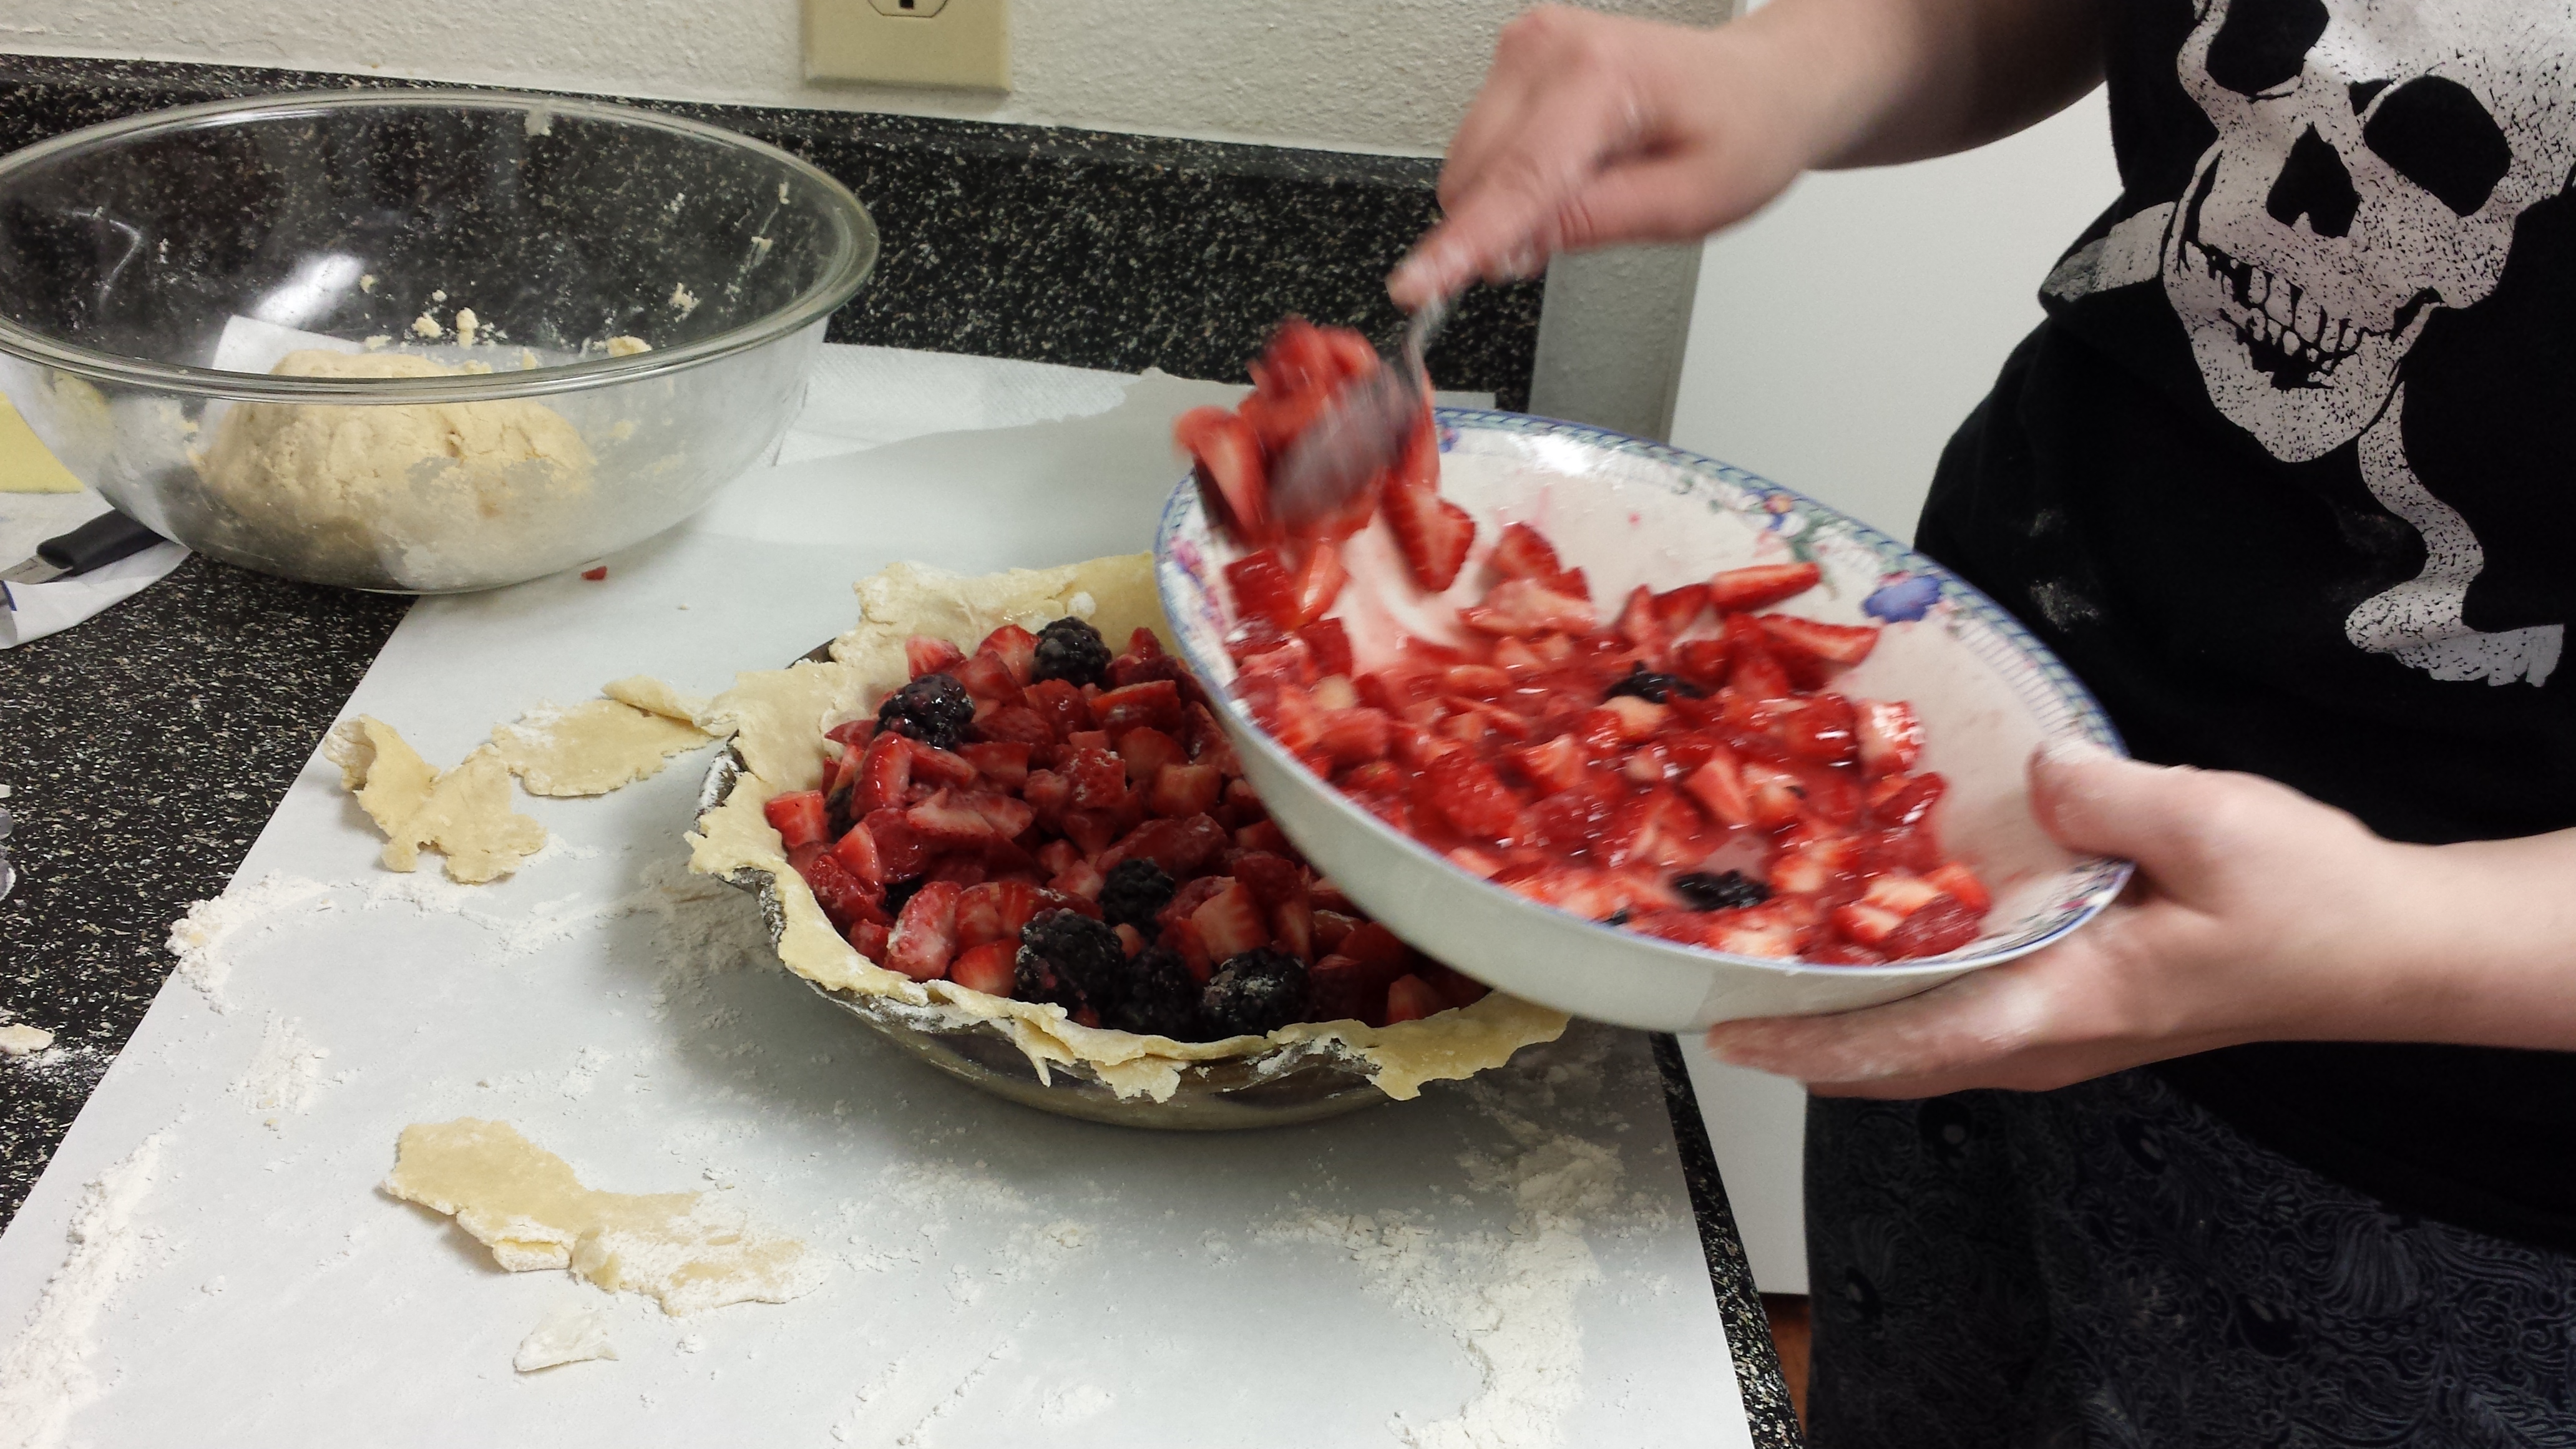
Me trying to tilt all the strawberry juice away
Finally, smooth down the filling and (if applicable) make sure your berries are sort of even. When I first poured this filling in, all the blackberries were on one side! Unfair! I fixed it with a spoon:
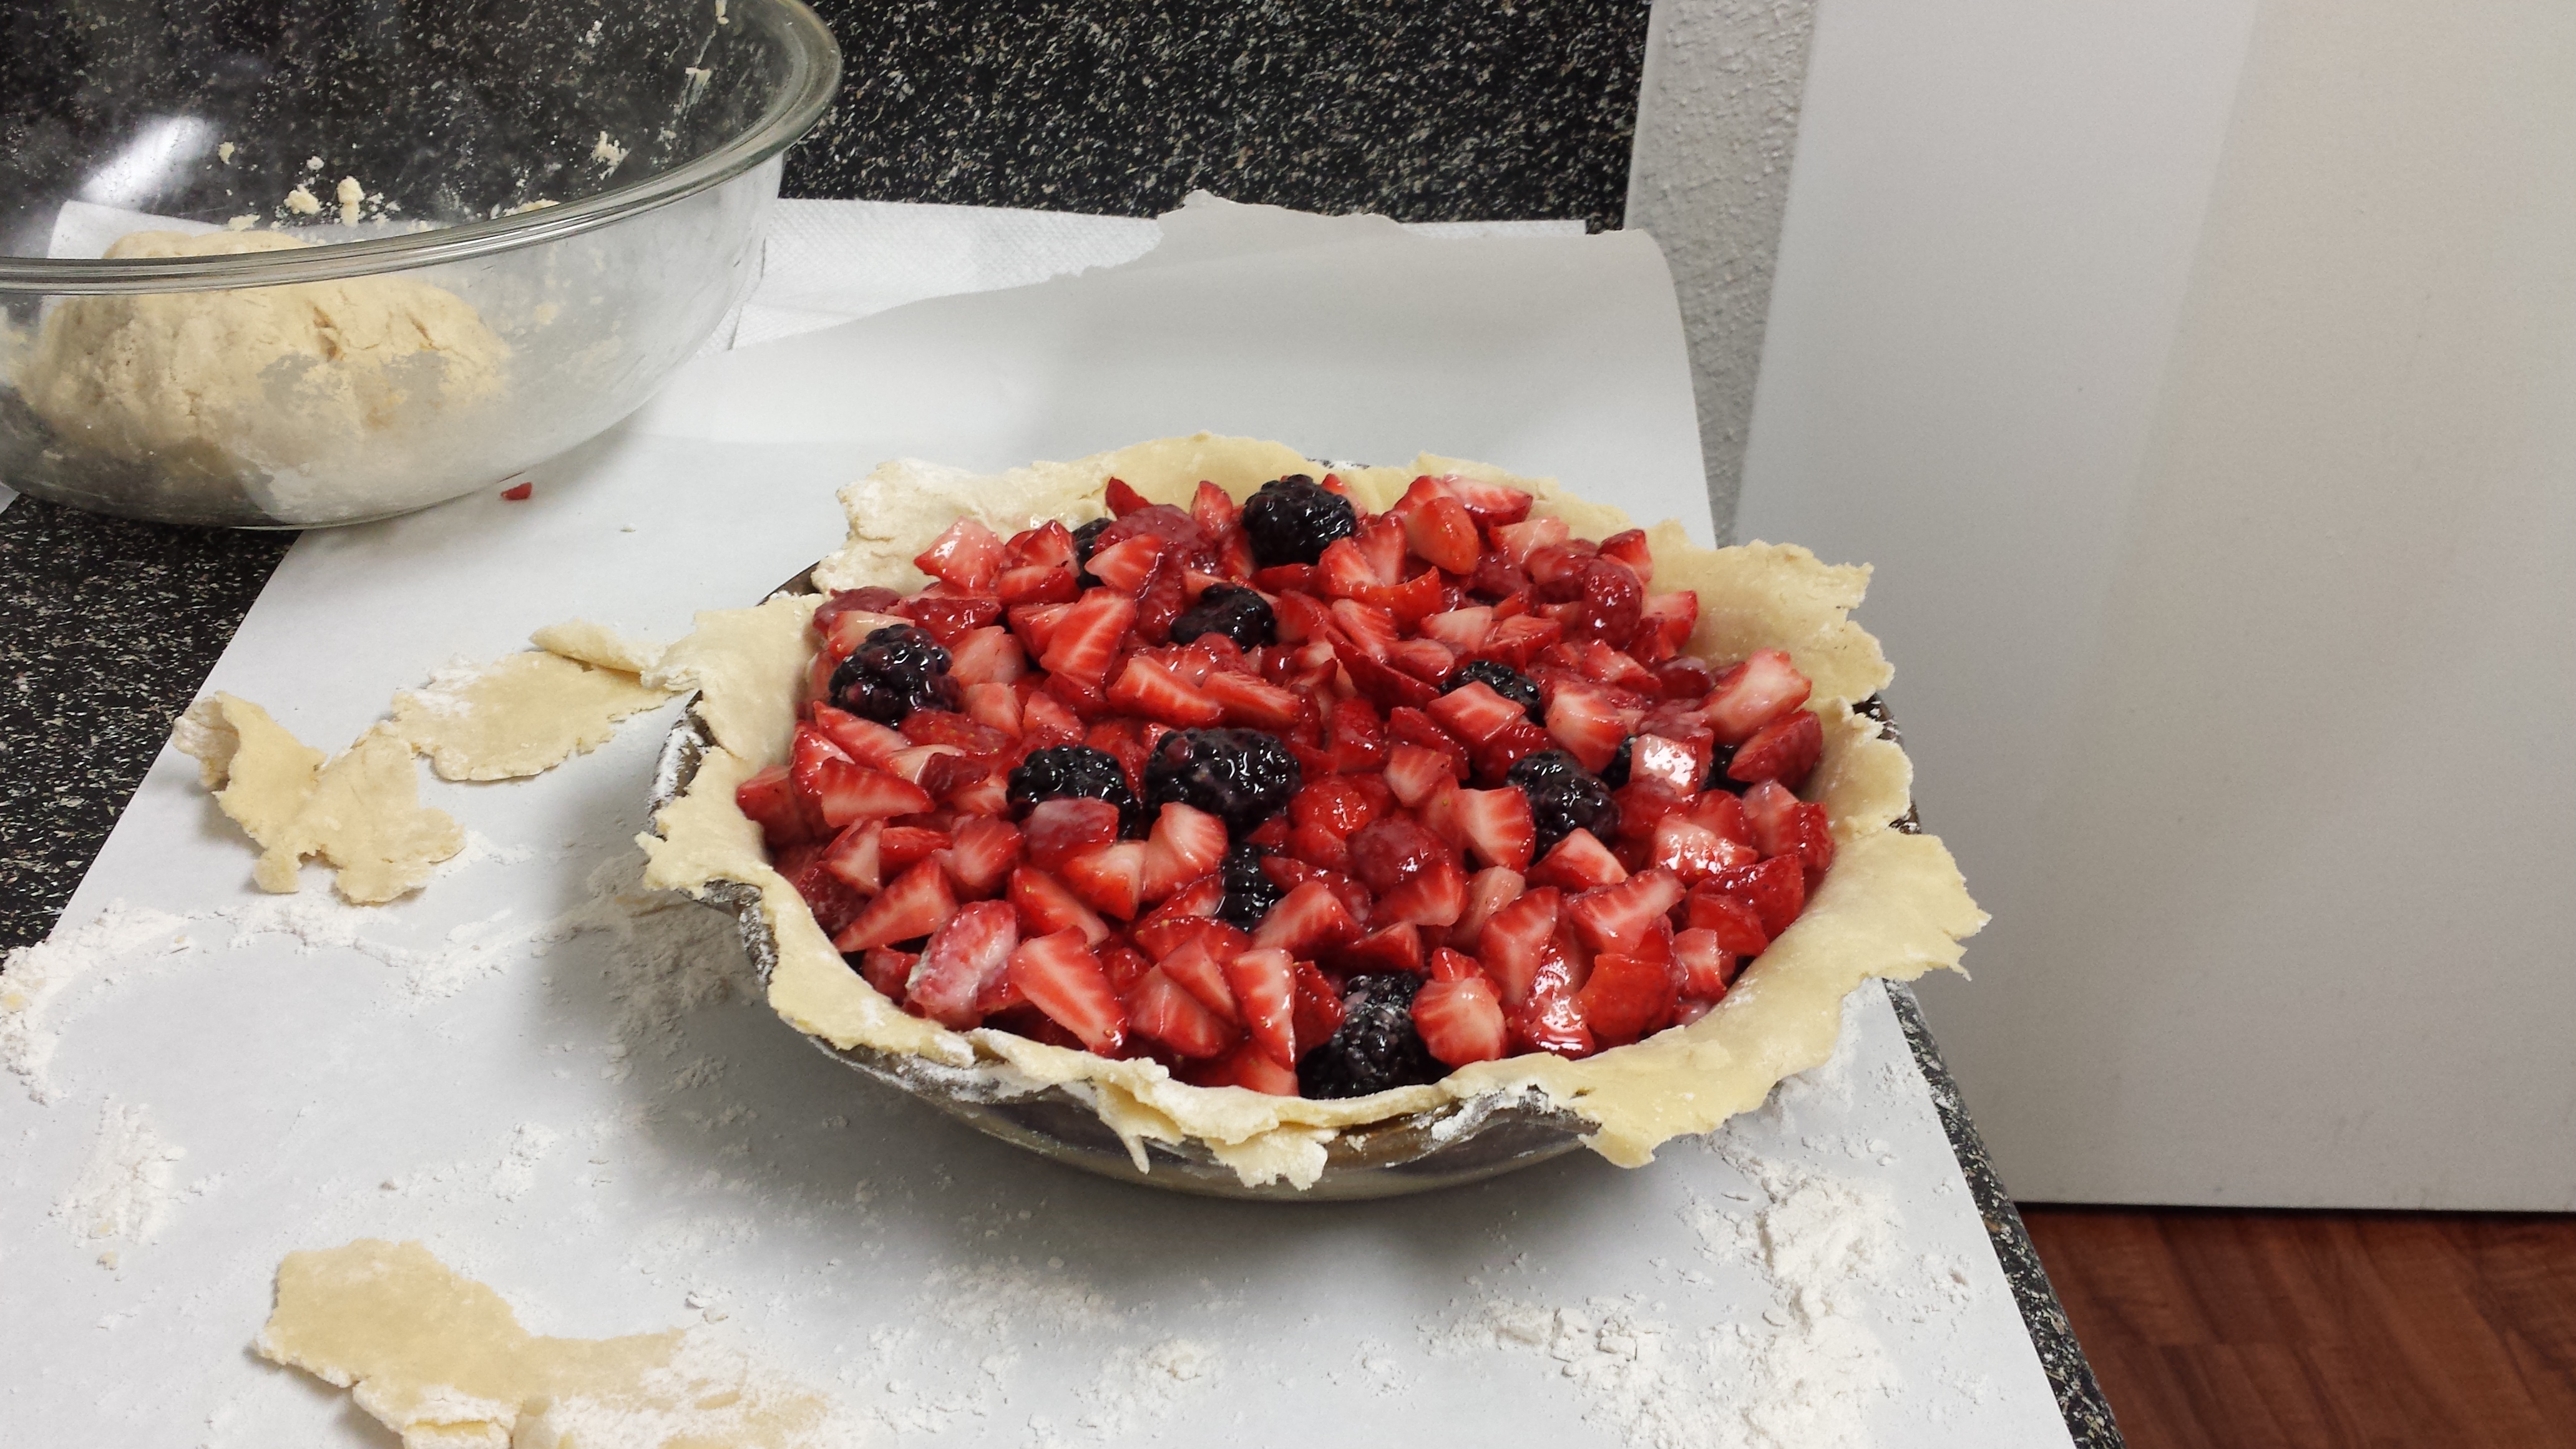
Beautiful!
Great job! Now we just have to make the top crust. But you’re basically a pro at that by now.
6. Rolling out the top crust
This is identical to the other crust we rolled out. Remember to flour your work surface and rolling pin before you begin. Here are some action shots:
Reflouring!
Top crust dough blob, just waiting
Reflouring the rolling pin!
Rolling it out!
Rolling it oooouuuuuttttt!

Ta-Dah!
This one is also weird-looking. All crusts are weird-looking. Deal with it.
Holding the pie over it to make sure it’ll fit!
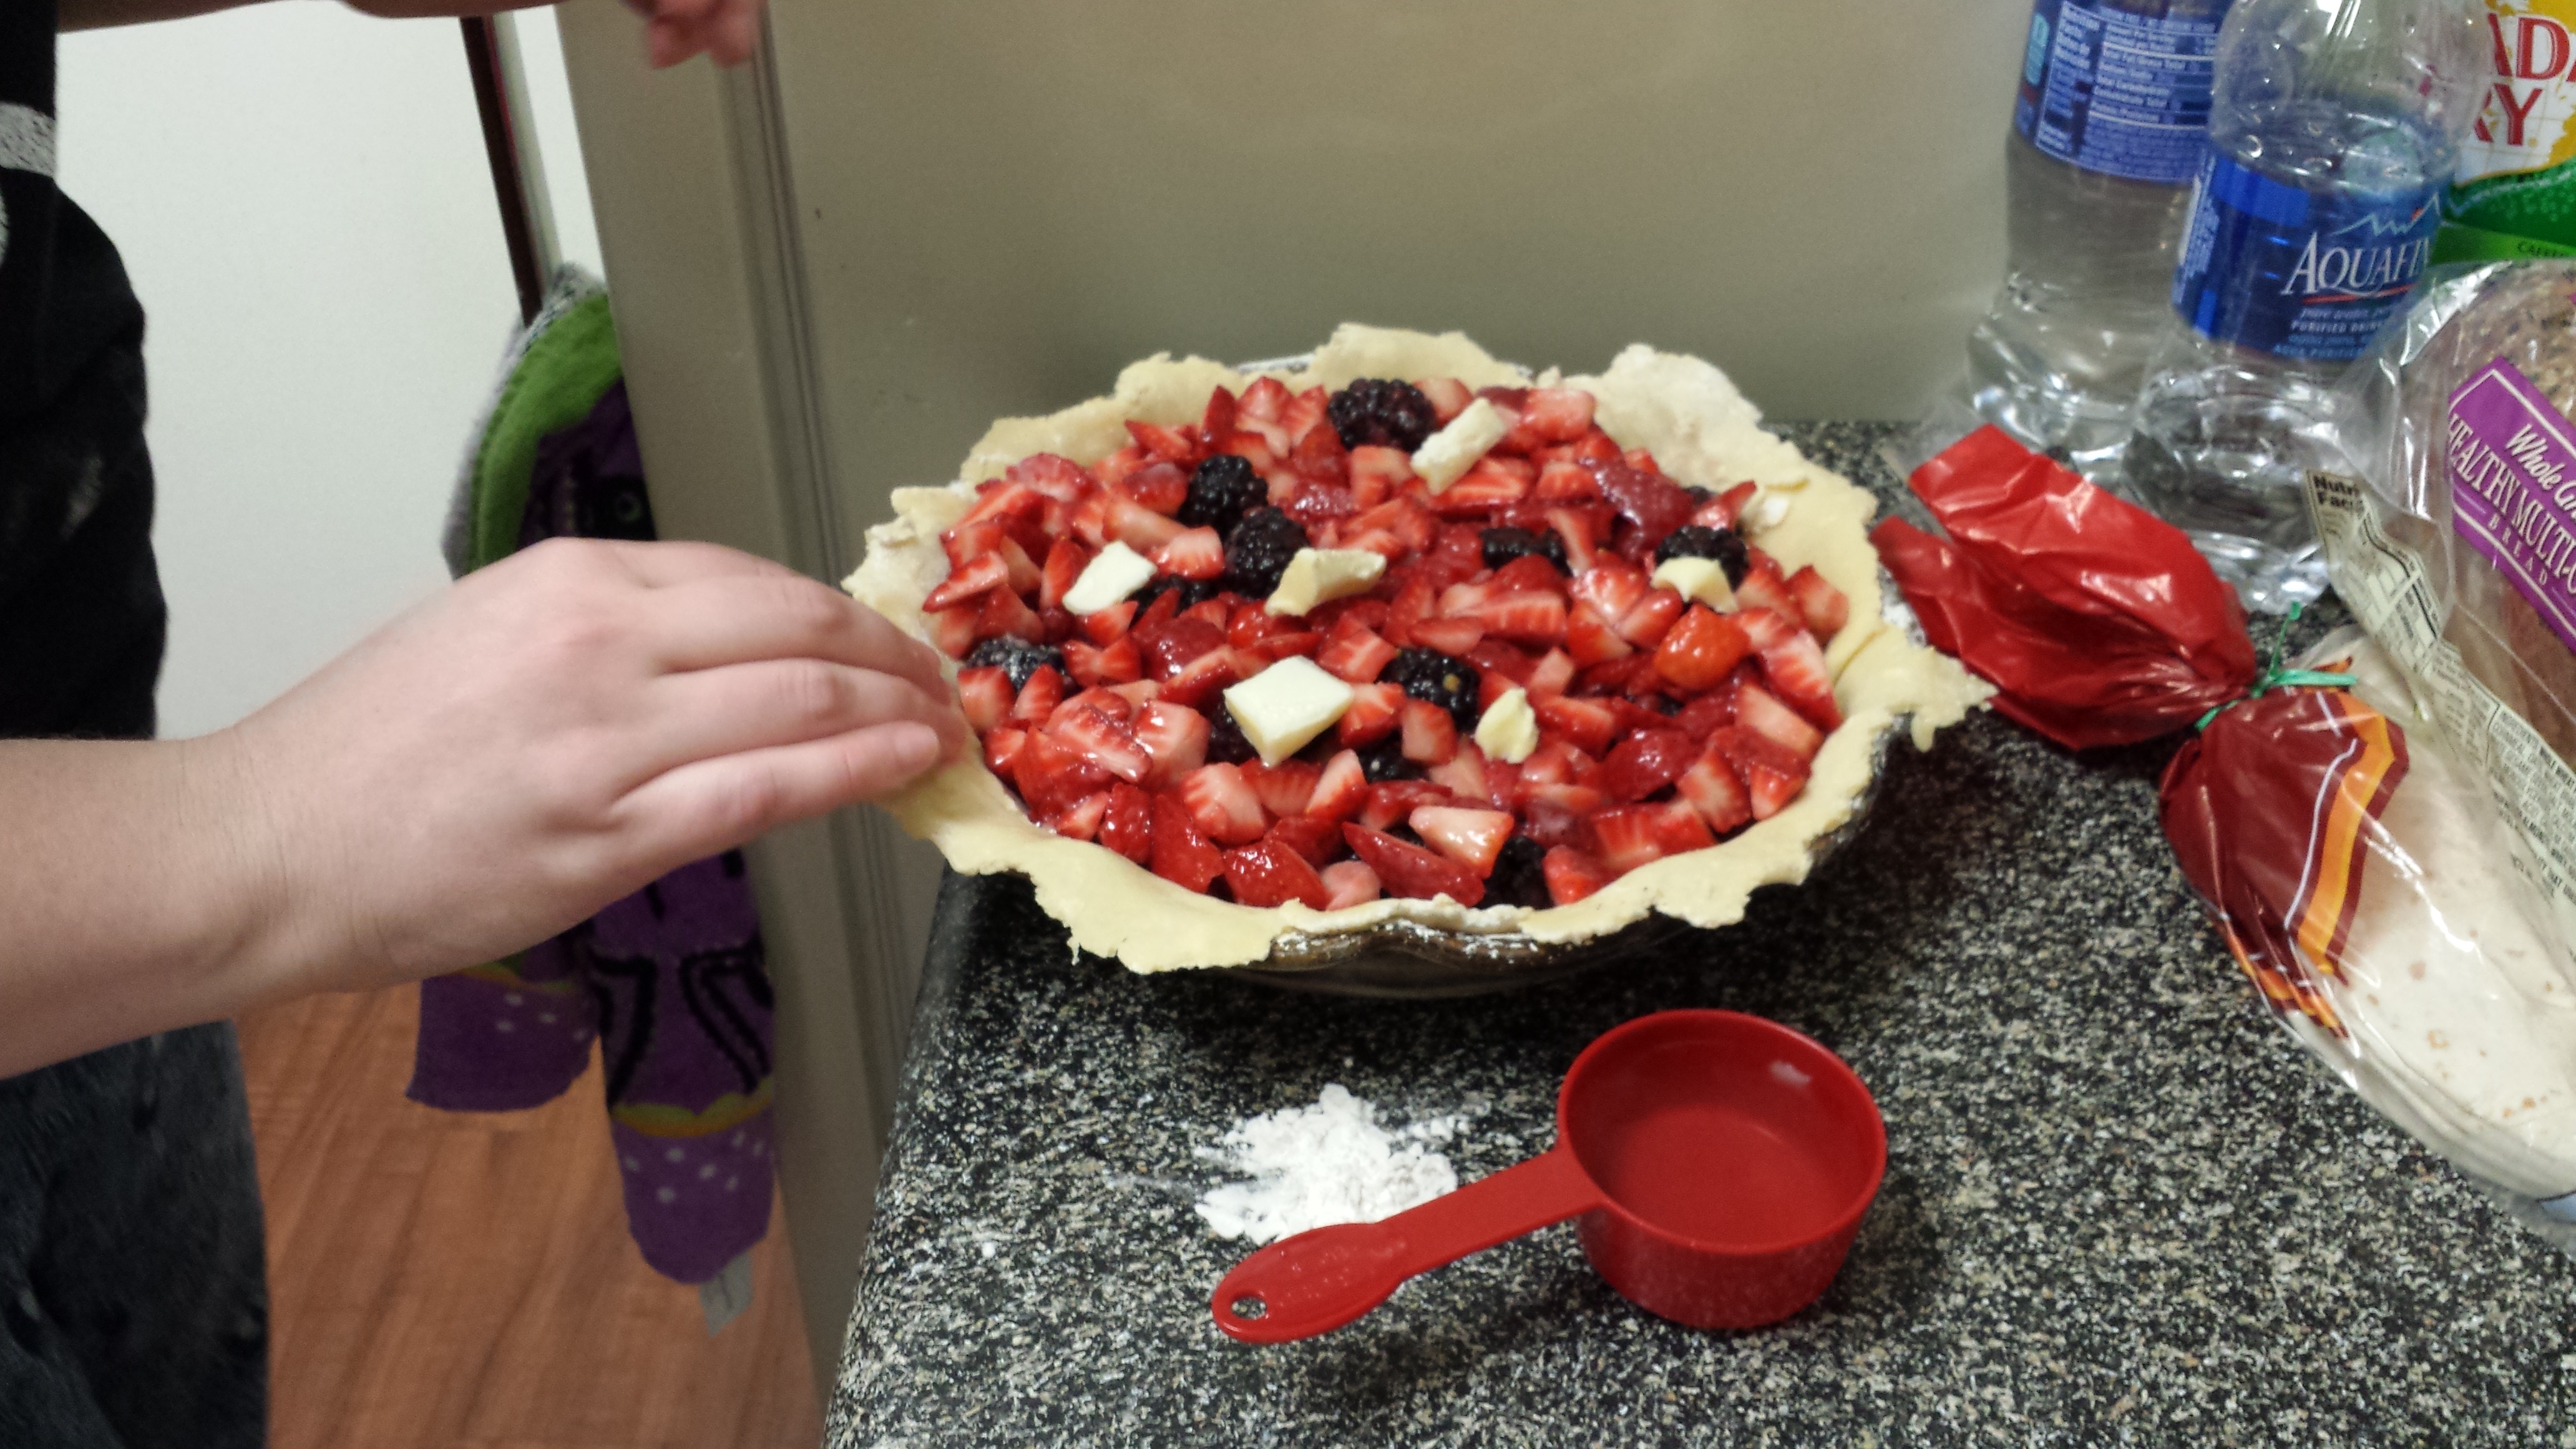
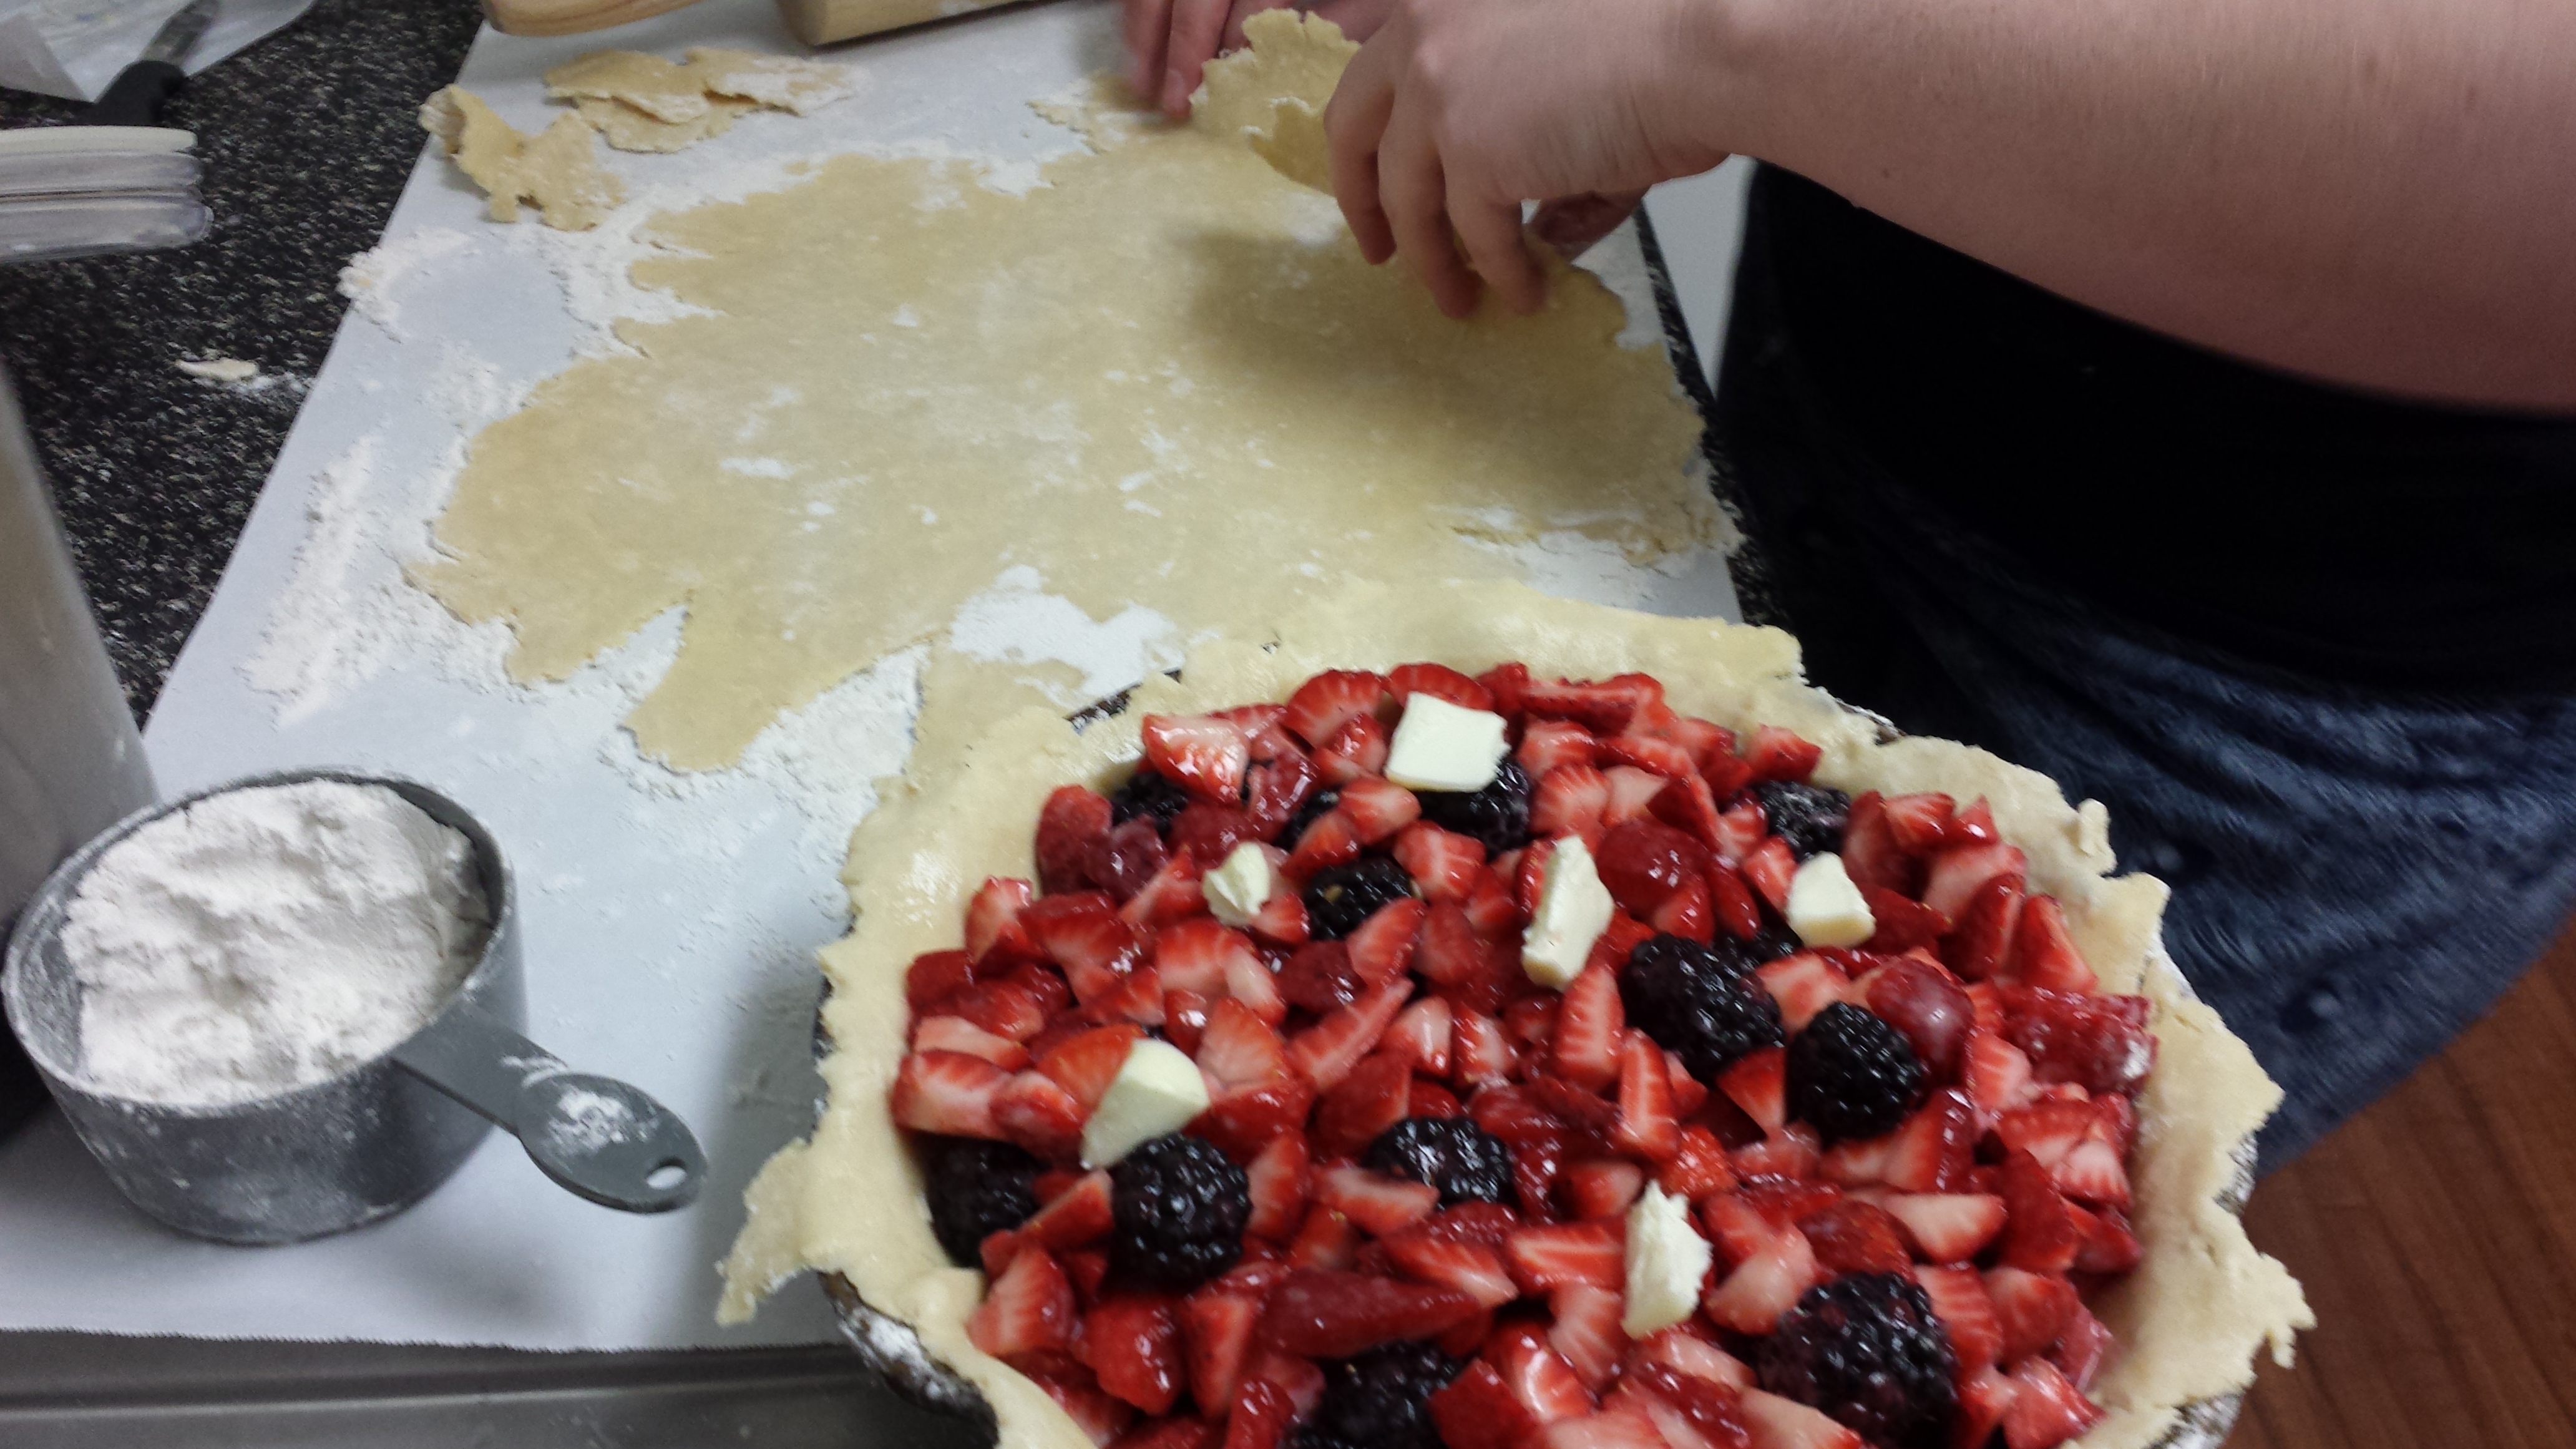
7. Attaching the top crust
So there are a few things to do before you slap that crust on top there. The first, which may or may not be necessary, is adding a few pats of butter to the top of your filling:

I have no idea why or if you should also do this
So this is something my mom always does for her apple pies, but berries are way juicier than that, so I’m not sure it needs it. On the other hand, maybe its purpose has something to do with the top crust cooking?? I have no idea, and sometimes I forget this step to no obvious ill-effects. Do what you want. This time I remembered to do it so I thought I might as well.
Another step that’s more important–although I’m just as likely to forget, unfortunately–is to dab the edges of the bottom crust with water. This helps the top crust stick to the bottom crust. You can smoosh them together without water, of course, but it won’t be as good a seal and some filling may leak out and make a gross burned mess on the bottom of your oven.
You don’t have to press it in or anything, just make sure all the edges are wet
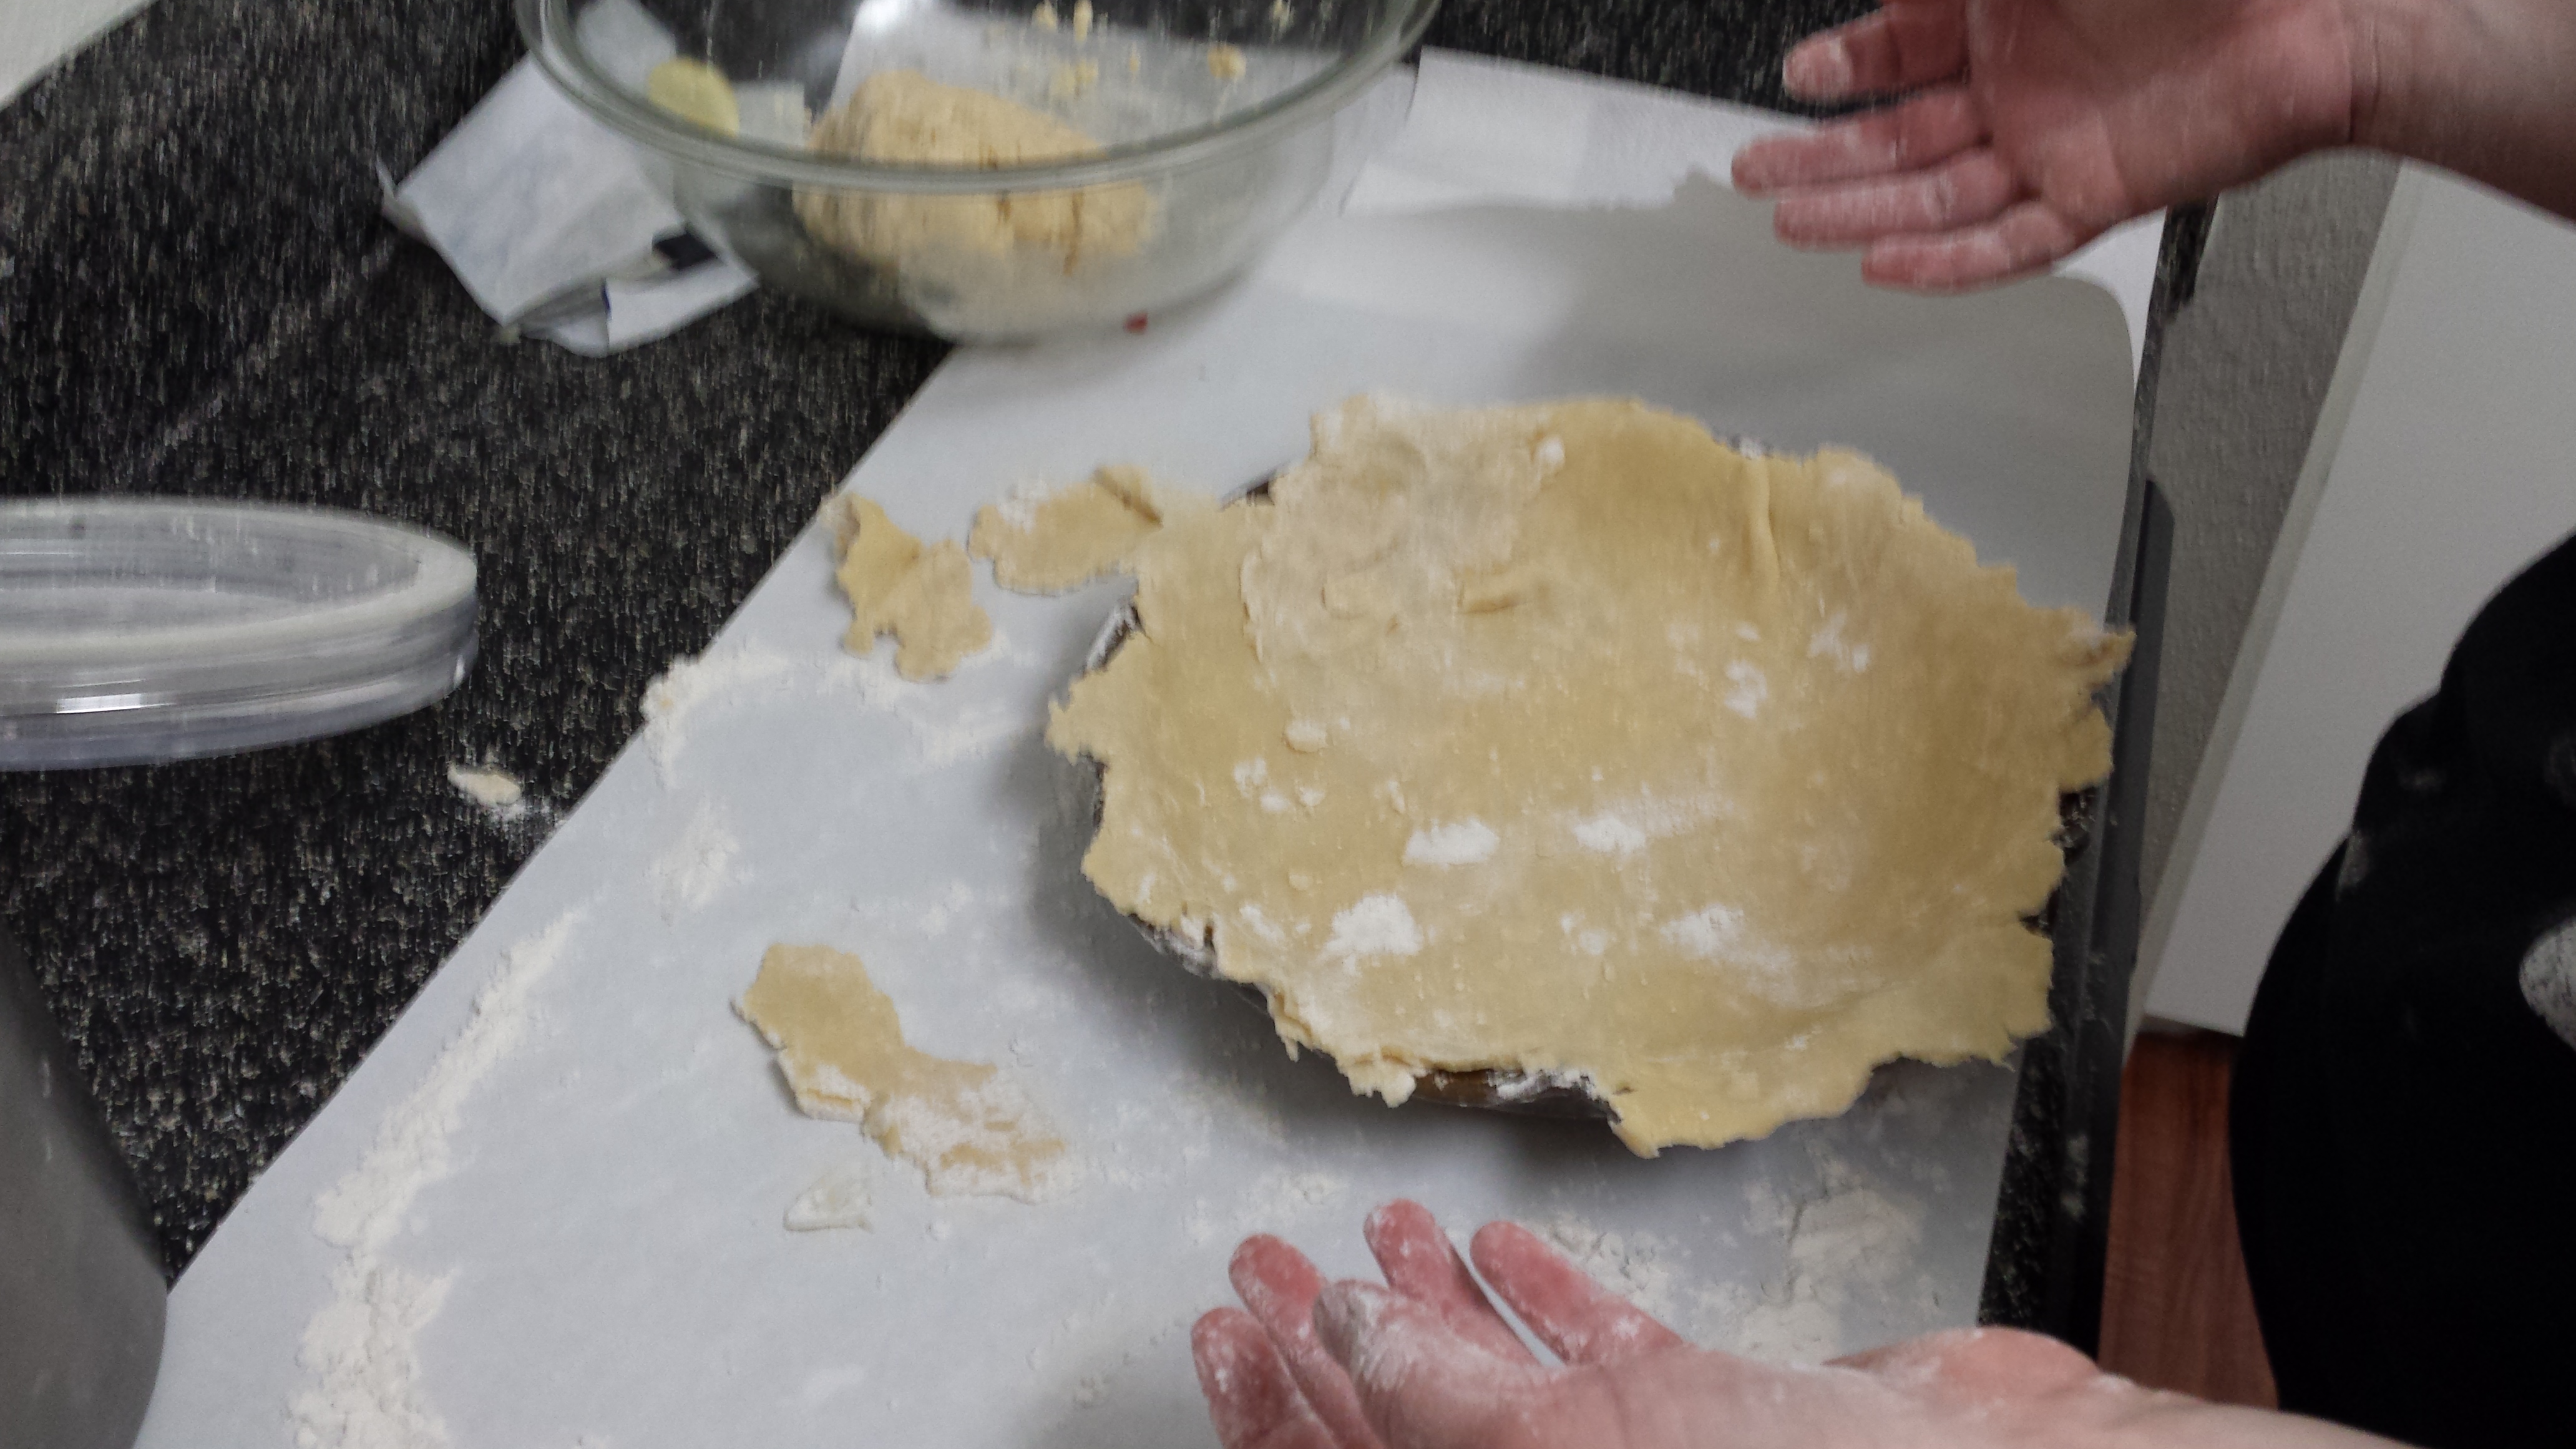
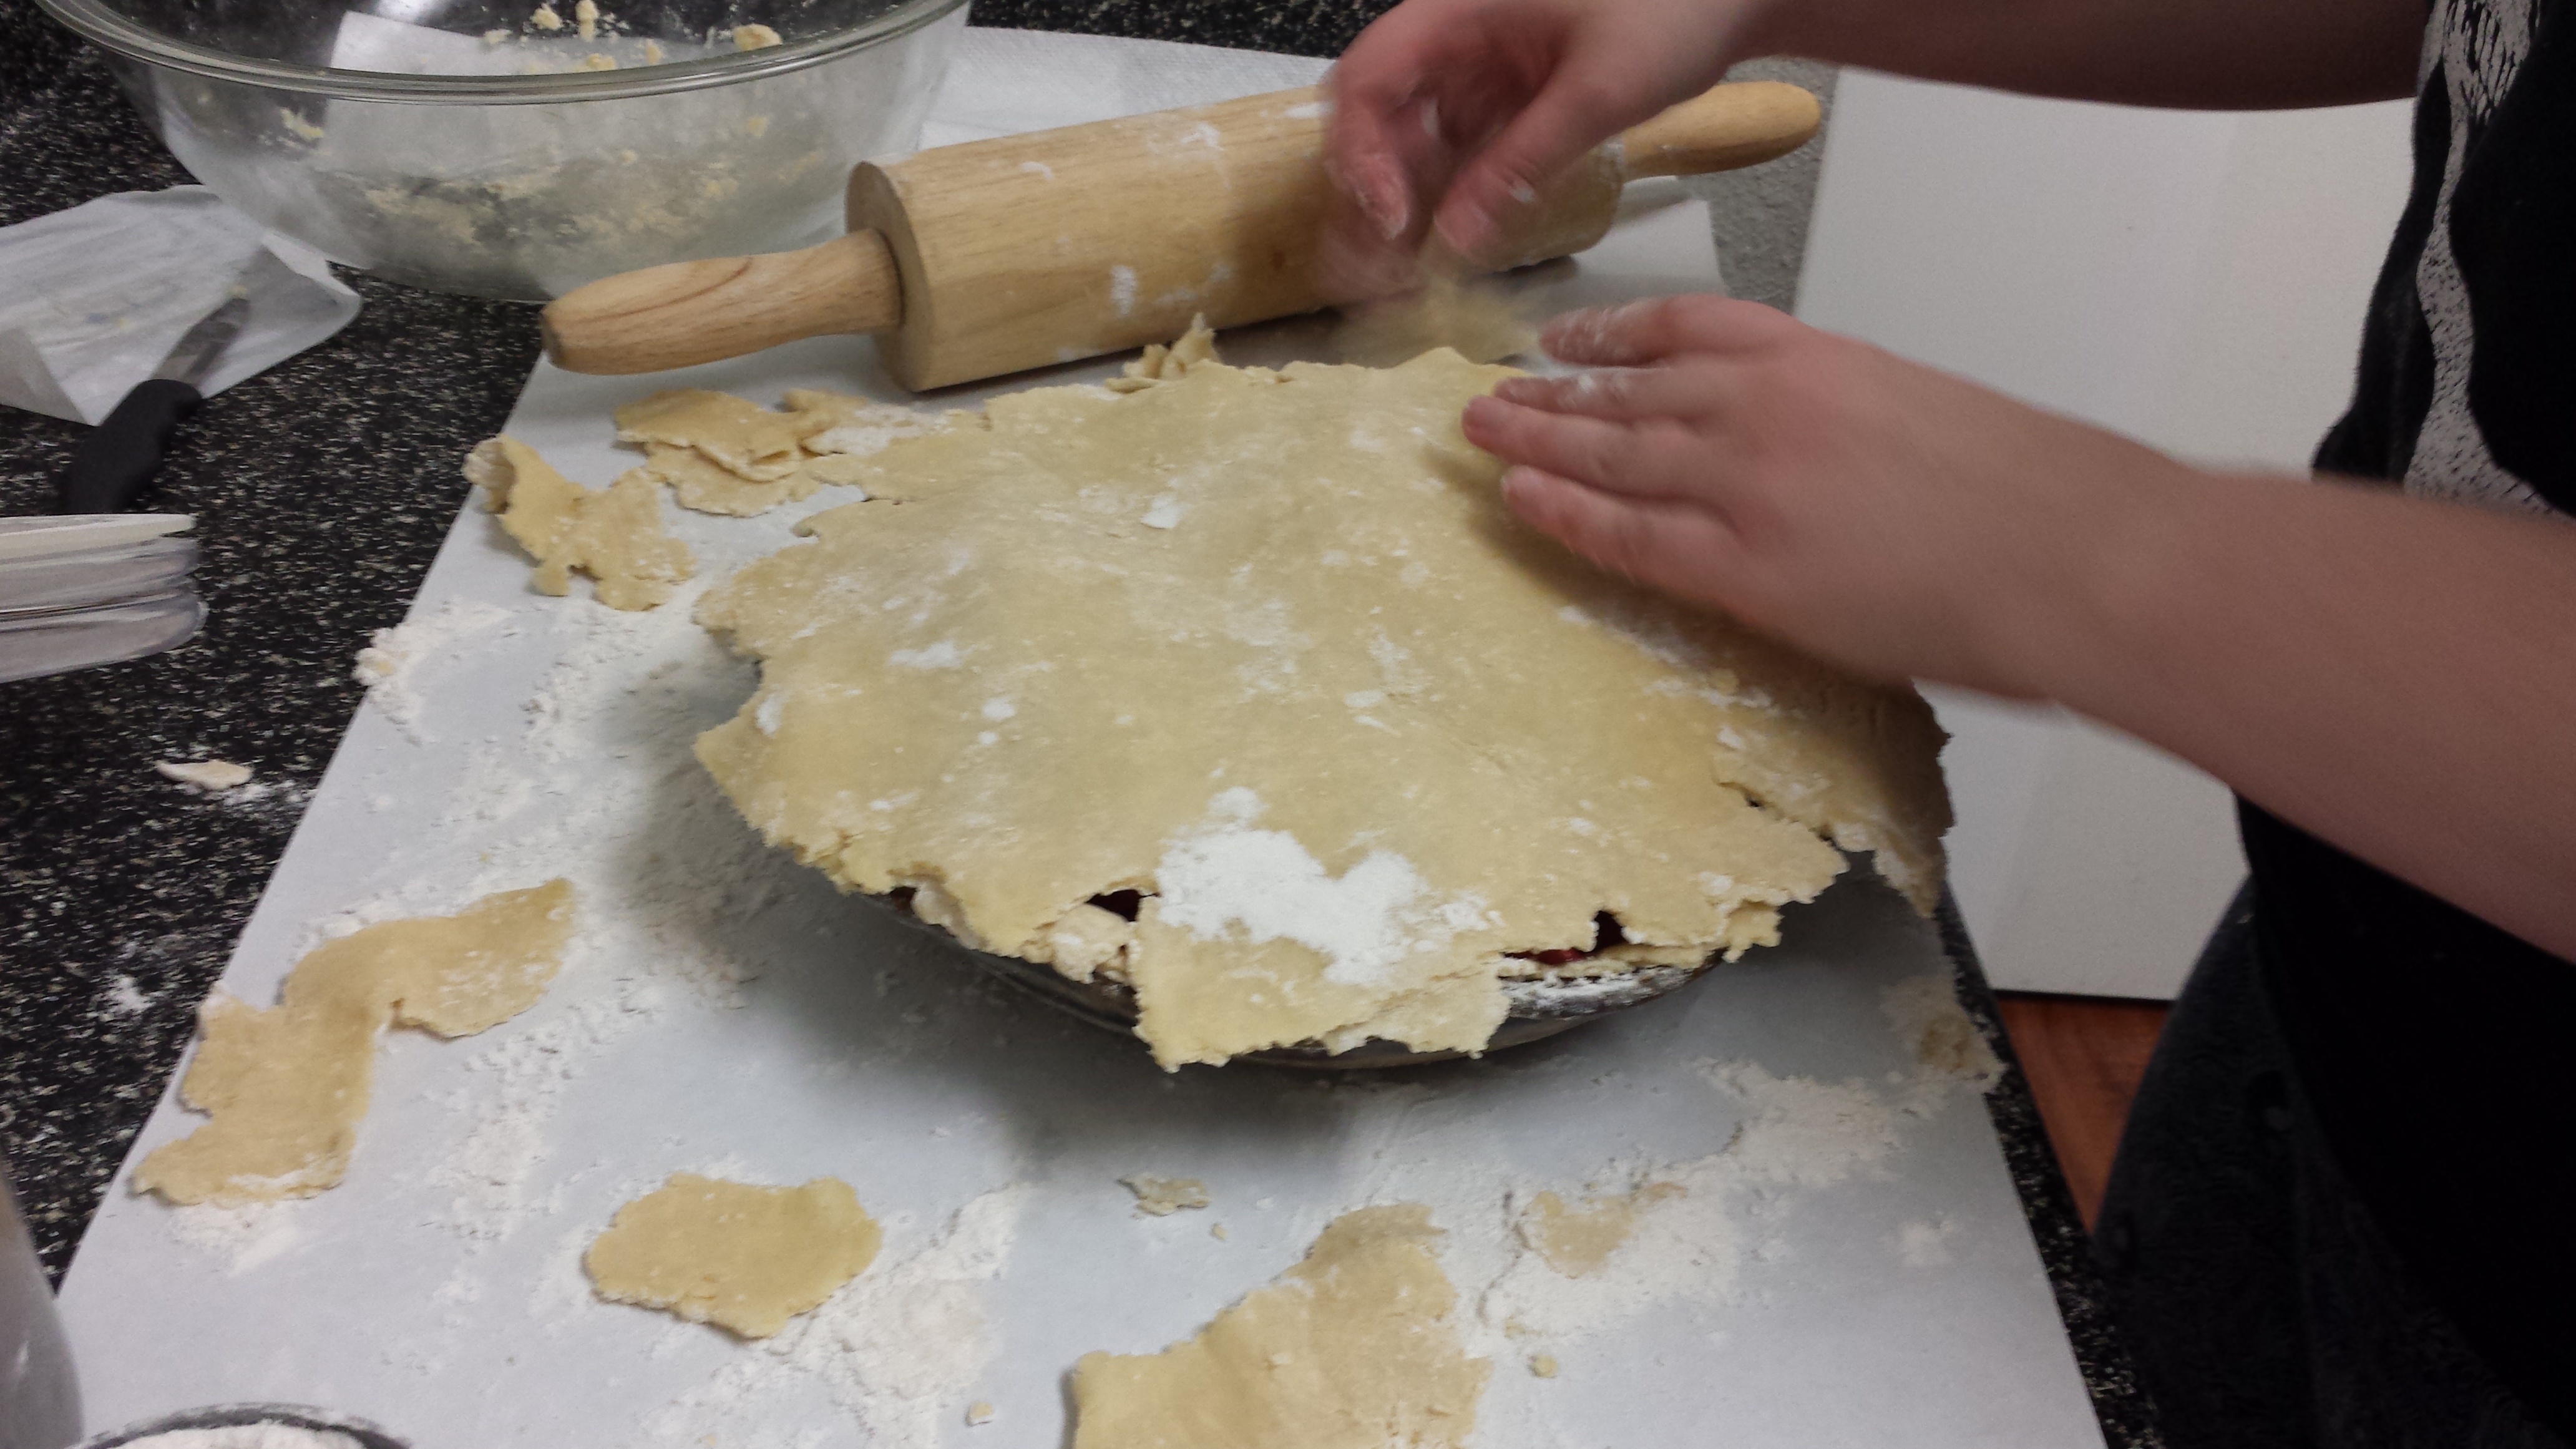
Okay, now you’re finally ready to get that top crust on there. It’s pretty similar to how you transported the bottom crust. Get the pie plate right nearby so it’ll be close and easy.
Then start to fold the top crust in half
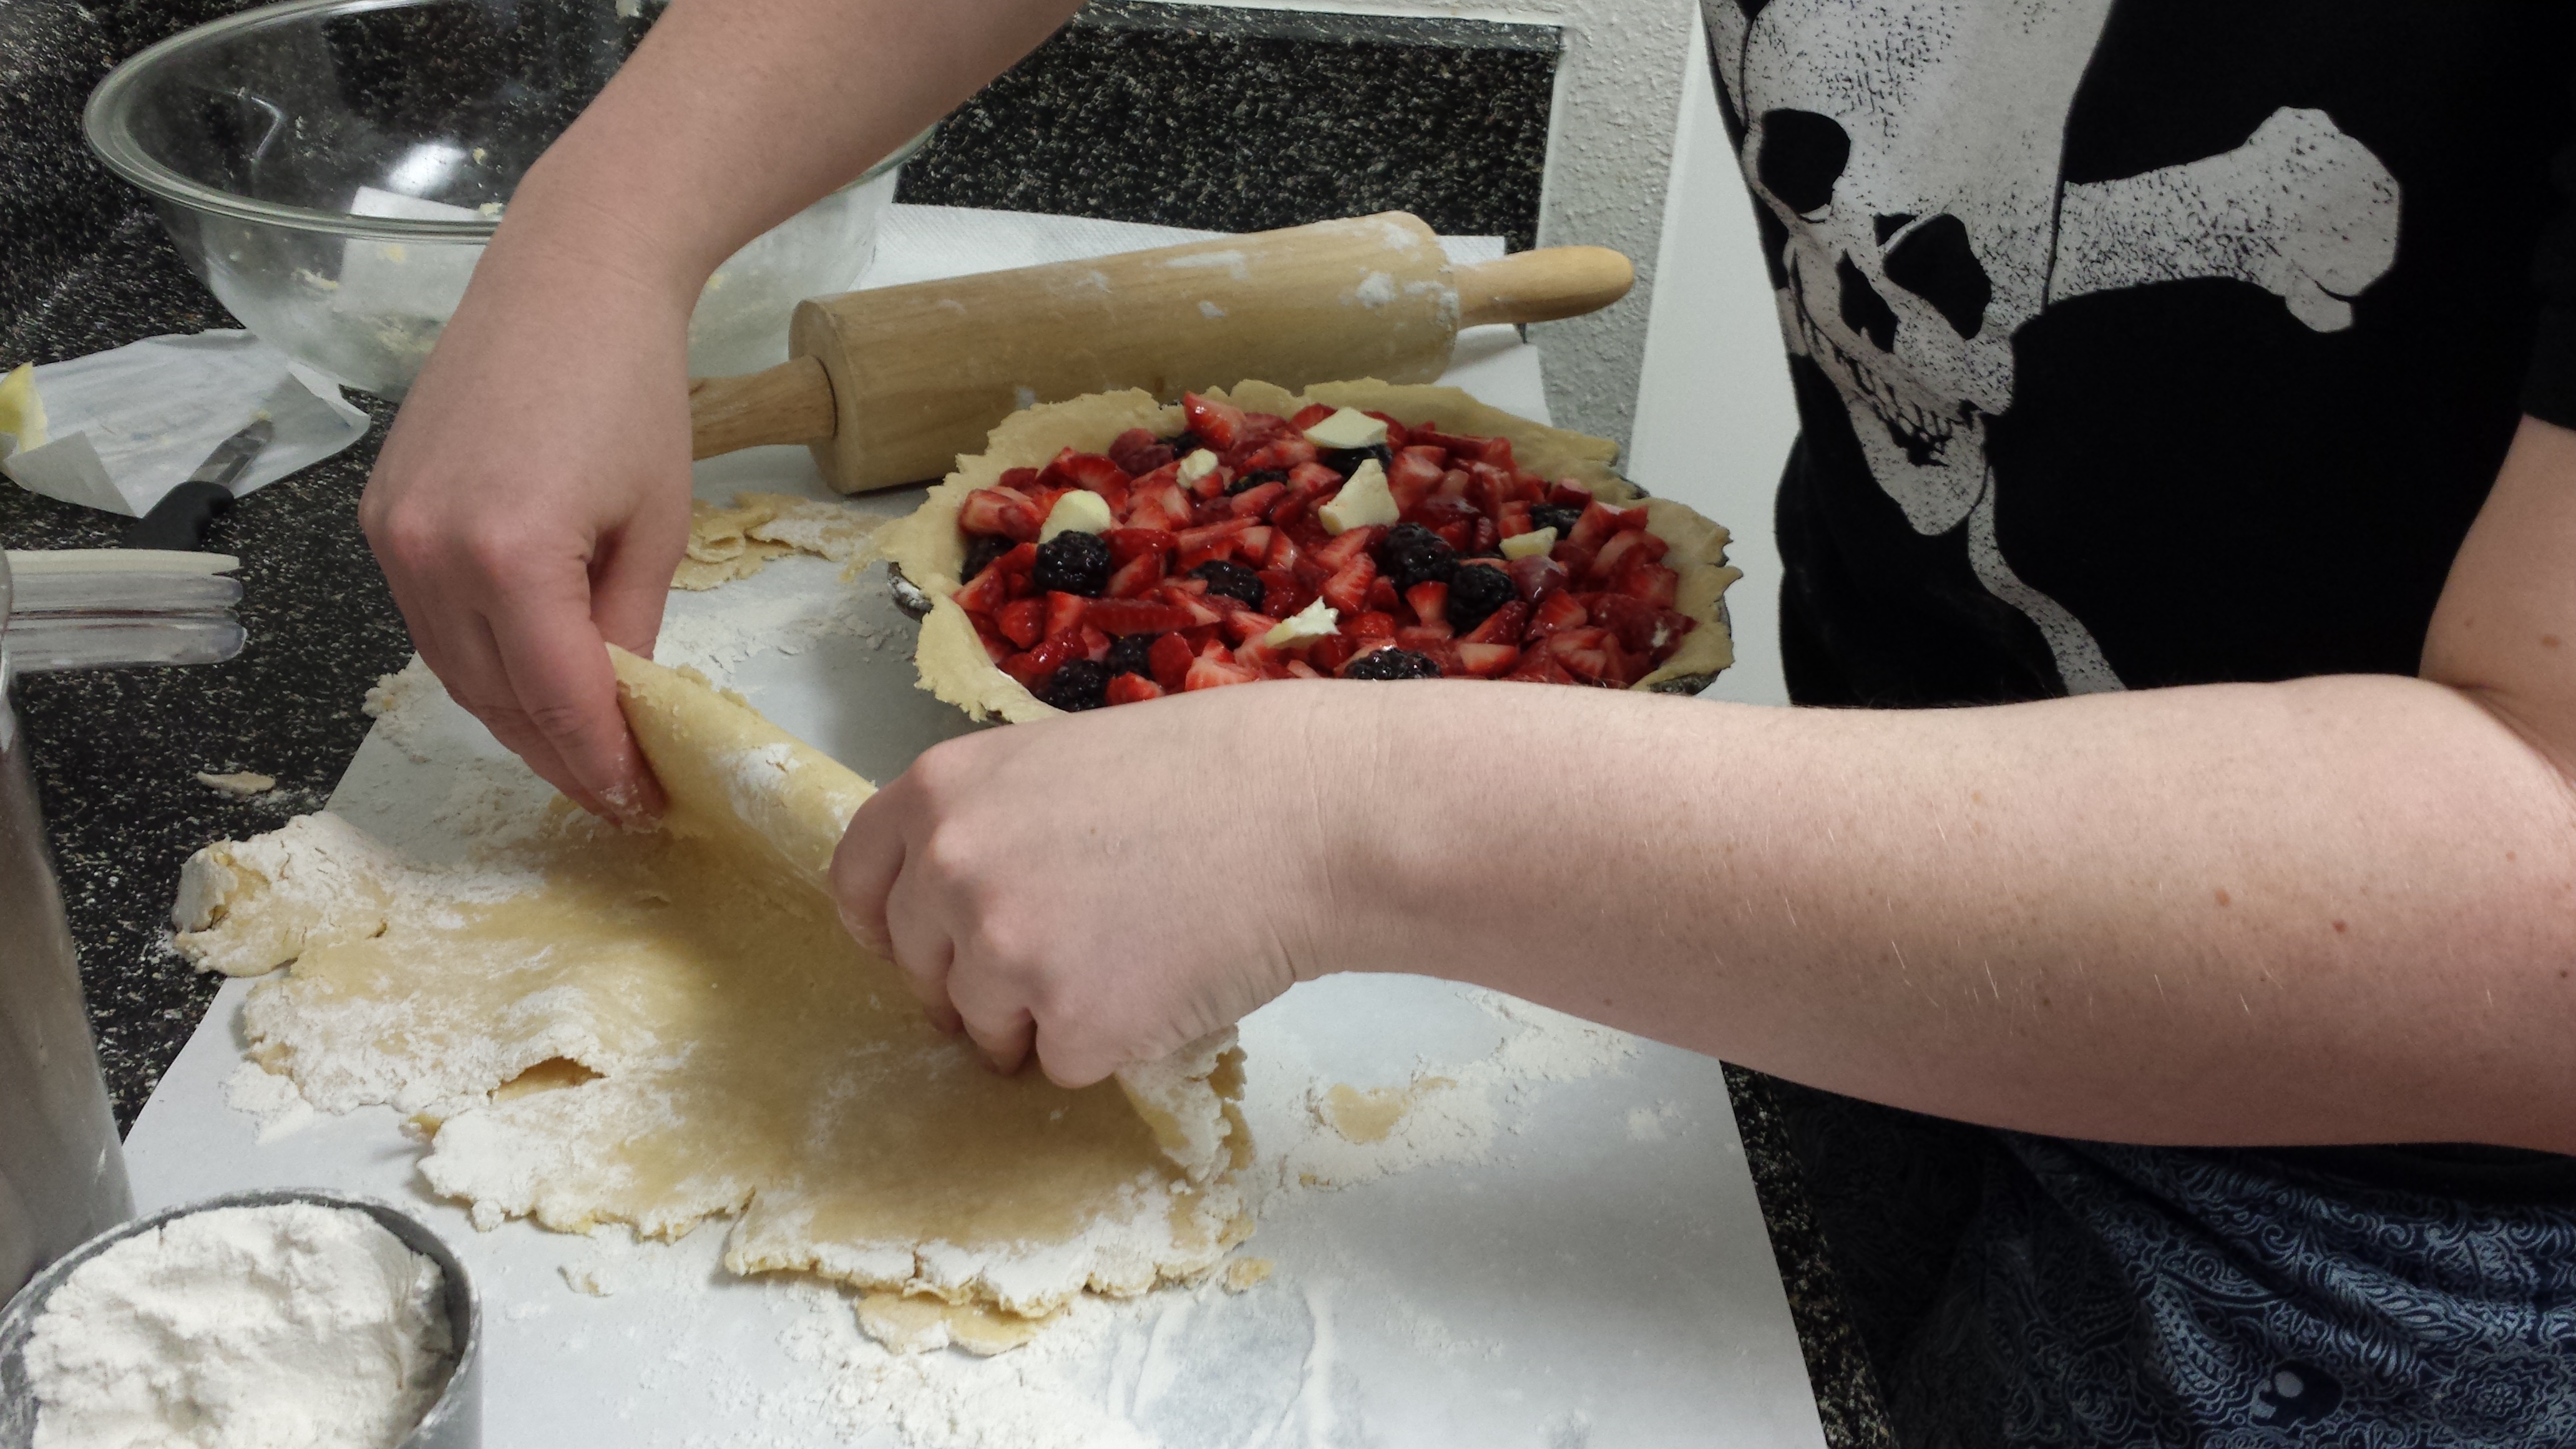
Move the folded crust onto the pie
Admire how nice it looks!
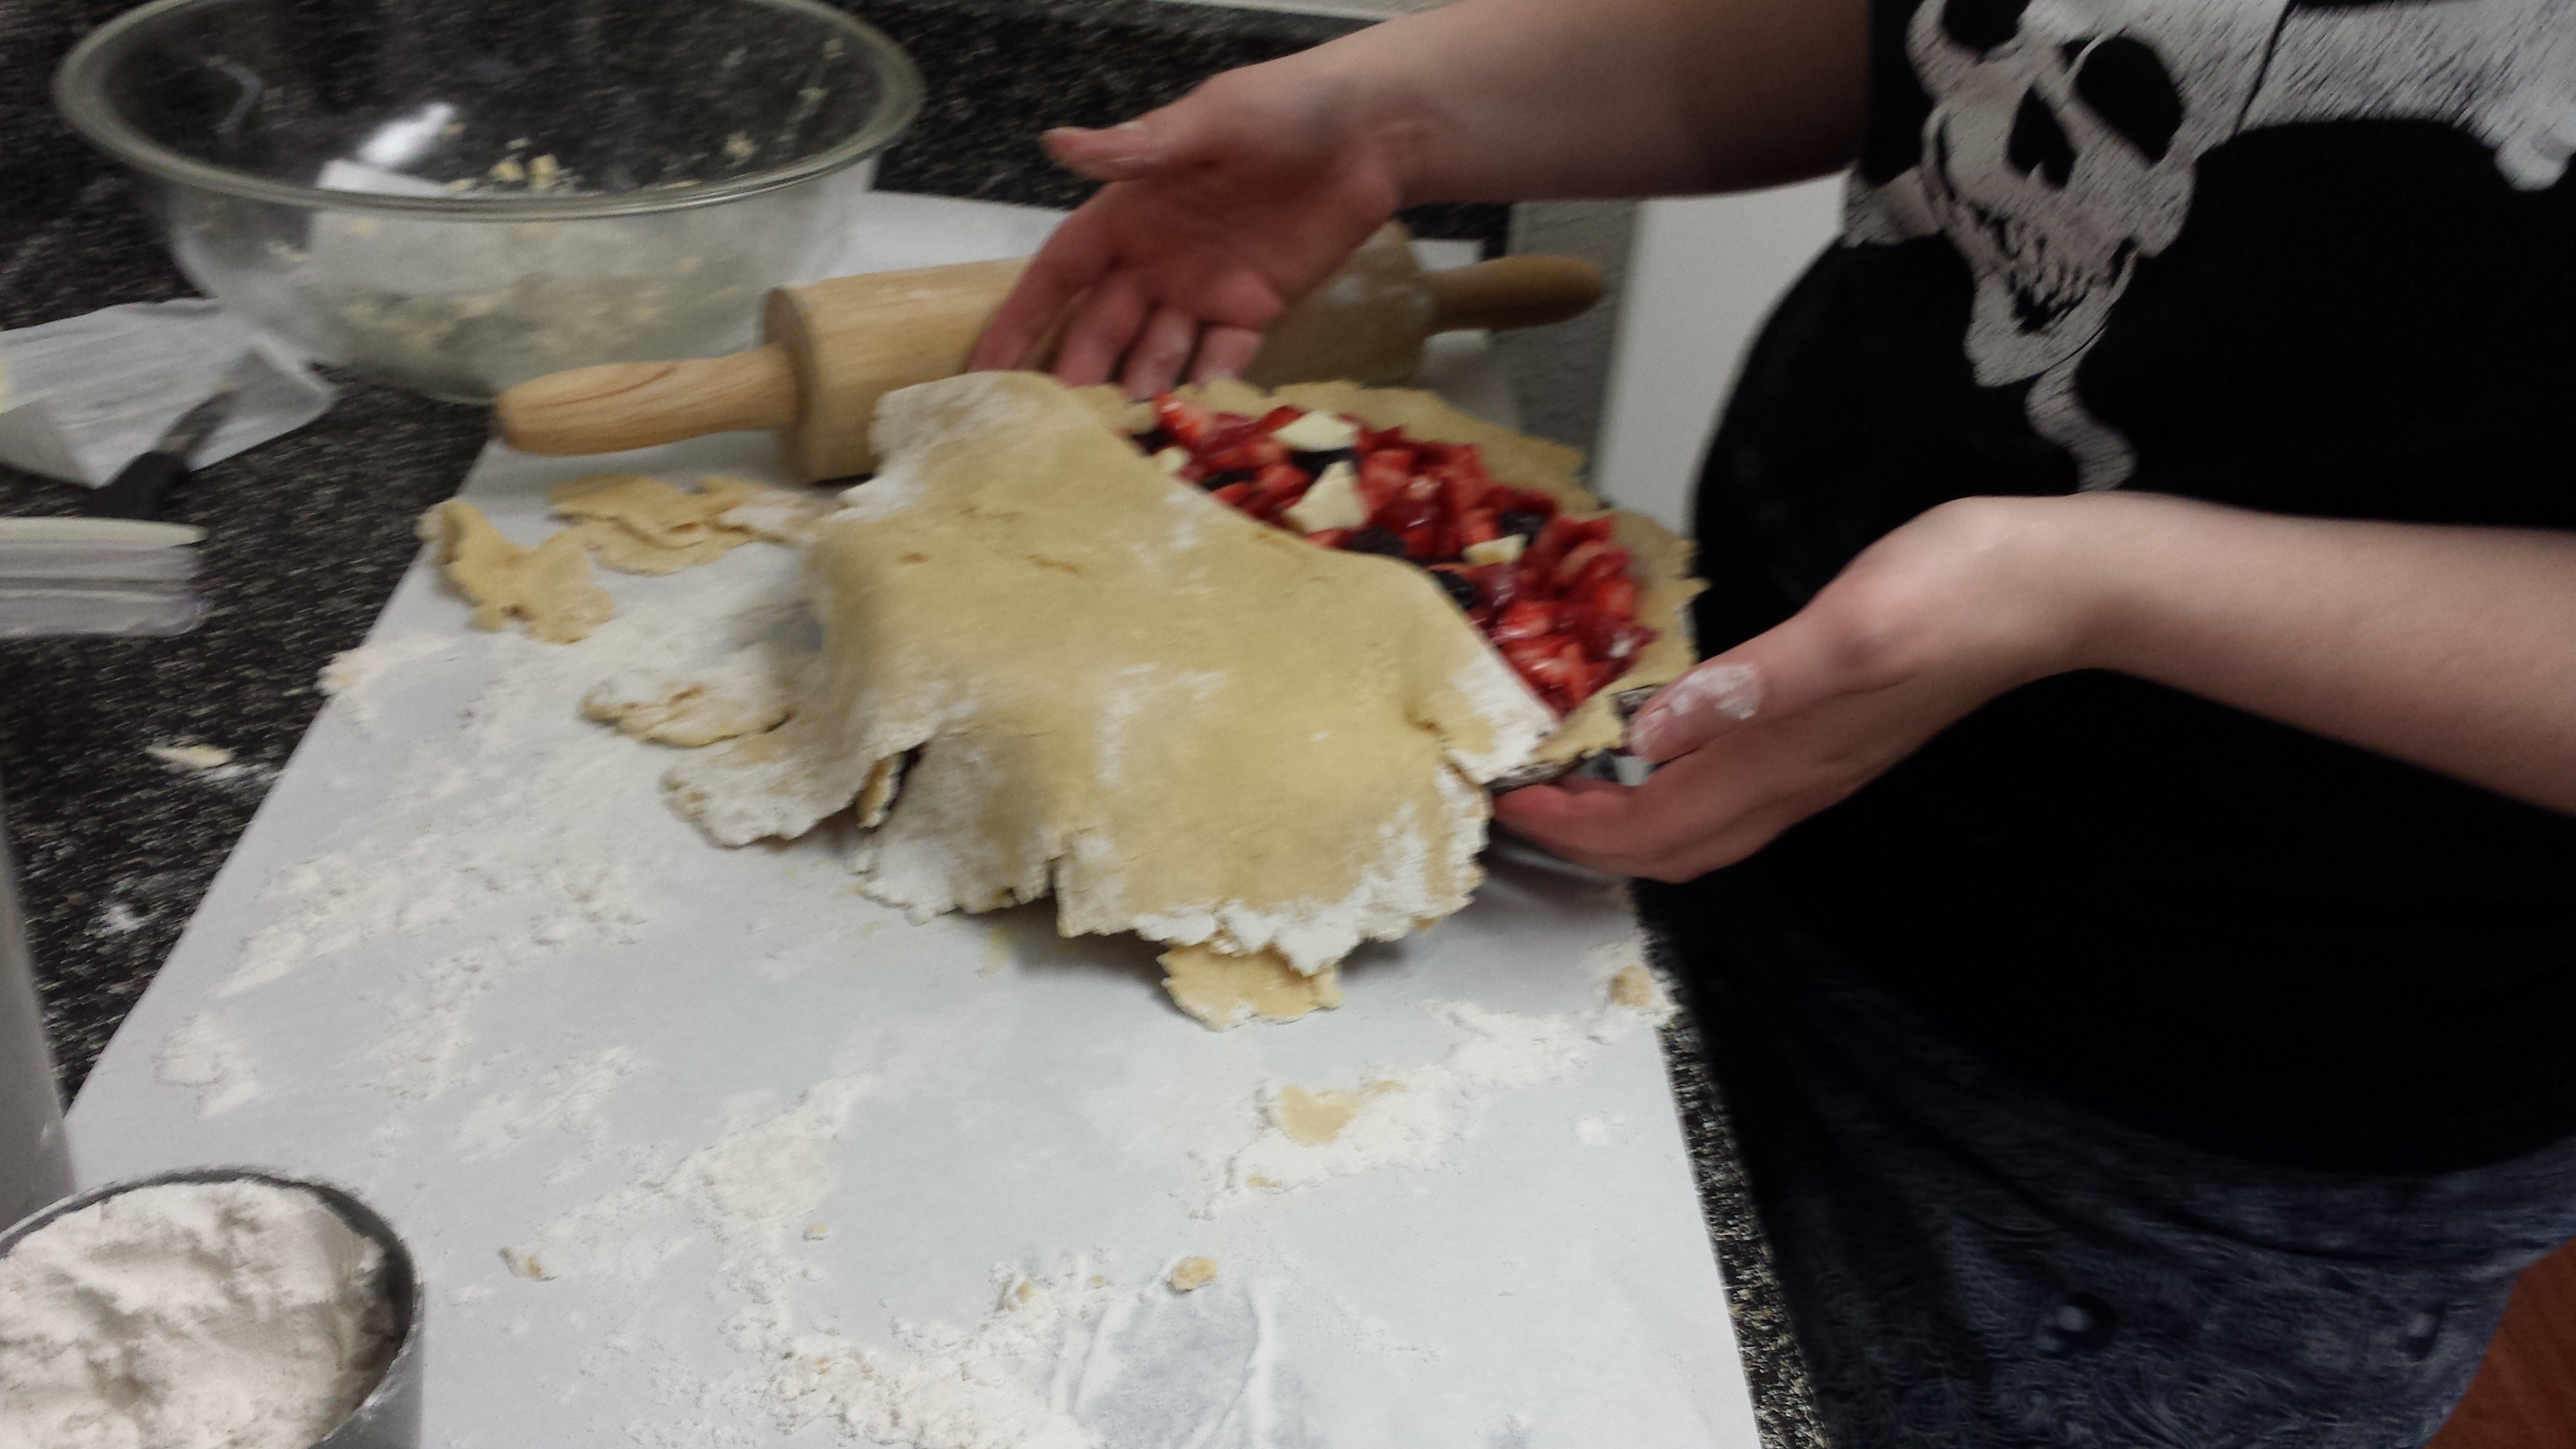
Unfold!
You might have a lot of pieces hanging down like I do. Either cut them off with a knife or gently tear them off with your hands. This is extra dough that you don’t need (unless you have some holes to patch or want to do a fancy decorative thing)
Extra dough removed
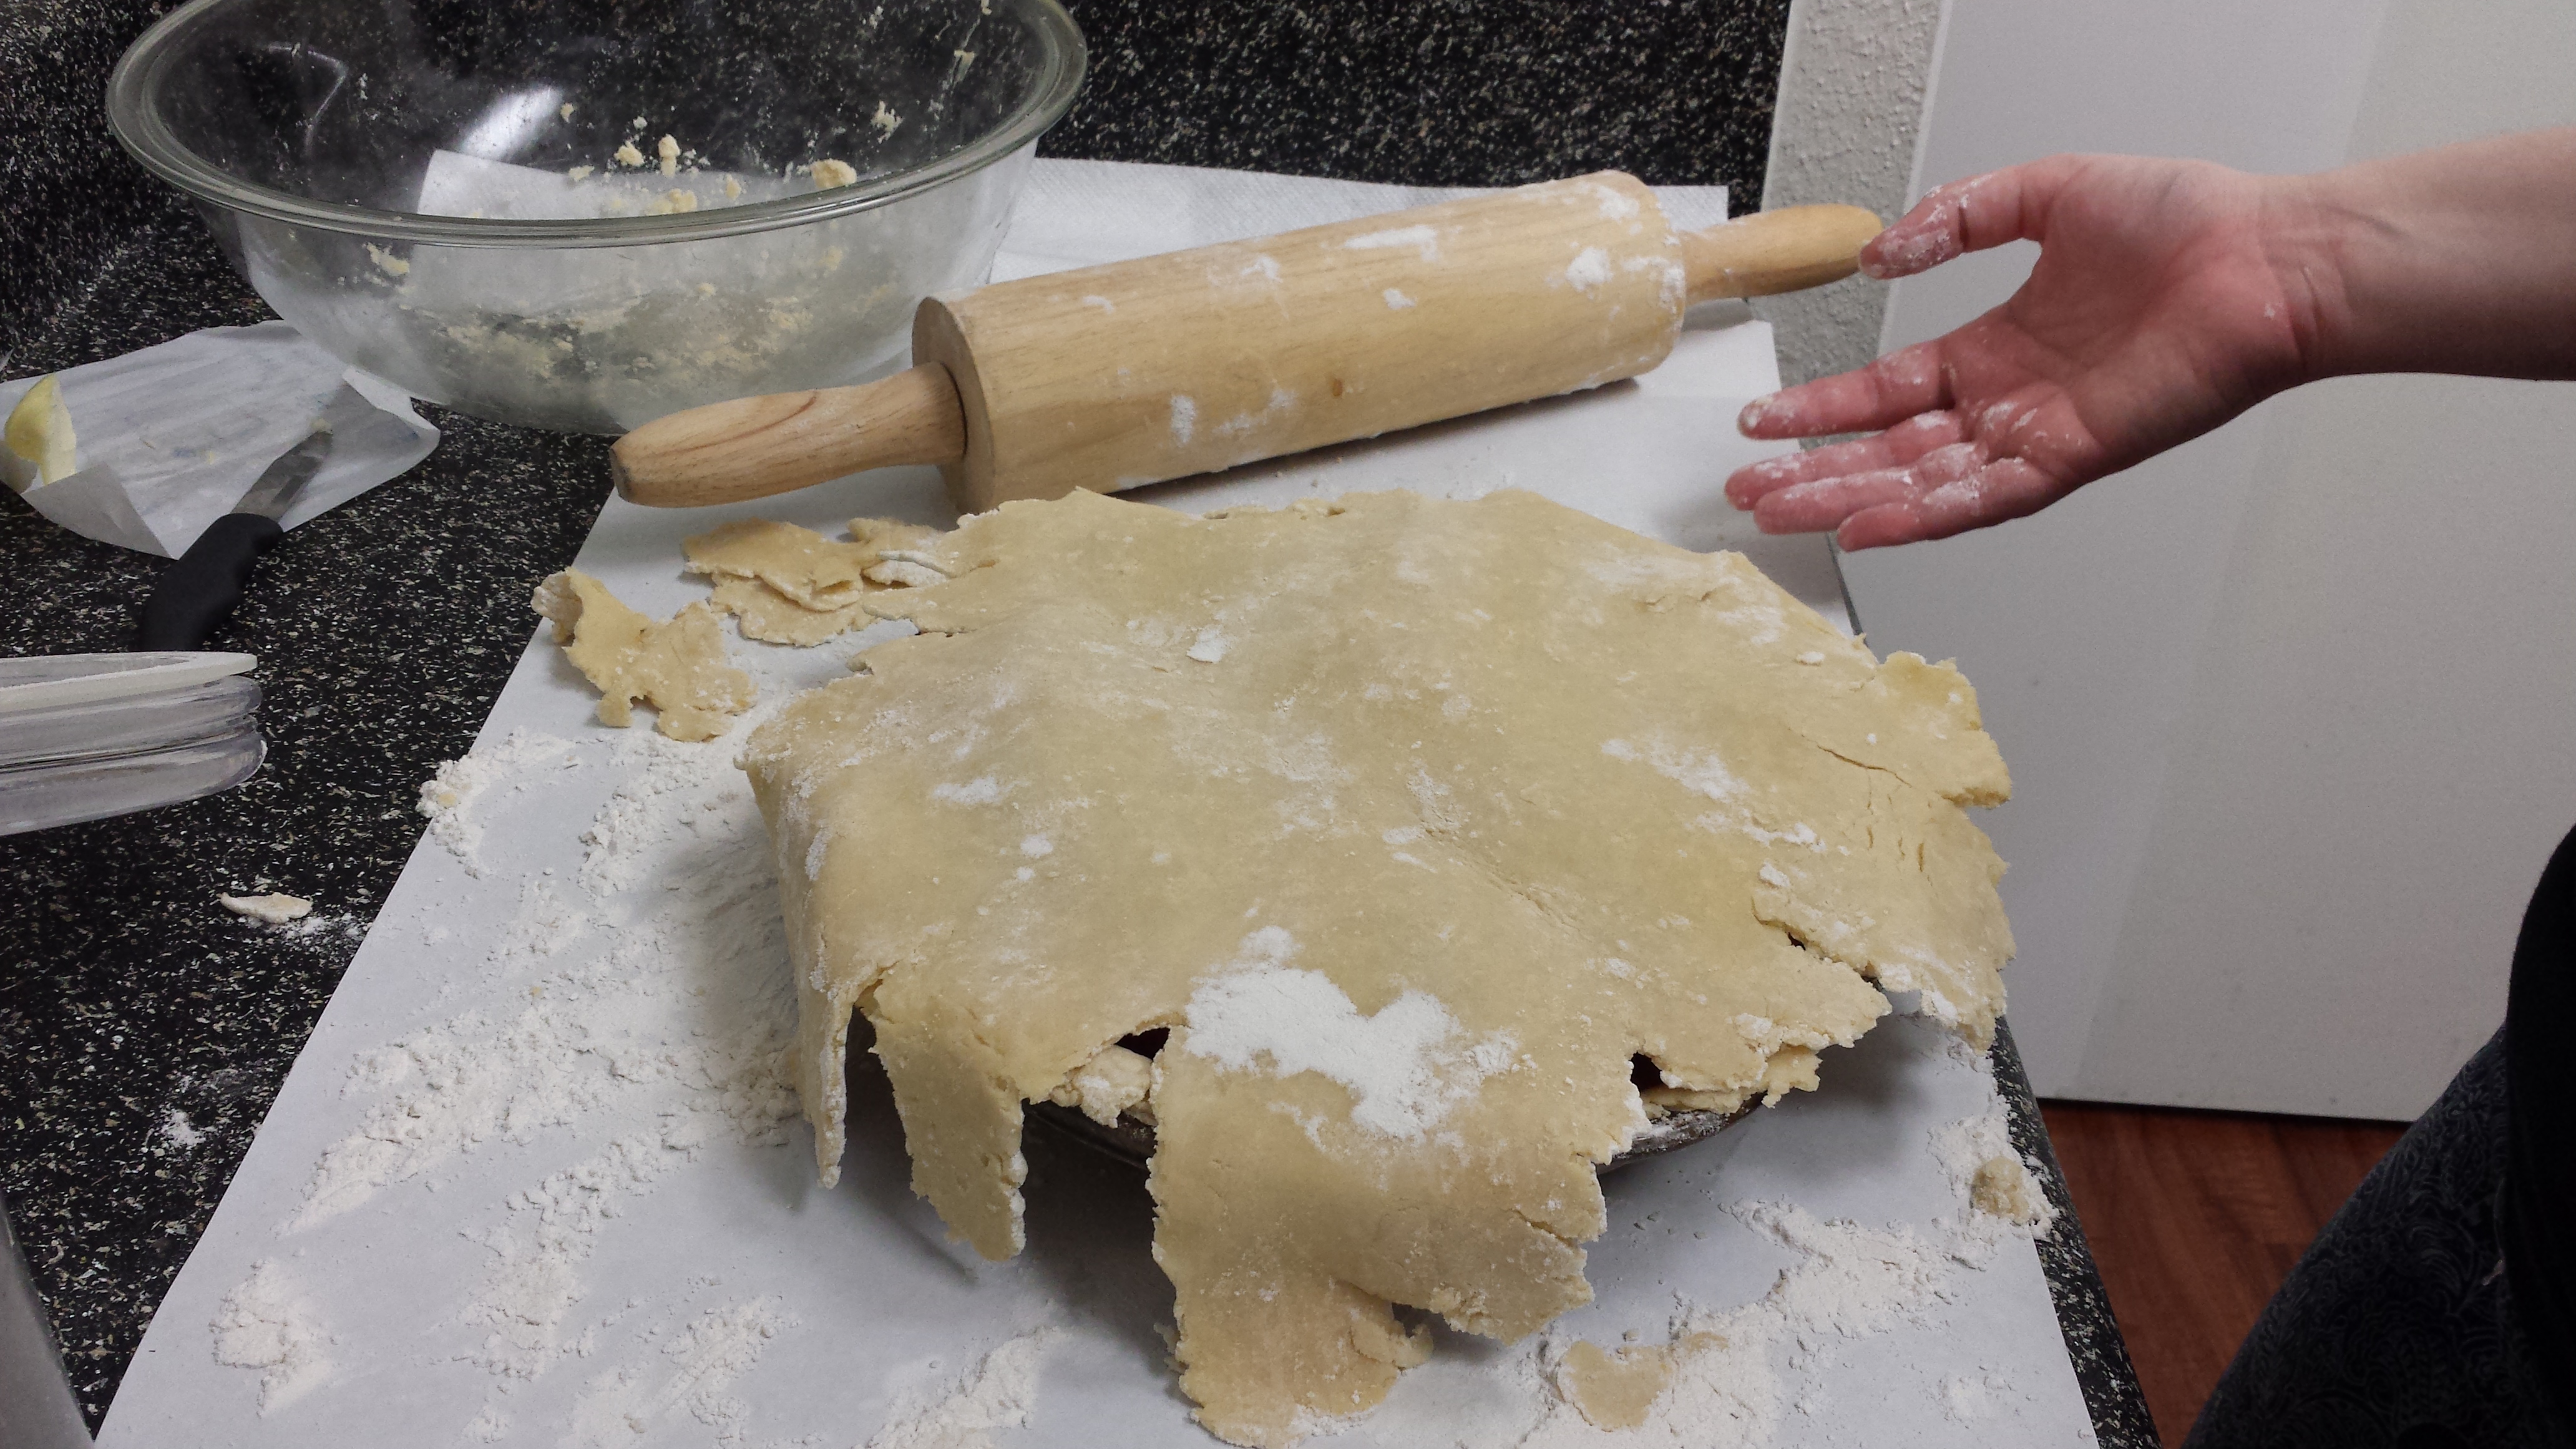
Now go around the edge and fold the two dough edges together. The water you spread before should help. Press them until the seam between them disappears. My pottery pie plate also has crinkly edges so when I press it down it makes this pattern automatically.
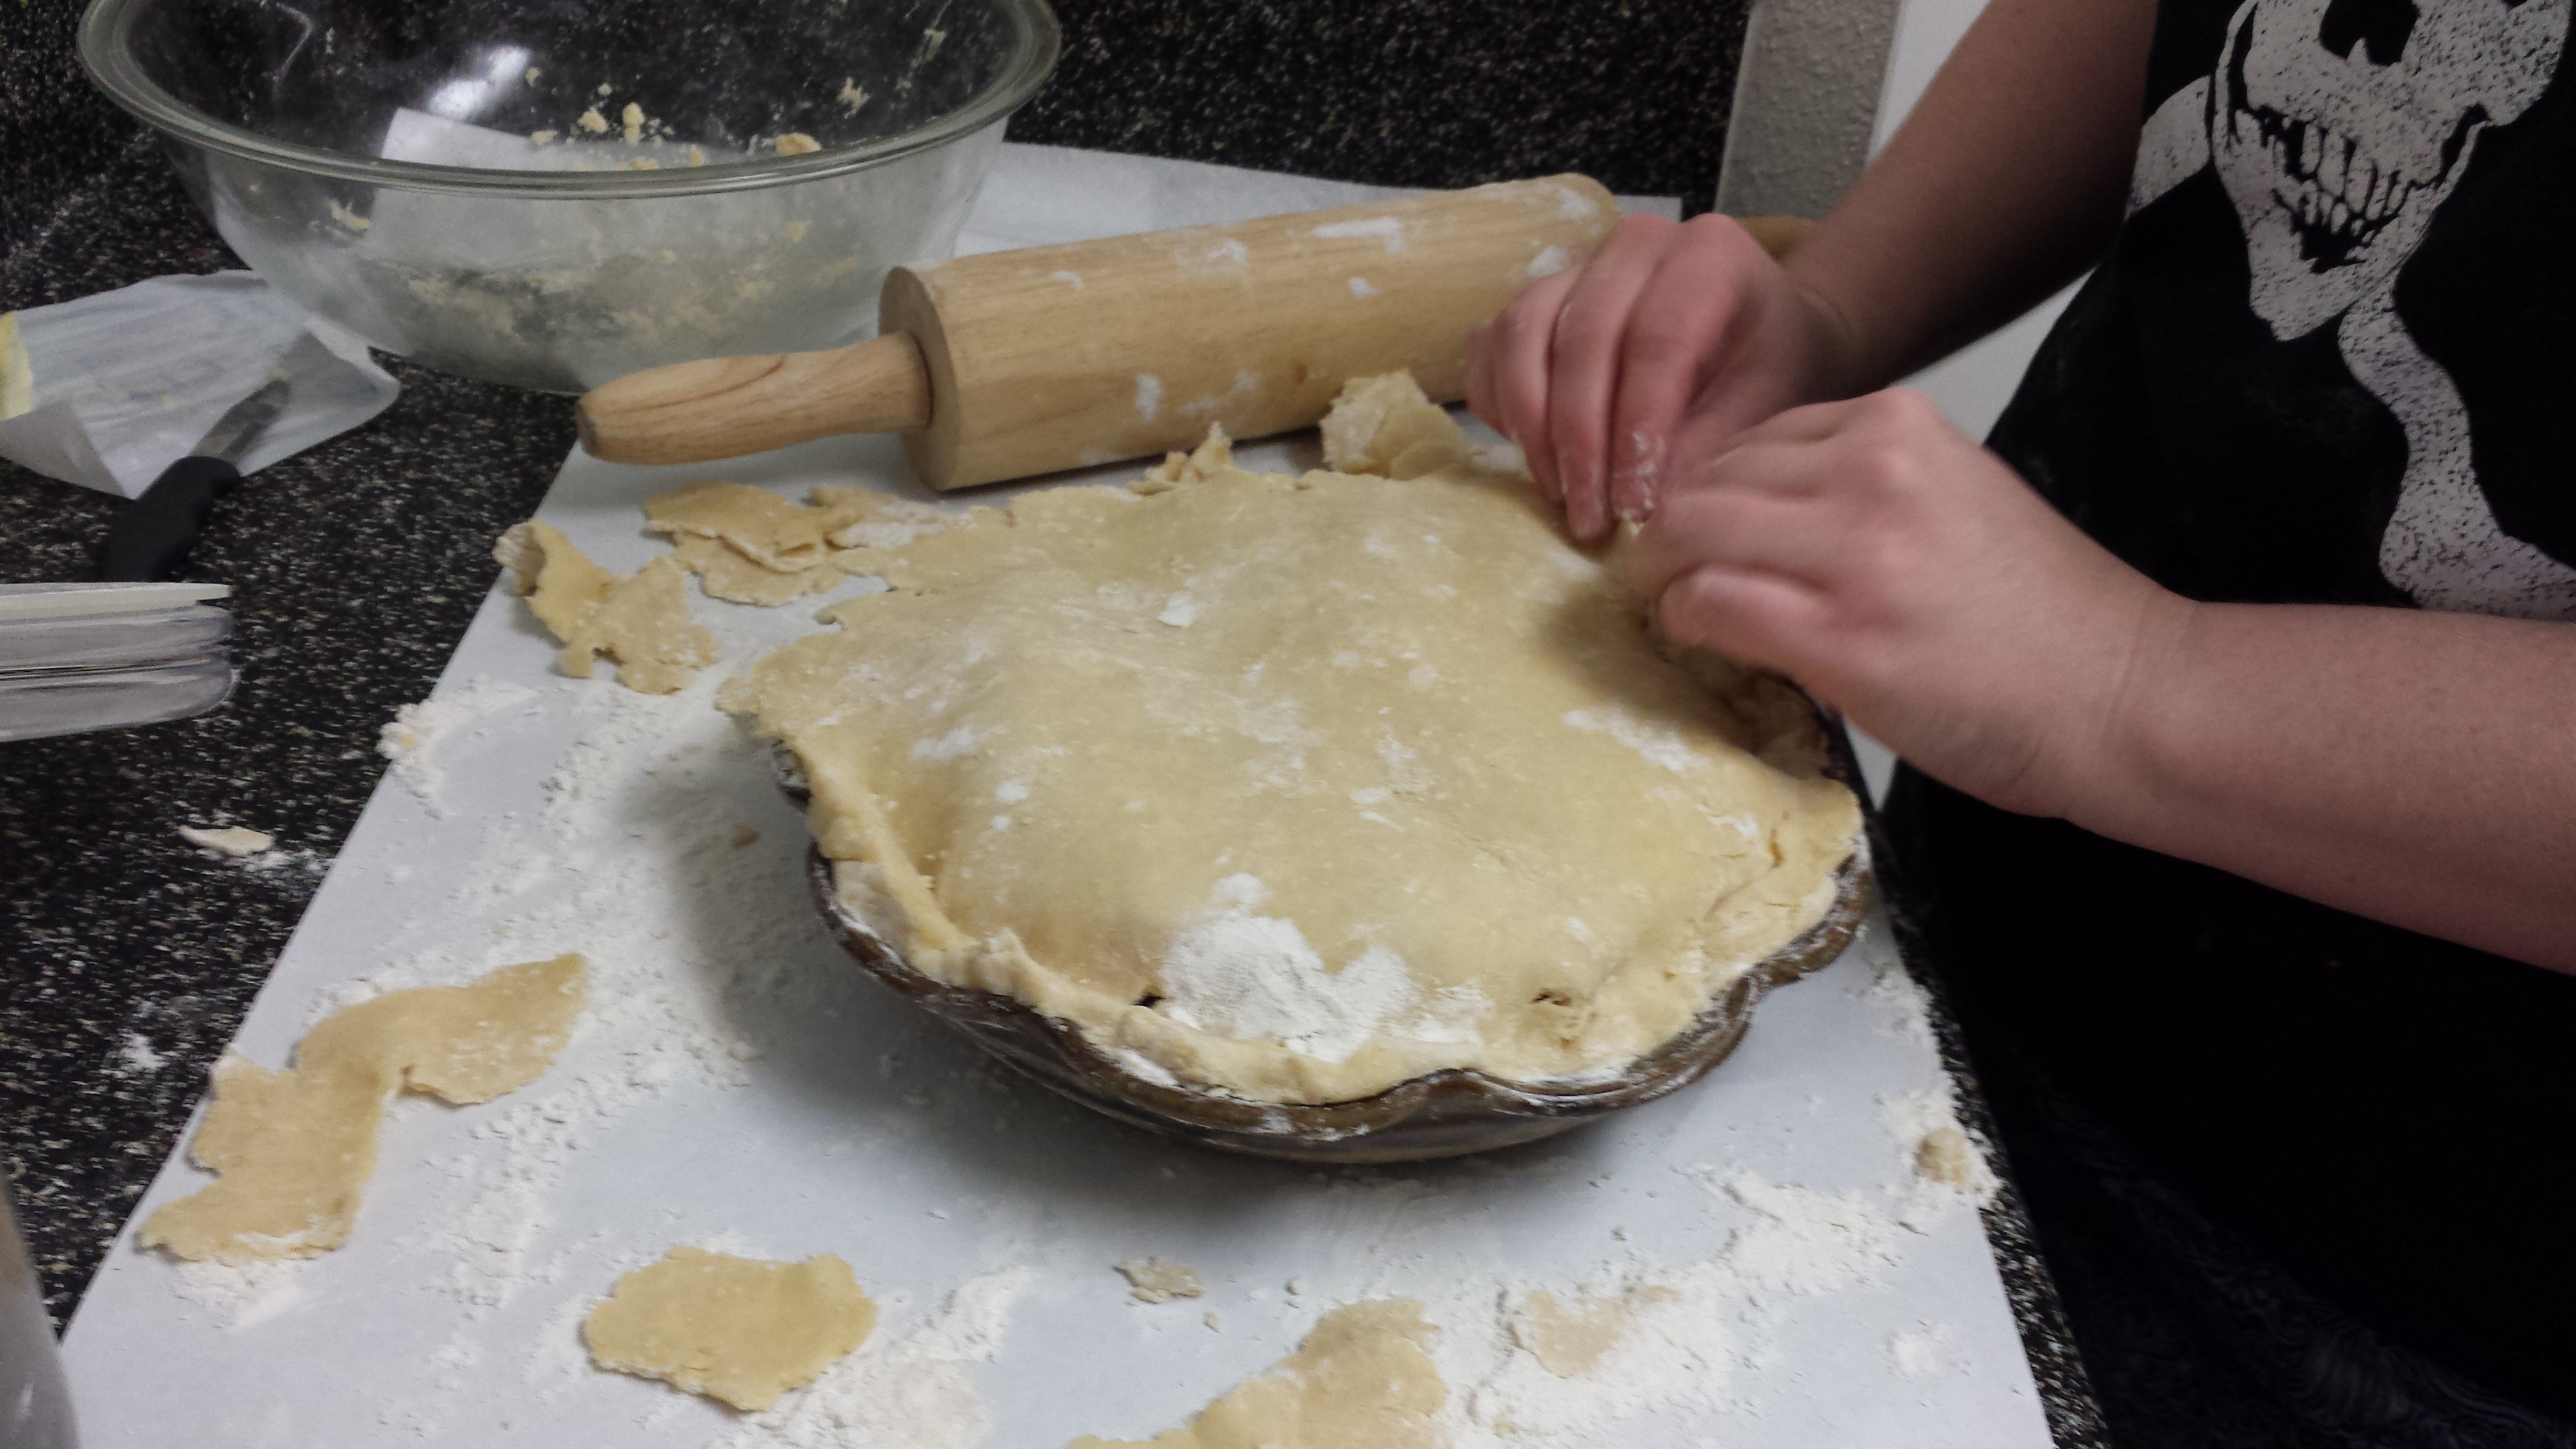
Sealing the seams
Yay!
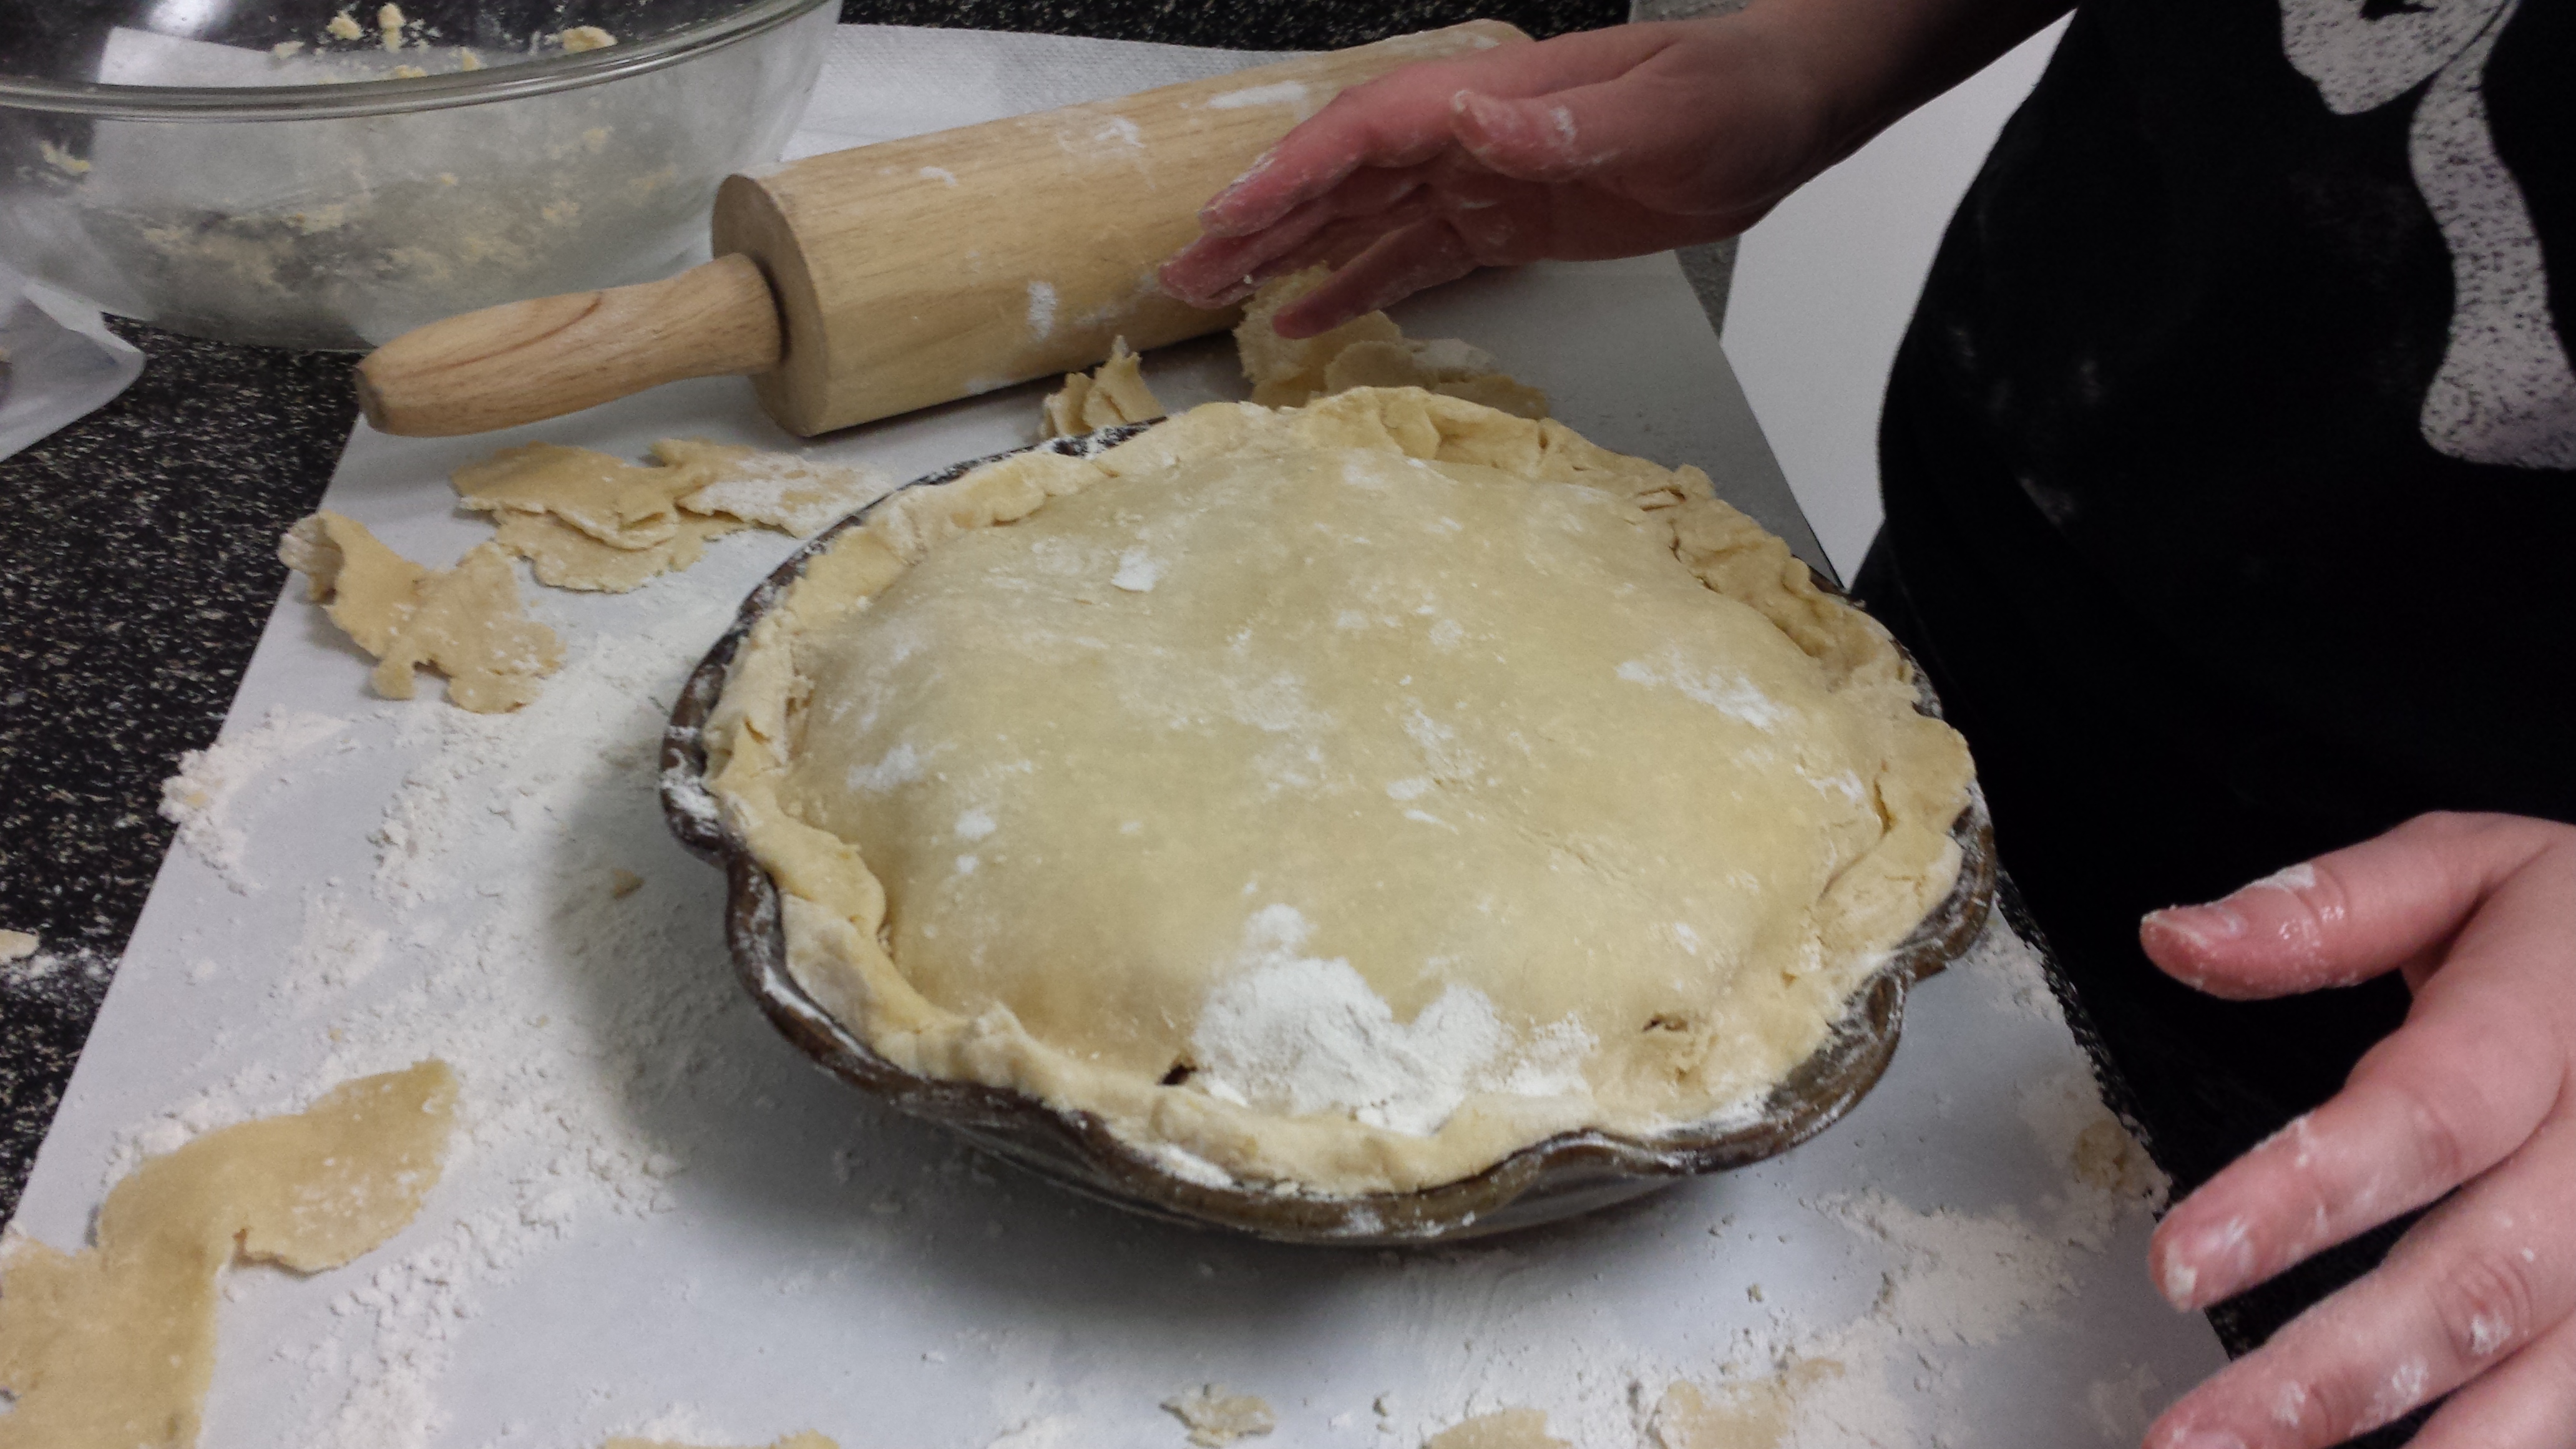
Now you need to cut some air holes to let steam escape. Usually I just slice symmetrical lines with a knife, but you can get fancy if you want.

Cutting slits for air
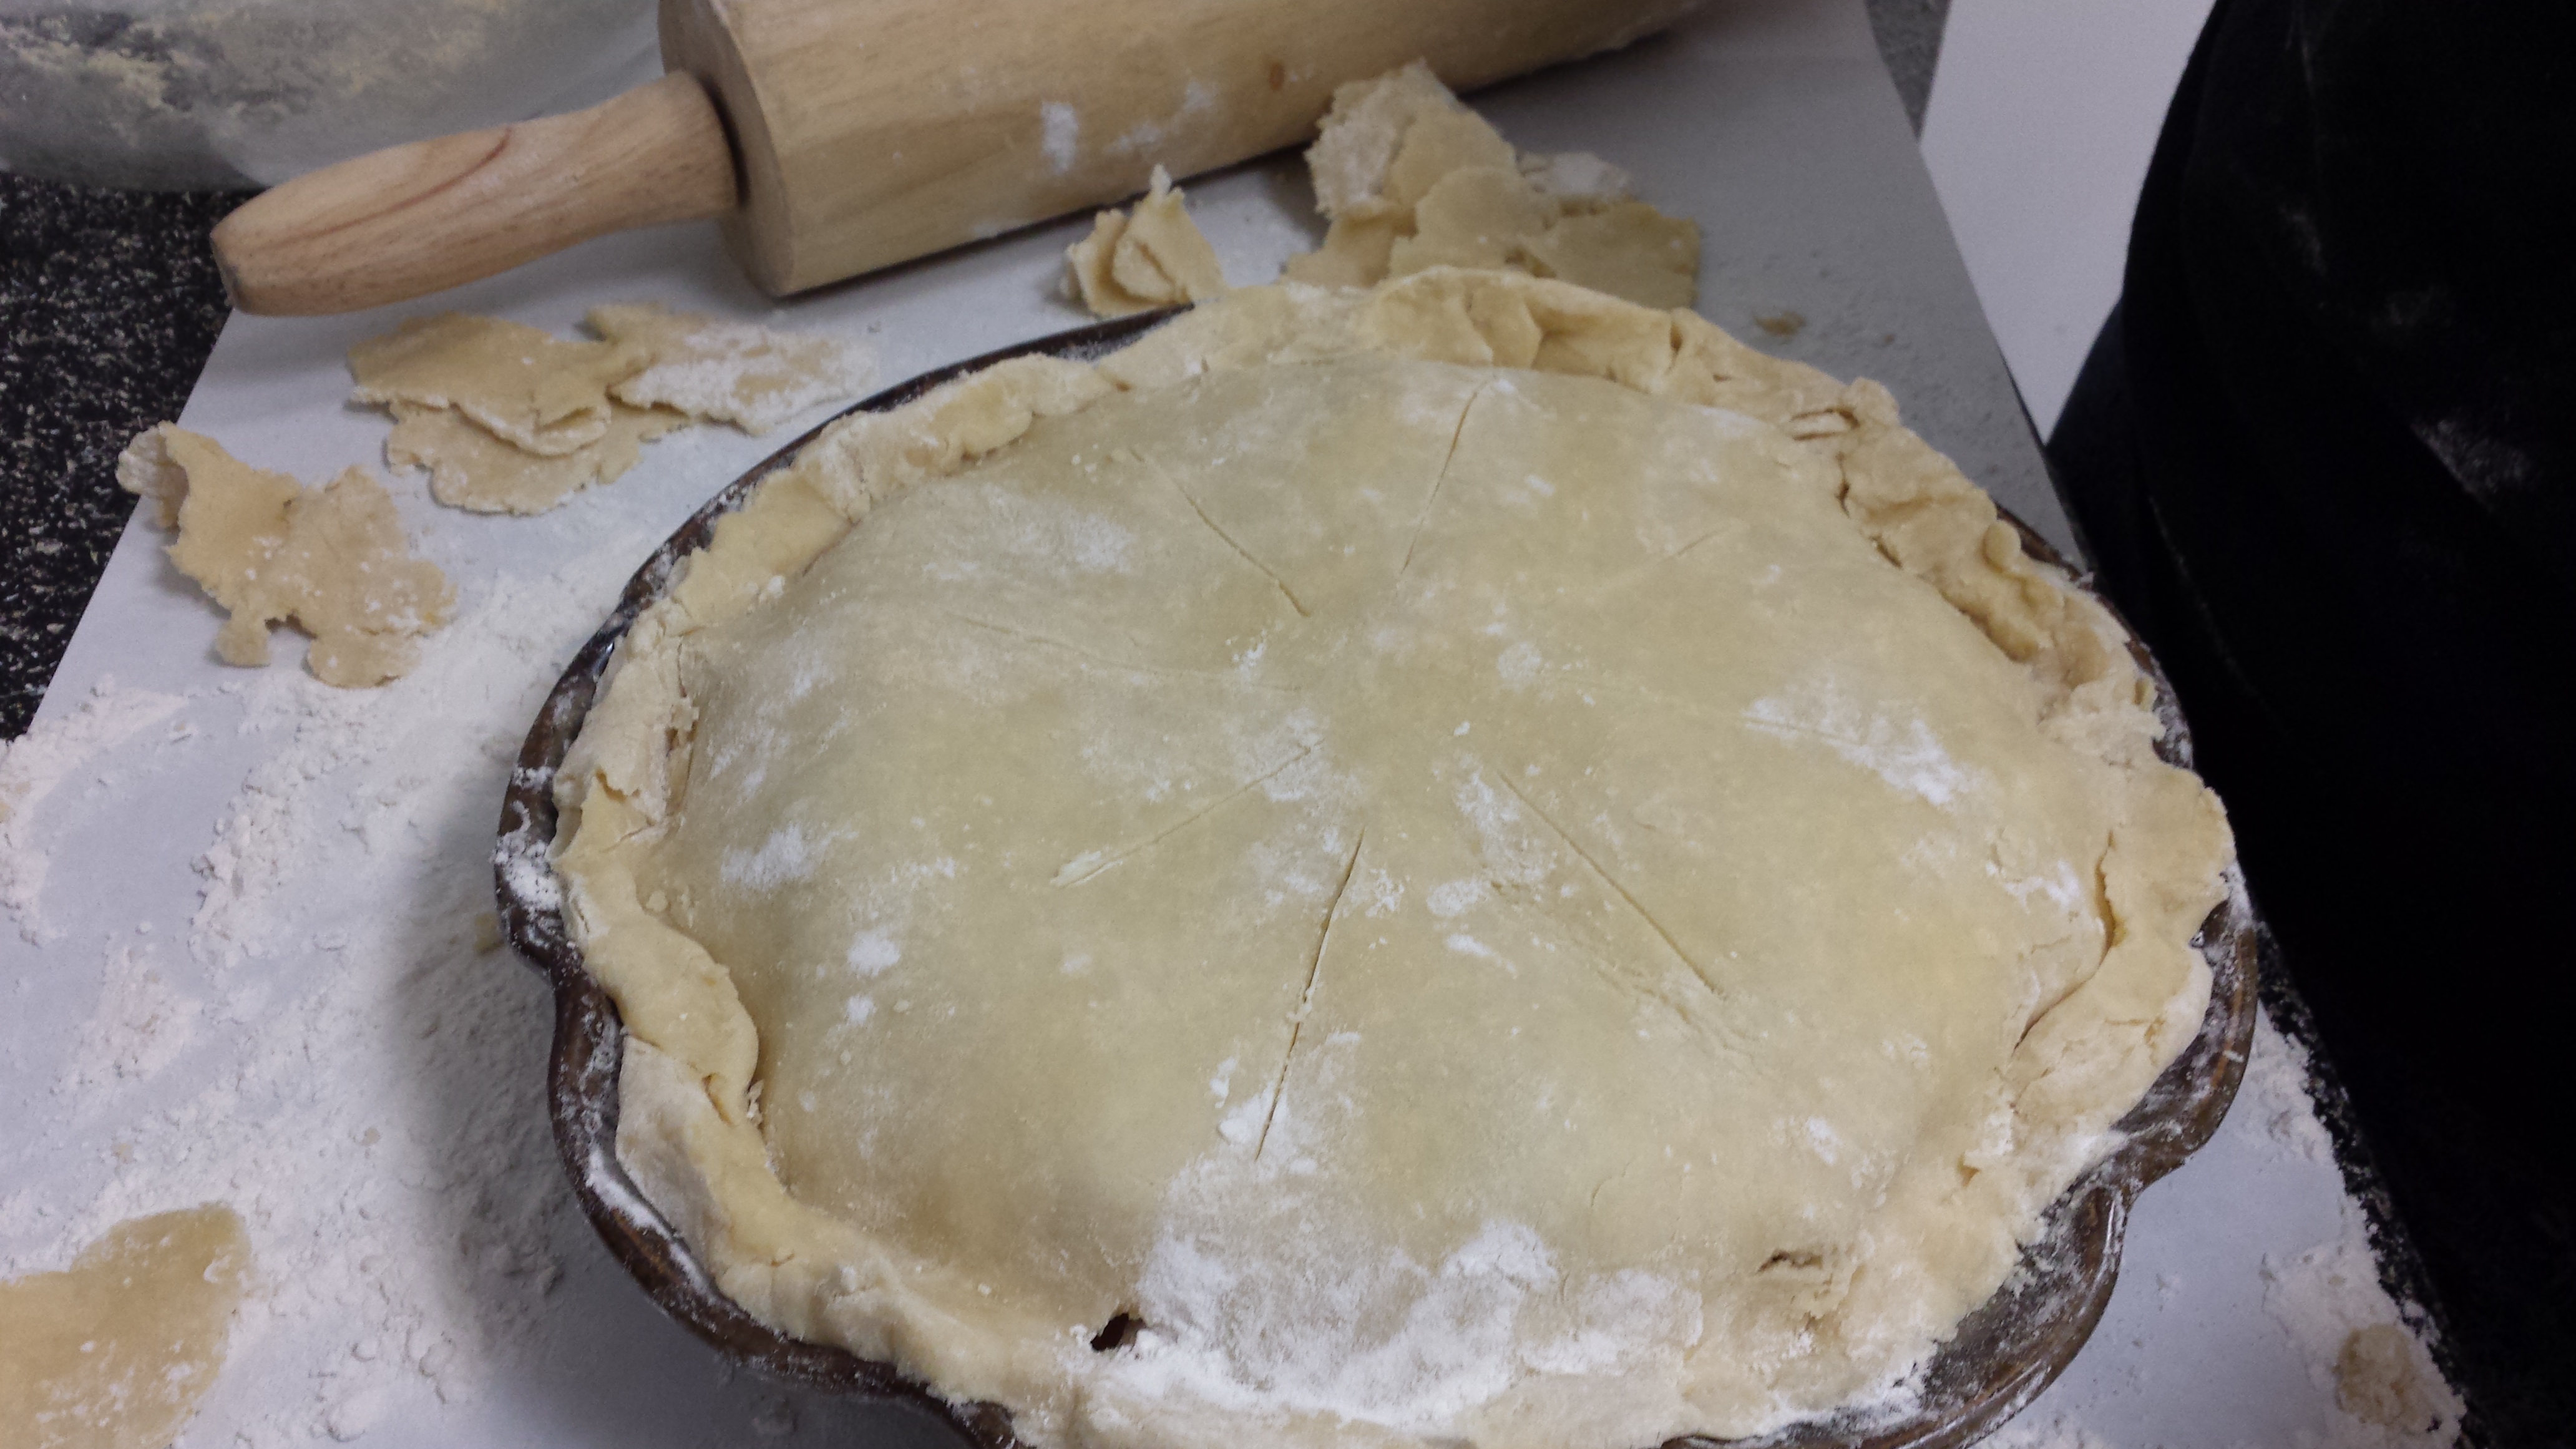
Beautiful!
At some point, you should preheat your oven to 425 degrees. Hopefully it is all ready by now! Before popping that pie in, attach some aluminum foil around the sides.

No joke, this is my least favorite part of making a pie, I hate it
This protects the crust from burning before the insides cook. You can buy pie guards, but when I did it didn’t work, so I usually go with strips of aluminum foil like this. I hate them because sometimes they fall off and seem really finicky–way worse than the crust! Be strong, you can do it.
Then put the pie in the oven for about 30 minutes. At that point, look at it. The middle part should be golden. Take the aluminum foil off and cook for around 10 more minutes. It should cook for 40-50 minutes in all, but make sure to watch it so it doesn’t burn. Or leave it in if it doesn’t look done enough. Here’s my final product:
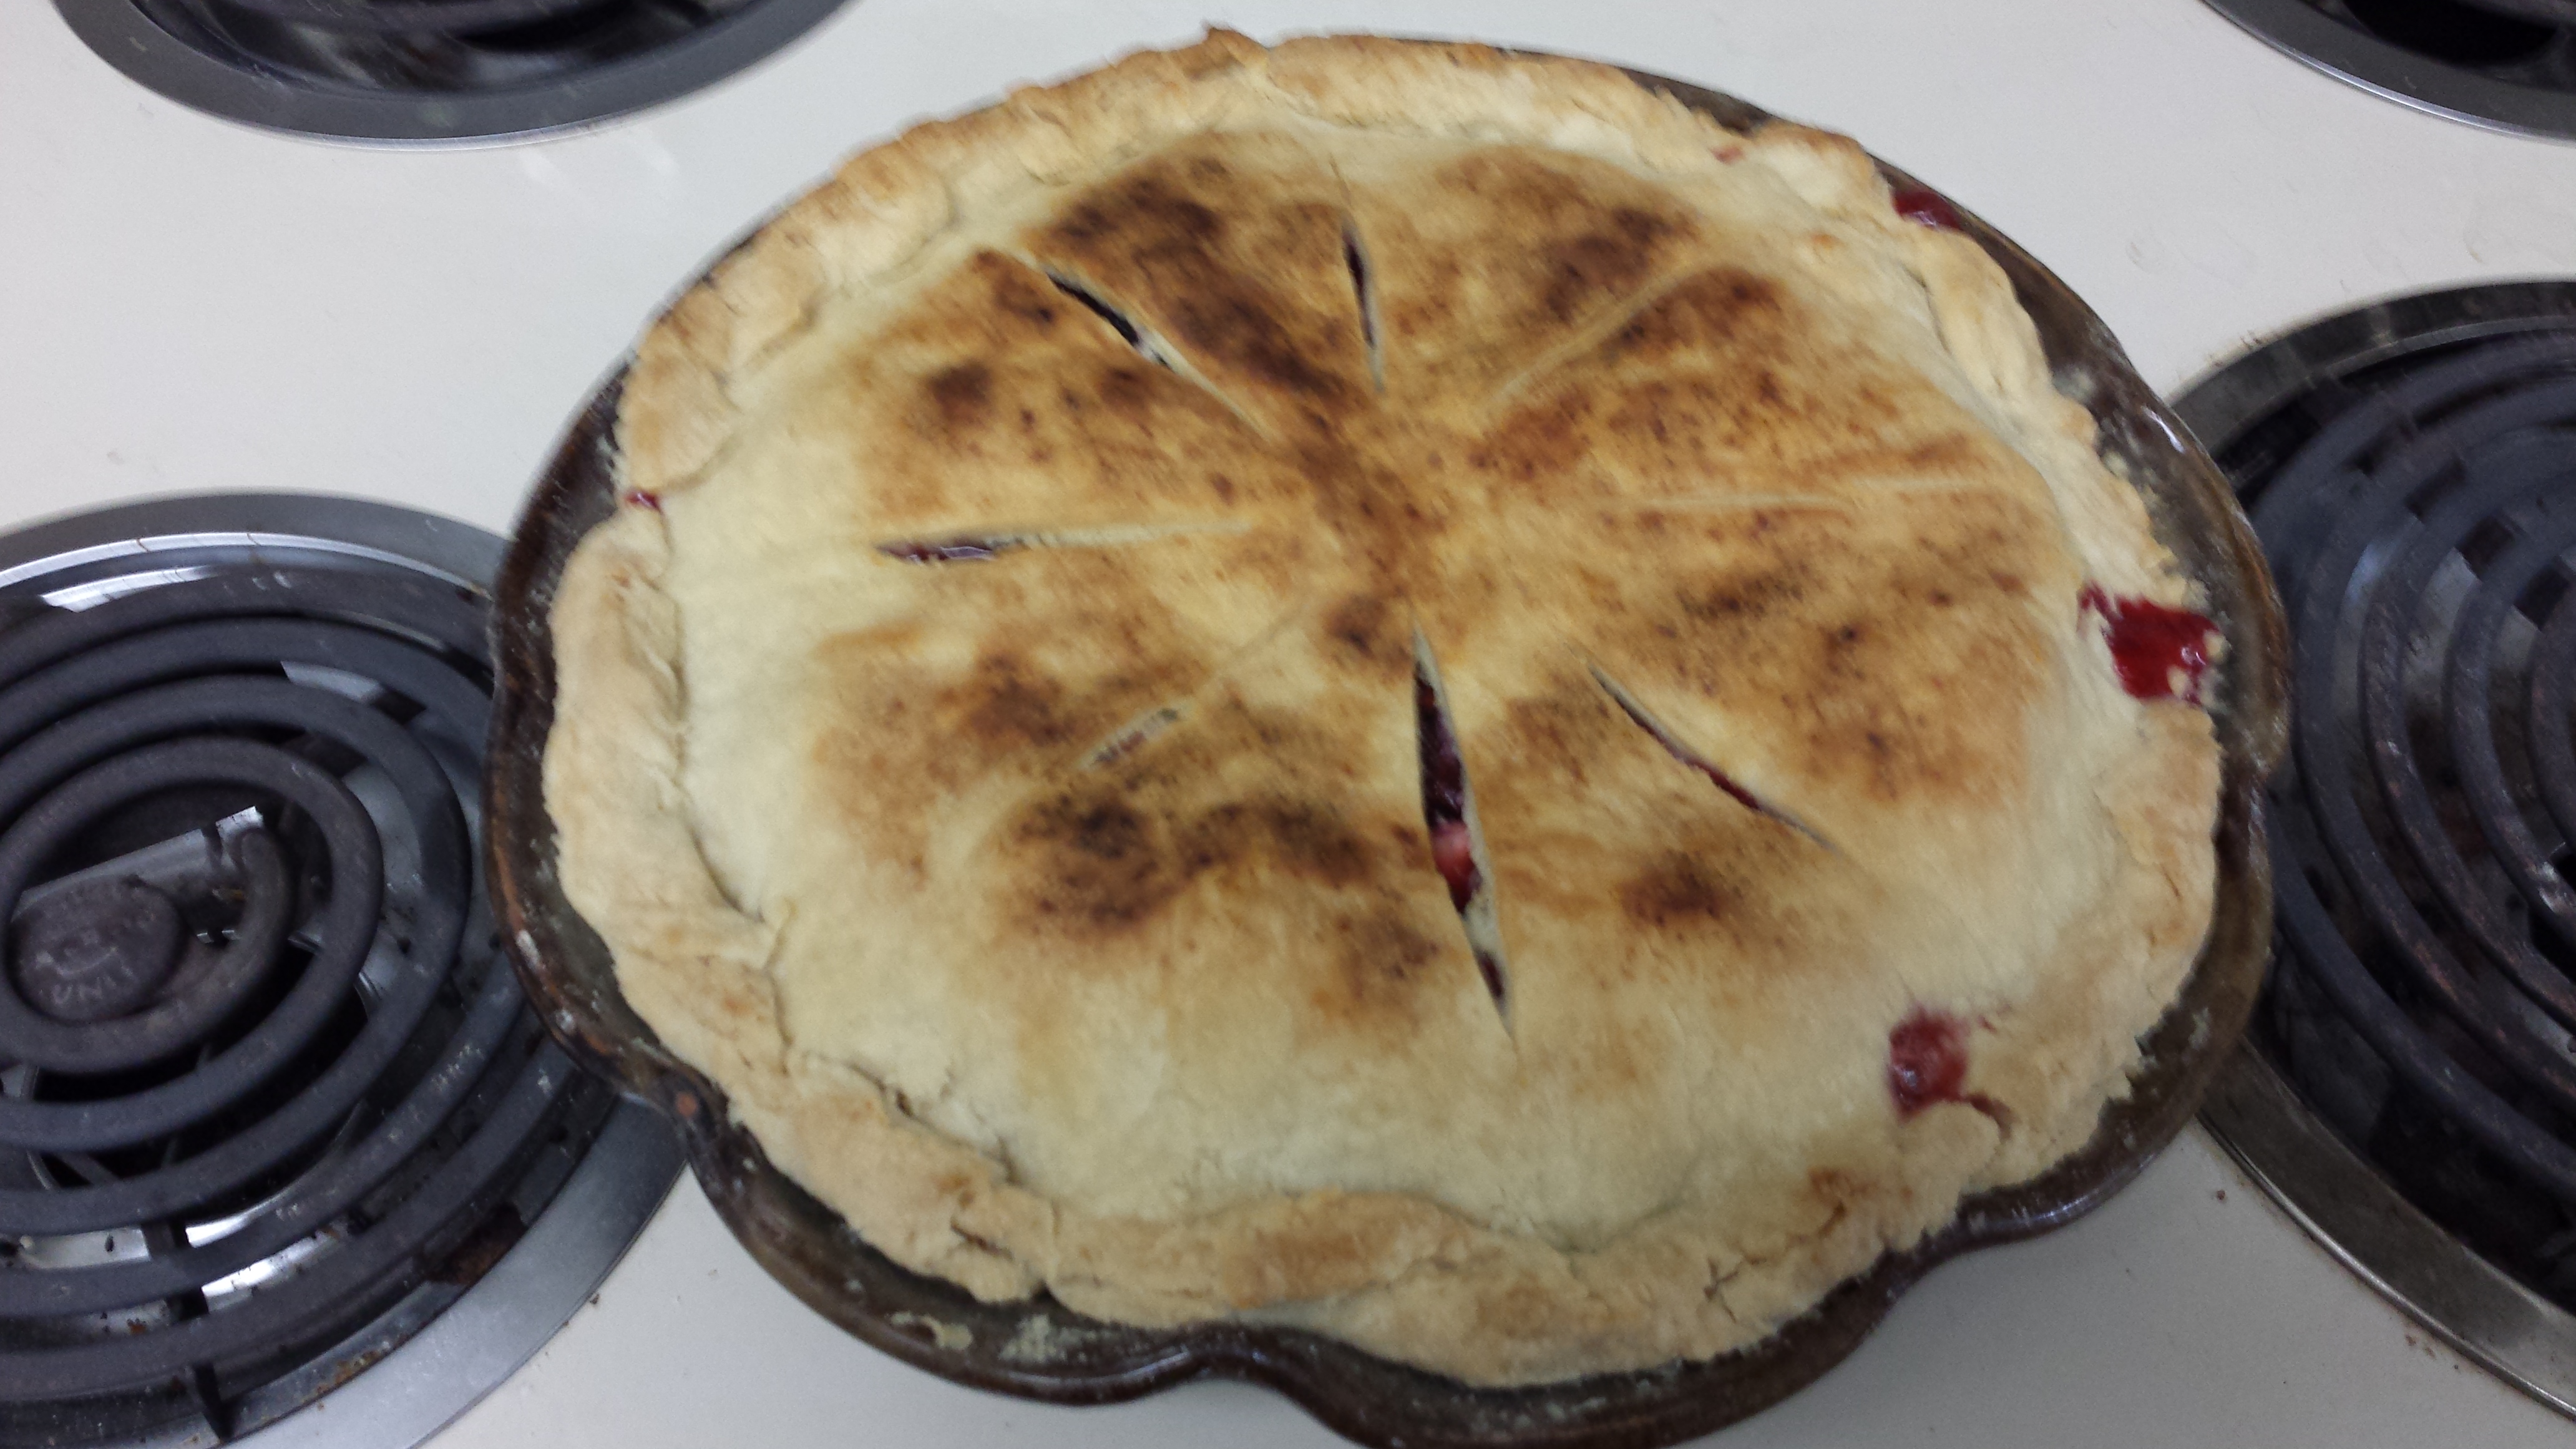
Ta-Dah!
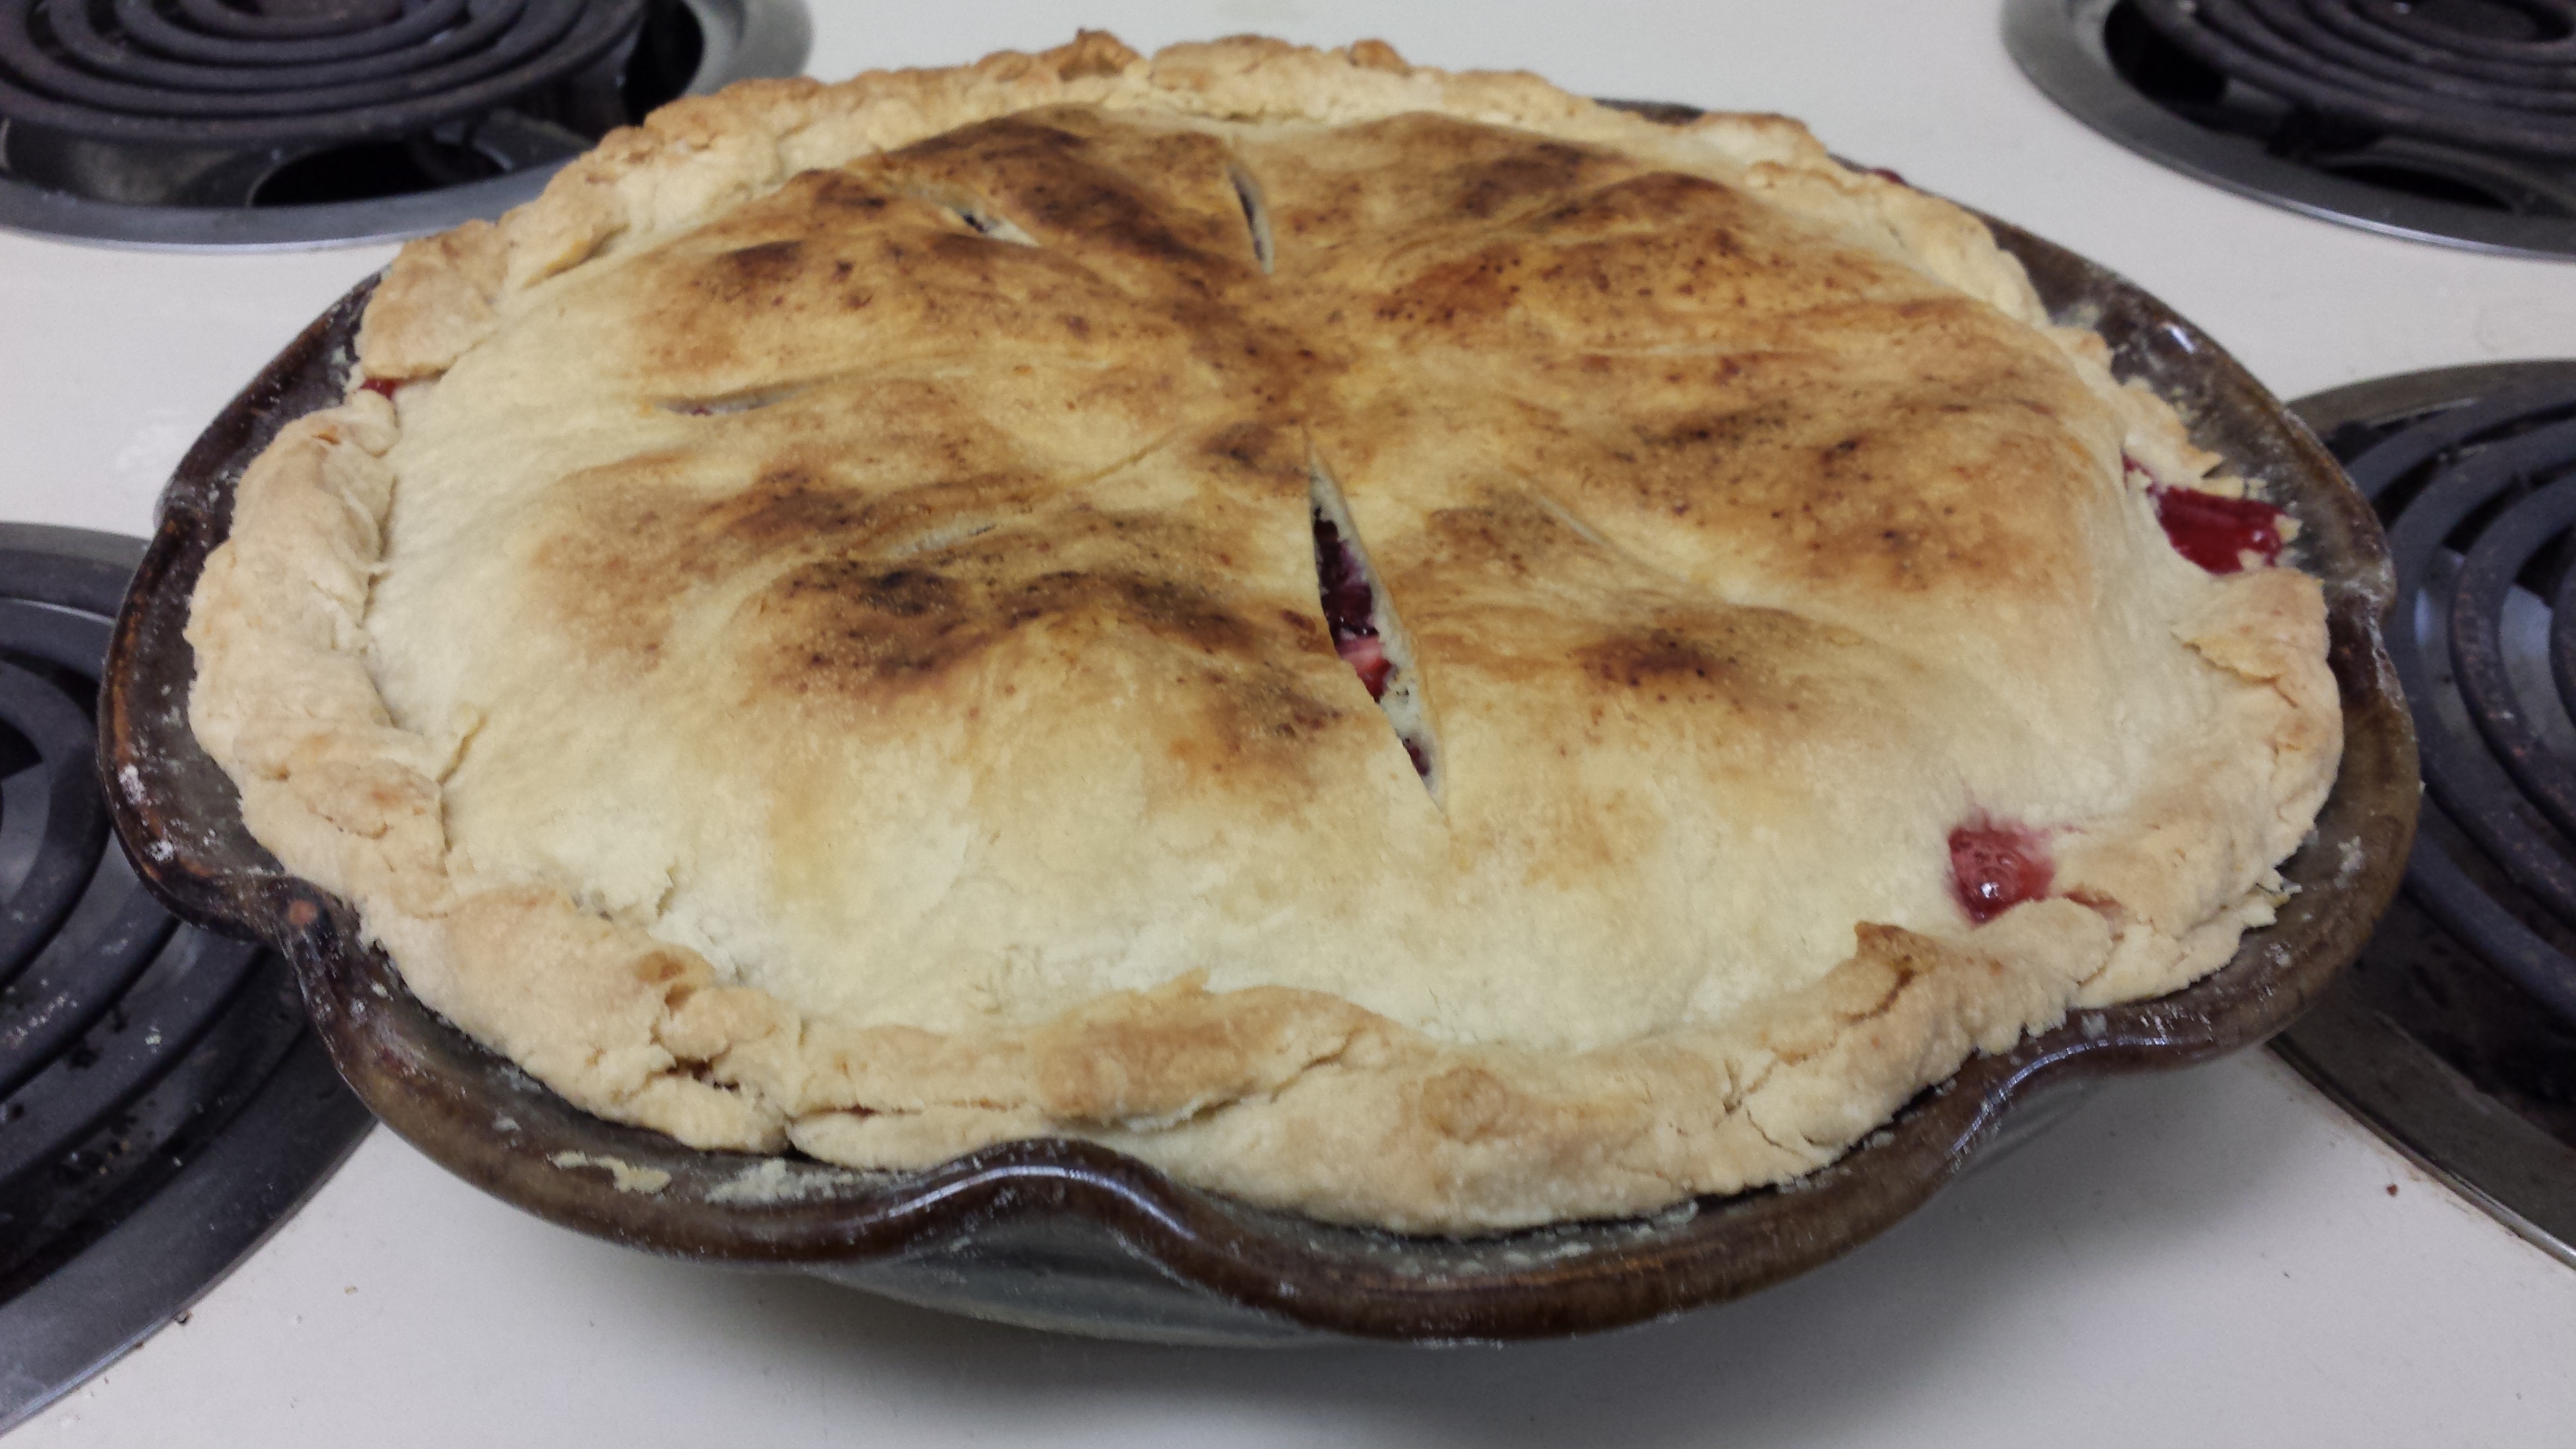
Yay!
If you serve it hot, the filling is going to be soupy, which is okay if that’s your jam, but be prepared. I usually let mine sit for awhile.
Maybe reading this tutorial seems overwhelming, but it’s not actually that bad. It took me less than an hour from first chopping the fruit to sliding it into the oven, and I kept having to stop to take pictures. You should at least try it once! There are lots of filling options and you’ll feel super accomplished. You could also use this crust for other things that require one, like mini pies or even hand pies!
Here is the recipe in a more recipe-like format:
Serves 1 Pie
Mix with a fork until crumbly like pebbles:
2 cups flour
1/2 tbs sugar
1/2 tsp salt
7/8 cup shorteningAdd
1/4 cup cold water.
1/2 beaten egg (depending on size of the egg)
1/2 tbs vinegarMix with fork and then hands, but not too much as the oil from hands will reduce the flakiness. Divide dough into 2 about equal pieces.
Roll one of the pieces into a crust on a lightly floured surface and place it into greased pie tin/ pottery.
Cut off the extra crust from around the edge of the pie tie / pottery.
Pour the filling into the pie
Dot with butterRoll out pie crust pie top with the other piece of dough.
Water the edges of the bottom crust with fingers.
Place the top crust on the pie and pinch with fingers to form a seal with the pie crust in the tin/ pottery
Cut off the extra crust from around the edge of the pie tie / pottery to make pie crust cookies.
Cut about 5 one half inch slits in crust topPlace foil around the edges of the crust to prevent edges from burning, and bake at 425 degrees for 40 – 50 minutes. Pull foil off about 10 minutes before the pie is done to ensure even browning.
Extra Pie Crust Cookies:
Take the extra dough cut off from around the edges (irregular shapes) and place on a flat cookie sheet.
Sprinkle on sugar to taste.
Bake at 375 degrees until brown (about 10 minutes more or less depending on how thick the crust is.)
After reading this post, I am so desirung to have some of that pie. Tell Steven that after I am in Tennessee for a while, I can probably arrange for him to grind some wheat and churn some butter.
This post is AMAZING!! So much detail, such great pie. I am one proud mom.
I can attest that this recipe is in fact both delicious AND super easy
Man now I want pie too
Your pie looks awesome! I must make one now… This post should air as a public service announcement.
When I left for college, I made my mom make a pie for me while I wrote down all of the steps. (My notes look a lot like your post.) Then, that Christmas, she got me a set of her specialty tools: a pastry cutter and a fat separator ( http://www.amazon.com/OXO-Good-Grips-4-Cup-Separator/dp/B0002YTGIQ/ref=sr_1_1?ie=UTF8&qid=1396799385&sr=8-1&keywords=fat+separator )
The fat separator is nice for the cold water: you can put ice cubes in the fat separator with your water to keep it really cold without worrying about the ice falling out.