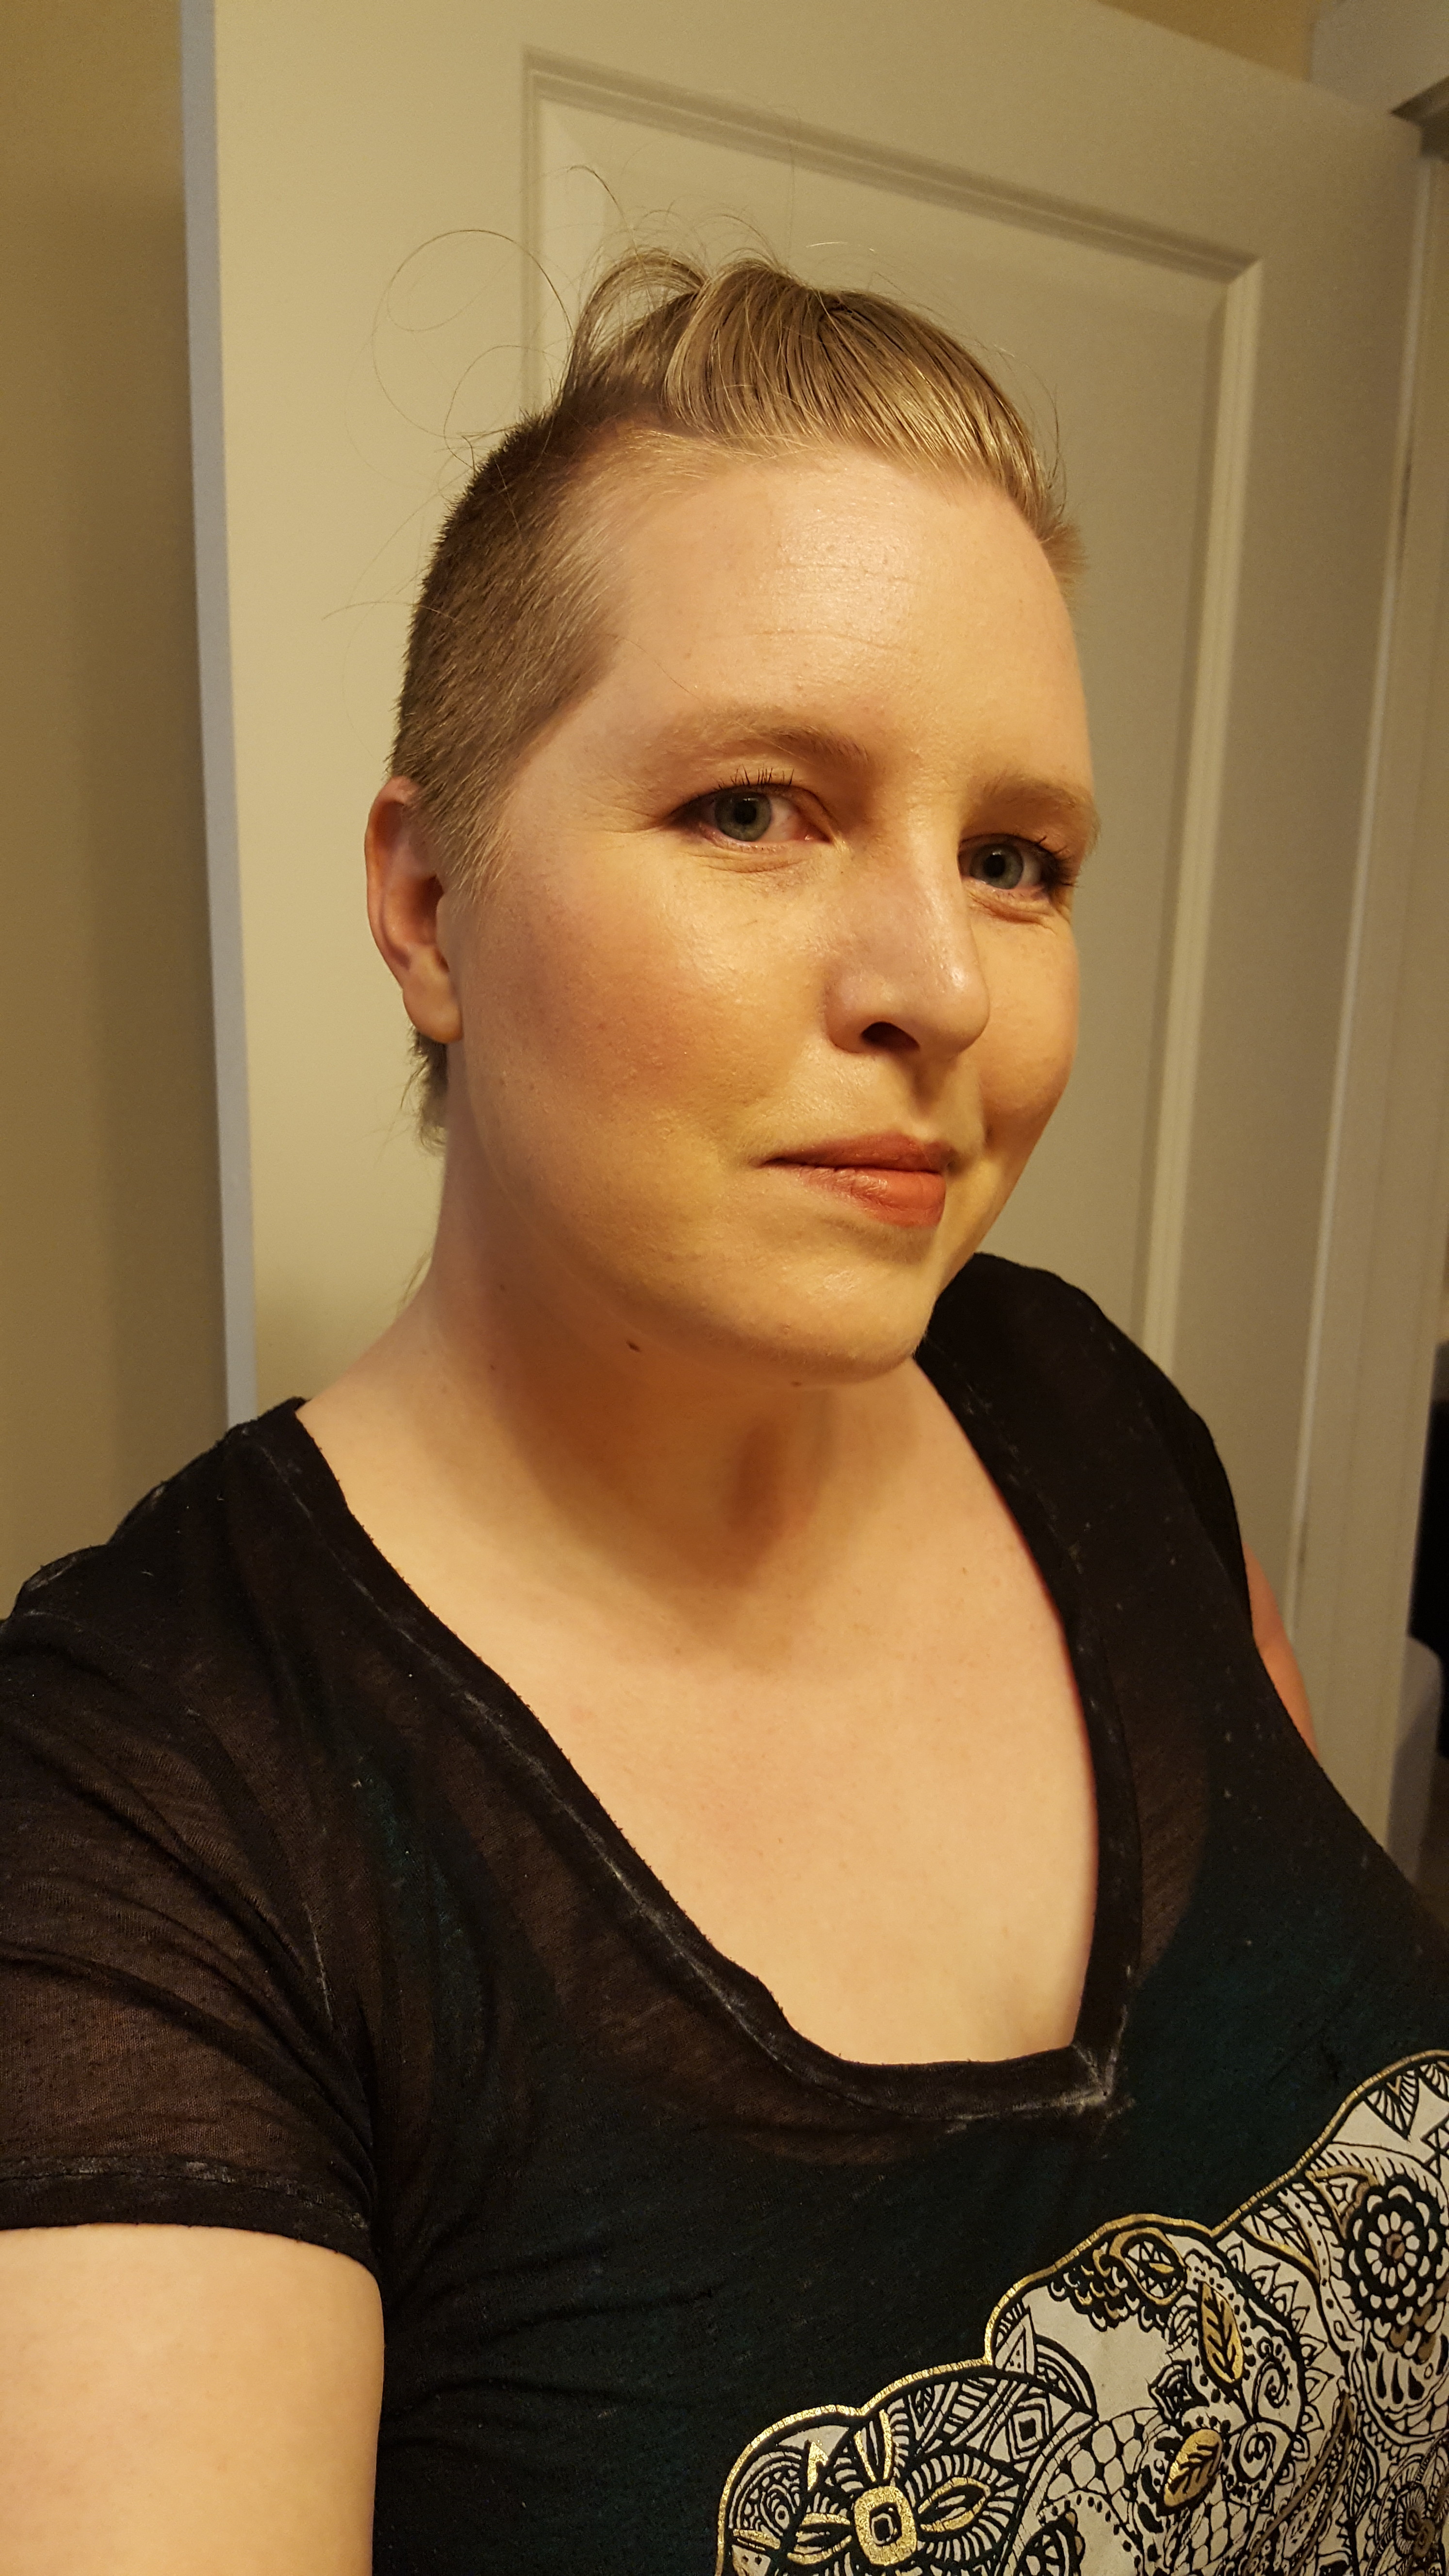
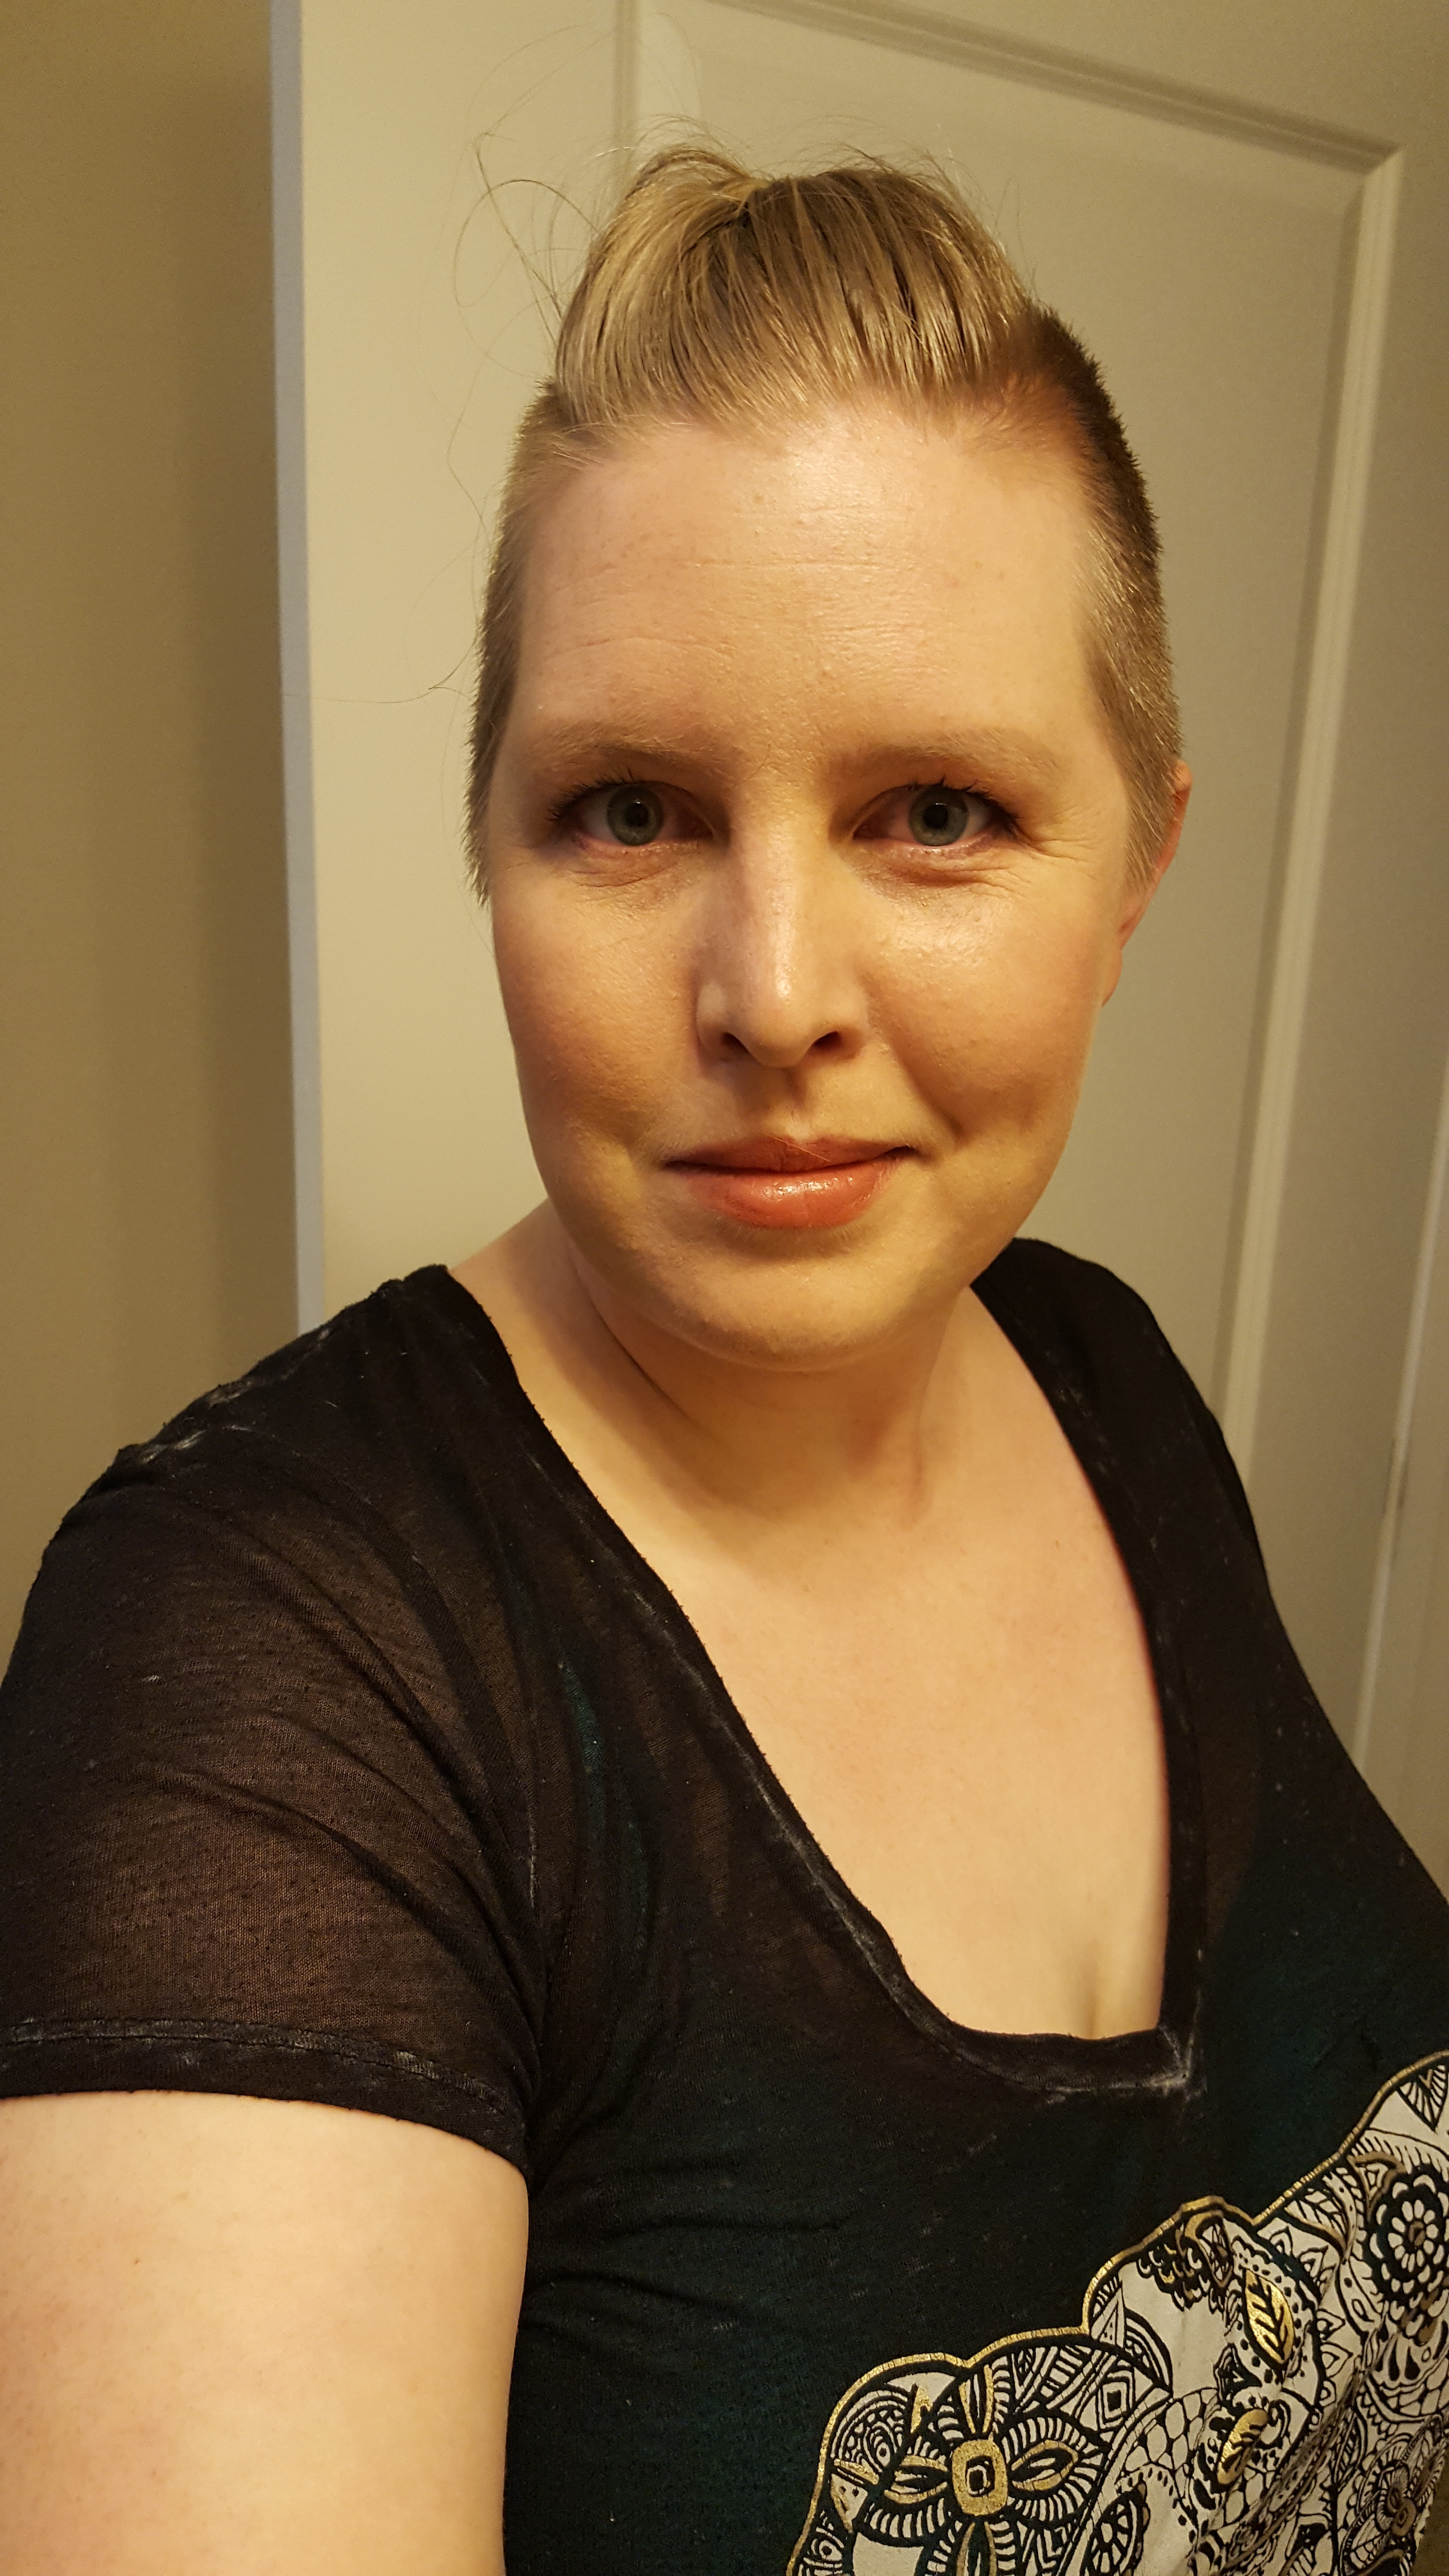
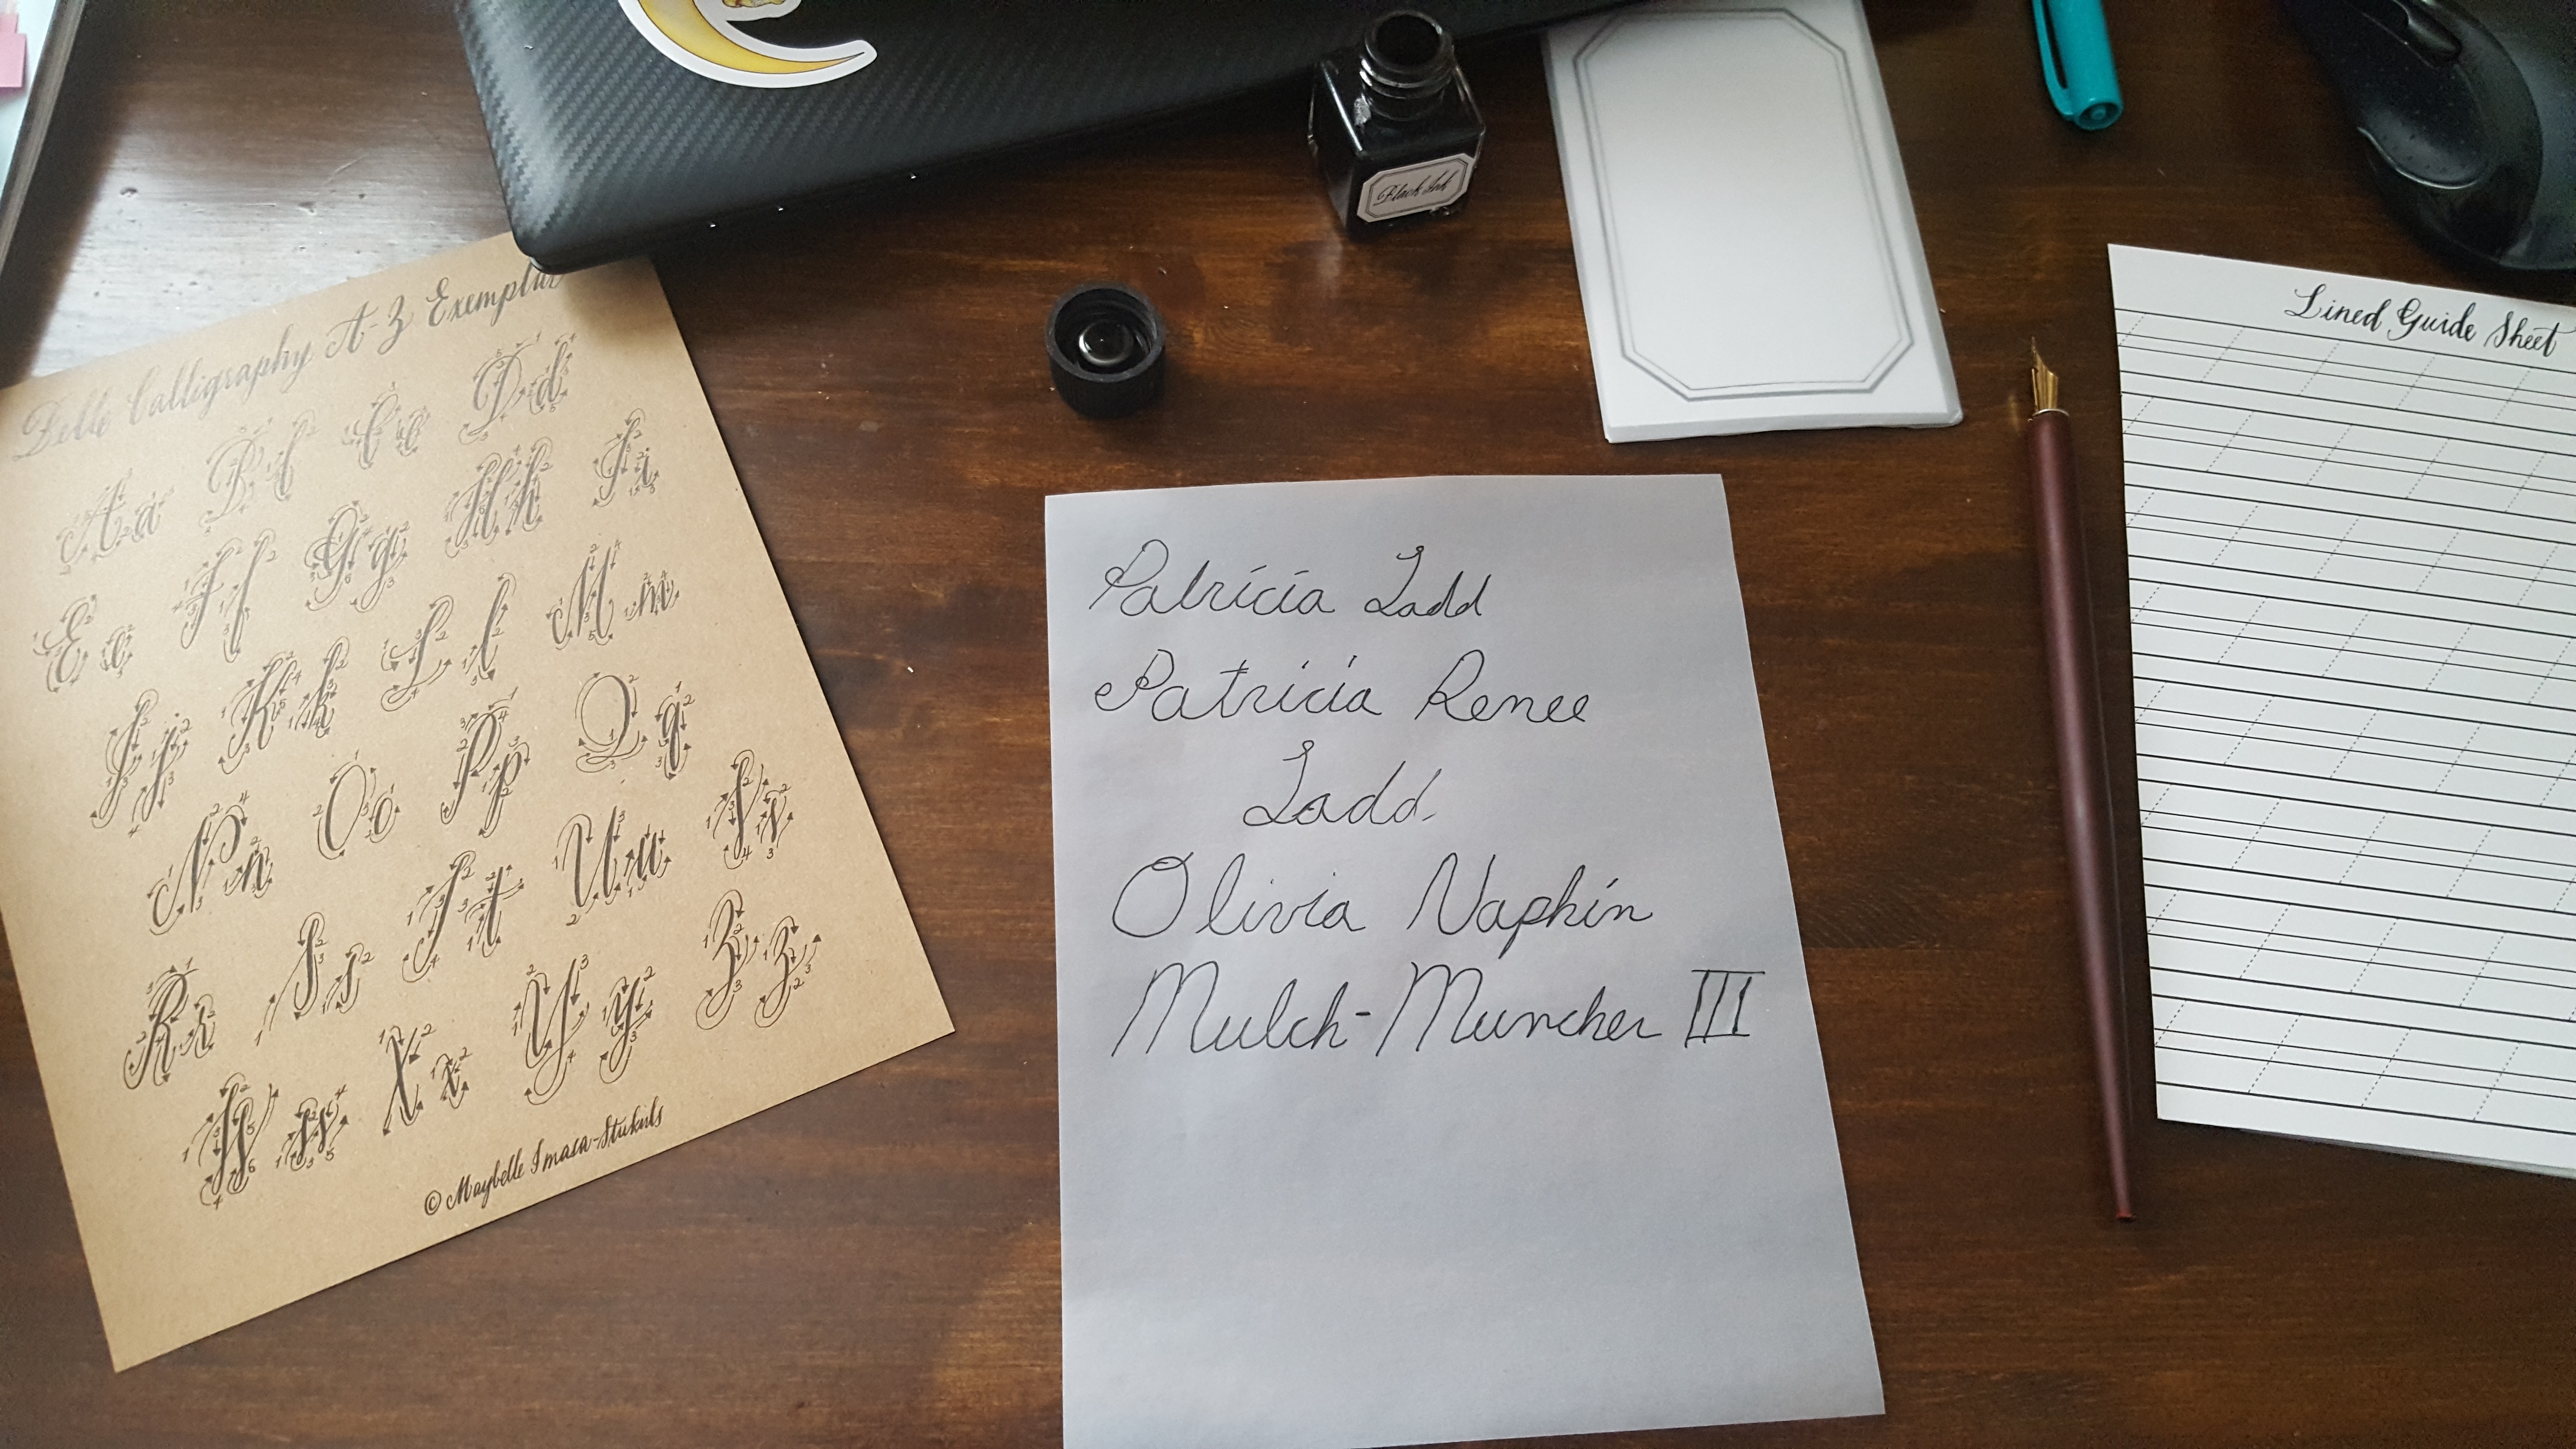
I distinctly remember feeling like I was a failure as a girl. Throughout middle and high school, I was woefully inept at so many things that my peers just seemed to learn effortlessly. I now know that the keyword there is “seem.” Whether I was pretending to have an opinion when we talked about which boy band members were hot or tentatively spraying myself with body mist and then getting a headache because allergies, I spent a long time feeling like my failure at gender performance was a failure at being my gender.
Luckily, I know now that it’s impossible to be “bad” at being a girl, and things like nail polish and makeup have only as much importance as you place on them. Still, maybe someday I’ll want to have that skill, and it never hurts to try. So I vowed to keep my nails painted or otherwise pretty for 30 whole days to prove I could do it. I learned a lot. Namely:
1) This is annoying and takes too much time. By the end of the month, I’d gotten things down to where I was a lot faster. But some time is still longer than no time. This is only going to be a special occasions thing for me from now on.
2) I put my nails through abuse. Between cooking, knitting, typing, and all the book wrangling at the library, most nail treatments (including nail wraps) really didn’t last very long for me. With one exception, namely:
These bad boys
3) Inococo Nail Polish Strips are somehow the best??? They lasted so long and didn’t chip or flake away, unlike EVERYTHING ELSE I TRIED. Plus they came off super easy despite being glittery?? And were hella cheap because I bought them at Rite Aid?? They were also the easiest thing to put on out of everything? Despite trying hard for a week to have a complaint about these, I can’t find one. And you know how much I love to complain.
4) If you got nail polish on your hand, whatever. It’ll wear off in like a day. My much more nail-savvy friend Alana imparted this wisdom to me, and she was right.
5) Nail quick dry spray exists. So that’s neat.
Here is my nail journey:
Day 1-3
I started this ~journey~ when my friend Alana was visiting me because she has–I’m not exaggerating on this at all–a small duffel bag of nail supplies. That I assume stays with her at all times. You have to be prepared for a nail emergency, guys. Clearly I was not. She gave me some good advice (see above) and let me use her Jamberry nailpolish and a Jamberry wrap to create this masterpiece:
Amateur hour, I know
The Jamberry polish was actually pretty nice–it went on smoother and thicker than the cheap nail polish I usually buy. And the quick dry spray actually worked. I was inspired to go to Ulta and buy some for myself. But despite Jamberry’s promises the nail wrap lasted three days. Inexpert application? Certainly. Here was my solution:
Day 4
Just paint the bare thumb with a slightly different color pink and a way different glitter. It’s fine
Alana was gone, okay? I substituted a much cheaper pink nail polish I already had, plus “pinata fiesta”(!) glitter that was on clearance(?) at Ulta when I went to get the nail drying quick spray. I know, it looks shittier than I normally do, so the next day I replaced it with:
Day 5-7

I don’t know why making a weird claw is my default nail pose
Yes, even middle school me knew this was kind of tacky, but on the plus side, I was getting quicker and more confident at nail painting! Even with my left hand!
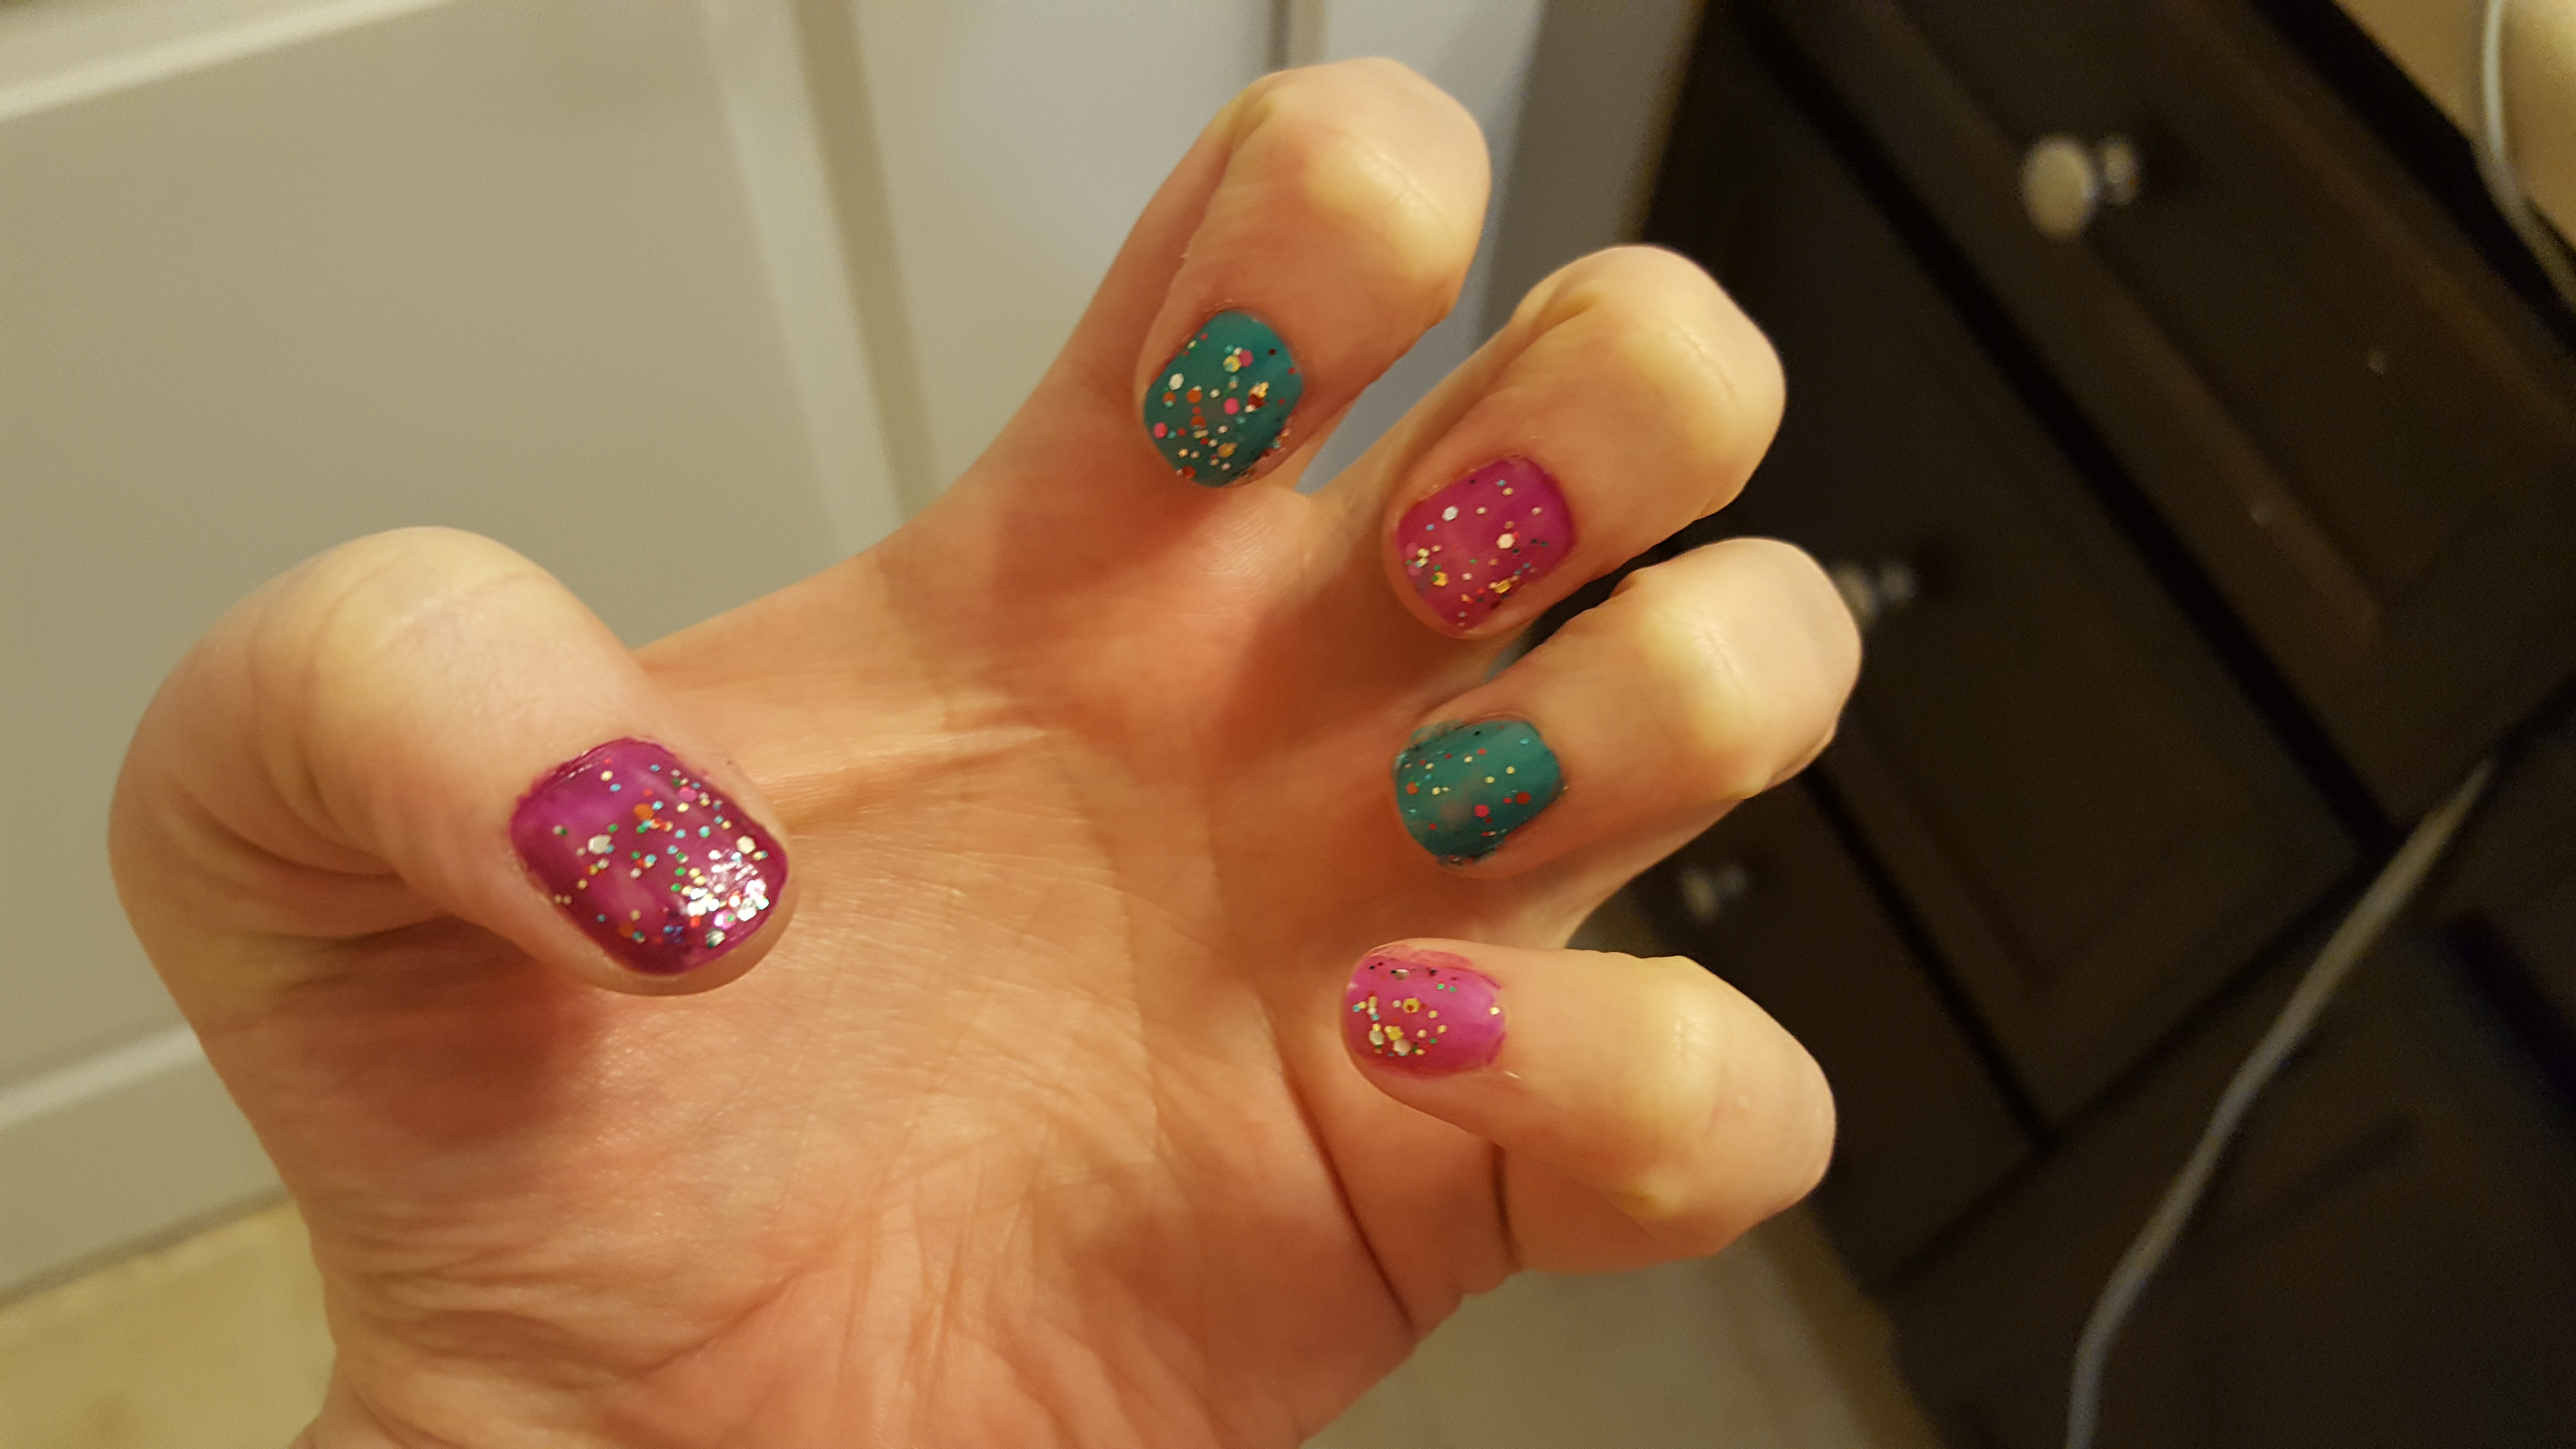
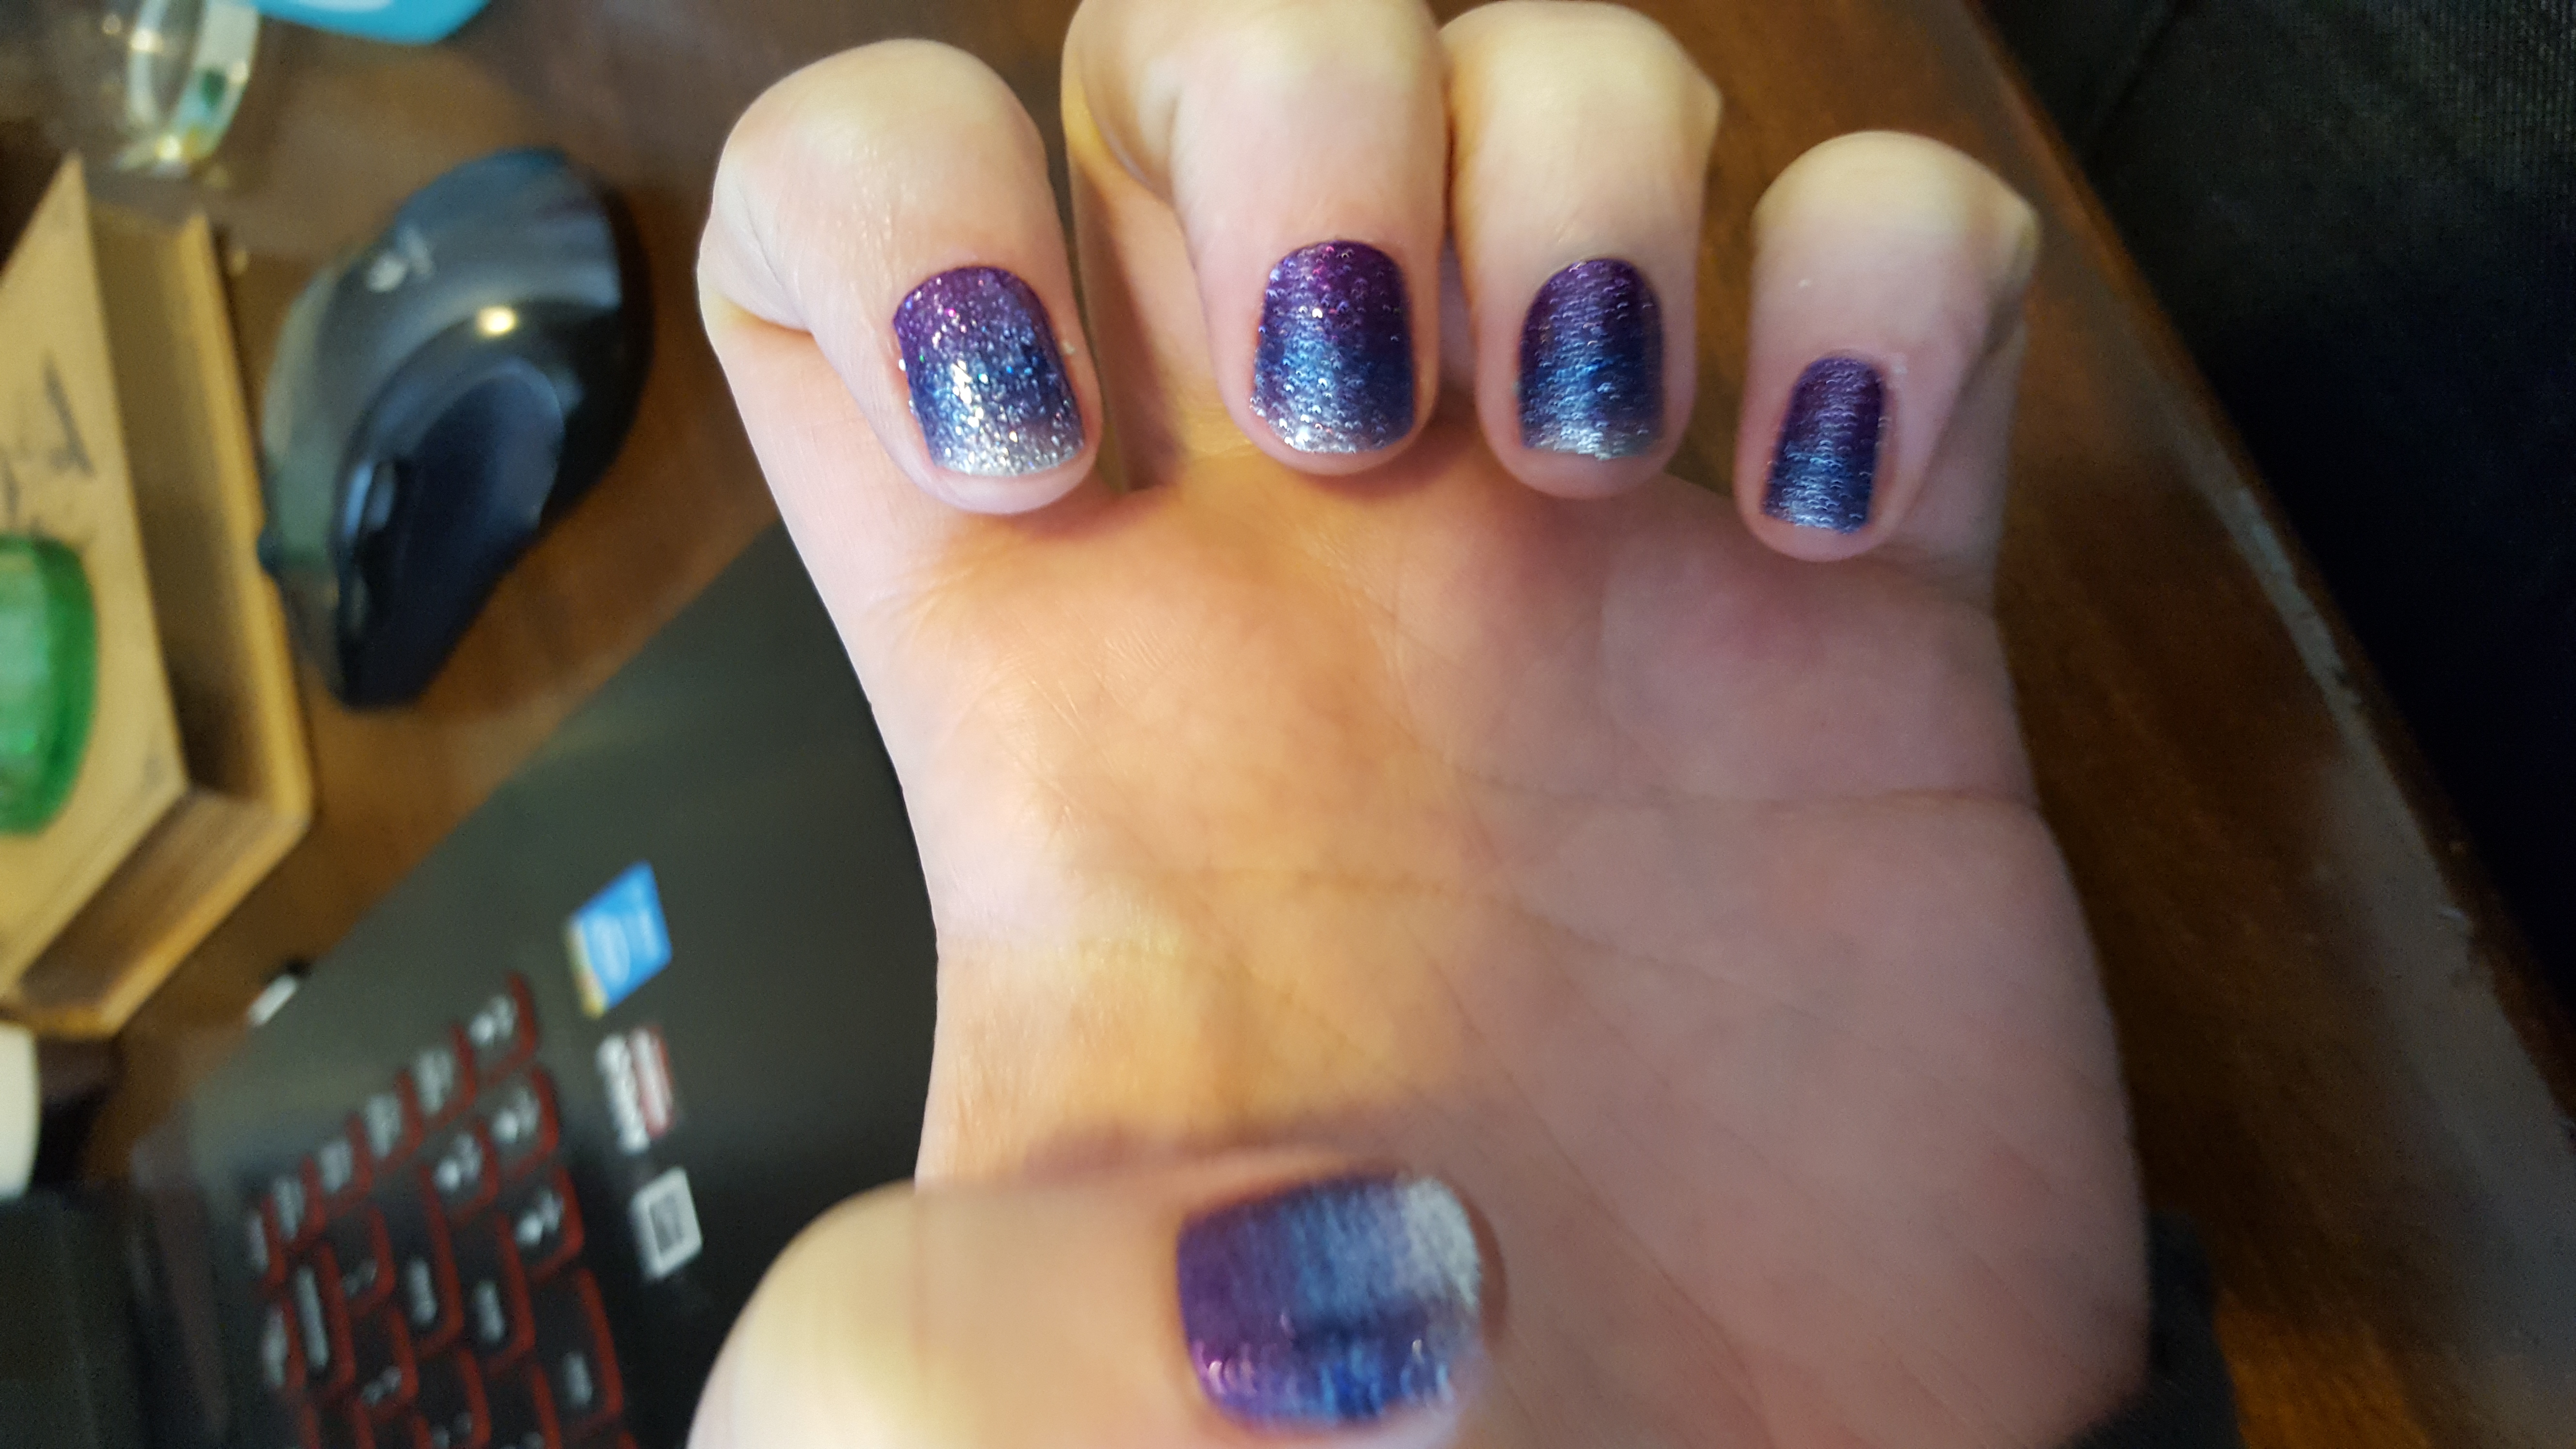
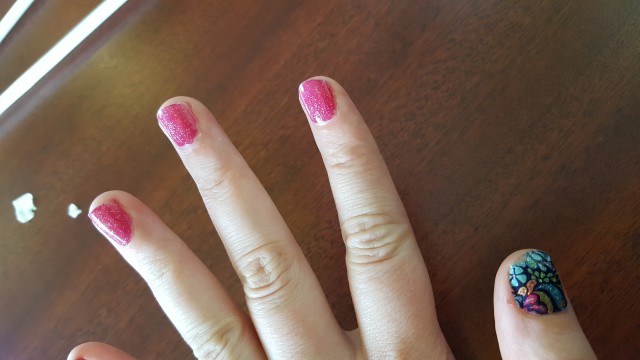
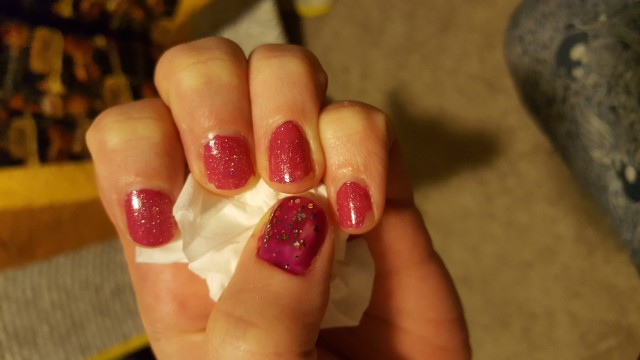
Day 8-14

Love ittttttt
You KNOW I couldn’t paint something so neat, let alone ombre. Yep, it’s a nail sticker. From Rite Aid. The life changing Inococo Nail strips. They stick on like stickers, no heat required. Instead of feeling like a sticker on your nail, it definitely has more the feel of nail polish. Same with removal. Which I only did because I figured I should. I feel like these may have actually lasted way longer.
Day 15-16
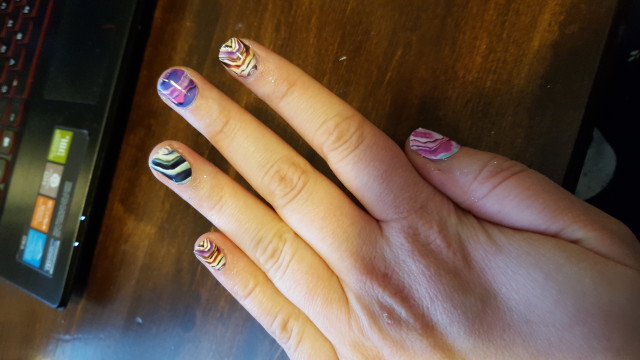
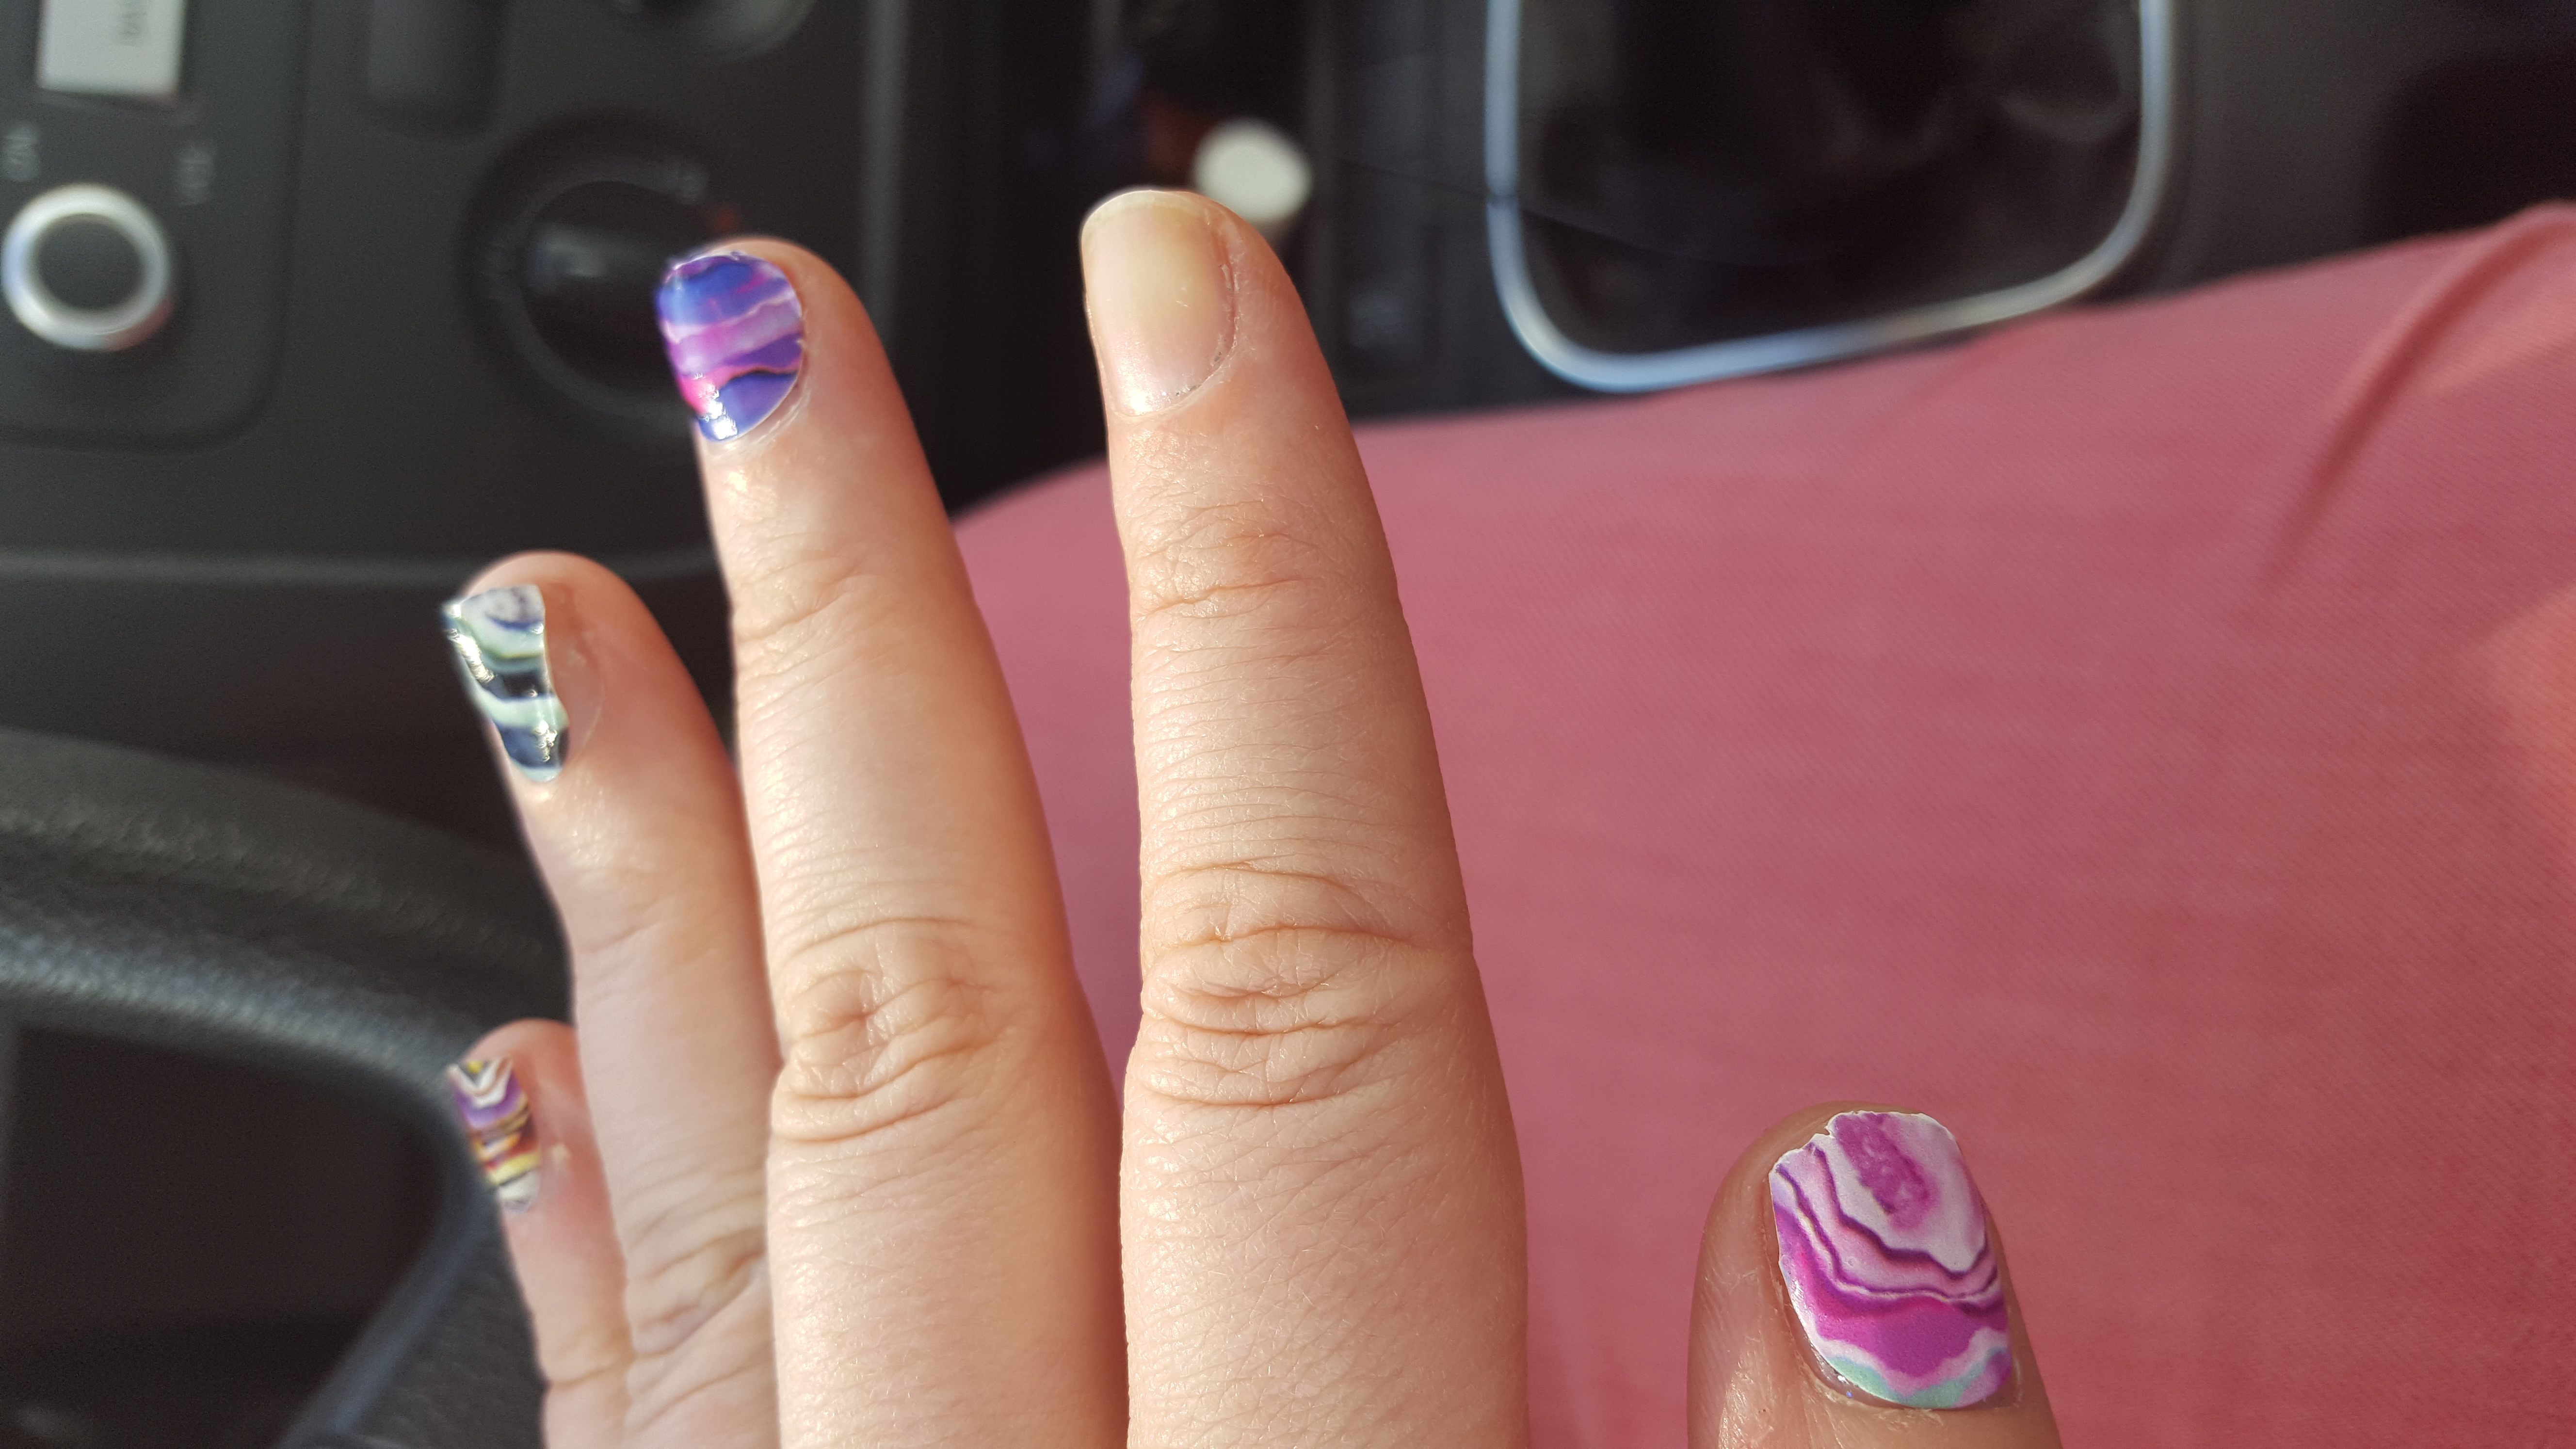
Channeling Ms. Frizzle
I bought these geode nail wraps on Etsy because I guess I thought I should try a non-Jamberry one to see if… I don’t know, the pyramid scheme was my problem all along? Ha ha, no, nail wraps still suck. Observe not four hours later:

What the f
Maybe it was against the rules of my agreement with the internet, but I went around like that for a whole other day before I had time to change them. By now nails were starting to annoy me, and I swore off nail wraps for good. Except you, Inococo Nail Strips. Never you.
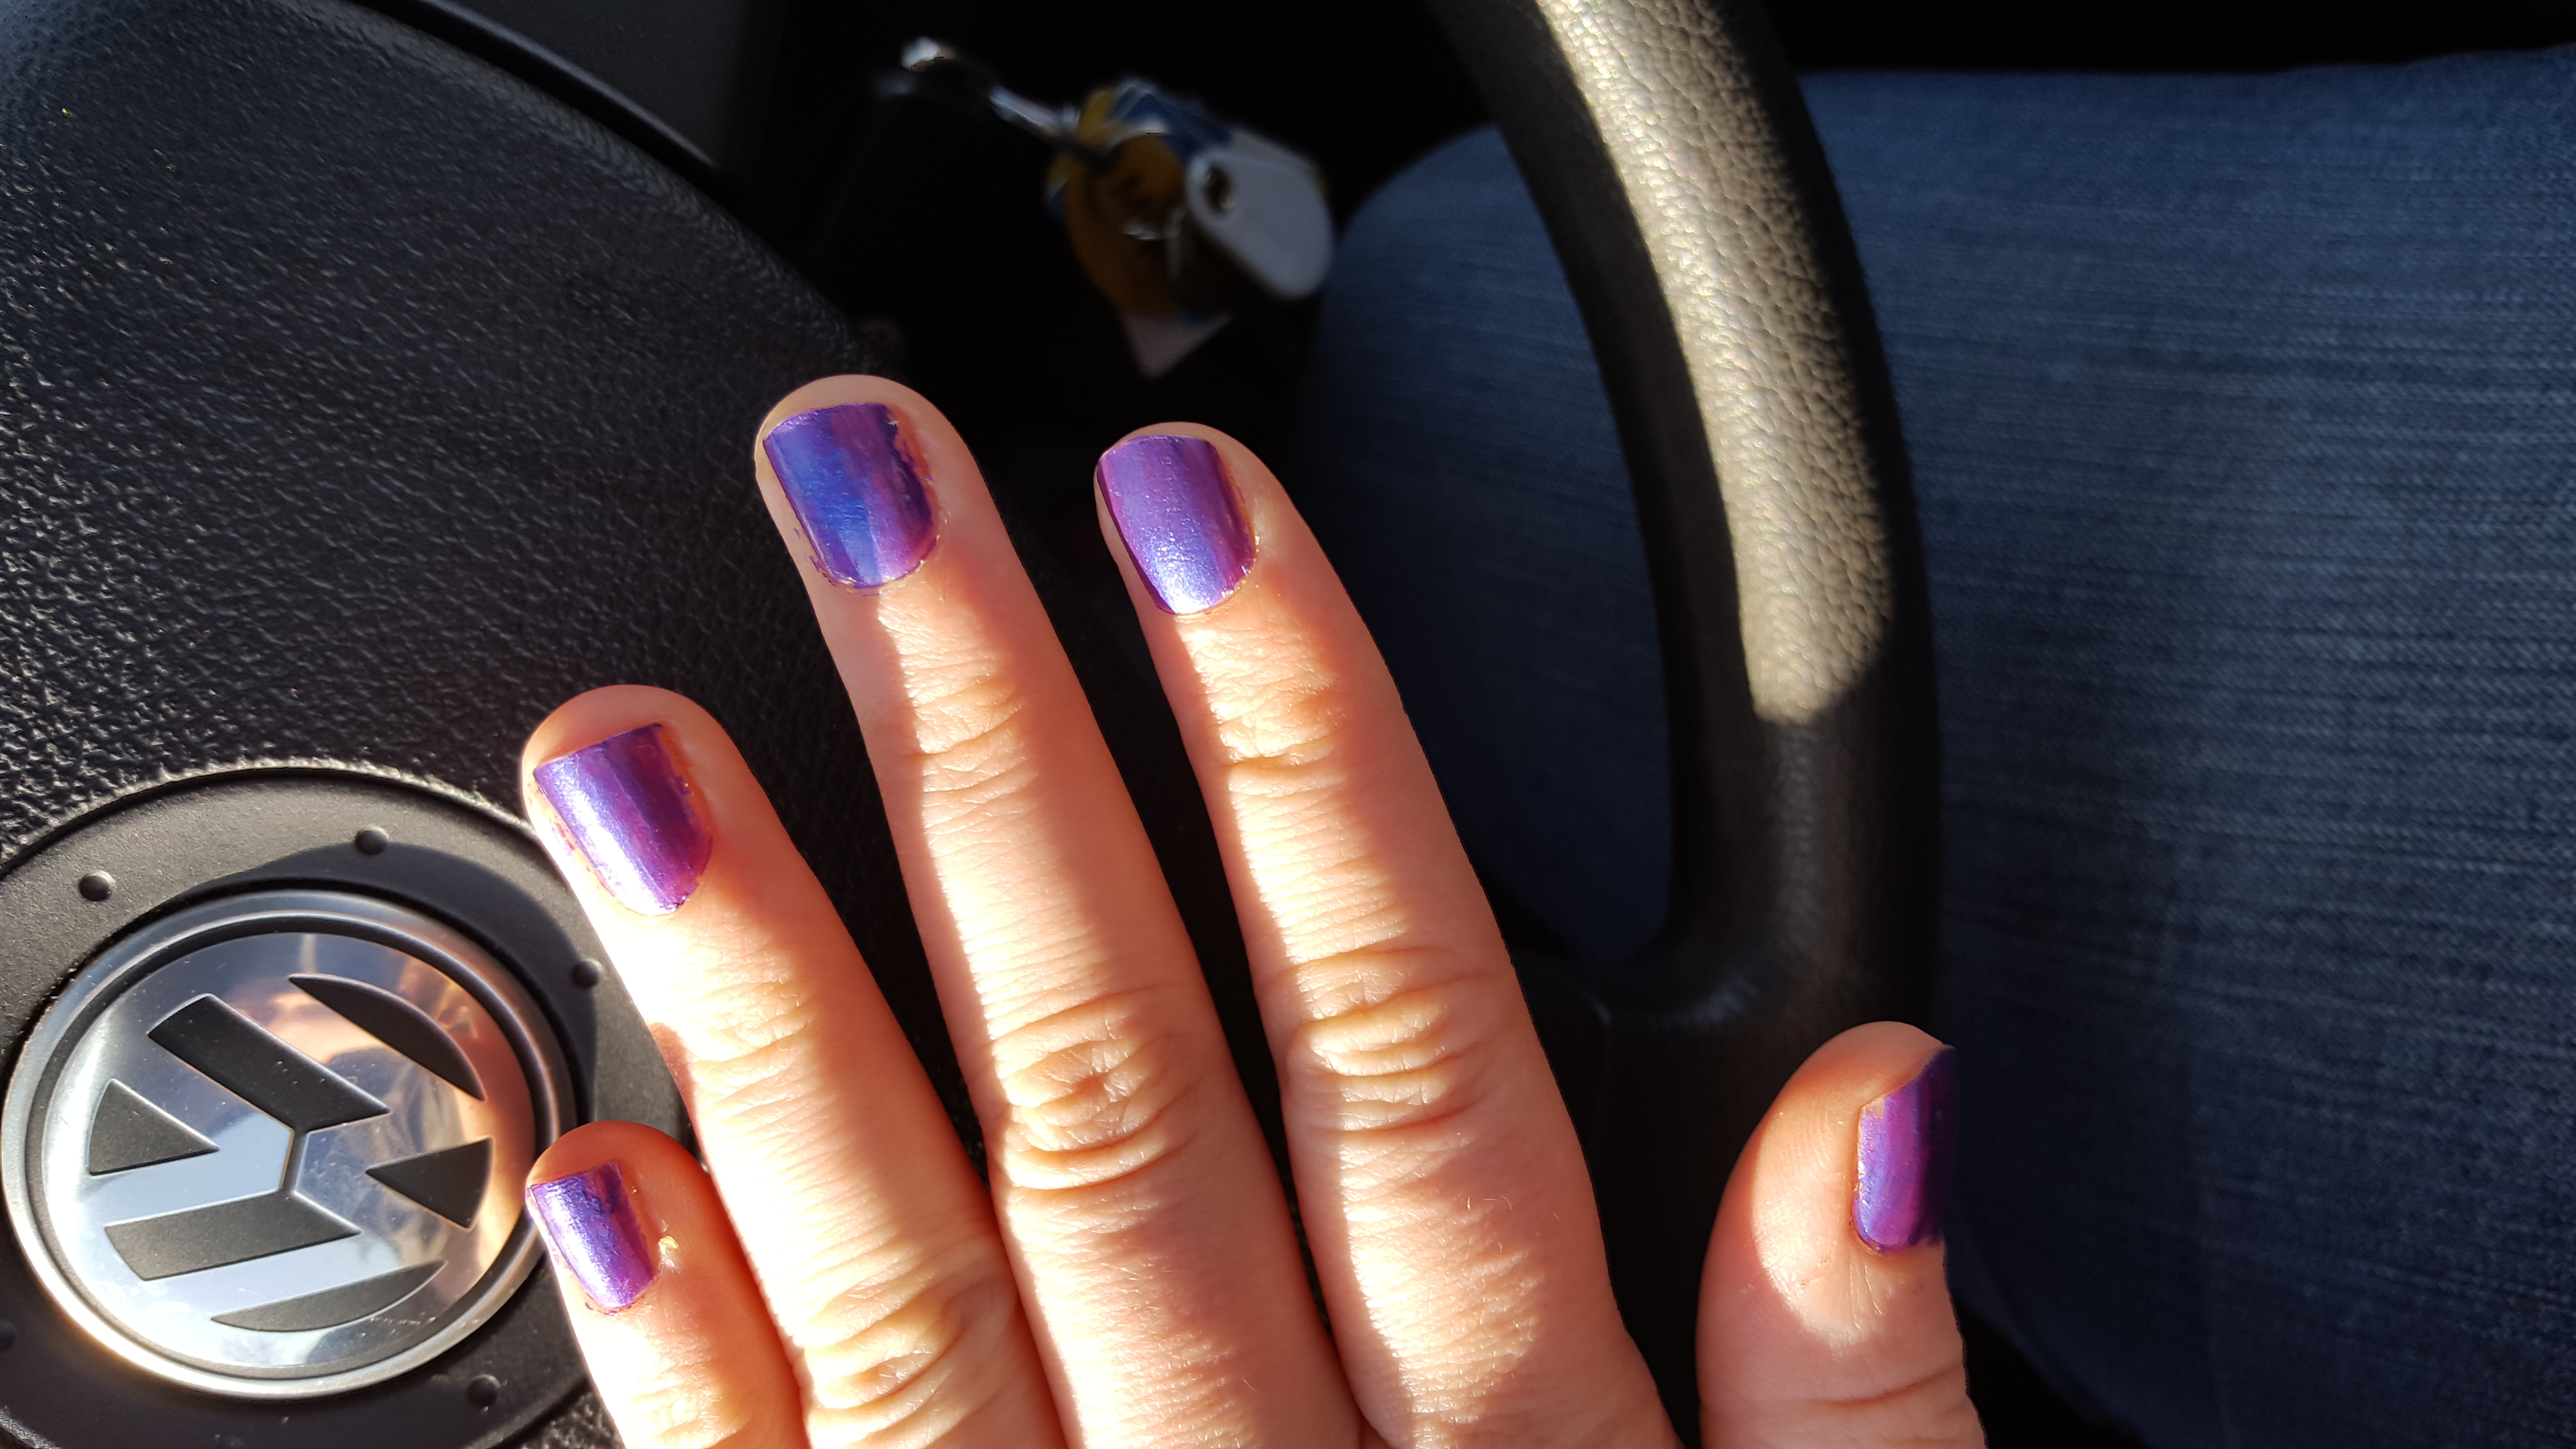
Day 17-20

No time for anything fancy
I almost gave up around this point, but I was SO CLOSE, I slapped some purple on there. But of course it started to chip after just one shift at the library, so…
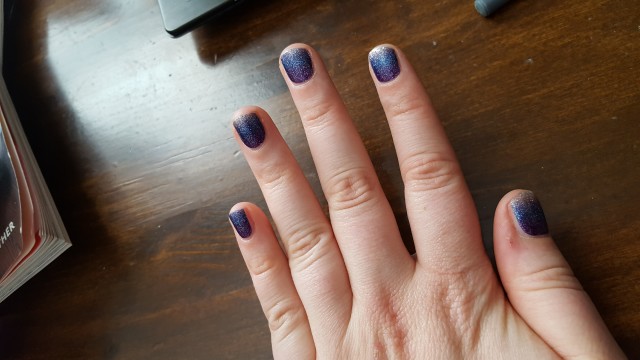
Day 20-30
??????
I painted them blue. OVER the purple. Because I’ve got stuff to do, okay, and all the nail polish remover was not great for my skin or nails. Anyway, I know I took pictures of this, but for some reason I can’t find them. Also, they were looking pretty raggedy by Day 25, but that was around the time I got the flu, so there was no way in hell I was going to repaint them. The last five days my nails and I both looked like crap. But they were still painted, so I’m counting it. Plus the thought of starting over makes me feel sick all over again.
In conclusion, please compliment each other’s nails when they are painted or otherwise pretty, because that shit is hard.
Previously: 2017 Goals