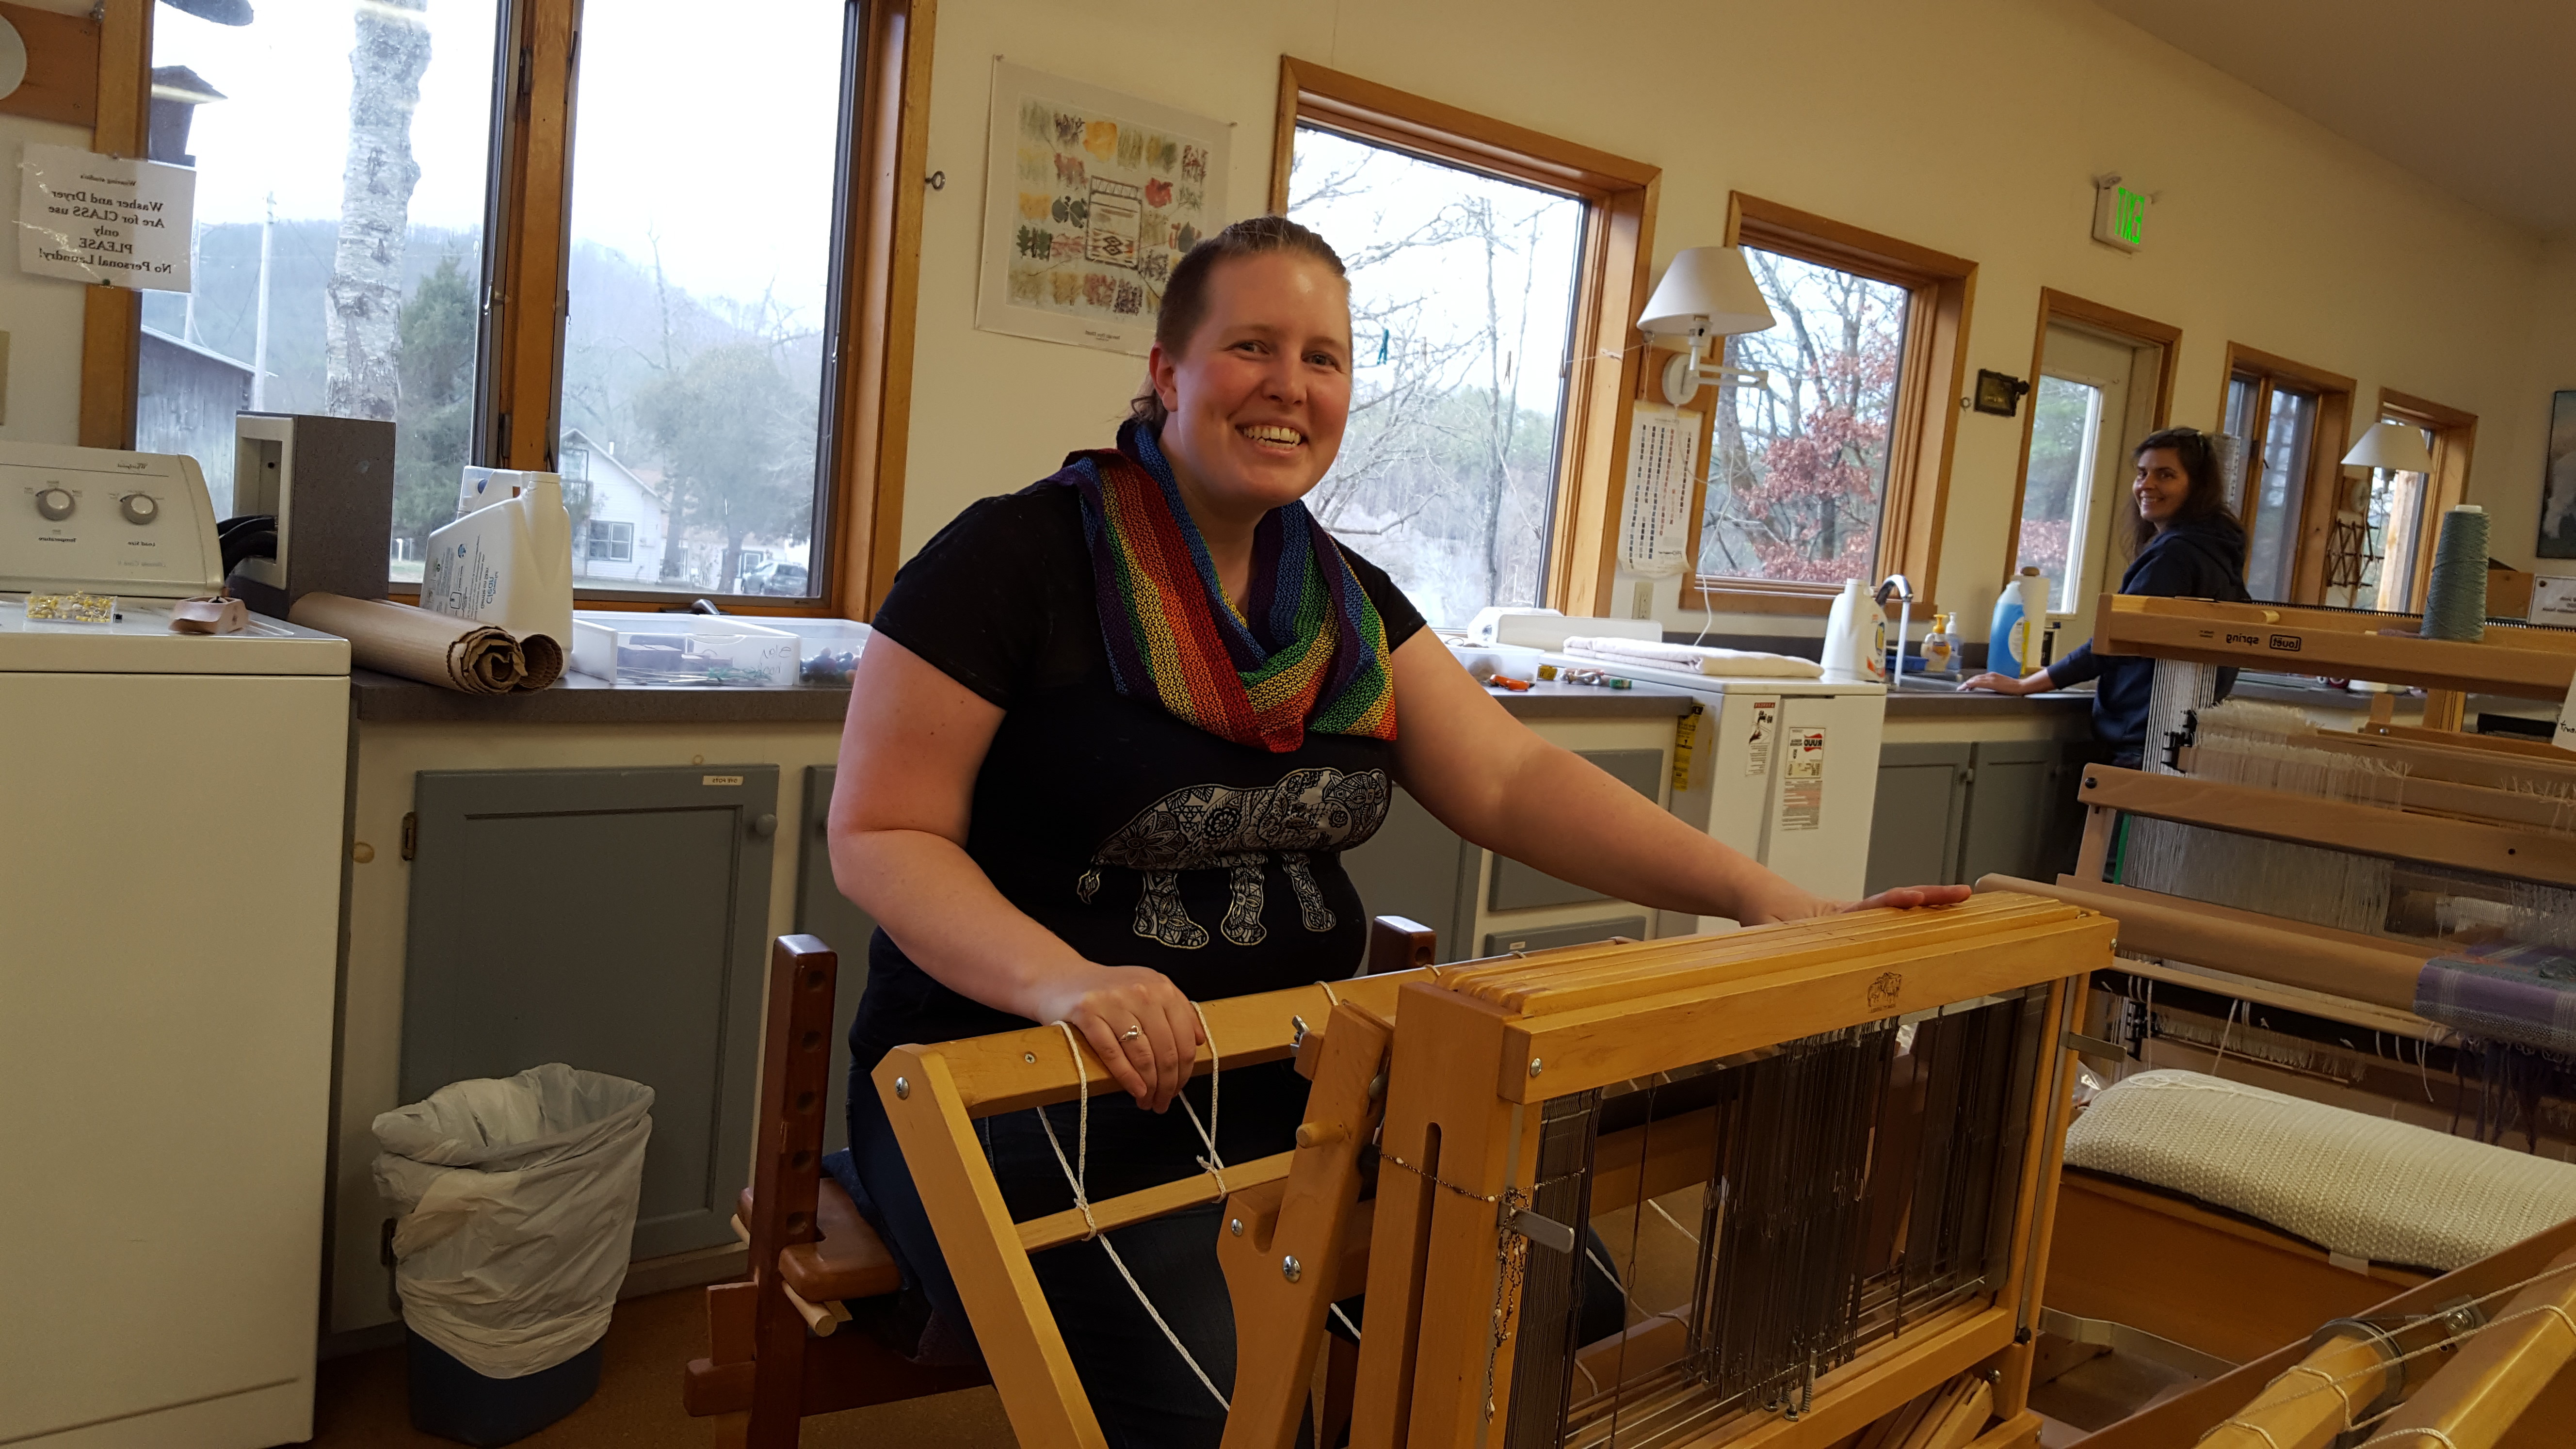
One of my goals this year is to try a new thing every month, and for January I took an intense week-long weaving course at the John C. Campbell Folk School. The Folk School itself is pretty incredible, and you should definitely check it out, but today we’re here to talk about weaving. On a four harness floor loom. If you’re a beginner and just want to get your feet wet weaving, I’m not sure I’d recommend a floor loom, because even the small model (“Baby Wolf”) that we used was a beast.
They all had names, and mine was Osma
Before I went, I watched a bunch of youtube videos of other people using looms, in the hopes that it would help me understand the big picture. It kind of helped, I guess, although the process was still way more complicated than I thought. But before you even get to the loom, you need to pick your yarn and colors and do a bunch of math. Surprise! Every “feminine art” is actually all about math in the end; the patriarchy of science is built on lies (duh).
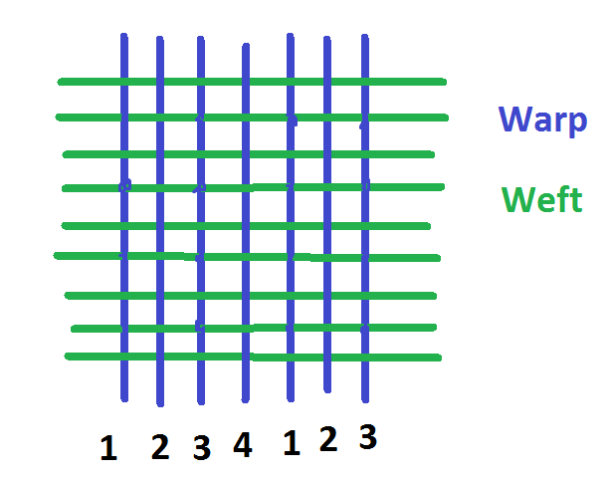
Do you remember what weaving is from those little pot holder looms? The vertical fibers are the warp, which gets secured to the loom through a lengthy process of measuring, adjusting tension, and threading things with hooks. The horizontal threads are what you add through the process of weaving by moving your shuttle back and forth.

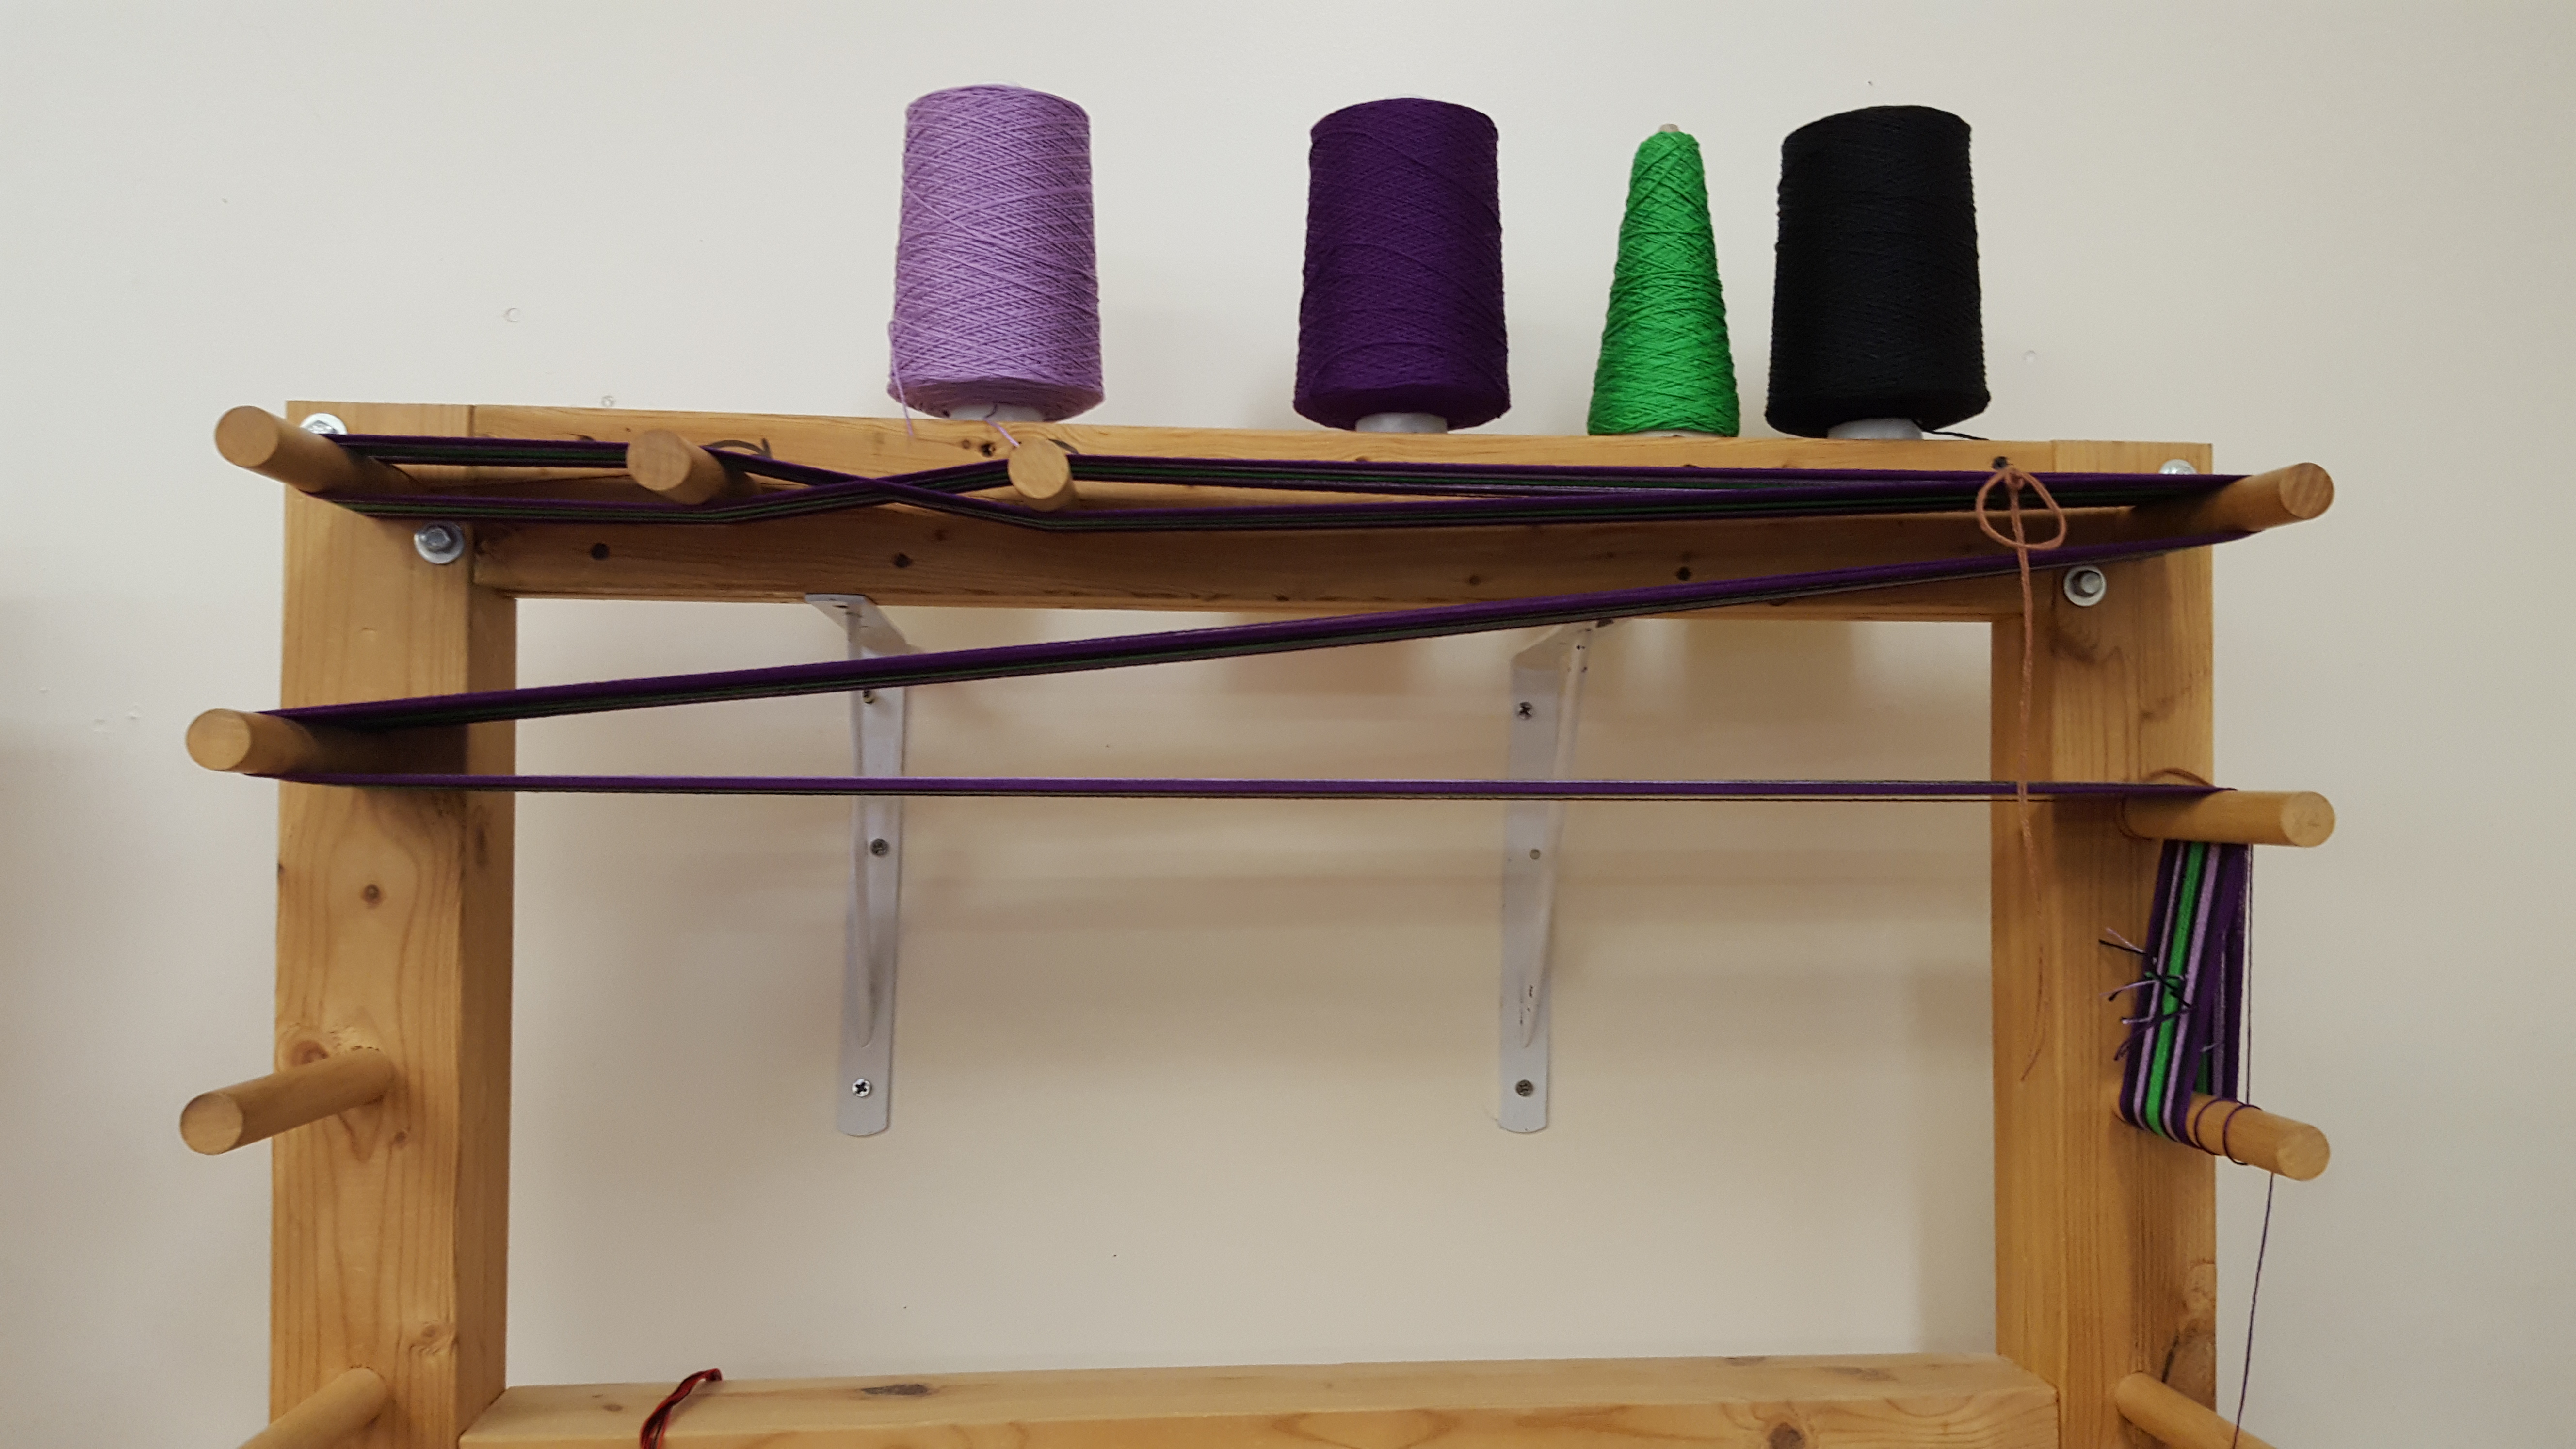
This is how you measure it out/set it up to go on the loom
That’s a warping board, if you want to know. Then you secure the warp you made on there with ties and transfer it over to the loom where the finnicky process begins.
Not pictured: me constantly asking my neighbor if this is right
That board with all the nails sticking in it is used to measure your warp out evenly to the width of the finished project.

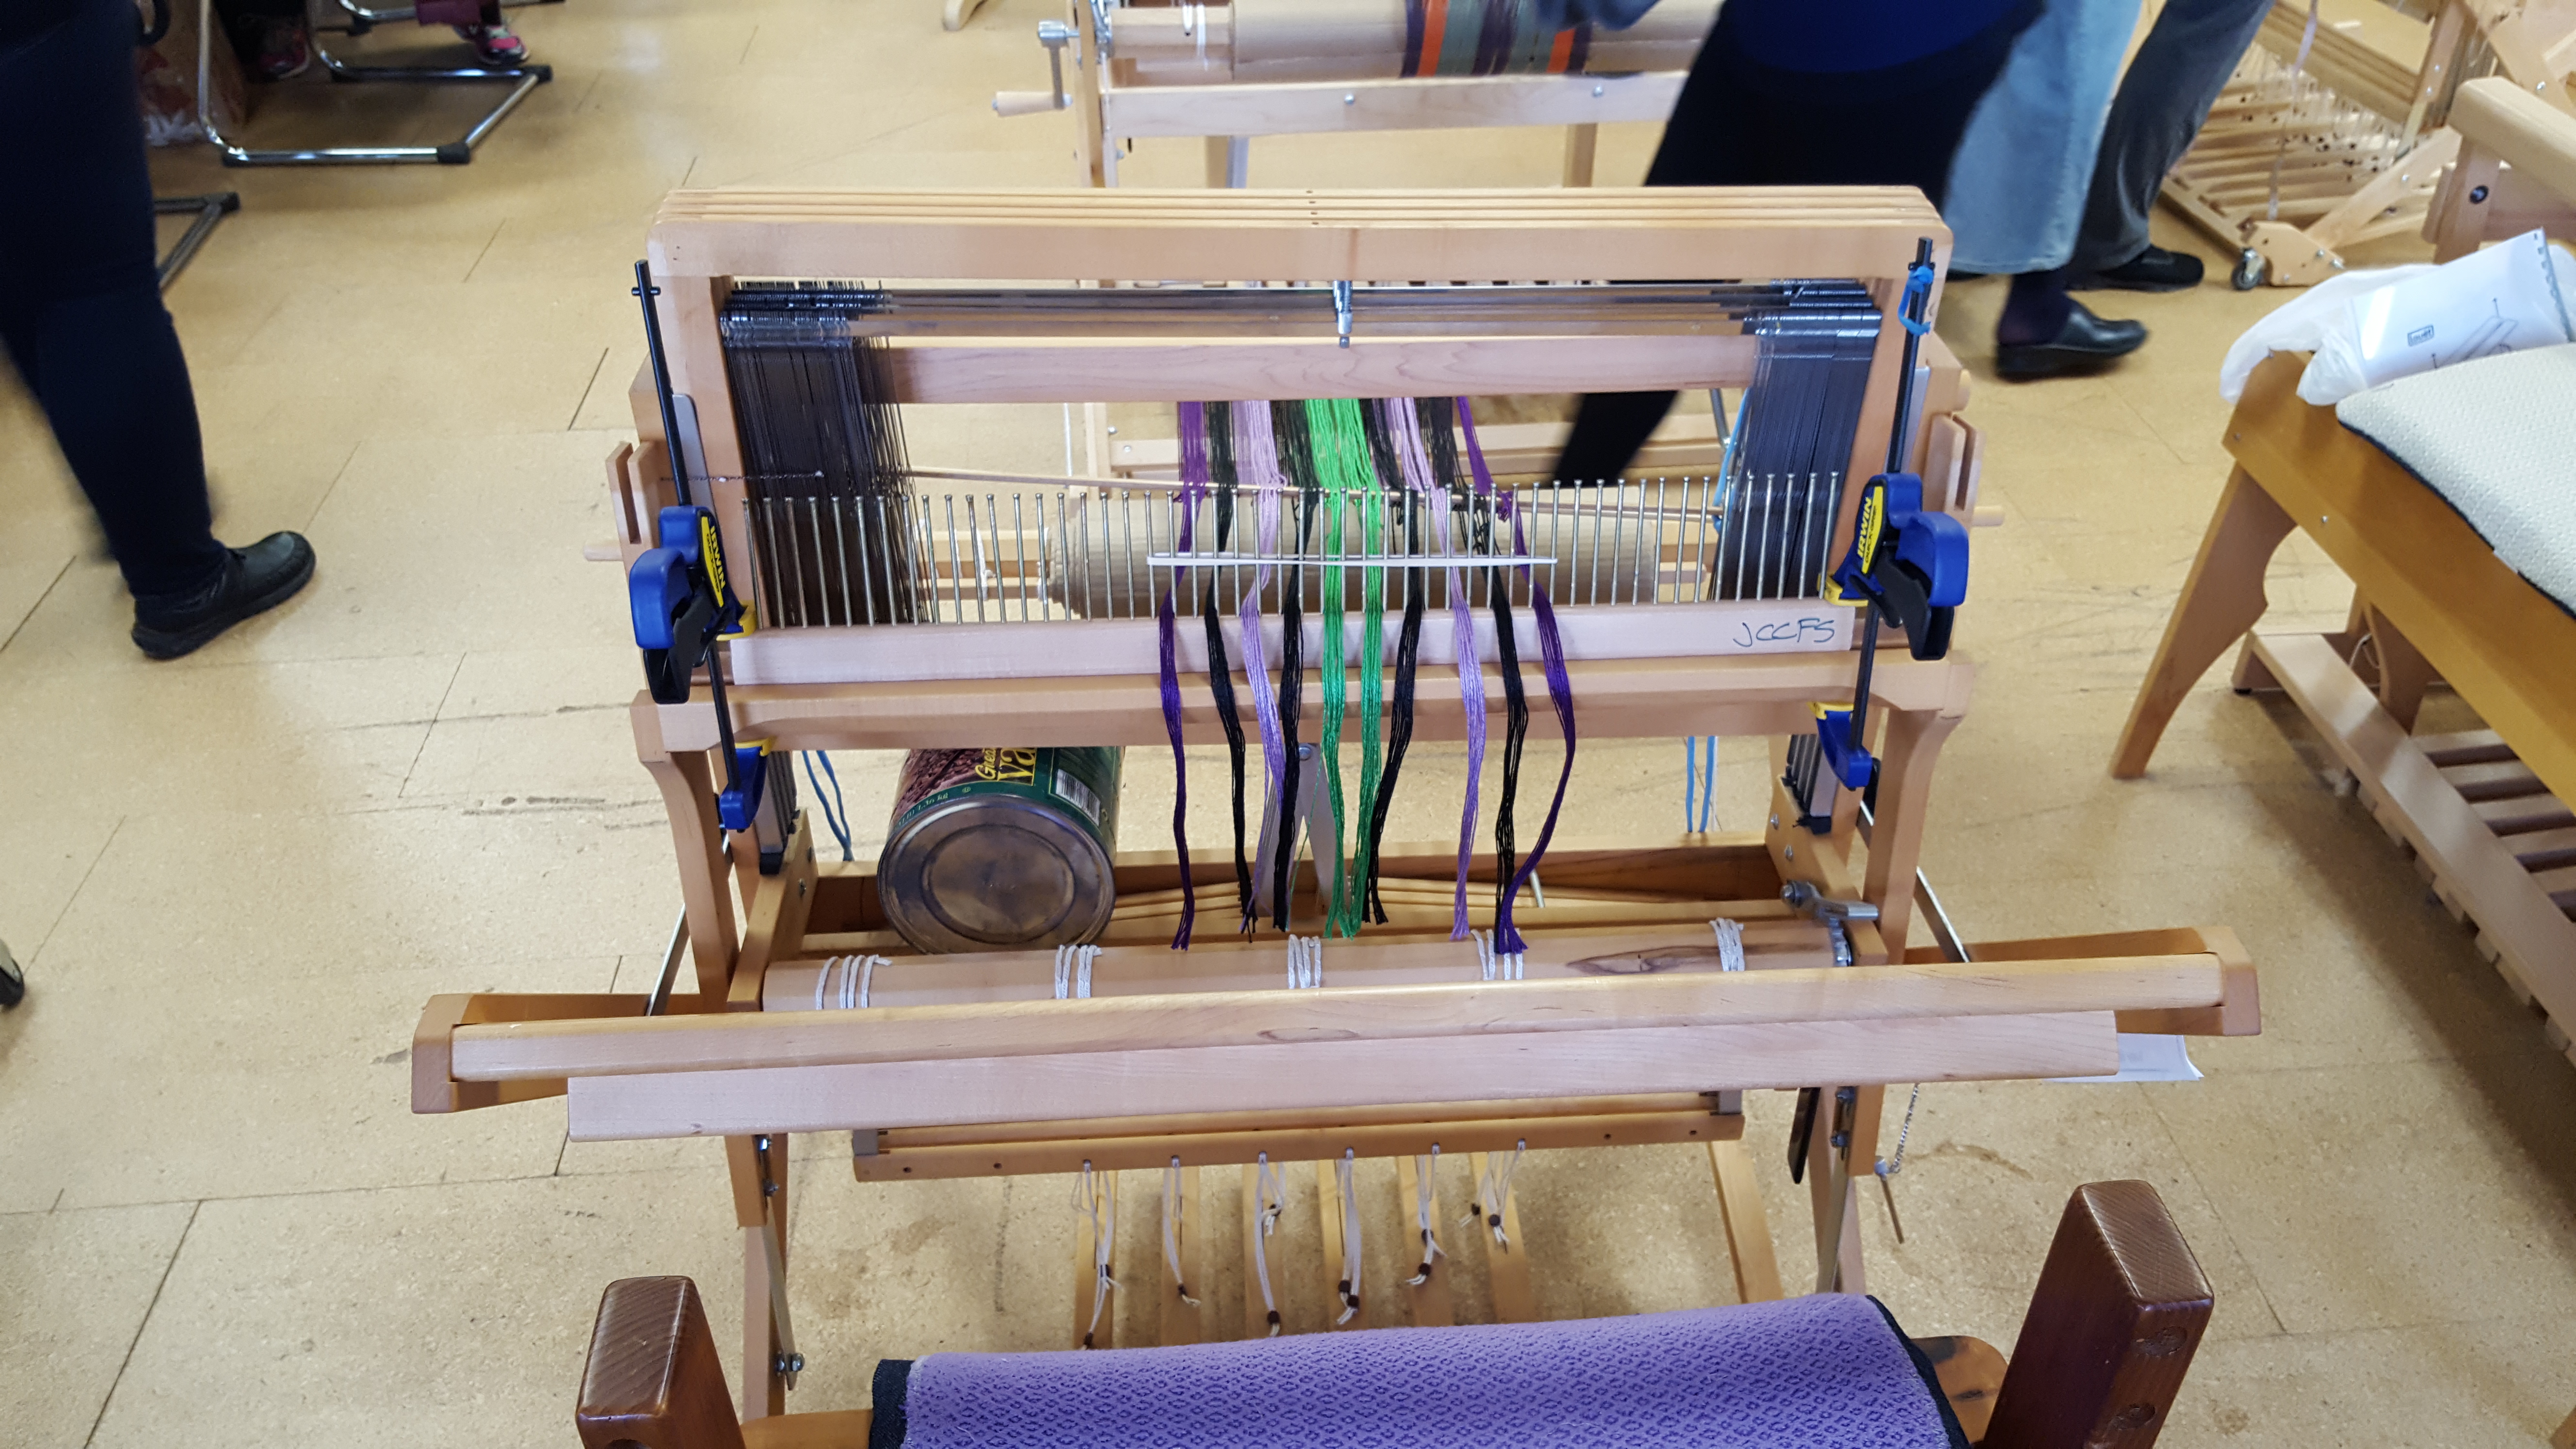
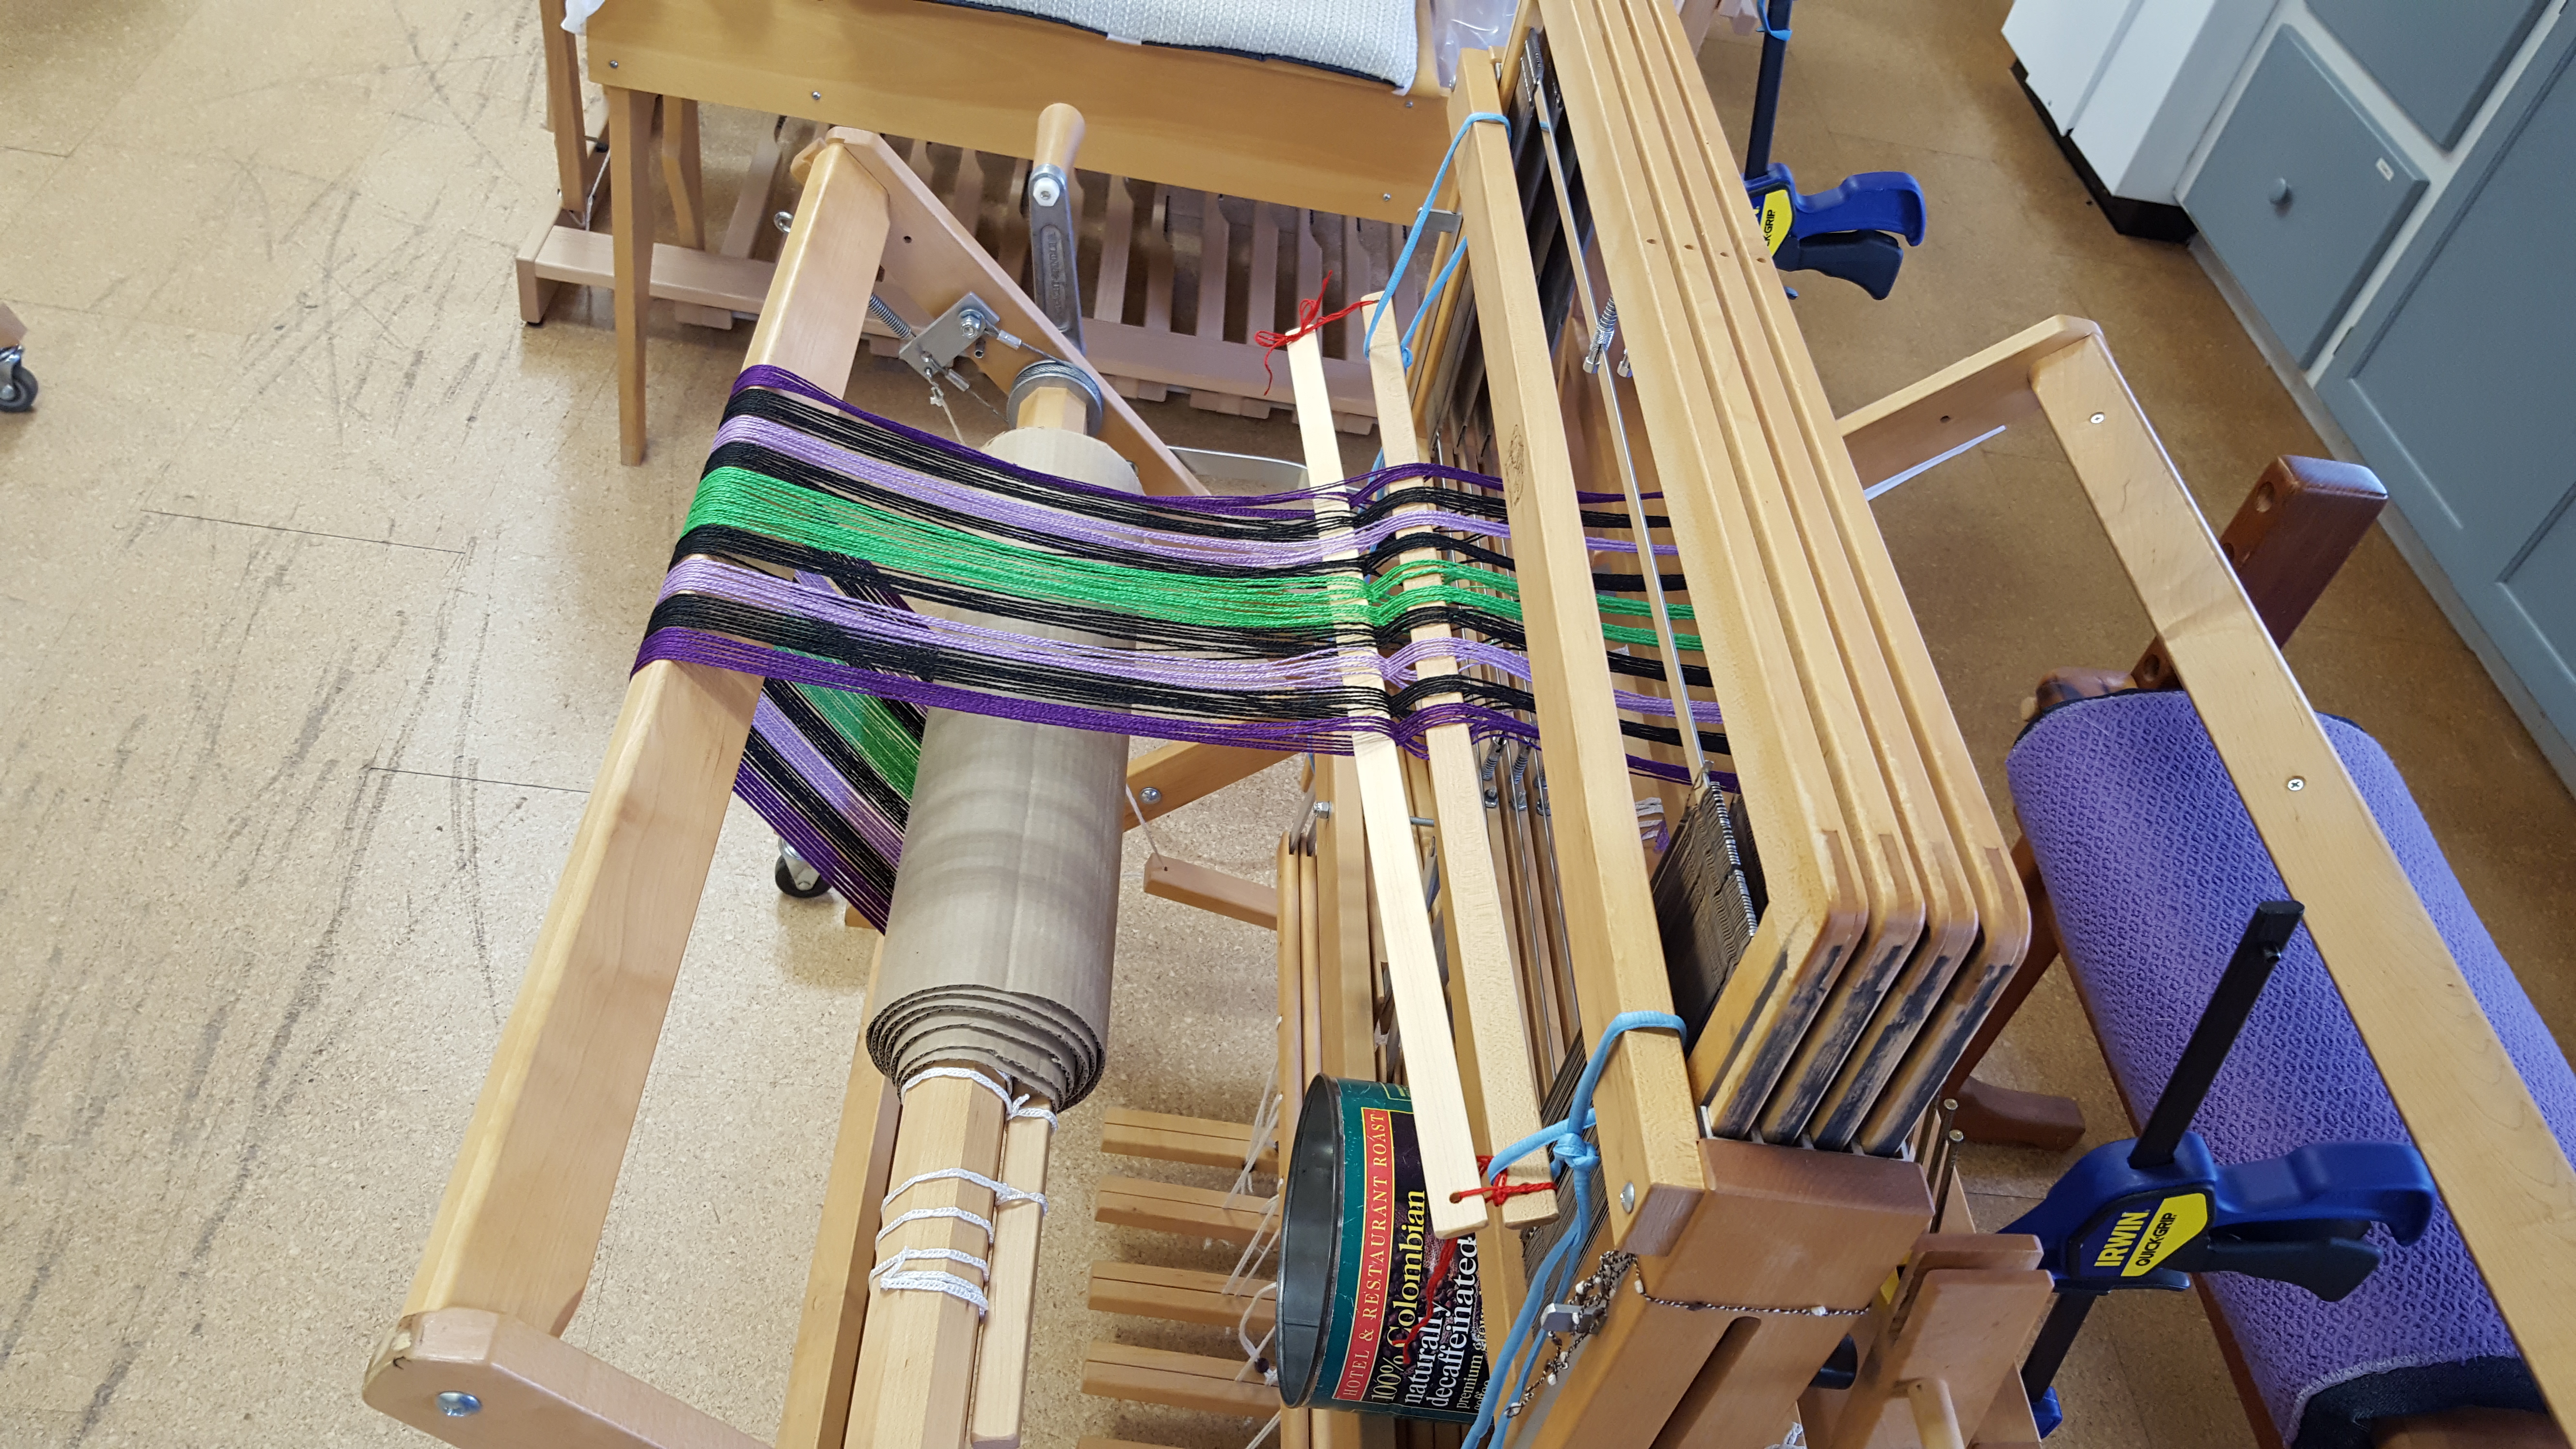
Note the shoelaces and coffee can: technical weaving tools
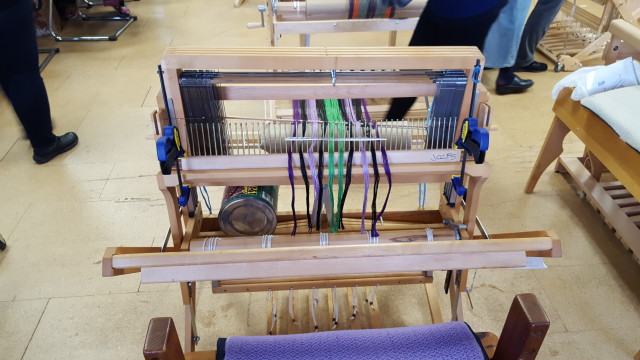
Then you wind the rest of that sucker on the back of the loom making sure to keep your tension even.

Have fun! This takes hours
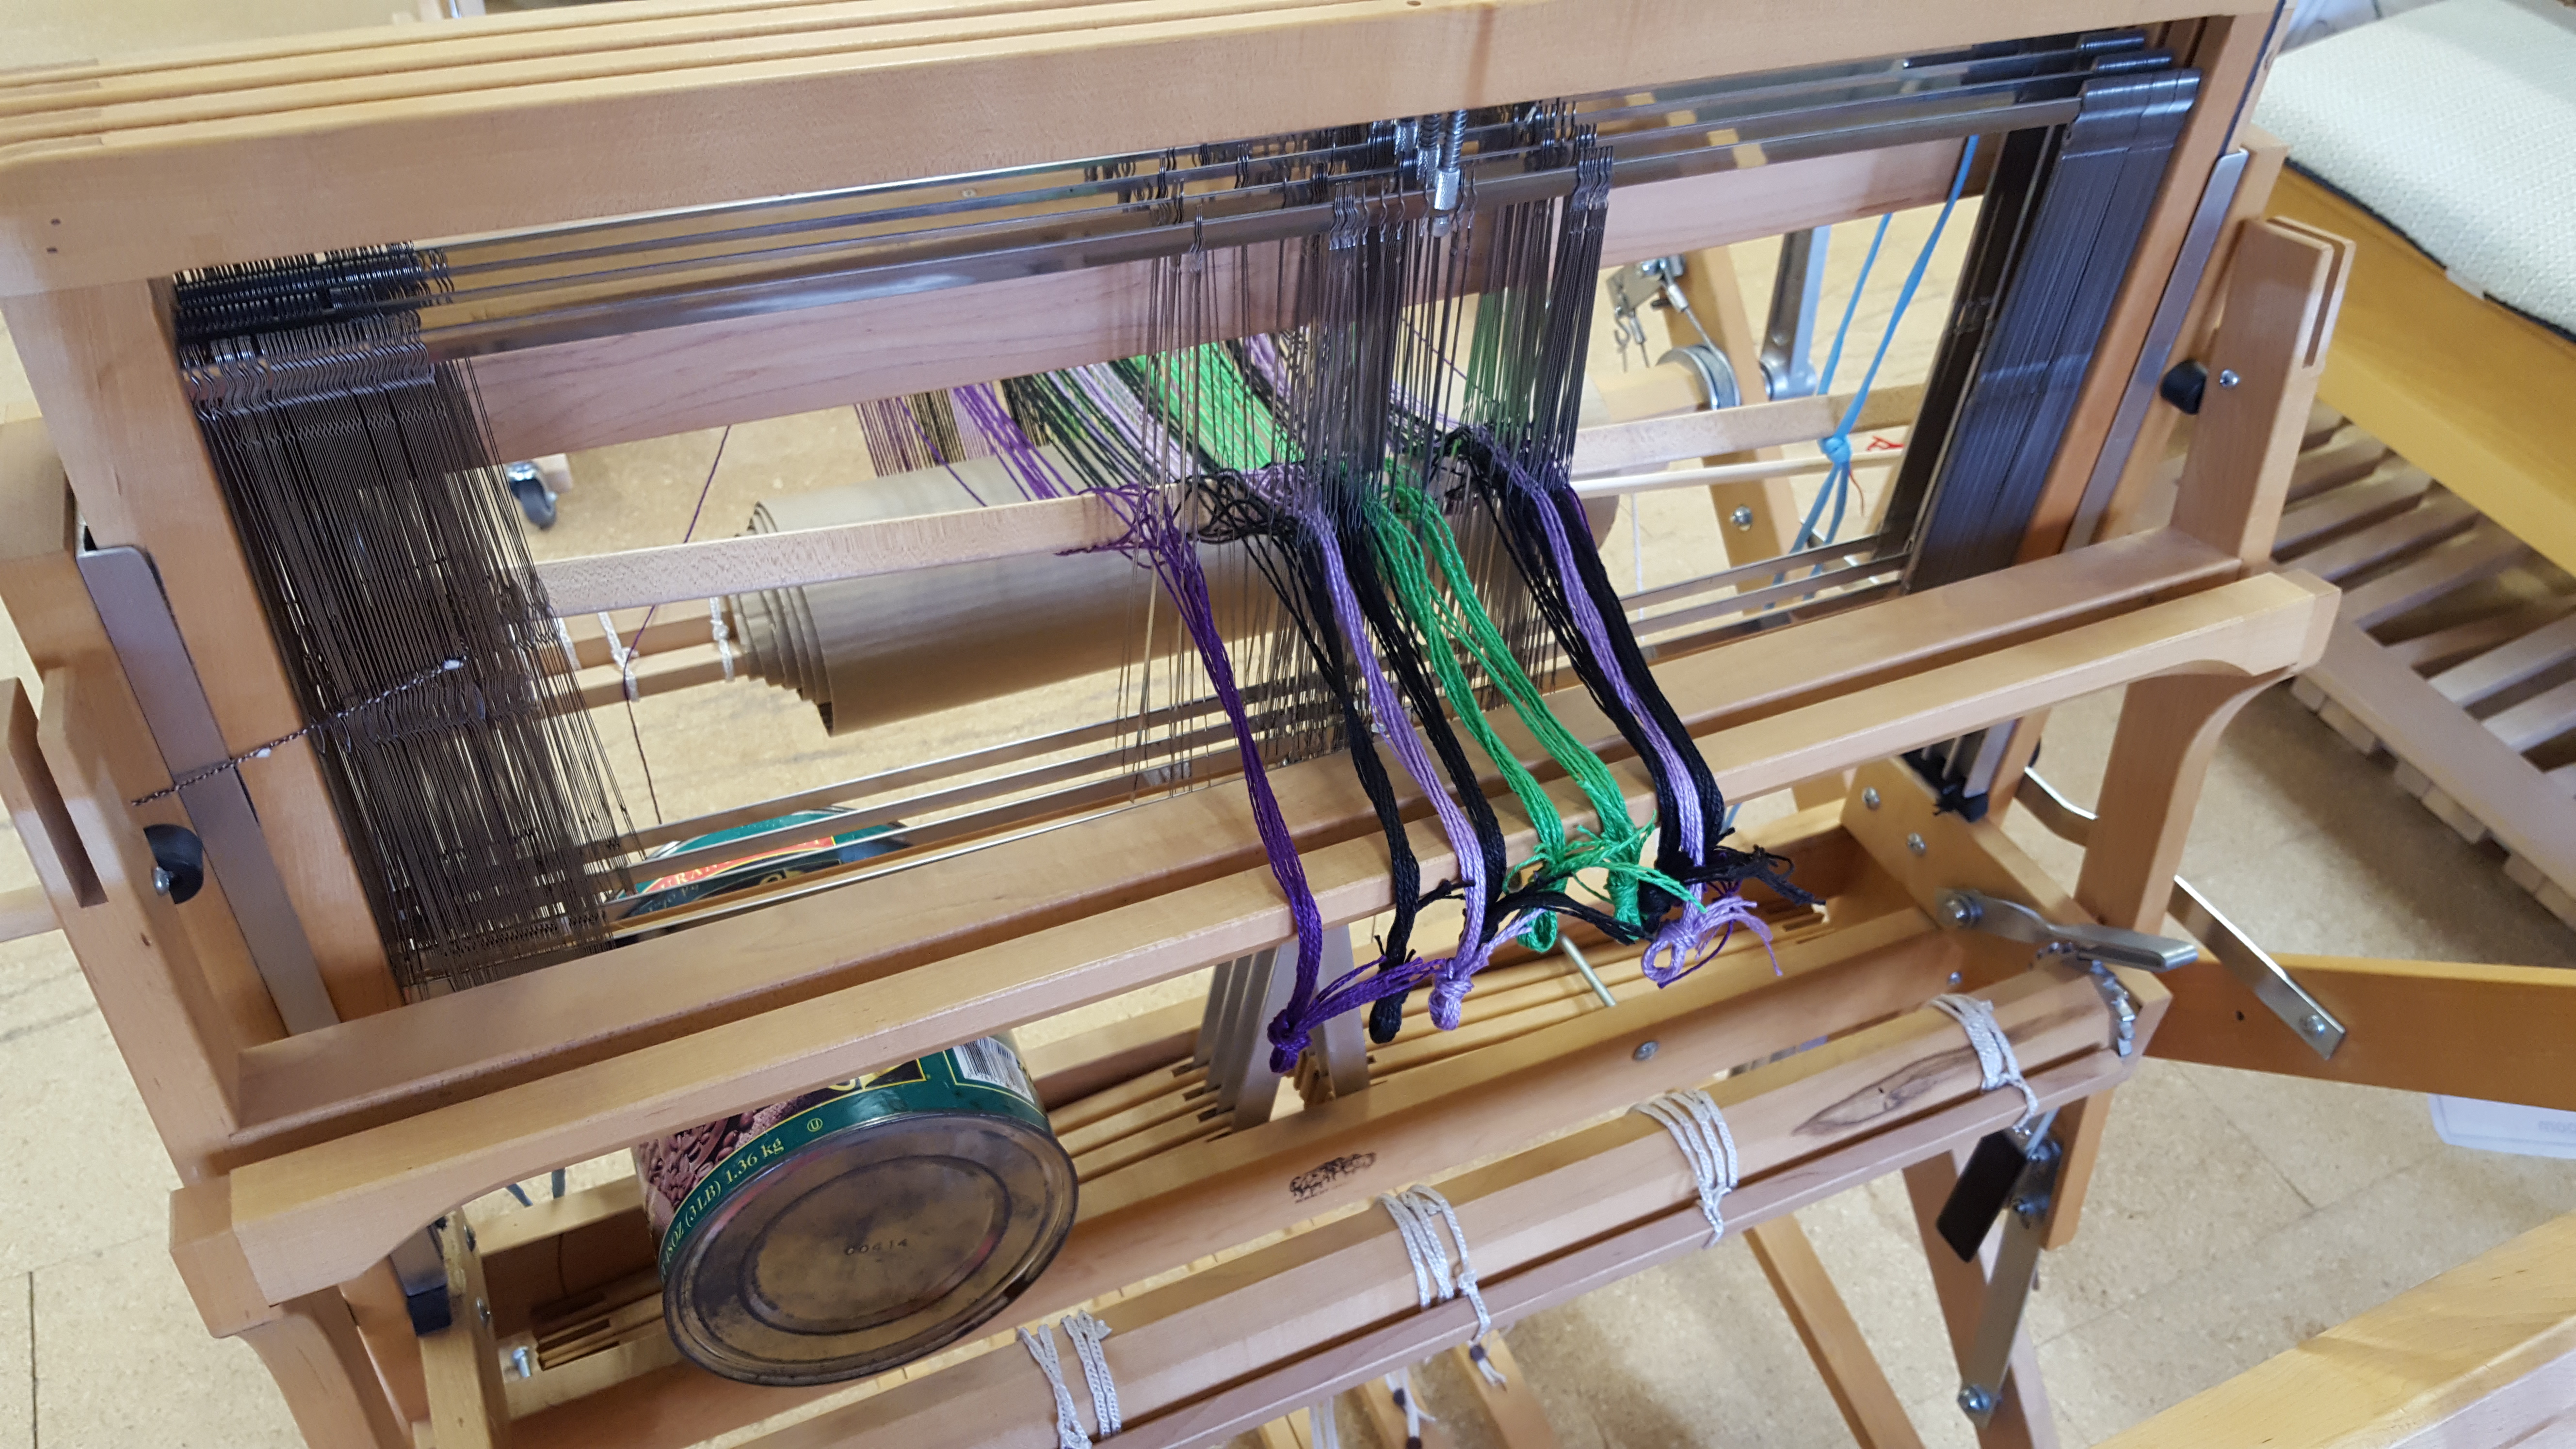
Then you thread each individual strand through the eye of a heddle (the metal needle-like things) in a specific order/pattern depending on the pattern you want to make on your finished work. Because this was a four-harness loom, there were four rows of heddles. The most basic threading would be harness 1, harness 2, harness 3, harness 4 repeat, but you can also get fancy.
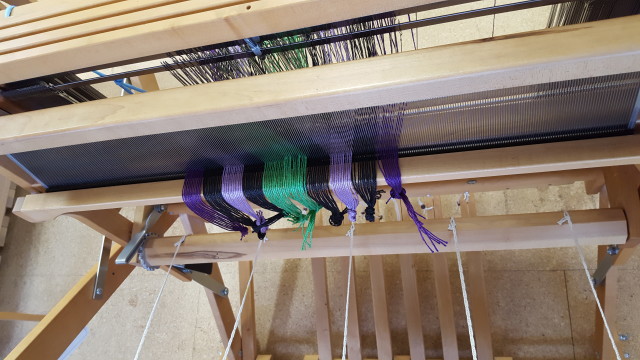
LOL you thought the threading was over
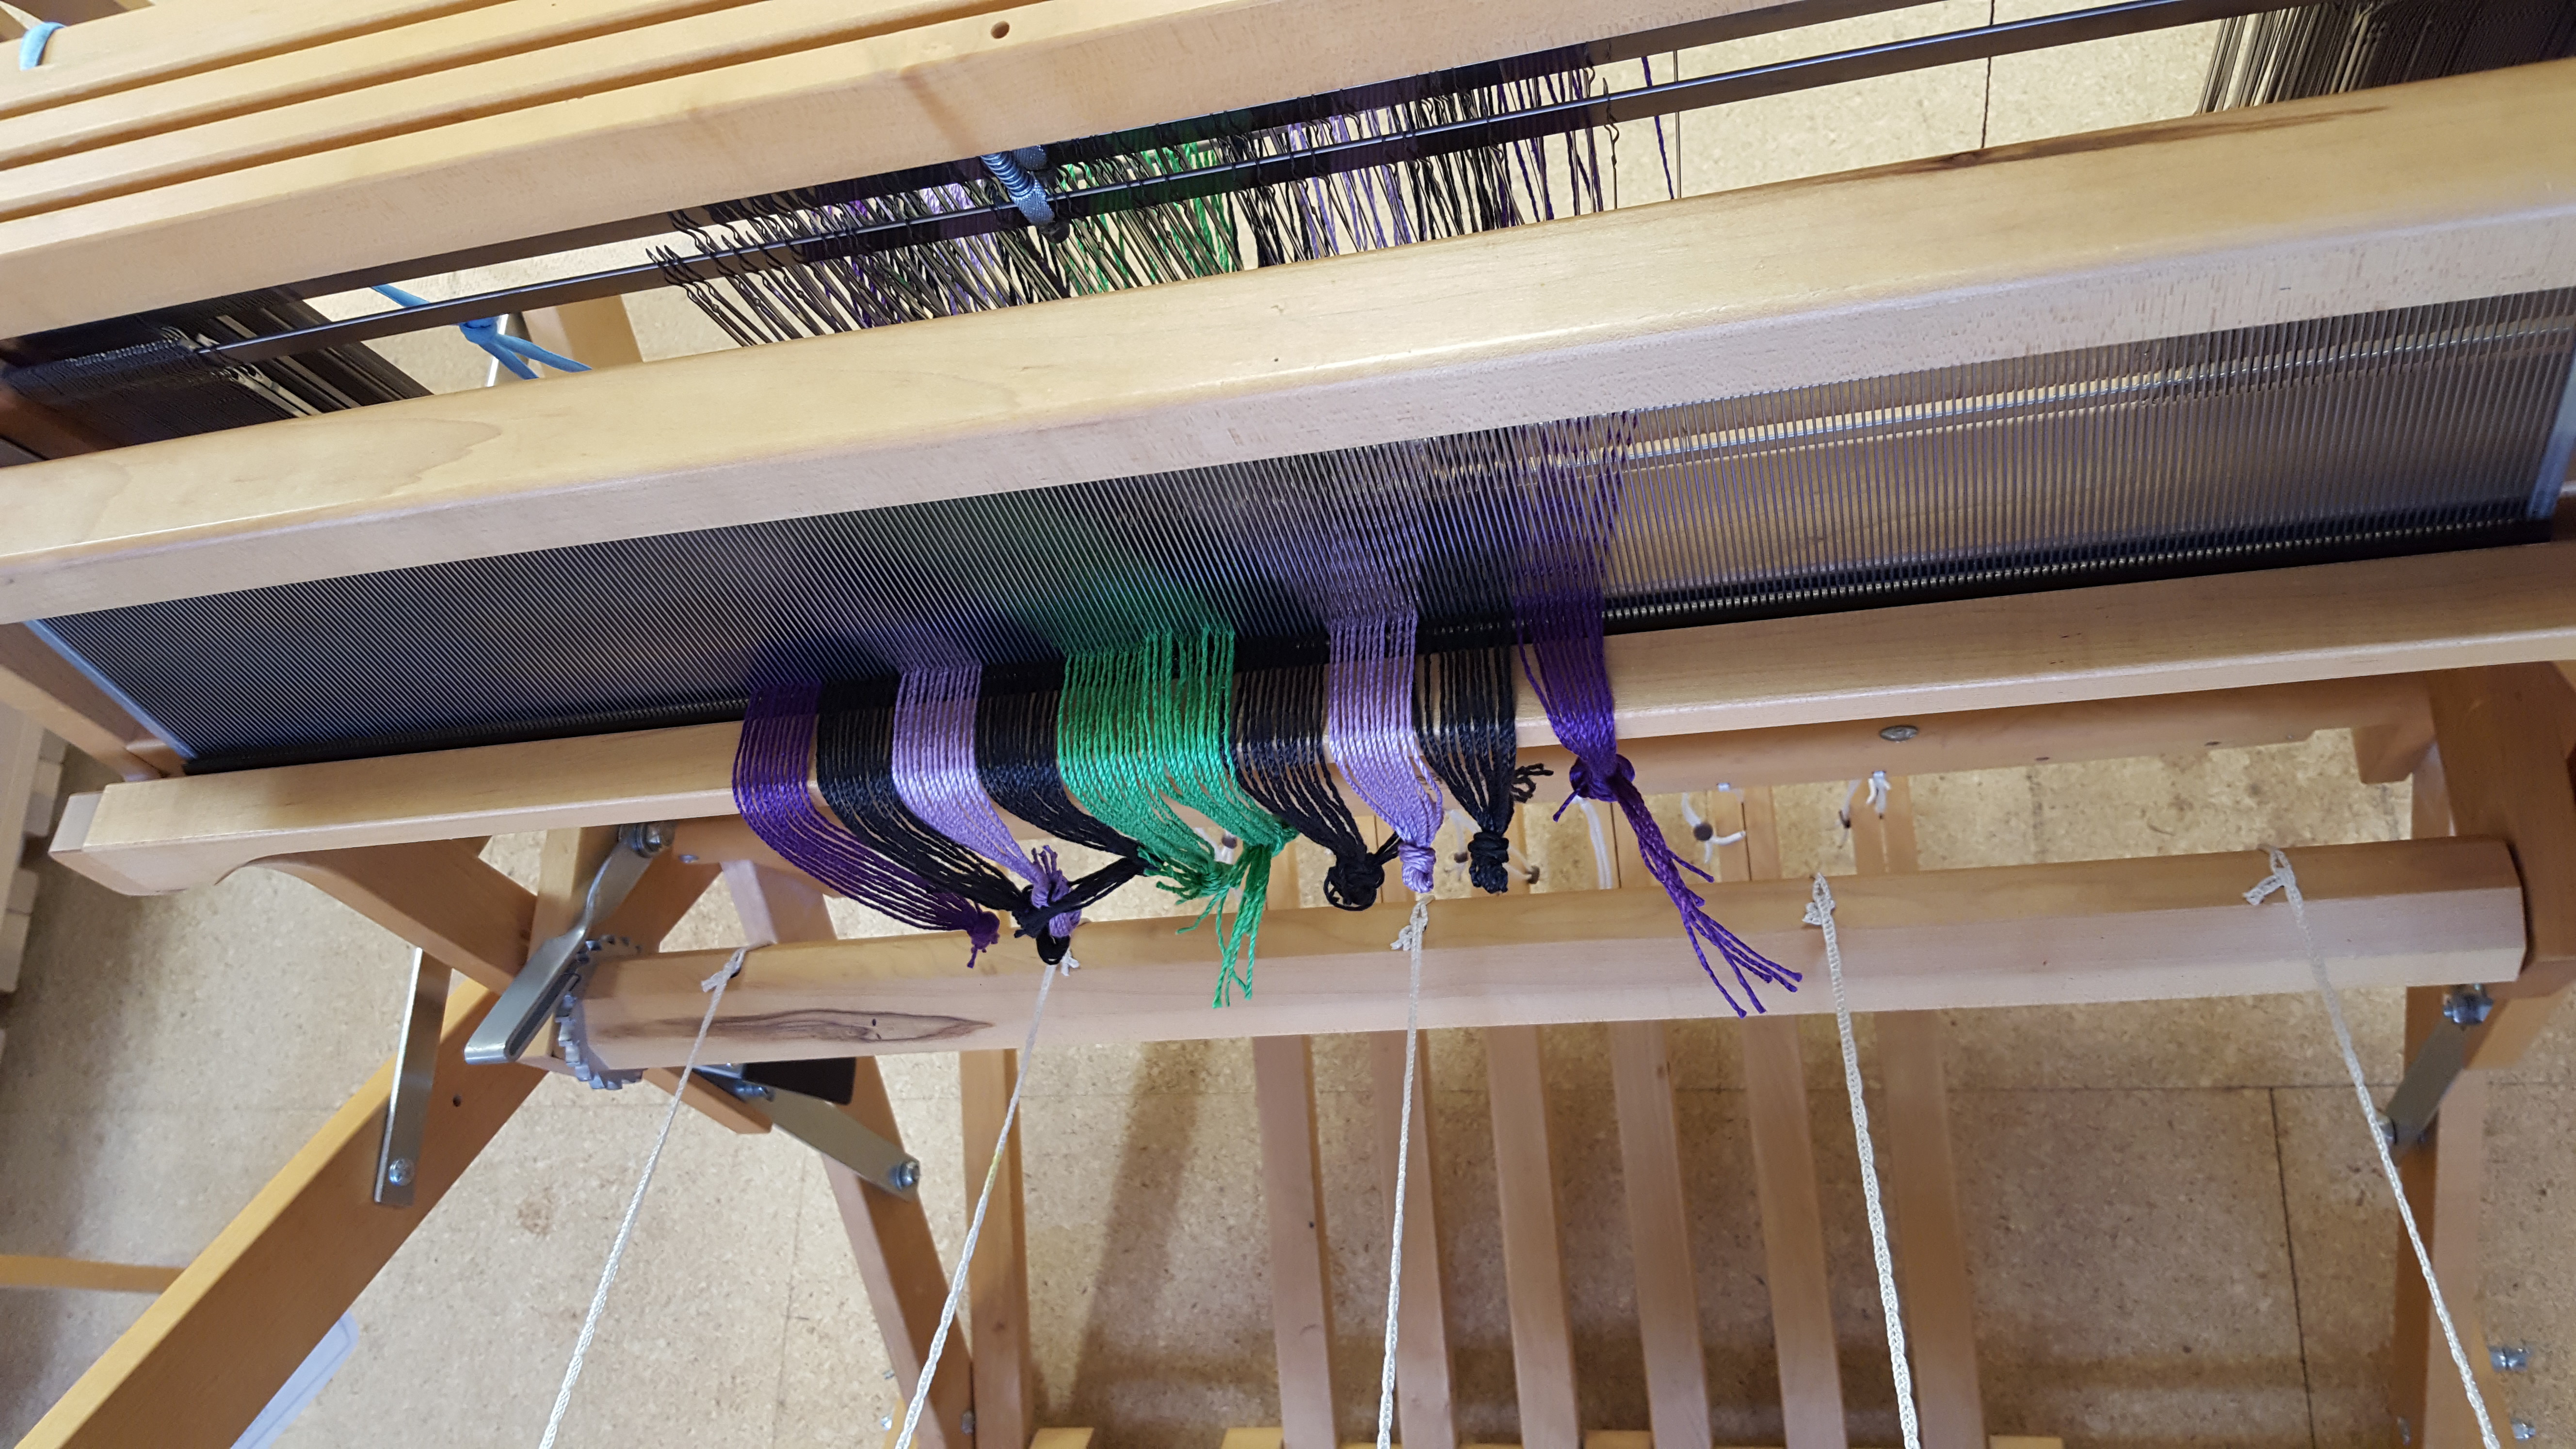
NOW you’ve got to thread every individual strand through this metal contraption called a reed (because they were once made from legit reeds). Don’t skip any spaces! Unless you’re supposed to, of course.
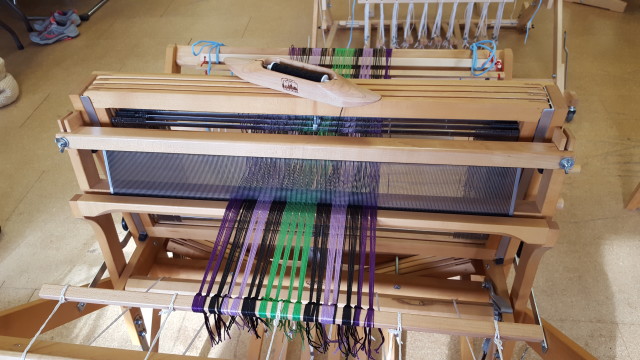
Tie that sucker on to the front!
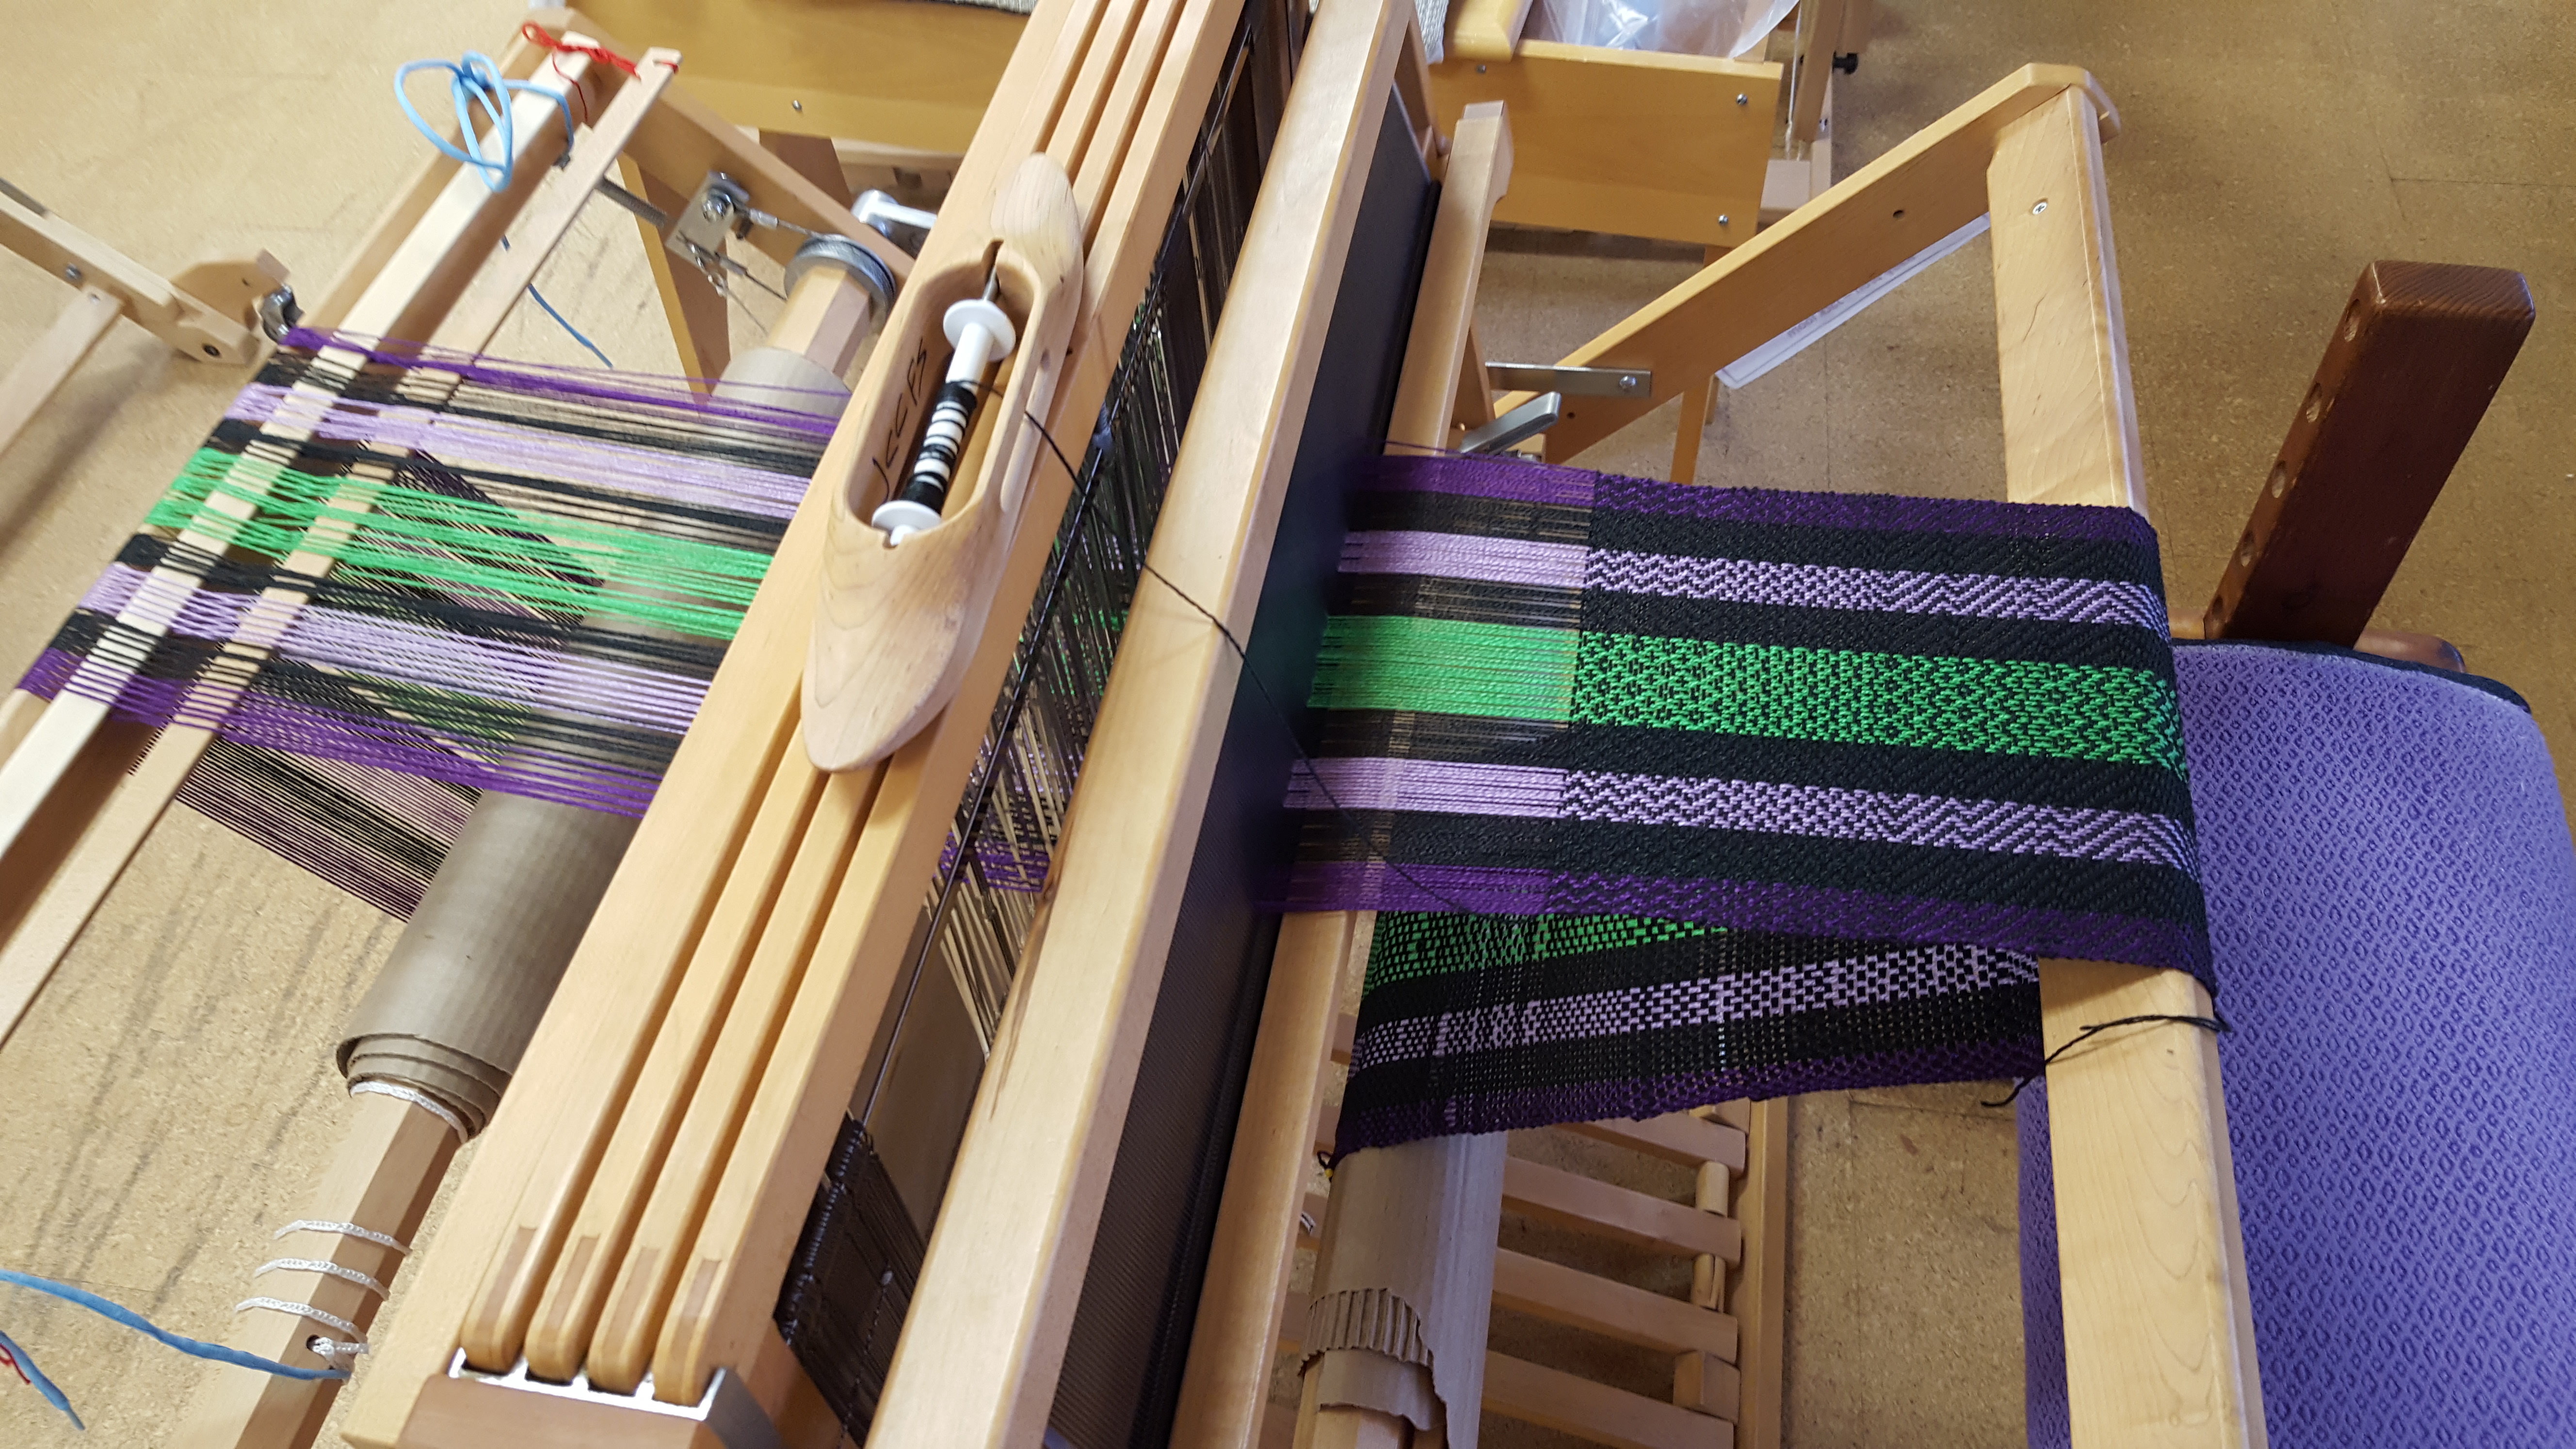
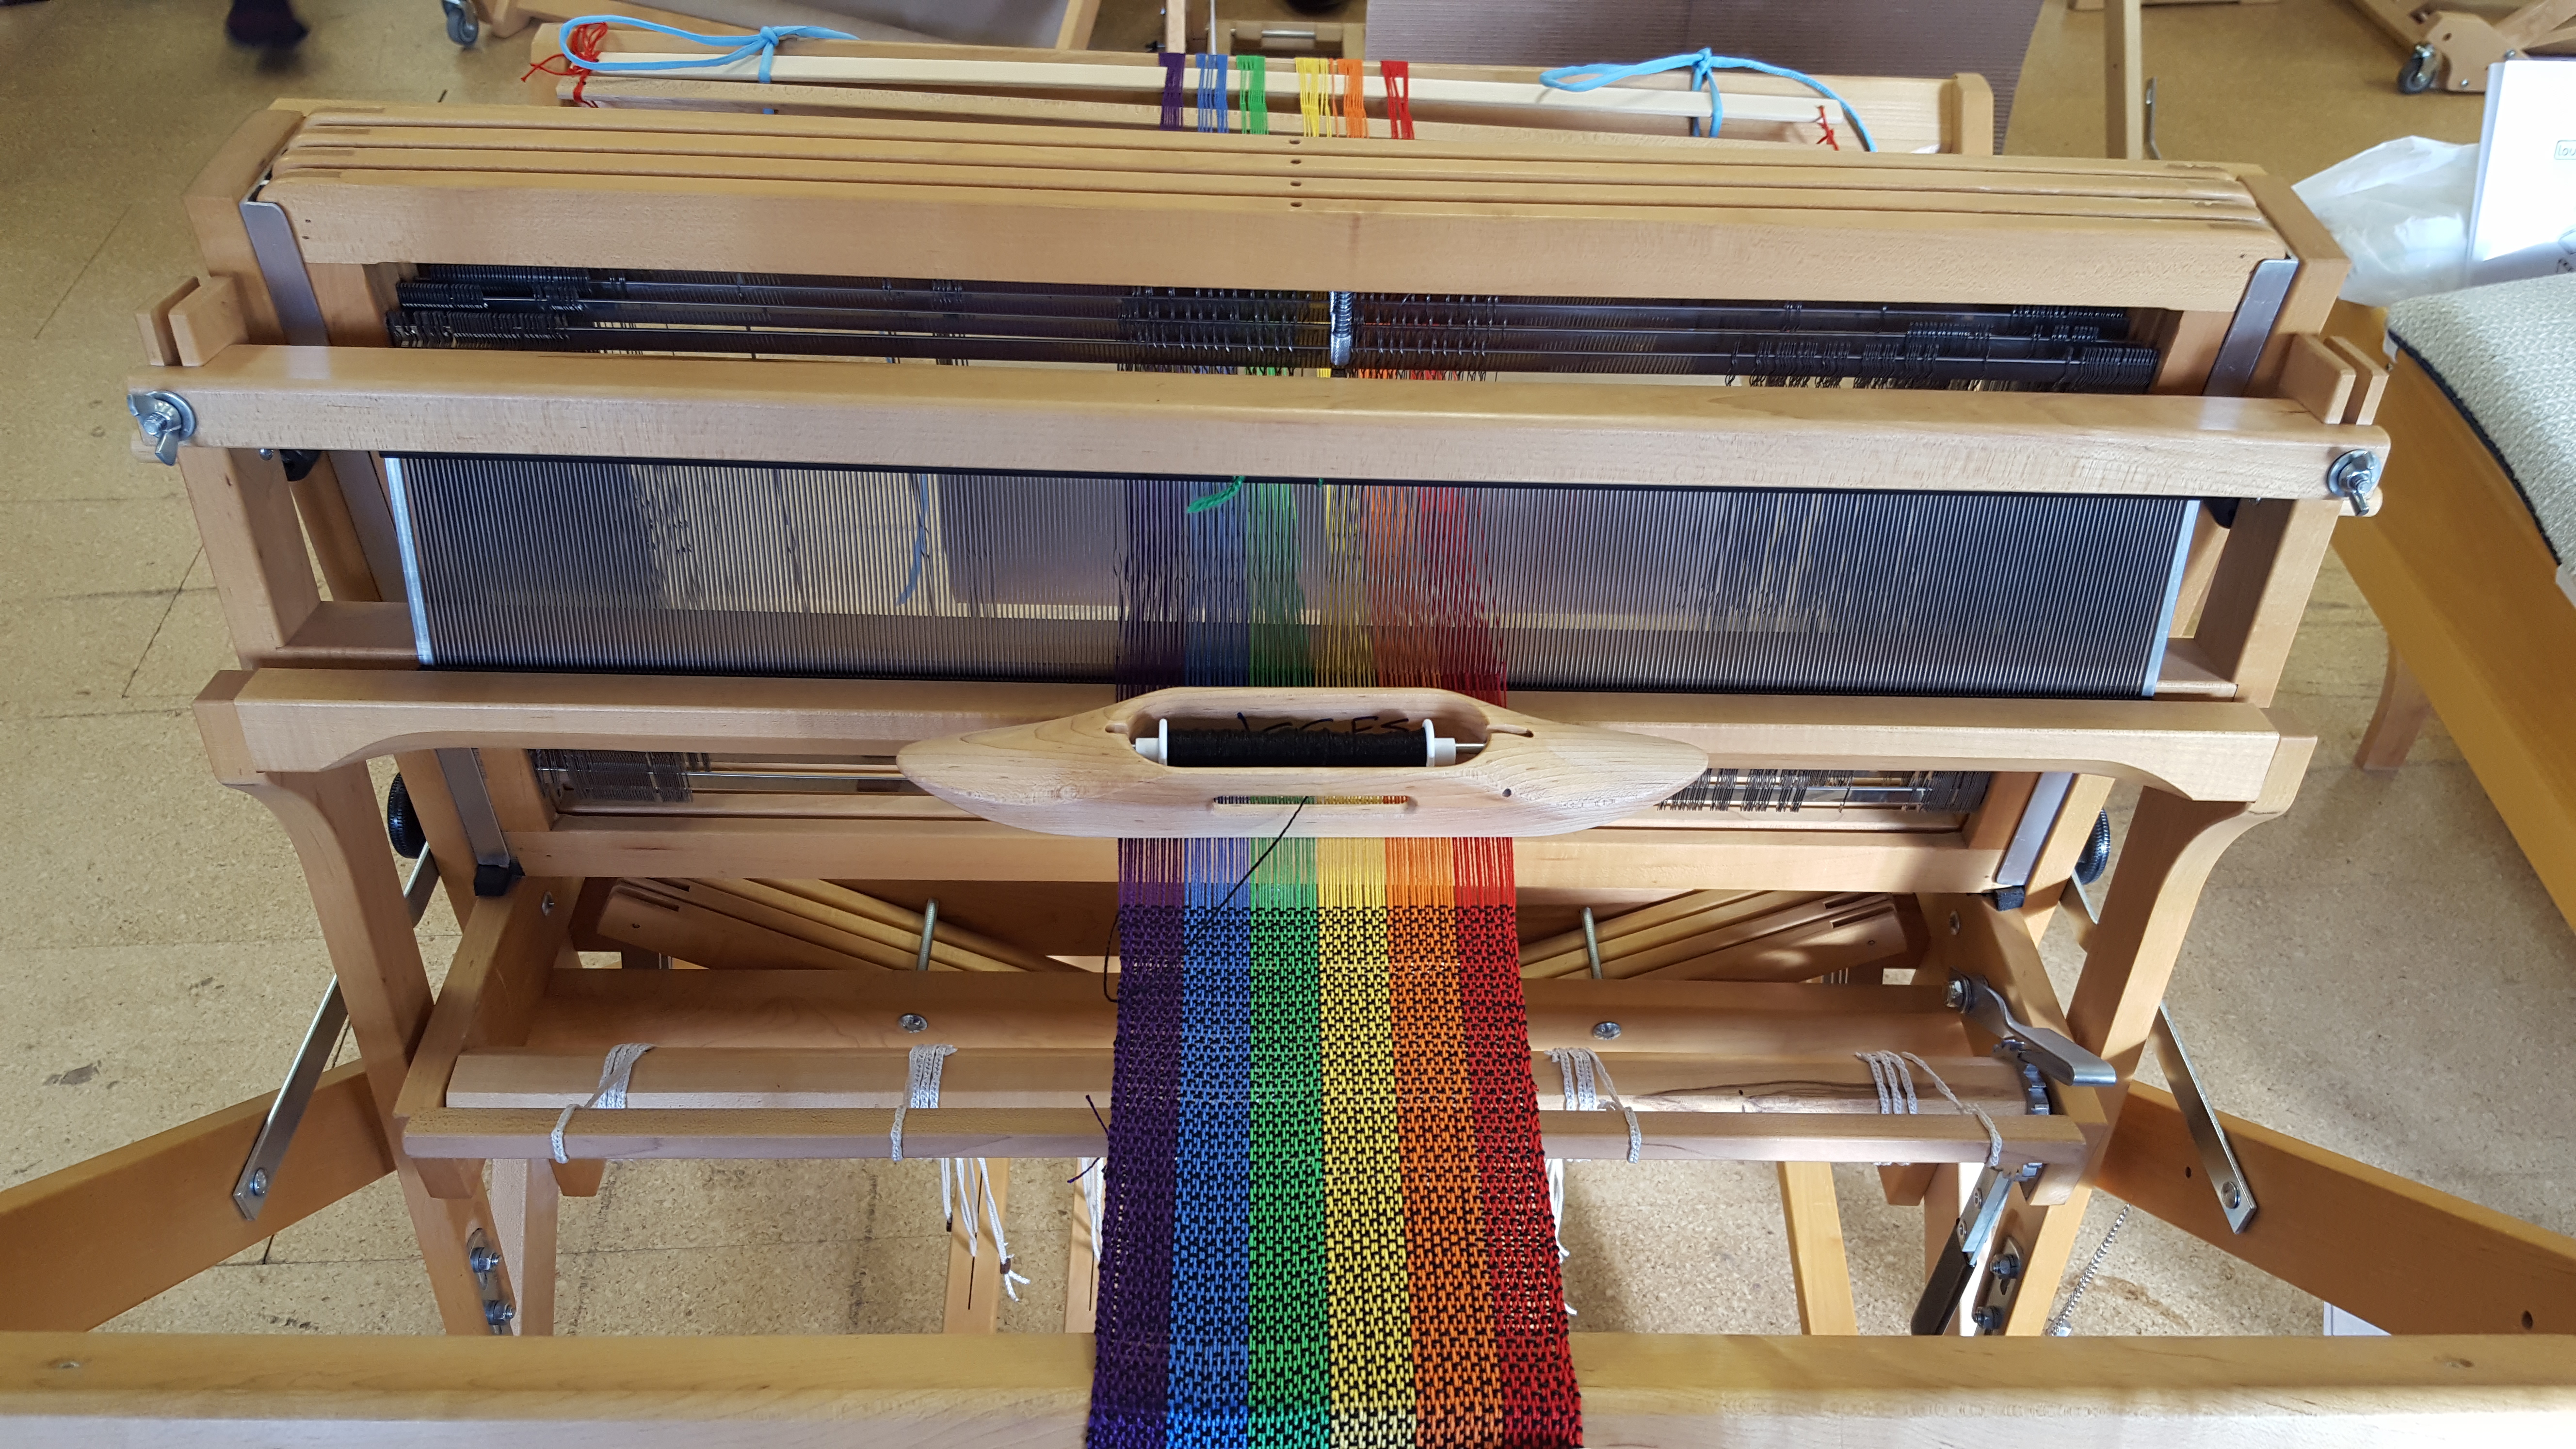
Now you are finally ready to weave! Once you tie up your pedals to specific harnesses and wind bobbins and what not. Pressing down on the pedals (okay, TREADLES, fine–I did learn the correct vocab) will lift certain harnesses, allowing you to pass your shuttle underneath those threads and above the others.

Yay, weaving!
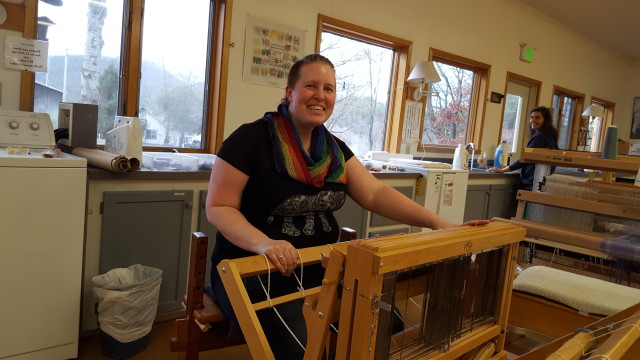
Best Part: My cool weaving class friends! I feel like we were a weaving support group.
Worst Part: Tuesday at noon when we had had NINE HOURS of class and still were not weaving.
Will I do this again?: I’m not rushing out to buy a four harness floor loom because I didn’t enjoy it enough to be worth the time and expense. But it was fun to try, and maybe a lap loom will be in my future.
I also made up a weaving song, set to the tune of Reading Rainbow because I was weaving a rainbow scarf:
Shuttle goes through the shed,
Do some math in your head
Look around the room
We’re all on looms
Weaving class!
I CAN WEAVE ANYTHING!
With sort of a plan
And a coffee can
Weaving class!

Yay!
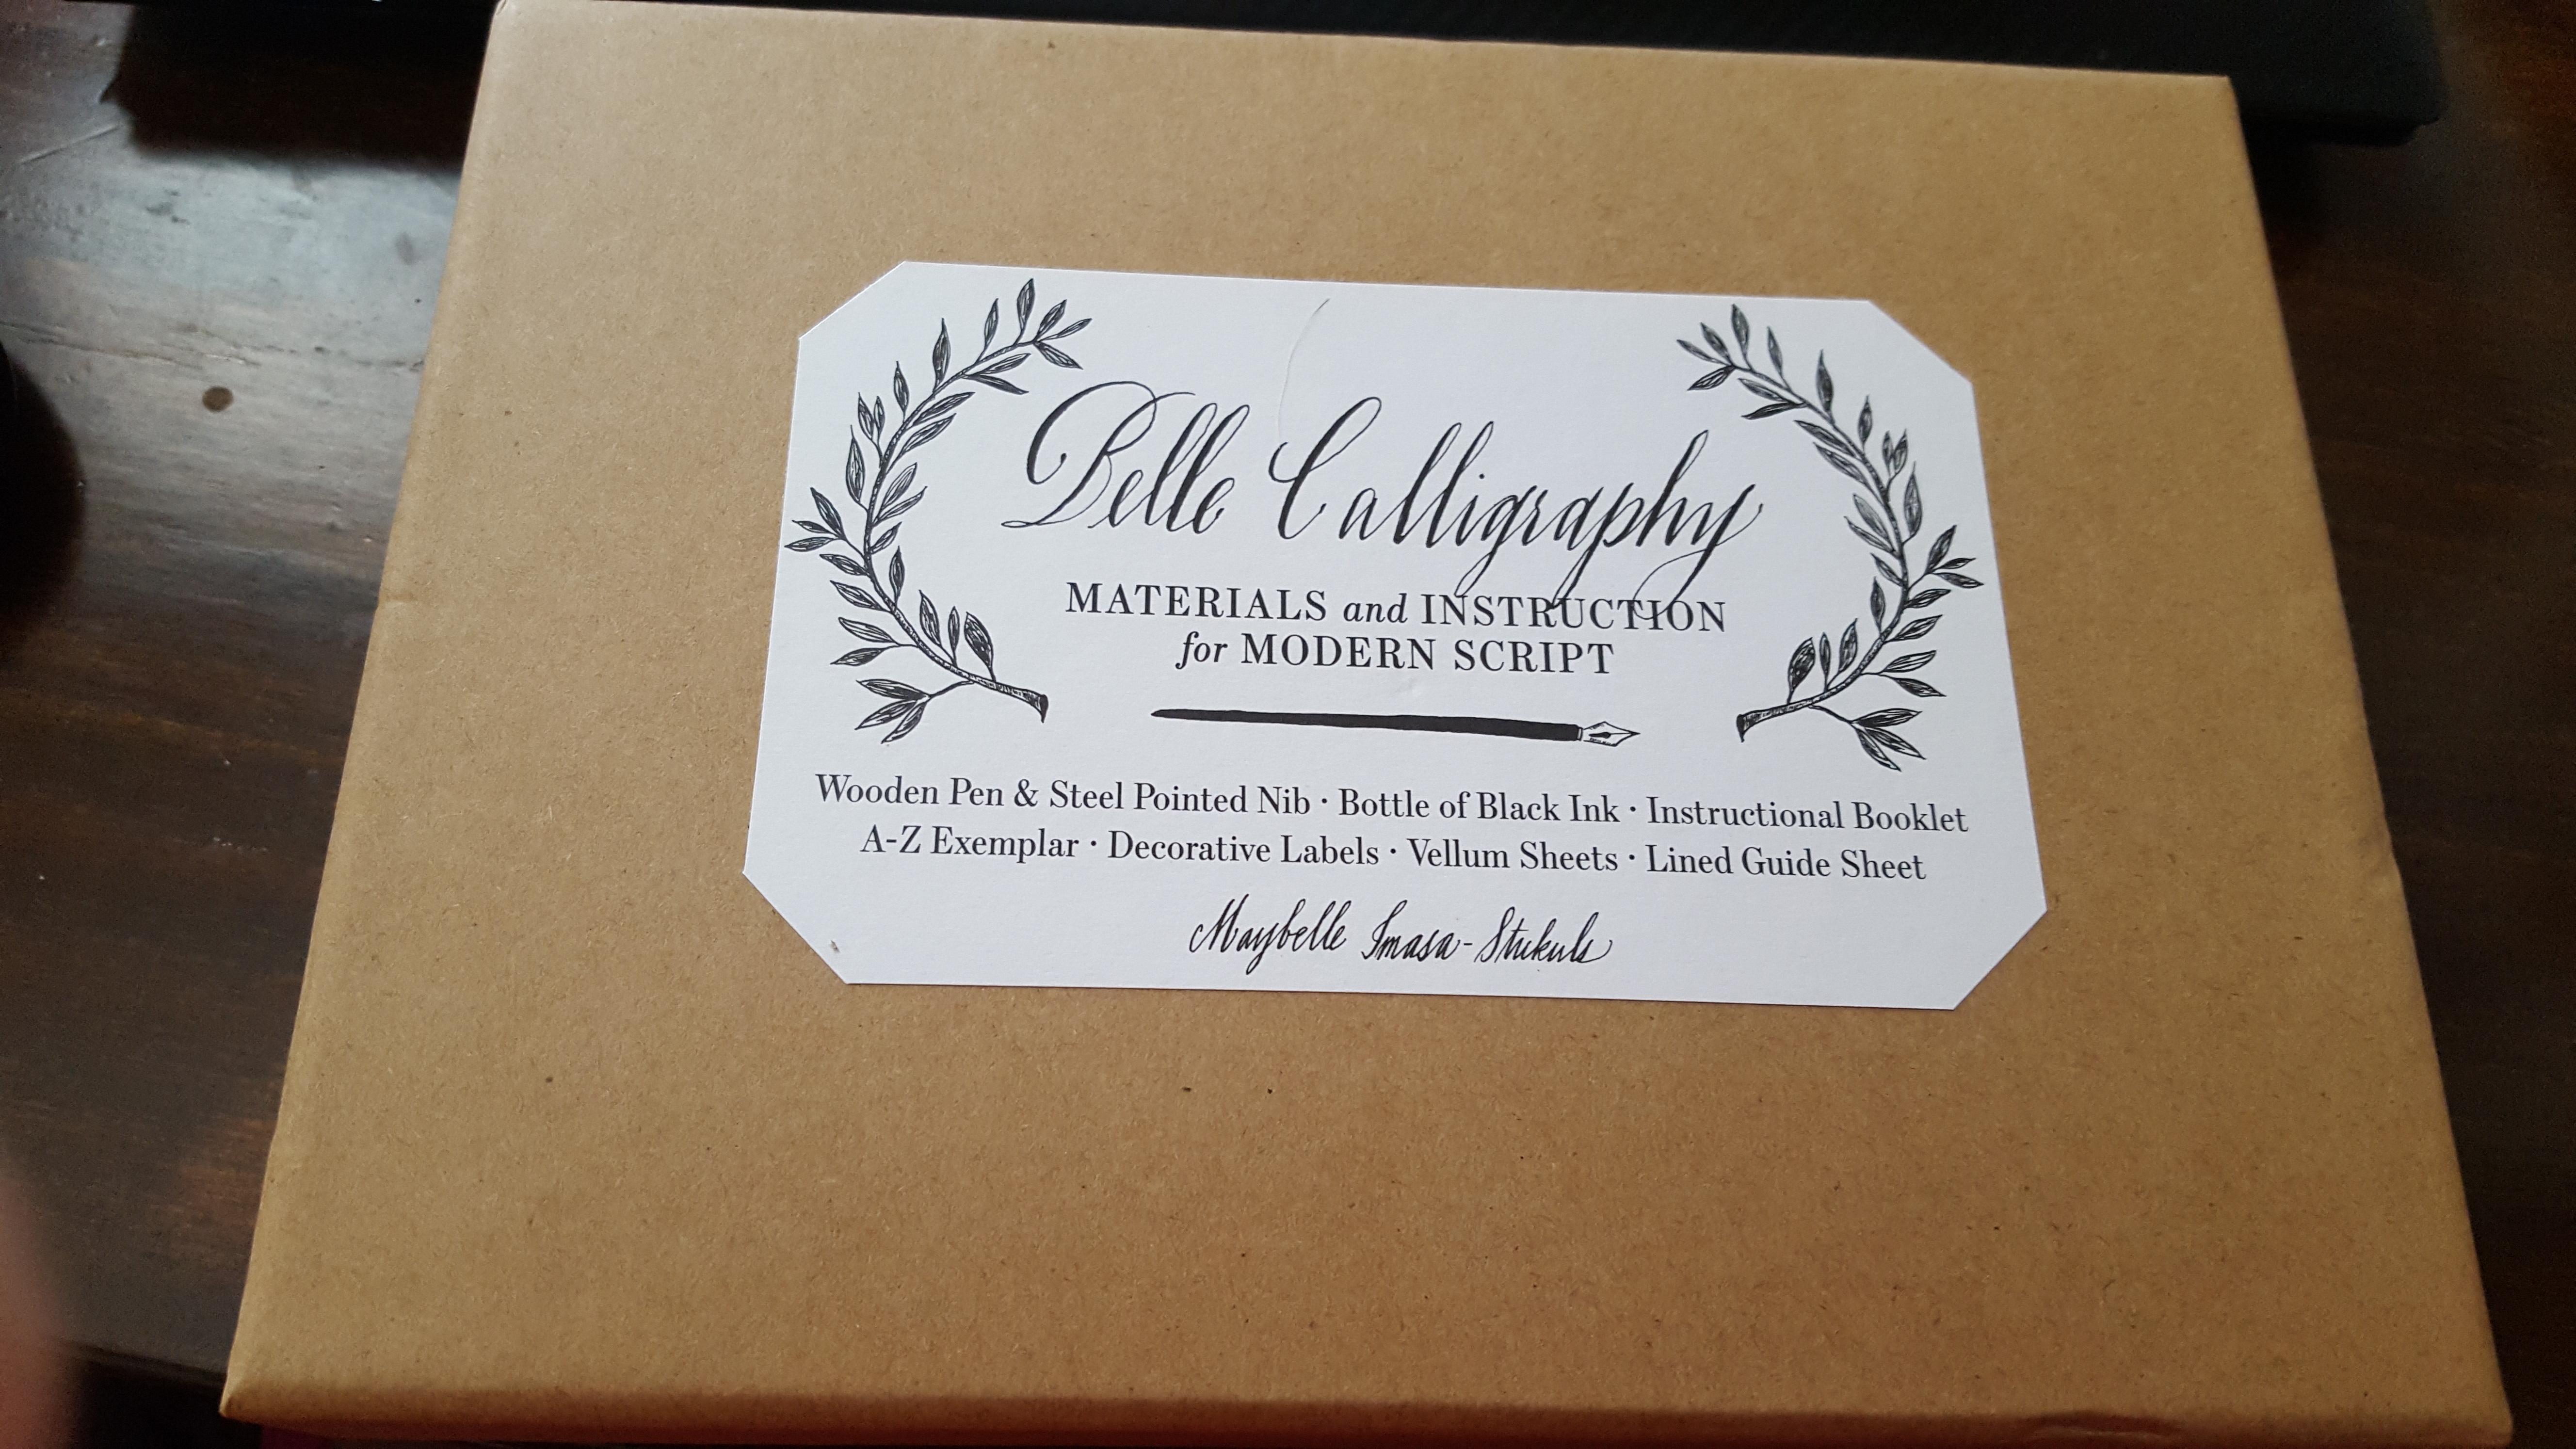
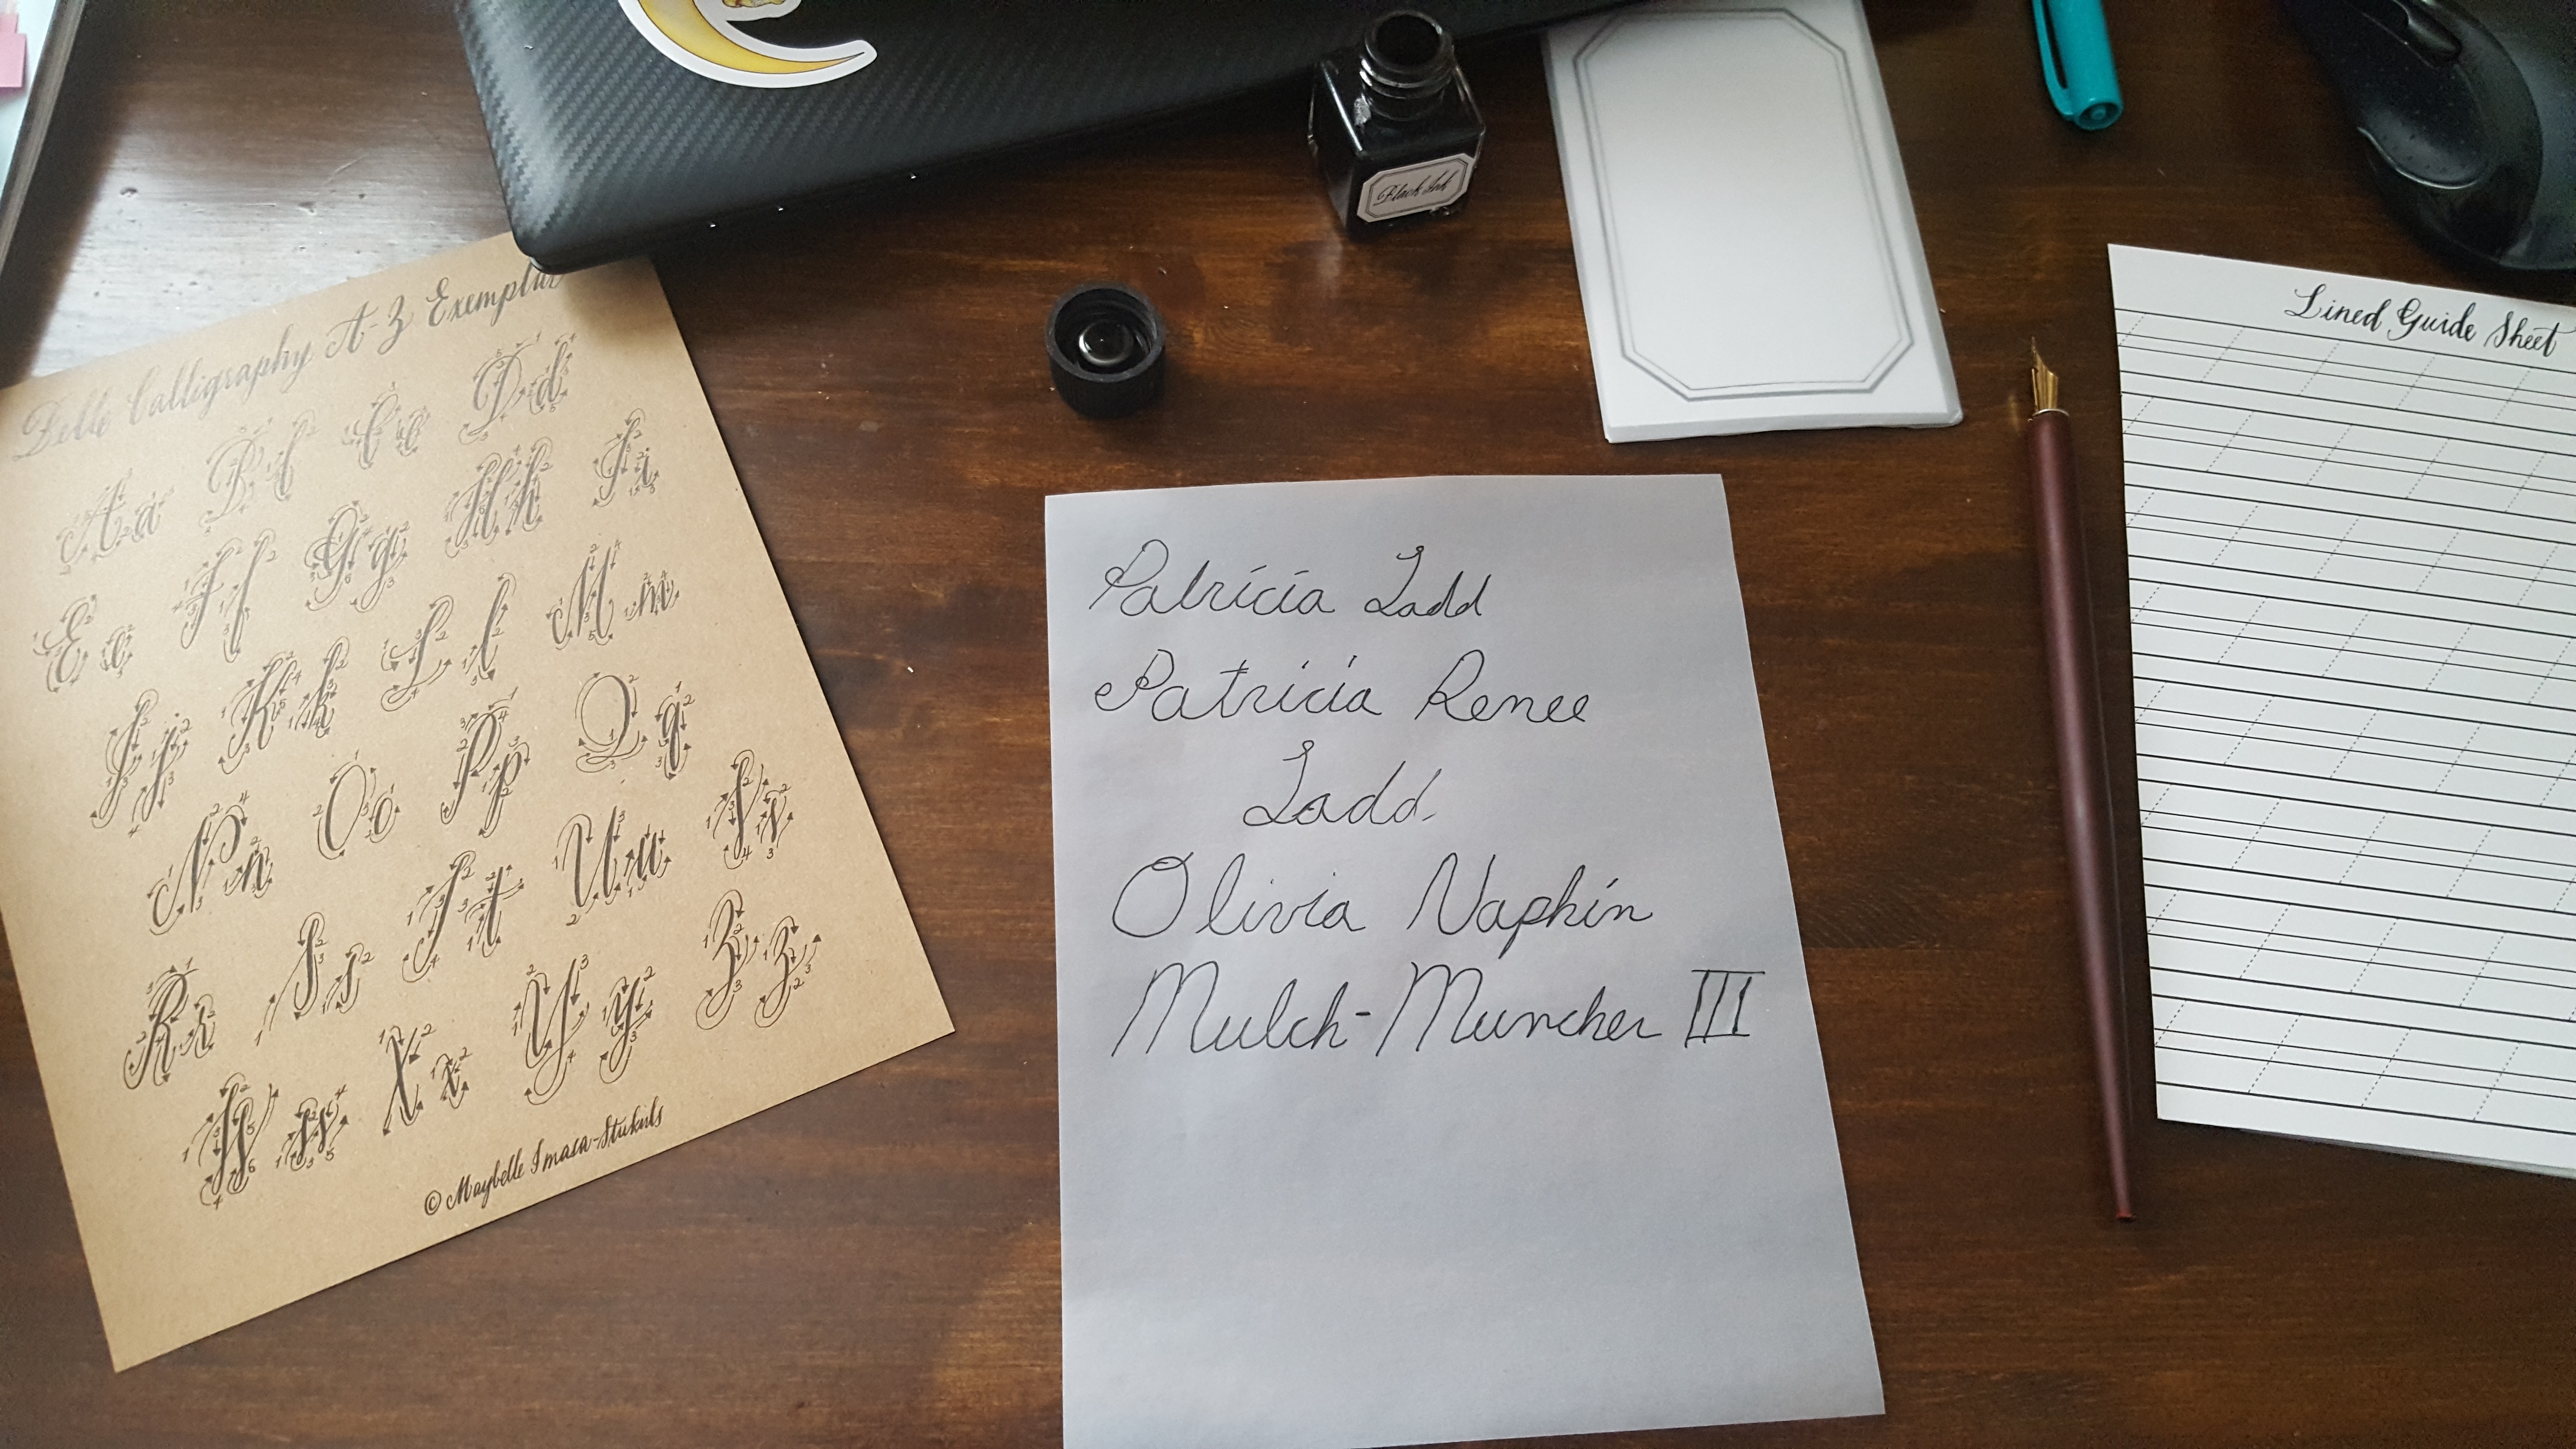
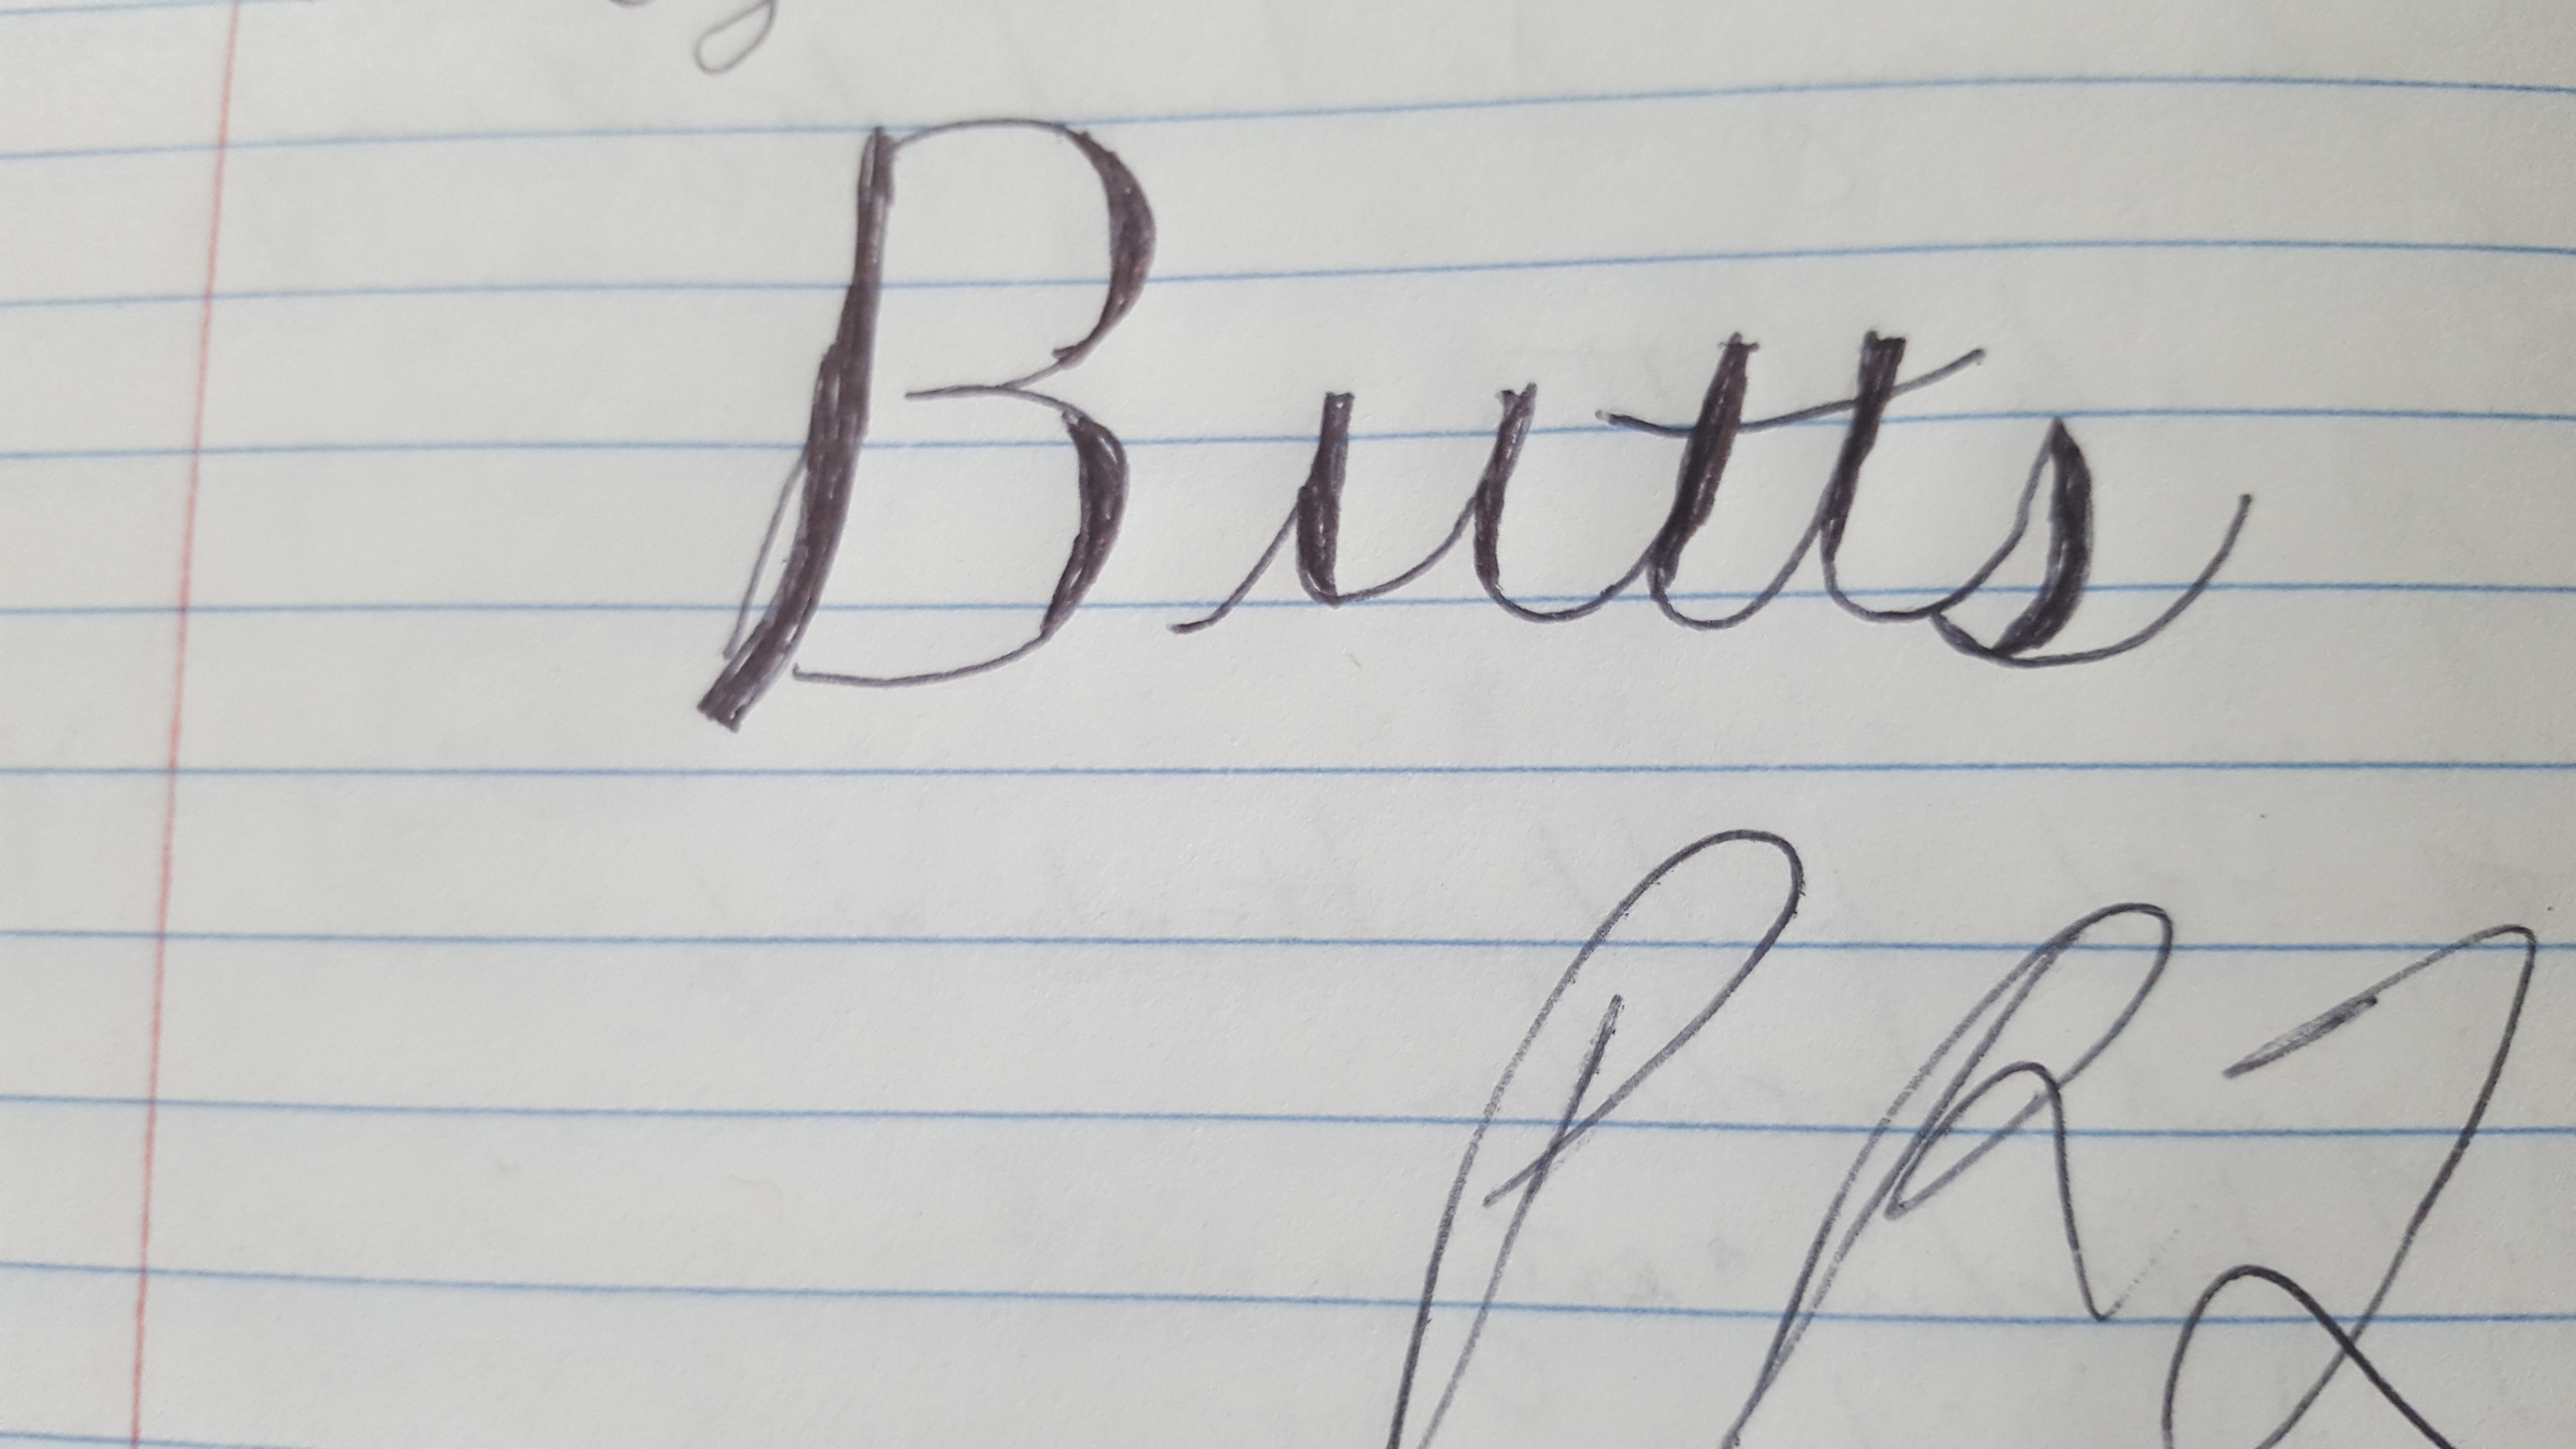
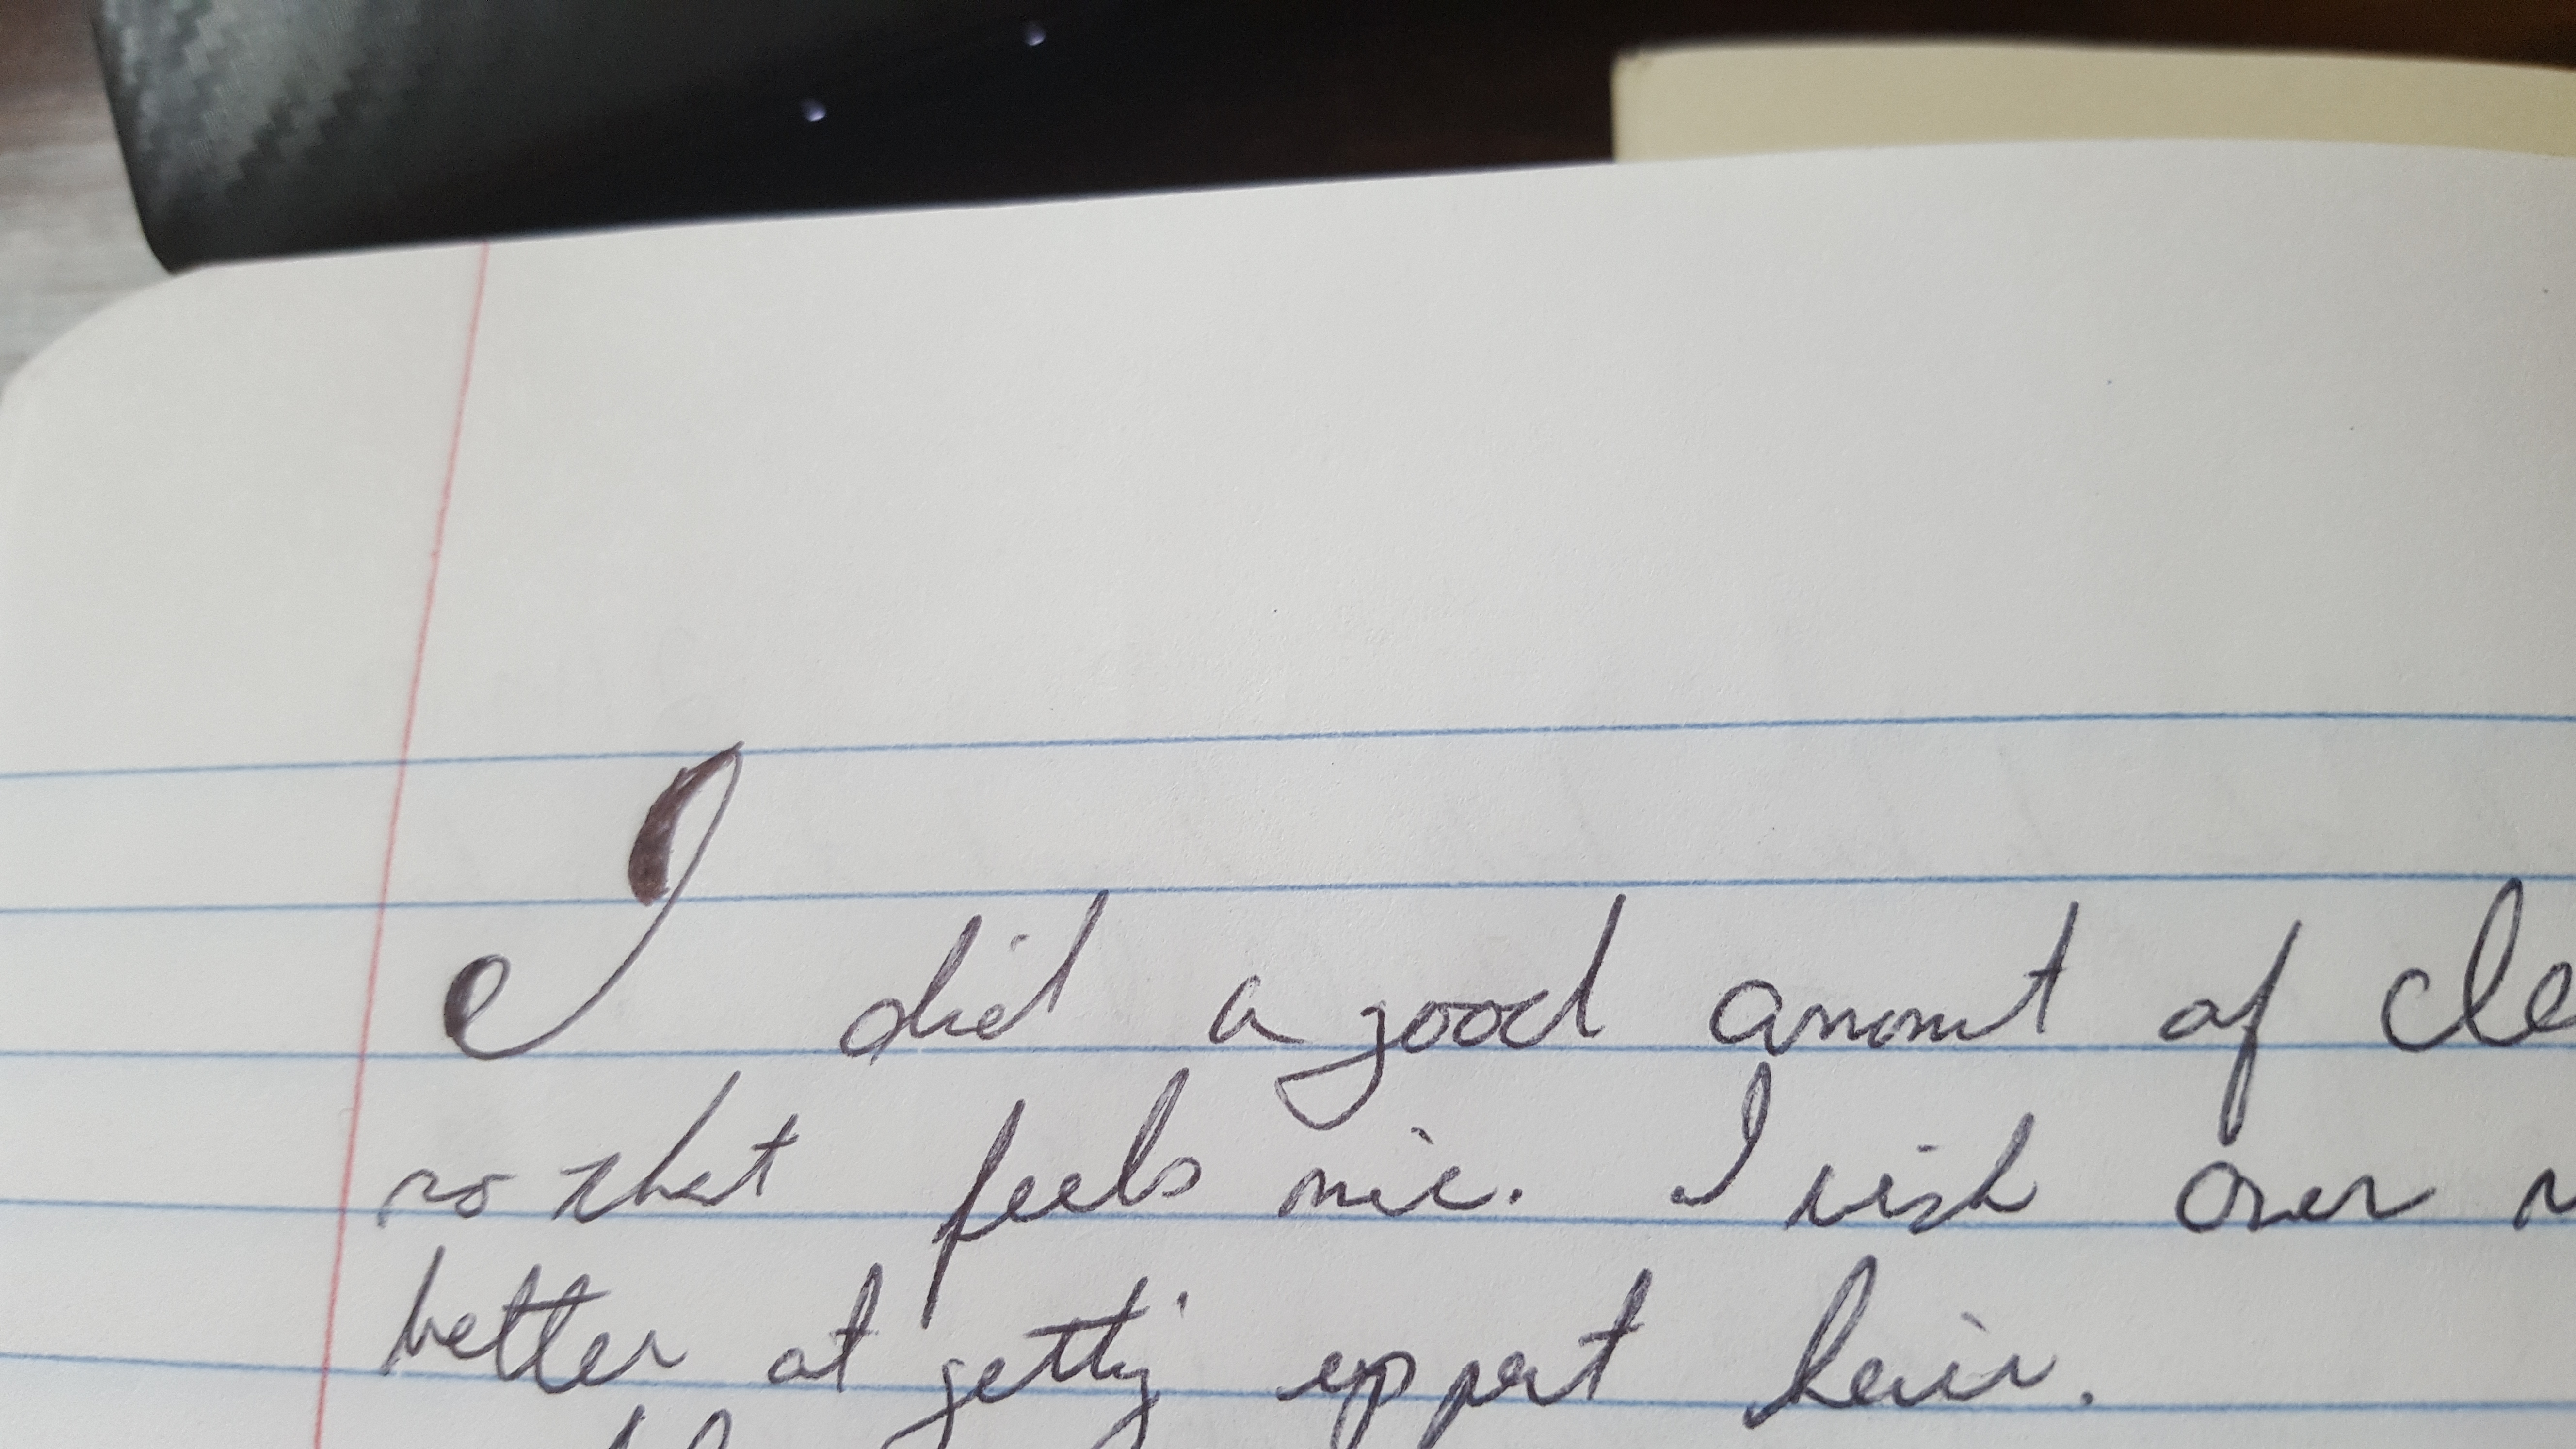
Next: Beginner’s Guide to Calligraphy