Cake balls are pretty amazing, and they are completely easy (and fun!) to make. They’re great to bring to a party since they’re small, portable finger food, and they are sure to impress despite their simplicity! Plus, there’s endless combinations of flavors to try!
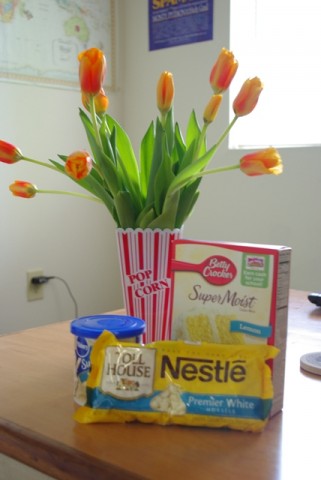
Here are all of the ingredients, plus some escape artist tulips:
I’ve made the traditional yellow cake/chocolate coating before, but this time I wanted to try lemon cake, so I went with white chocolate chips and white frosting. I figured lemon frosting would be too lemony, but now I’m thinking there’s no such thing. And, okay, this picture is maybe a little misleading because, depending on your cake mix, you’ll probably also need an egg and/or some vegetable oil and water. Details. Besides, you have those lying around your house anyway just waiting to be put into a cake.
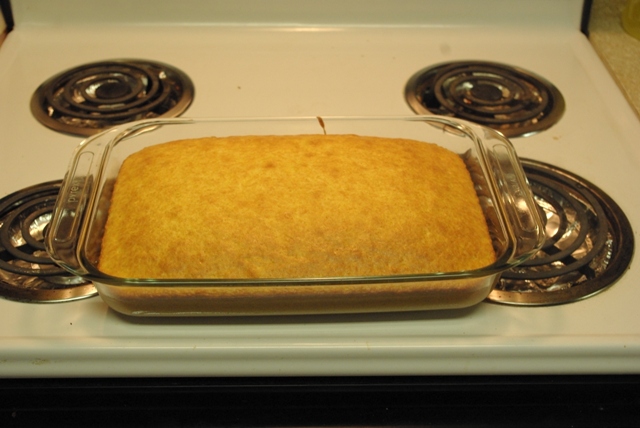
So, Step One: Make the cake
It doesn’t matter what shape or size pan you use, since the next step is to wait till it cools and then
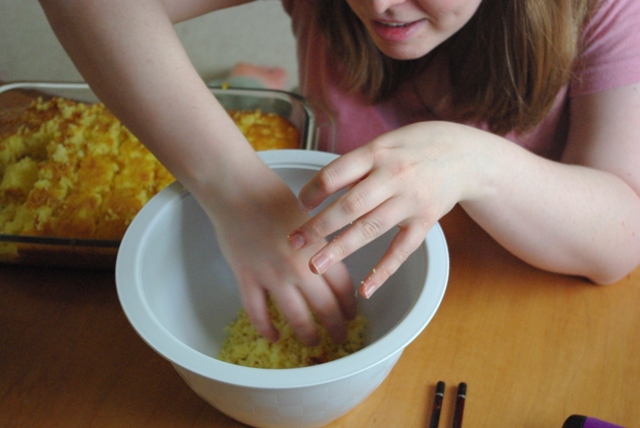
Step Two: WRECK THE CAKE
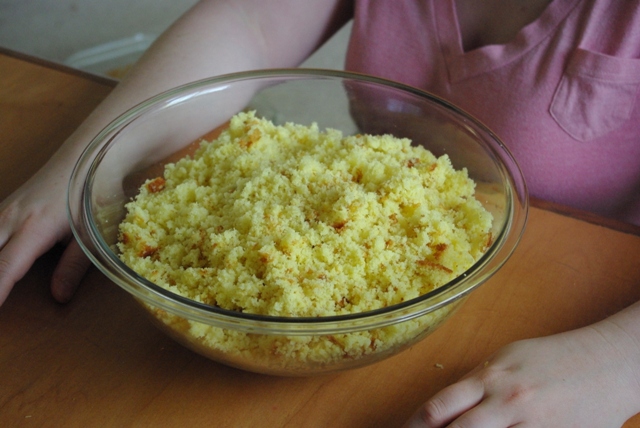
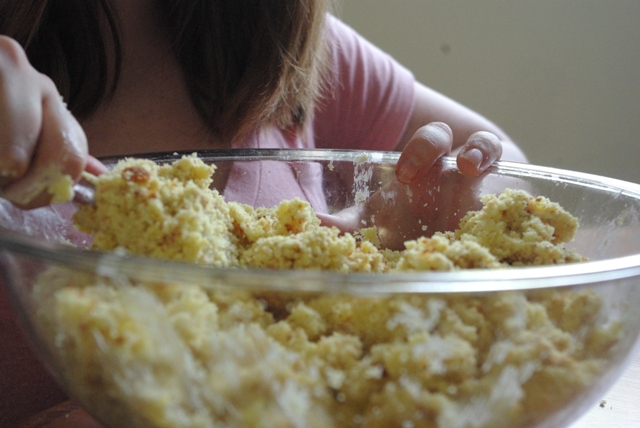
That’s right, get in there and smash that cake up! I usually crumble it into a very large bowl. It’s super fun just grabbing whole hunks of cake and crushing them into tiny pieces! Once that’s done it will probs look like this:
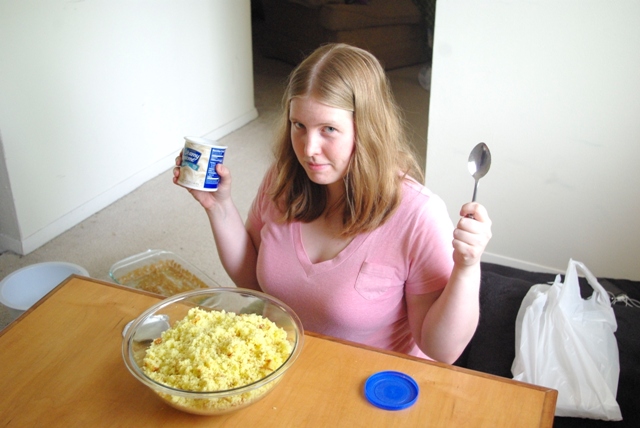
Now you’re ready for Step Three: Stir in the Frosting!
The first time I made these I was a little skeptical, thinking “Really? An entire can of frosting?” But yes: three-fourths to an entire can of frosting, depending upon how moist you want your balls and how much your cake rose.
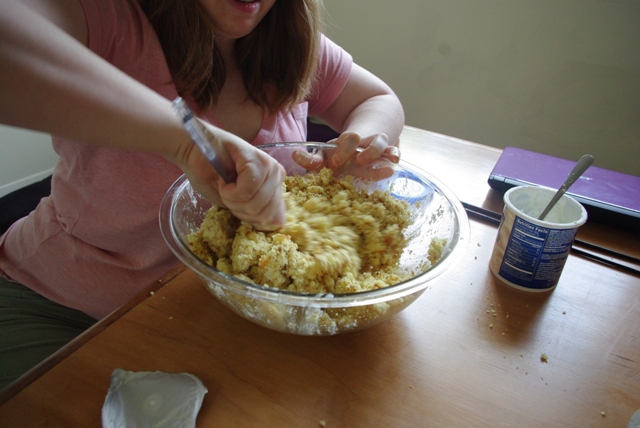
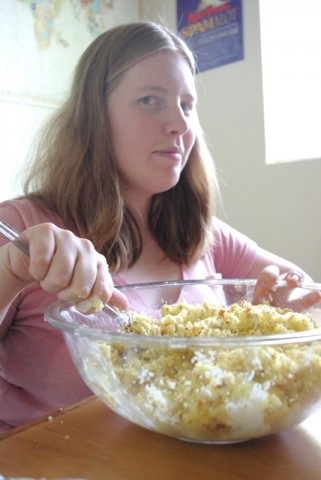
At first, all it wants to do is stick to your stirrer, so you've got to show that frosting who's boss
This time I even put in a little bit of extra frosting, since I already had some in the fridge from Rainbow Cupcakes anyway. It was only a little bit, so probably not worth buying two cans just for this.
Or possibly Thanksgiving stuffing. It should be sticking together, kind of like cookie dough.
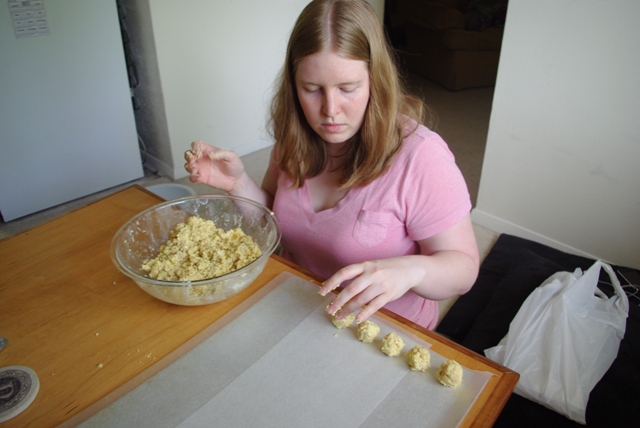
Now for Step Four: Make Cake Balls
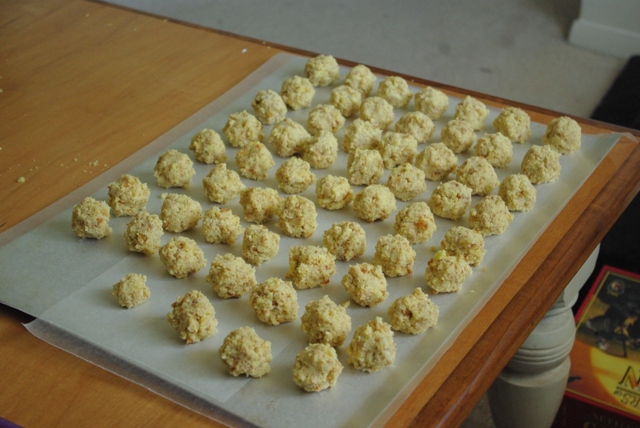
It’s just like making little balls of cookie dough, except we’re not baking them so don’t worry about spacing them so far apart. Some people use an ice cream scoop for this part, which would probably mean a lot more uniform balls, but I don’t have one of those so I just use my hands.
Now pop those babies in the fridge or freezer for a few hours. I had to go to work in between steps 4 and 5, so the fridge was just fine for me, but if you’re in more of a hurry to get them done, the freezer’s got your back.
Step Five: Chocolate Coating!
Unfortunately, I did this part without Steven, and my hands were covered in melted chocolate so I didn’t take any pictures. But here’s the sitch: you’ve gotta turn that bag of chocolate chips (mine were white chocolate!) into a candy coating on those hopefully slightly firmer cake balls. So, pour some chips into a shallow dish (I used a pie plate) and melt those suckers in the microwave, heating for about 30 seconds at a time, then stirring, then heating some more, until they are totally melted. Then, dip your cake balls into the chocolate, coating all the sides. Set your cake balls down on wax paper, and they’ll harden pretty quick since the cake ball is so cold.
That’s my way of doing it. When I run out of chips, I just heat up some more. The chips revert to their hardened state pretty quickly, which is why I don’t heat up the whole bag at once. I know other people probably have more elegant and less messy ways of doing this than rolling the cake balls around with their hands, but this way seems easiest to me. Sure, once again, my cake balls do not come out exactly even or all alike, but I don’t fash myself about that. This is also the point where you could decorate with sprinkles before the coating hardens, but I didn’t have enough hands to do that.
Step Six: Tastiness!
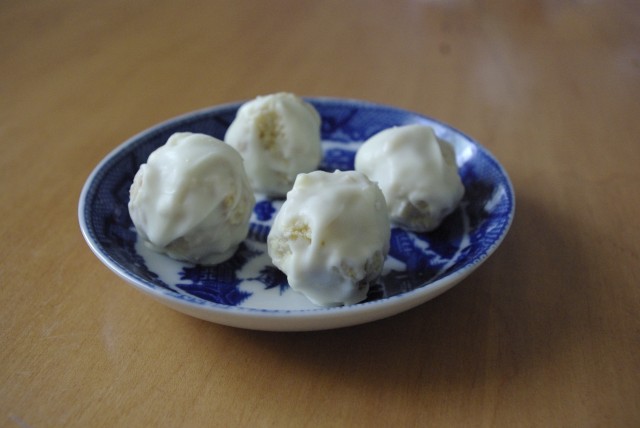
You can refrigerate them, or keep them at room temperature, whichever way you prefer! I like to eat them a little cold. There are so many more cake/icing/coating flavors to try! I’m excited.
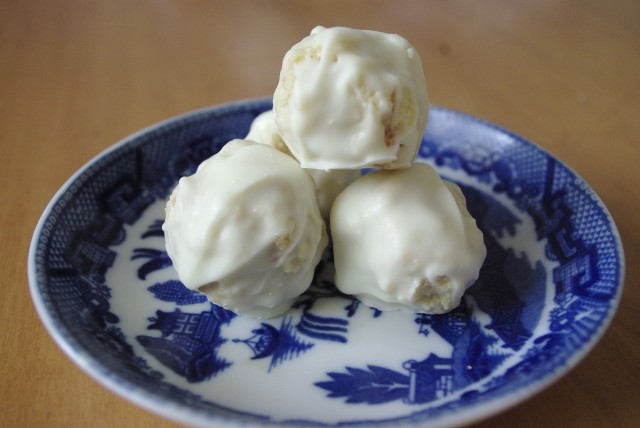
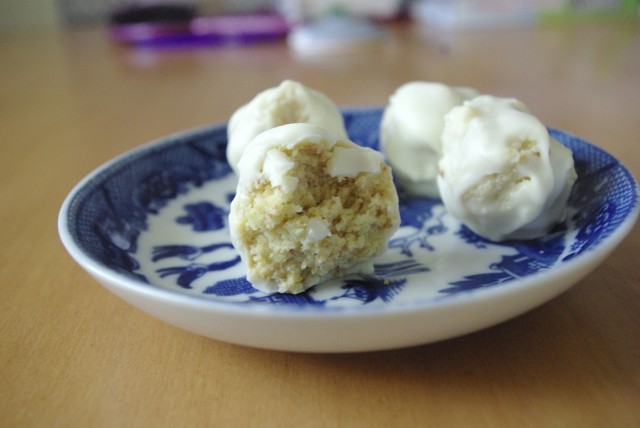
Amazing!!
Oh gosh. There are no words for how awesome this sounds.
For real, they are incredibly addicting. I’m planning to try a different kind this weekend!
And just when are you two opening the Bakery/Library? Maybe a business naming contest soon! Going to try this for the teens Mon. since the rainbows were a hit with the storytimers.